

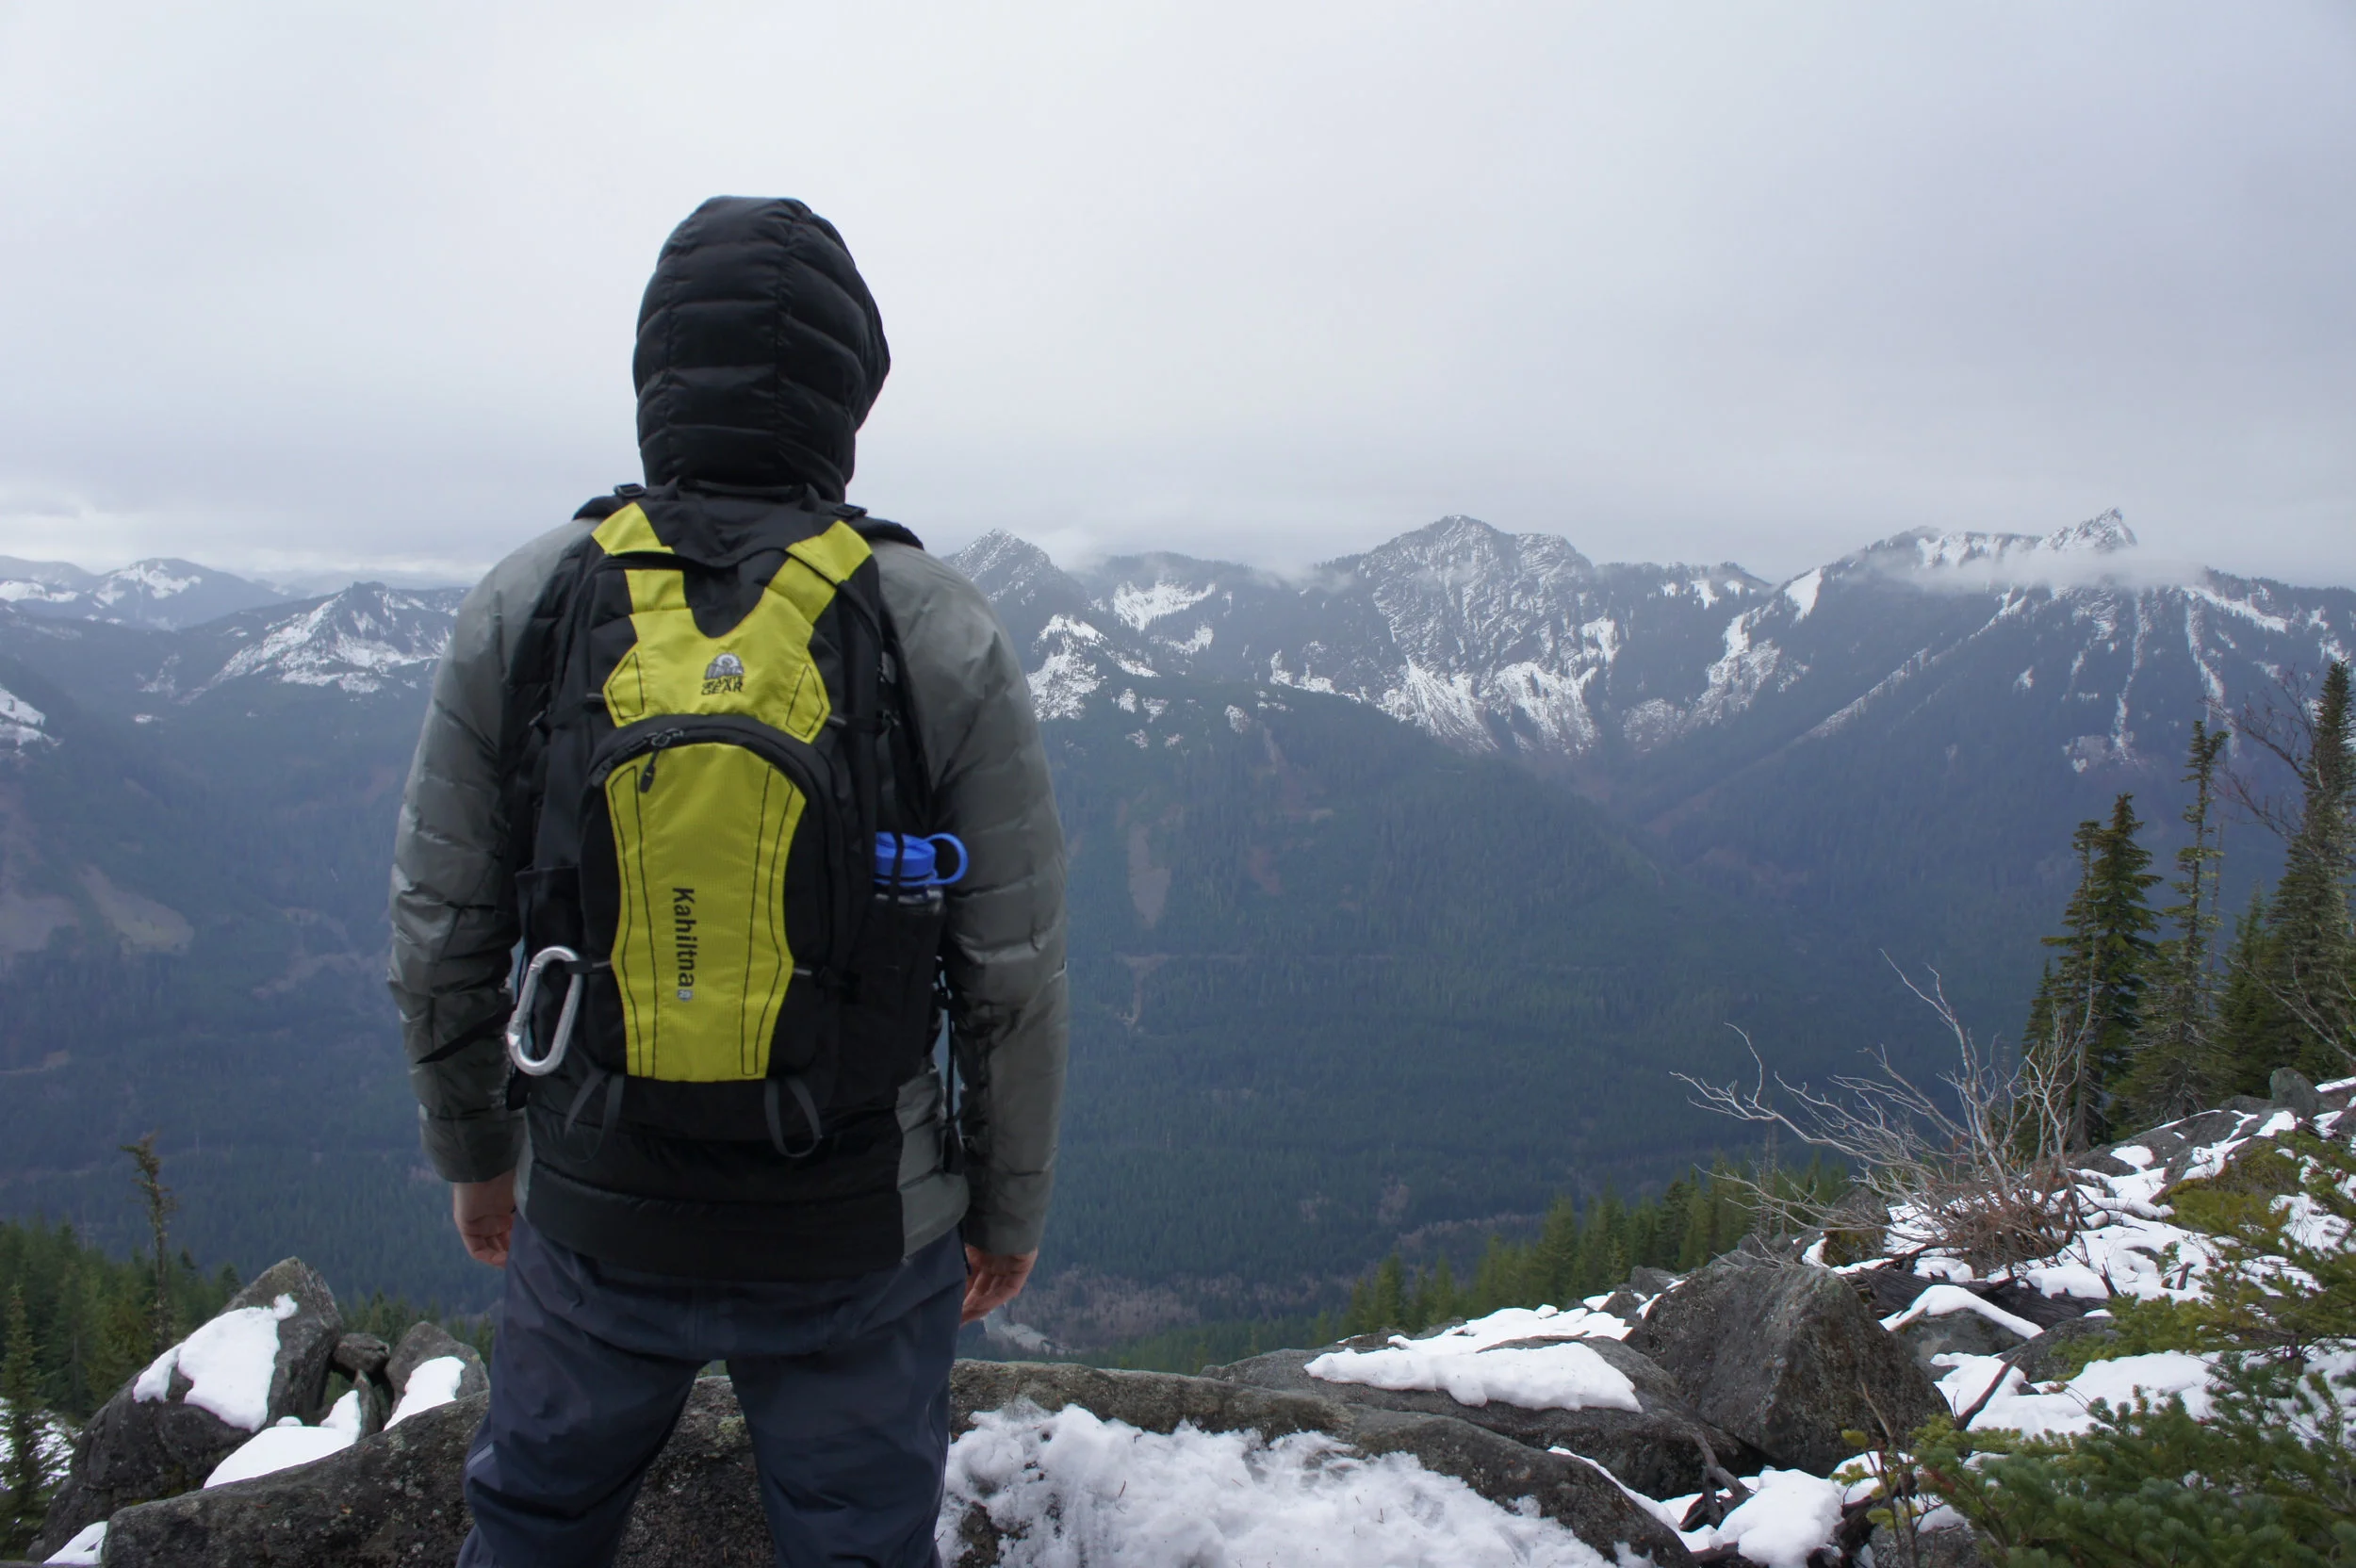
Review: Granite Gear Kahiltna 29
The Granite Gear Kahiltna 29 is a versatile, lightweight trail machine that will support you whether you’re heading home after a long day on campus or back out to the forest for some dirt time.
I recently sent over the Granite Gear Kahiltna 29 to Ace-Outside for a guest review. Check out his blog for some quality content and more gear reviews.
First Impressions:
Whenever I get a bag, there’s a ceremonial unloading of the old and loading of the new. While I’m doing this, I pay careful attention to my expectations: Do each of my EDC items have a place in this new bag? How intuitive is the layout? Are my expectations of what a good bag constitutes being met? Where are they being exceeded?


Here’s the short form stream of consciousness of my first impression.
Is that hip belt removable/stow-able—yup!
The Black/Neolime colorway is a little intense, but it’s high viz.
Where is Kahiltna? Longest glacier in the Alaska Range starting on the southwest side of Denali at 13,000 feet and moving 44 miles downhill to 1,000 feet where it terminates.
It’s got that classic Granite Gear 10mm webbing for compression.
The organization is okay. I never liked the organizational pocket being a symmetrical, yet smaller version of the main compartment, and placed low and away on the face of the pack. It’s that classic Jansport style Right Pack pocket. I hate that. That’s the worst place for a pocket.
The frame isn’t long enough for me. Spec sheet says fits 18-21’’ torsos. I’m right at 21 inches, but it’s not working. I either fit the shoulder straps and it rides too high, or I fit to the hip belt and it rides too low.
The hydration sleeve accepts a 13’’ Mac Book Air in an Incase padded sleeve.
My philosophical belief that a bag ~30L should be able to do pretty much everything requires that I live with these bags. Commuting, traveling, hiking, running errands, groceries, you name it; taking it everywhere is the only way we discover all the nuances of a pack.
Daily Grind:
I’ve noticed a good deal of dead space at the top of the pack. I’ll throw my laptop in the hydration sleeve, place a few folders and documents flush with that, and then throw my rain shell and lunch into the remaining main compartment space. The internal dimensions of the bag are taller than distance from the zipper peak to the floor of the bag. This leaves the difference, all the volume above the zipper peak, pretty much unusable (it’s conservatively about 3 liters). You can stuff soft items into this space and still close the bag, and I’ve definitely maxed out the volume with puffys and hard goods, but the listed volume of 29 liters is more realistically less than 25. It’s smaller than expected.
Trail Vibes:
When I locked myself into the Kahiltna for my first trail session I was pretty pleased. The hip belt is generously padded and the shoulder straps are really solid. Just the right amount of cushion for long days across mixed terrain. It’s a smaller than you’d expect, so the shape of the bag and the pocket placement (while I dislike them) don’t effect the performance in terms of how it rides. The stretch mesh pockets on the straps are big enough for a bar/blocks/gu/or a small knife, and the side pockets easily swallow a 1L Nalgene. The tool attachment points and compression straps work well enough together to hold poles and a pad without any issue.
My second experience with the bag was a wet one. The Kahiltna held up just fine to 1/4 inch of rain without using the included rain cover and continues to fill the day hiking role with aplomb. I’m really starting to see this as a trustworthy outdoor lifestyle bag. It’s simple, comfortable, and large enough to get you through the day, but small enough that you have to think about what you’re packing.



What’s good?
The back panel and suspension in whole is great. The shoulder straps are some of the best I’ve seen on a pack this volume, but I wouldn’t expect anything less from Granite Gear.
It also comes with an included rain cover. Which I feel like is a bonus these days–when did that stop being something that should be expected and became a feature?
What’s not so good?
The organization pocket is not as large as I want it to be and it’s in the worst possible spot. I know this is a classic daypack configuration, but it’s literally the worst spot to put a pocket in terms of load carriage. Move it up higher, make it taller, turn it into an internal compartment, or get rid of it all together. I want the weight high and directly between my shoulder blades, not hanging down and away from my center.
Conclusion
I think this makes a great bag for students who are into outdoor pursuits. You get a suspension system that can handle anything you’d want to do for 12 hours and a top quality build from a great brand. It doesn’t really have as much usable volume as I think a college/university student would want—but with a padded laptop sleeve and some planning I think it would fit that role nicely. I see this as an enthusiast’s bag that can effectively handle a day on the trails and whatever your commute can throw at you.
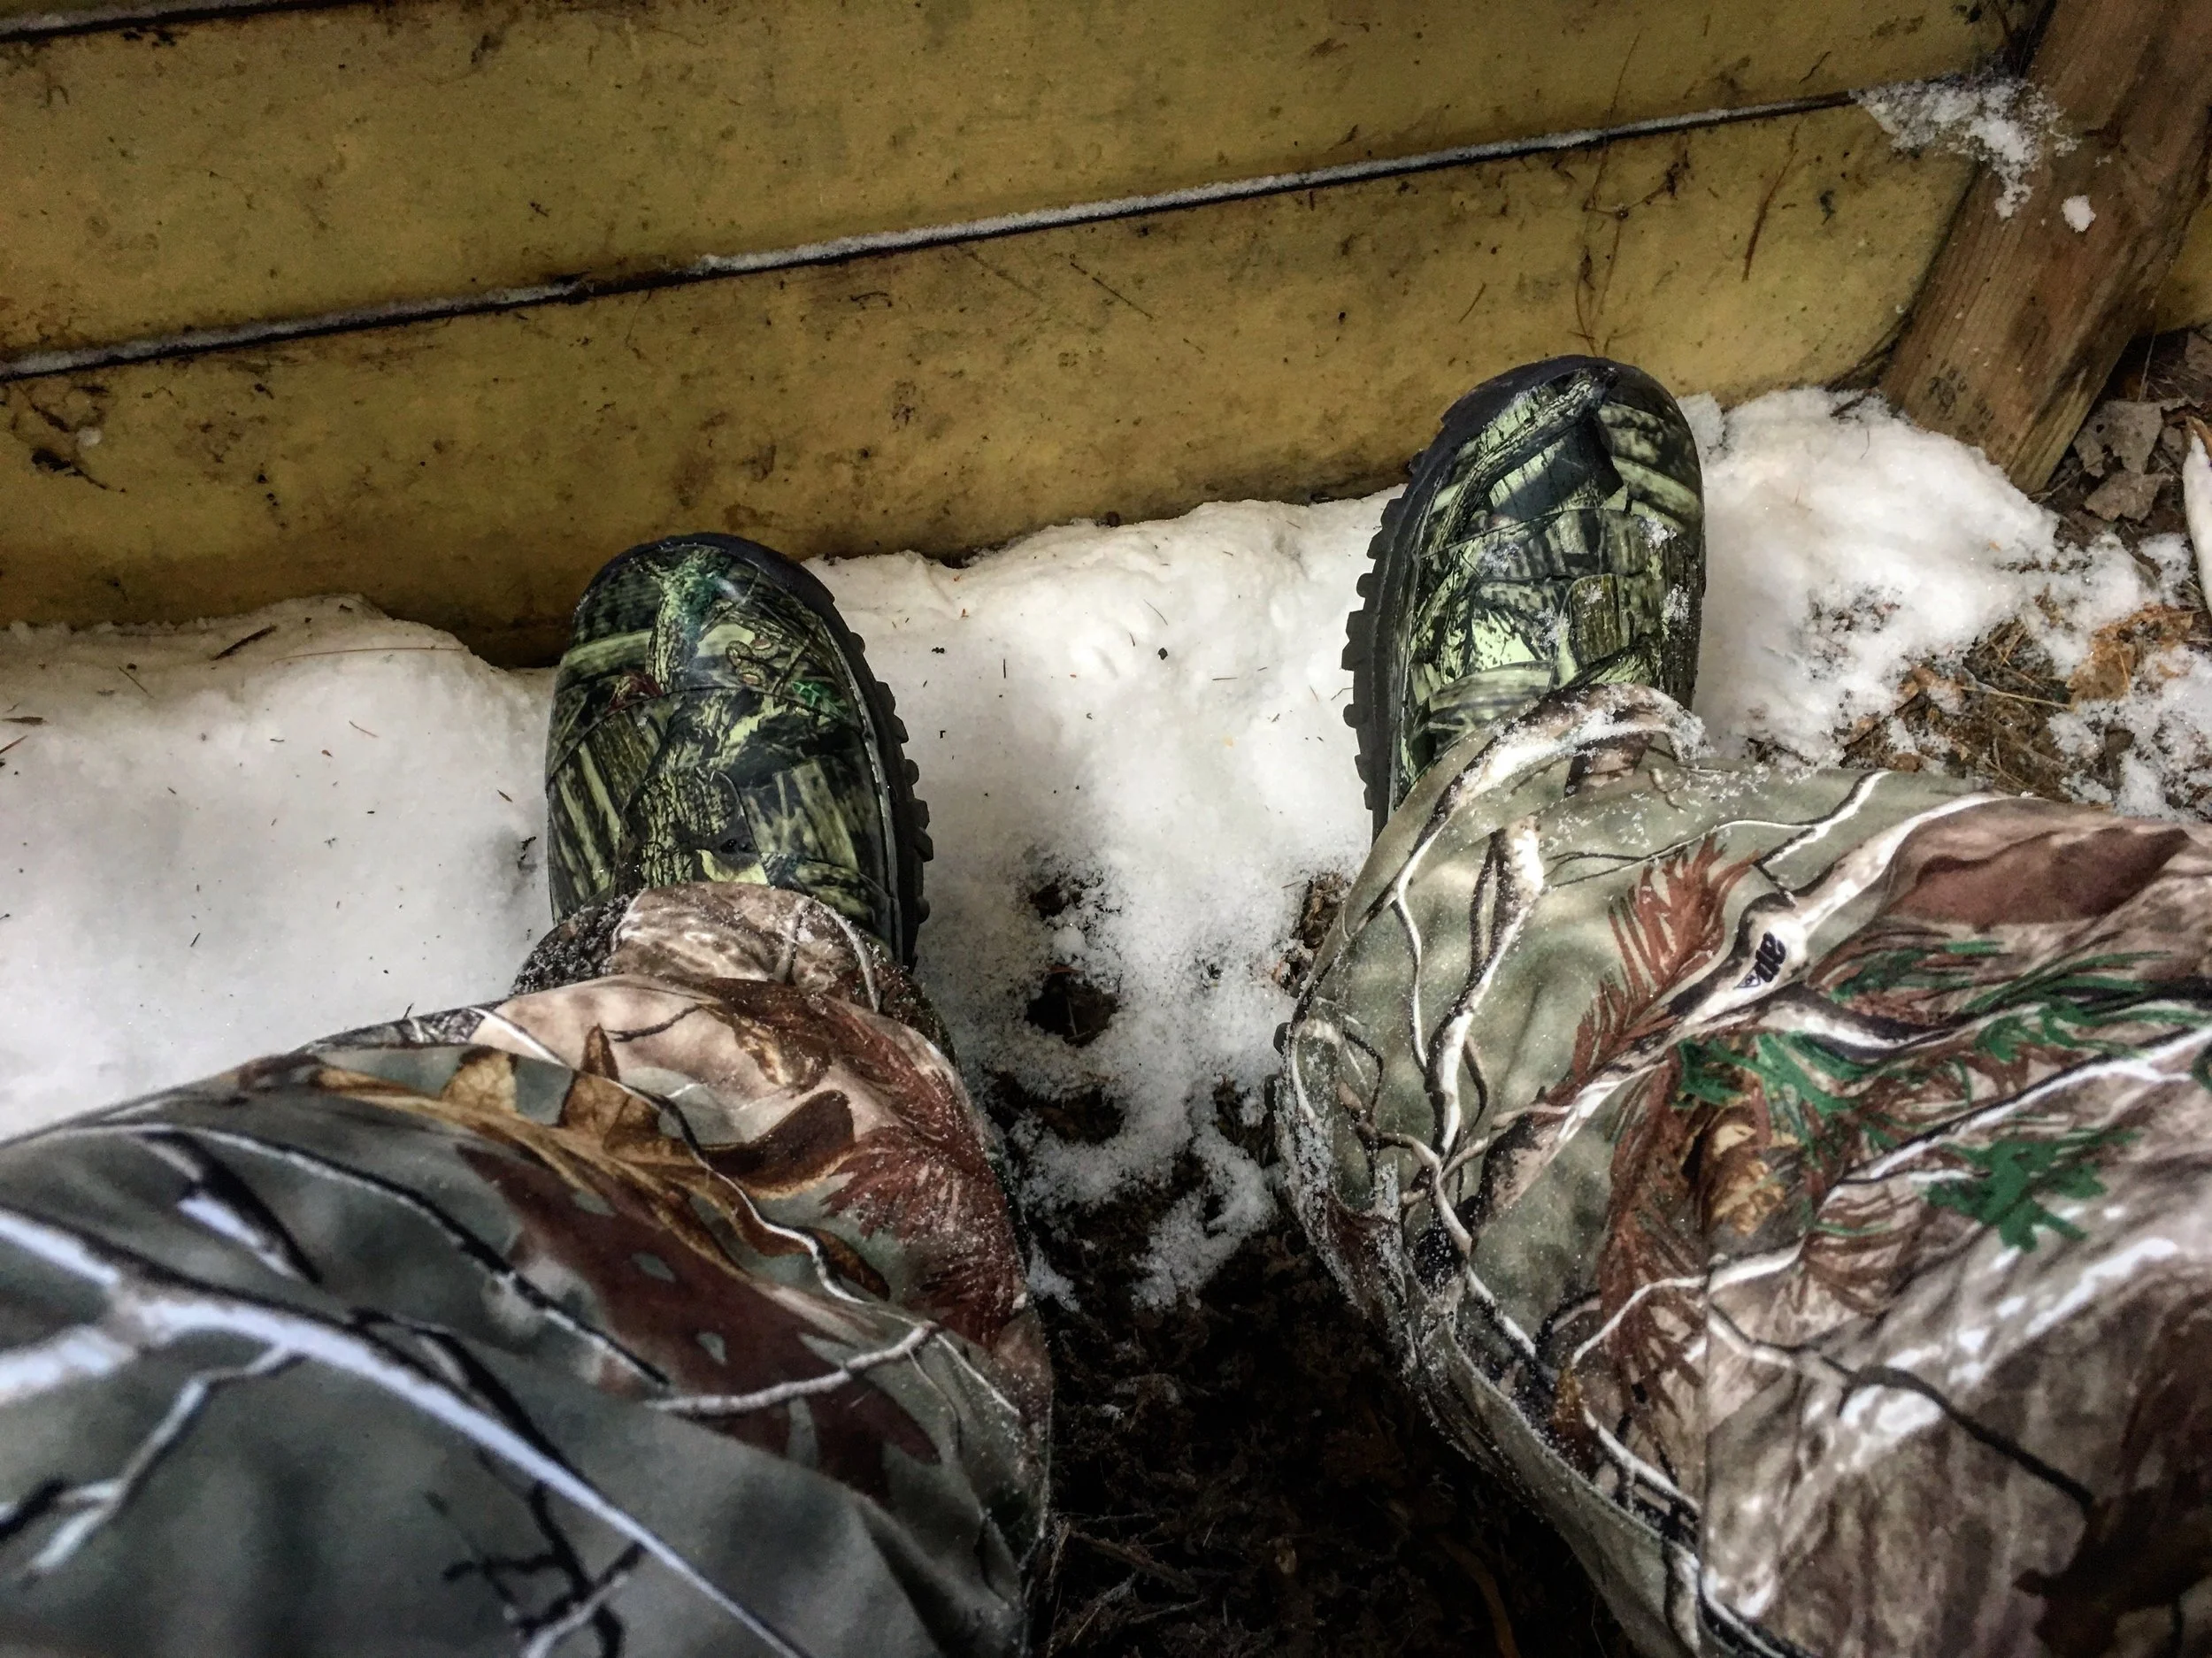
The Muck Boot Company Pursuit Supreme Hunting Boot Review
When the Fall/Winter season comes I cannot help but think about one thing. New gear. New gear that I can use to stay warm and keep adventuring through the seasons. I was sent over the Pursuit Supreme Premium Hunting Boots for review. The Pursuit is Muck's mid insulated fully waterproof hunting boot. I recently went up to the family hunting cabin in Northern Wisconsin for the whitetail hunting season to test them out.
Specs
- 100% Waterproof
- Fully insulate with 5mm NEOPRENE. This provides the optimal warmth, comfort, and waterproofing that you expect from a Muck Boot.
- A fleece liner is added to keep your feet warm in down to -40 degrees
- We've added Spandura® to the neoprene for added protection against wear and abrasion.
- We've added a textured grip for ease of entry
- Our new OPTIMAL FLEX technology allows the boot to bend and flex with your foot to provide better comfort and stability.
- We've added an etc ® sock liner to help reduce friction and heat build up in your foot
- EVA midsole cushions with every step
- Our new lightweight outsole design provides optimal stability and support
First Impressions
I can't think of a much better test than hunting in Northern Wisconsin to put these boots through their paces. I wore them for two days straight in the stands to see how the Insulation did its job. The first day was the coldest dropping to a brisk 9 degrees in the morning. Underneath the Pursuits, I had a thick pair of wool socks to help with the cold. Muck's website claims the Pursuit is rated up to -40 degrees, however, I can't say I agree with that only because sitting in the blind that first morning my toes did get a somewhat chilly. Truthfully for that kind of hunting, I would probably need to go a step up and get the Artic Pro Hunting Boot which is even more insulated and have a fleece liner to ensure my feet stay warm. The Pursuits to me feel like more of a cold weather waterfowl hunting boot and I will continue to test them in that aspect in the coming months.
The boots fit extremely well and slipped on and off with ease. I loved the almost knee-high construction when hiking into the stand on the second day which required crossing through a frozen swamp. The boots stayed completely dry and warm when walking through. The outsole did a great job keeping me upright and gripping to the frozen tree stand.
The liner of the Pursuit is a 5MM Neoprene which was extremely comfortable and soft. The midsole of the boot is an EVA midsole and gave great padding while staying stiff enough to hike in all day. I am sure when using these boots for pheasanthunting later on this month the midsole and outsole will be a much-appreciated feature, but for the half mile hike into the tree stand the boots did great.
On the front and heel of the Pursuit, Muck put a much-needed which helps the one piece boot frame bend in the areas you need it most. The front and rear slots allow you to crouch or bend down without the frame of the boot staying stiff or digging into your shin. Without this feature the boot would without a doubt stay completely stiff and be a burden to crouch.
+
- 100% Waterproof
- Great Mobility
- EVA Liner For Max Comfortability
- Outsole Is Durable And Provides Good Traction
- Great "Mossy Oak" Camo Pattern
- Super Quick on and Off
-
- Not Insulated Down To -40 degrees As Stated
- $$$
Final Thoughts
Overall, the Pursuit Supreme Hunting Boots from Muck Boots are truly a premium hunting boot that is capable of an array of activities. From everyday winter wear - to hunting in Northern Wisconsin the Pursuits will keep your feet bone dry and as long as you are not in near 0-degree weather, warm as well. The boots come in at $220 which is not cheap but justifiable by the well-thought out features of the Pursuit.

Guest Review - SOG TOC 20L Tactical Backpack Review
Initial Impression:
The SOG TOC 20 makes quite an impression when you first lay eyes on it, The Hypalon Molle field is a different more streamlined look then what I’m used to and the Impact Resistant pocket I’ll admit looks a bit weird. The zipper pulls are great for easy use and despite my reservations about them catching on things they don’t, a huge plus not having to modify the zipper pulls like we have done on GoRuck and other packs. The straps and backrest are fairly basic but do the job nicely and provide plenty of comfort for heavier loads.
Utility:
The TOC 20 has 4 gear compartments, 2 subdivided compartments inside the main compartment, and a laptop pocket. The front 2 utility pockets are great for your slightly smaller items that always seem to fall to the bottom of the larger compartment but are too big for accessories compartments. I use them to store my bike tool kit and first aid packs. The large main compartment is host to a subdivided executive organizer that has two larger pouches for you e-readers or smaller tablets in addition to the normal pen pouches and the like. There is also a small what I’m guessing is a key retainer pocket on the underside of the crush proof compartment that is really too small to do anything else. Lastly, there is a pass through laptop compartment that doubles as a hydration bladder compartment.
Construction:
The TOC 20 is made of 500D Nylon that has a polyurethane thread coating to increase its water resistance but doesn't take this to mean it will stand up to prolonged exposure to heavy water saturation. The Hypalon Molle field is the same material used in rigid inflatable boats and has shown no signs of deterioration thus far. The side carry handle is an unnecessary addition since the straps cannot be stored away. The pack all around has proven to be constructed quite well thus far.
Specs:
- 20 Liter capacity @ 2lbs
- 17” Laptop compartment
- 20” x 11” x 7.5” dimensions
- 4 Gear compartments
- Laptop/Hydro Bladder compartment
- 500d Nylon with Polyurethane thread coat
- Water-resistive
- 2 Molle fields
- 2MM Polyethylene paddedsuspension straps and a sternum strap
Overview:
The TOC 20 as I mentioned earlier has 4 Gear compartments, the 2 utility pockets, an impact resistant compartment, and the main gear compartment. Unfortunately for this pack, it is another victim of try to be a jack of all trades and thus a master of none. The combination of the executive organizer in the main gear compartment means having to unload books/clothes/gear from the compartment to get to smaller items in the organizer and it gave me an uneasy feeling putting my iPad in the tablet pouch. Due to this, I found myself putting my keys and wallet in the front utility pockets to increase the ease of access but lost that space in the process and at only 20 liters space is a premium. The impact resistant compartment is a great idea that could use some more thought, I put my Oakley’s in the sunglasses divider and was disappointed to see that as they shifted around on my hike the lining scratched the lenses so now I put them in the case in that pocket and there is very little if any space left in the compartment. Again though I love the idea just needs a bit of refining and they have a gem there. Lastly, the pack doesn’t have a back vent incorporated in the design so I found that after about an hour perspiration begins to build up and leads to a less comfortable ride. This problem is non-existent if you’re using this for travel or to and from school, however. The one true downside of this pack is the lack of any water bottle pockets and as I mentioned earlier space is a premium for this pack and I don’t like the idea of having water and electronics is the same compartment. The size of this pack is actually a thing of beauty however at 20 liters it makes you cut all the non-essential junk that weighs larger packs down but still has room for 2 textbooks, a notebook, and a couple folders in the main compartment. Perhaps the most overlooked part of this pack come in the form of the standard Molle field on the bottom of the pack that came in handy more than I ever could have imagined, you can rig up a slew of different large items to it in order to increase carrying capacity and due to the packs size it doesn’t drop down and interfere with your legs. As a bigger than average guy this pack fits my 6’1” frame with plenty of room to spare for those that are more built than me.
Cost:
At $159.99 this pack delivers decent utility in the Travel and EDC categories but does lack a bit in the Hiking category, SOG offers a Lifetime Warranty against Defects in manufacturing but doesn’t include damage from misuse, alteration, or normal wear and tear determined at their discretion. It has proven to be a well-made pack from a construction standpoint and offers some interesting innovations that with a bit of refining and fine tuning and the addition of a water bottle pouch could justify the price tag.
The North Face Kaban Transit Backpack Review 2016
One of my most popular reviews here at RMK was the 2015 North Face Surge backpack. I decided to write up another review of a North Face pack that has some of the same features but a much different look.
This review was made possible by Andrew Sporrer from Ace-Outside who was nice enough to send the pack over for review. Check out his blog for some gear reviews and other outdoor related pieces.
In addition, this review was a combination review by Kameron Strunk and myself.
Tech Specs:
Fabric: 900d polyester, PVC coating
Size and Weight: 25.5 liters, 2 lbs weight, 17” laptop sleeve
Compartments:
Laptop Sleeve is 10.5” x 13.25” x 1” *** (This refers to the Fleece sleeve inside the Laptop compartment, the compartment itself can hold a 17” or larger laptop)***
Main Compartment is 20” x 12.5” x 6”
D-door Exec Compartment with Tablet Sleeve
Quick Access Accessories Compartment
Selling Points:
Obviously, it's North Face, the forerunners of backpacking and some of the first to use rip-stop nylon and other military grade materials in their rugged lightweight pack designs, heck they did rugged better than the U.S. Military to the point that they took over some of the military’s contracts for tents and survival gear. Anyway enough about that, the Kaban is made of 500d Cordura, 420d Nylon, 900d polyester, PVC coating, 1680 Ballistic Nylon; The definition of lightweight, water-resistant, and rugged. The final feature that sold me was the simplistic design, 4 pockets one of which is the laptop compartment and 2 bottle holders. - KS
Layout & Design:
Perhaps the best part of the pack is it’s to the point construction, too often the hybrid packs of today try to incorporate elements of all the different pack types and end up falling short of doing anything well. What I mean is they try to incorporate elements of EDC, Travel, Backing, and or Hiking and don’t deliver in any of the categories. This is where the Kaban shines, at 25.5 L it’s too small to backpack but makes it a great fit for hiking when coupled with the Flex-Vent suspension and sternum strap. The Cordura and PVC coating make it at home in any element. The lie-flat laptop compartment and TSA friendly design makes airport security and travel a breeze. The top load main compartment and D-door front compartment make it excellent for EDC. This is by far the best multi-function pack I’ve used thus far. - KS
Now on to the review. First off, the Kaban comes in at a very reasonable price of around $100-$120 on Amazon right now. For all of the features the Kaban packs in, along with the build quality that price is completely justified. The Kaban comes in many different colors however, I opted for the all Black version to help keep the pack low profile as I will be using it to carry my tech/EDC which includes my laptop, DSLR, hard drives, and other not so cheap pieces of my kit. The pack is on the average size with a compacity of 25.5L. I find that right around 25L is the ideal size for any of my EDC packs.
Features
"Best Laptop Sleeve On A Pack"
The main reason why I loved the NF Surge so much was the ability to carry my laptop while making me feel reassured nothing was going to happen to my work machine. The laptop pocket on the Kaban is the exact same and hands down my favorite laptop sleeve of any pack I have used to date. The laptop compartment lays completely flat to help zip through airport security and help with super easy access. North Face claims the sleeve can hold up to a 17-inch laptop however, the fit is snug with my 13 Macbook pro so in order to fit a larger laptop, the user must put the laptop into the compartment instead of the fleece sleeve.
Pictured below is a 15-inch laptop outside the fleece sleeve.
The inside of the laptop sleeve is lined with a light fleece to make sure your machine stays scratch free. The best feature on the laptop sleeve is easily the suspended bottom allowing you to set or "drop" down your backpack while knowing your laptop will never be there to break the fall.
"Top Grab N Go Pocket"
The top pocket on the Kaban is great for all your grab and go items like keys, wallet, phone, headphones and whatever you need quick easy access to. With the PVC coated Nylon you should not have to worry about anything getting wet or damaged.
"Flex-Vent Back Panel And Shoulder Straps"
The Kaban uses the same shoulder straps and back panel design as the Surge, this is a good thing. The Flex-Vent back panel gives plenty of padding for heavy loads while still giving some ventilation. The shoulder straps are also super padded while staying thin and easy to adjust. The straps come with an included sternum strap to help keep the load secured and close to your chest.
The main compartment on the Kaban is accessed by a top loading zippered lid and has enough room for all the daily essentials. The compartment is great for books as it keeps everything completely upright with the structure of the pack. The bottom of the pack is also built in a way that the Kaban can stand alone without falling over which is awesome.
"Dual Bottle Pockets"
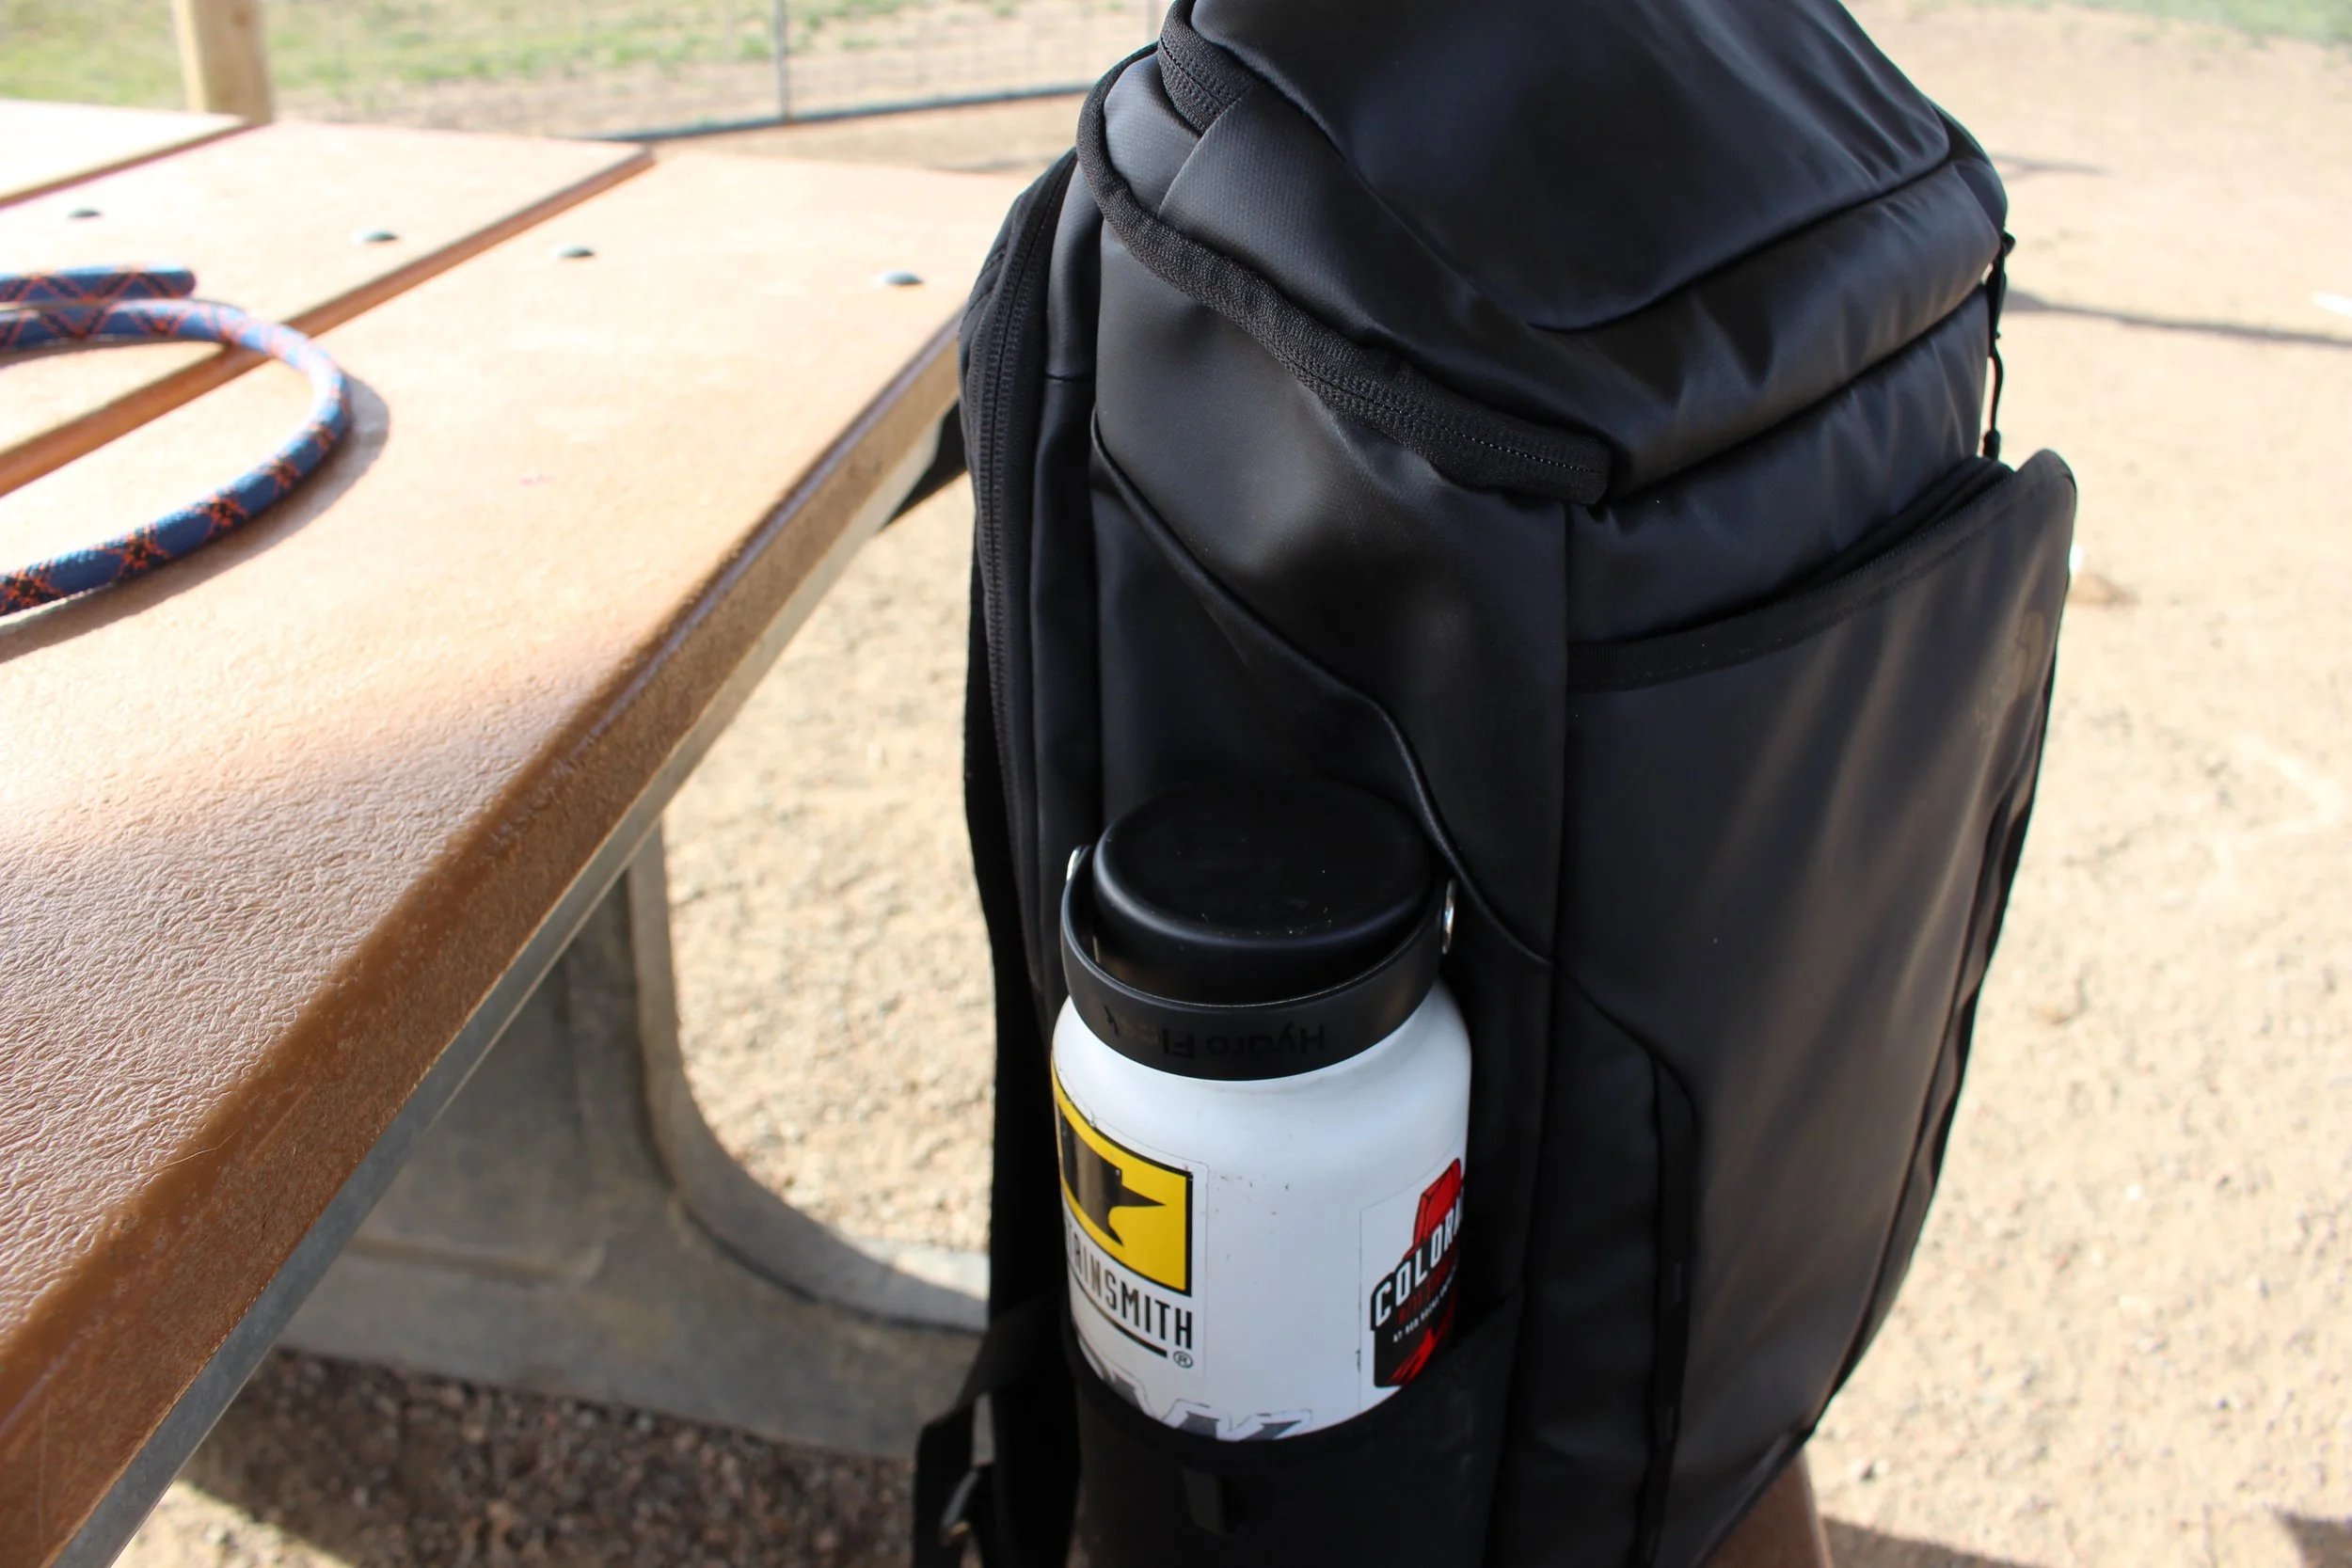
The main compartment is completely naked and simple. This would be a bad thing without the side water bottle pockets and the front admin pocket. On either side of the Kaban there are stretch bottle pockets which can surprisingly hold my 40oz Hydroflask with no problems. To me, a true EDC or school pack is not complete without external bottle pockets so I can carry and access both my water and super juice (Coffee) with ease.
"Fully Loaded Admin Pocket"
On the very front of the pack sits the "Admin" pocket. This pocket is great for storing all of your pens, pencils, business cards, hard drives, external chargers, and even has a padded fleece lined tablet sleeve. I loved seeing the tablet sleeve in this pocket and not stuffed into the back of the back right next to the laptop sleeve. It makes pulling out your tablet effortless and gives a little extra peace of mind when carrying the pack with a bunch of books in the main comparment.
-
- While using the pack Kameron sitting at 6'1 almost maxed out the straps
- Main compartment and get full quick
Overall, the Kaban by The North Face is a completely loaded EDC or School pack that can handle a full days loadout with ease. The cost of the pack is easily justified with all of the top-tier features on the pack and the warranty North Face is known for.
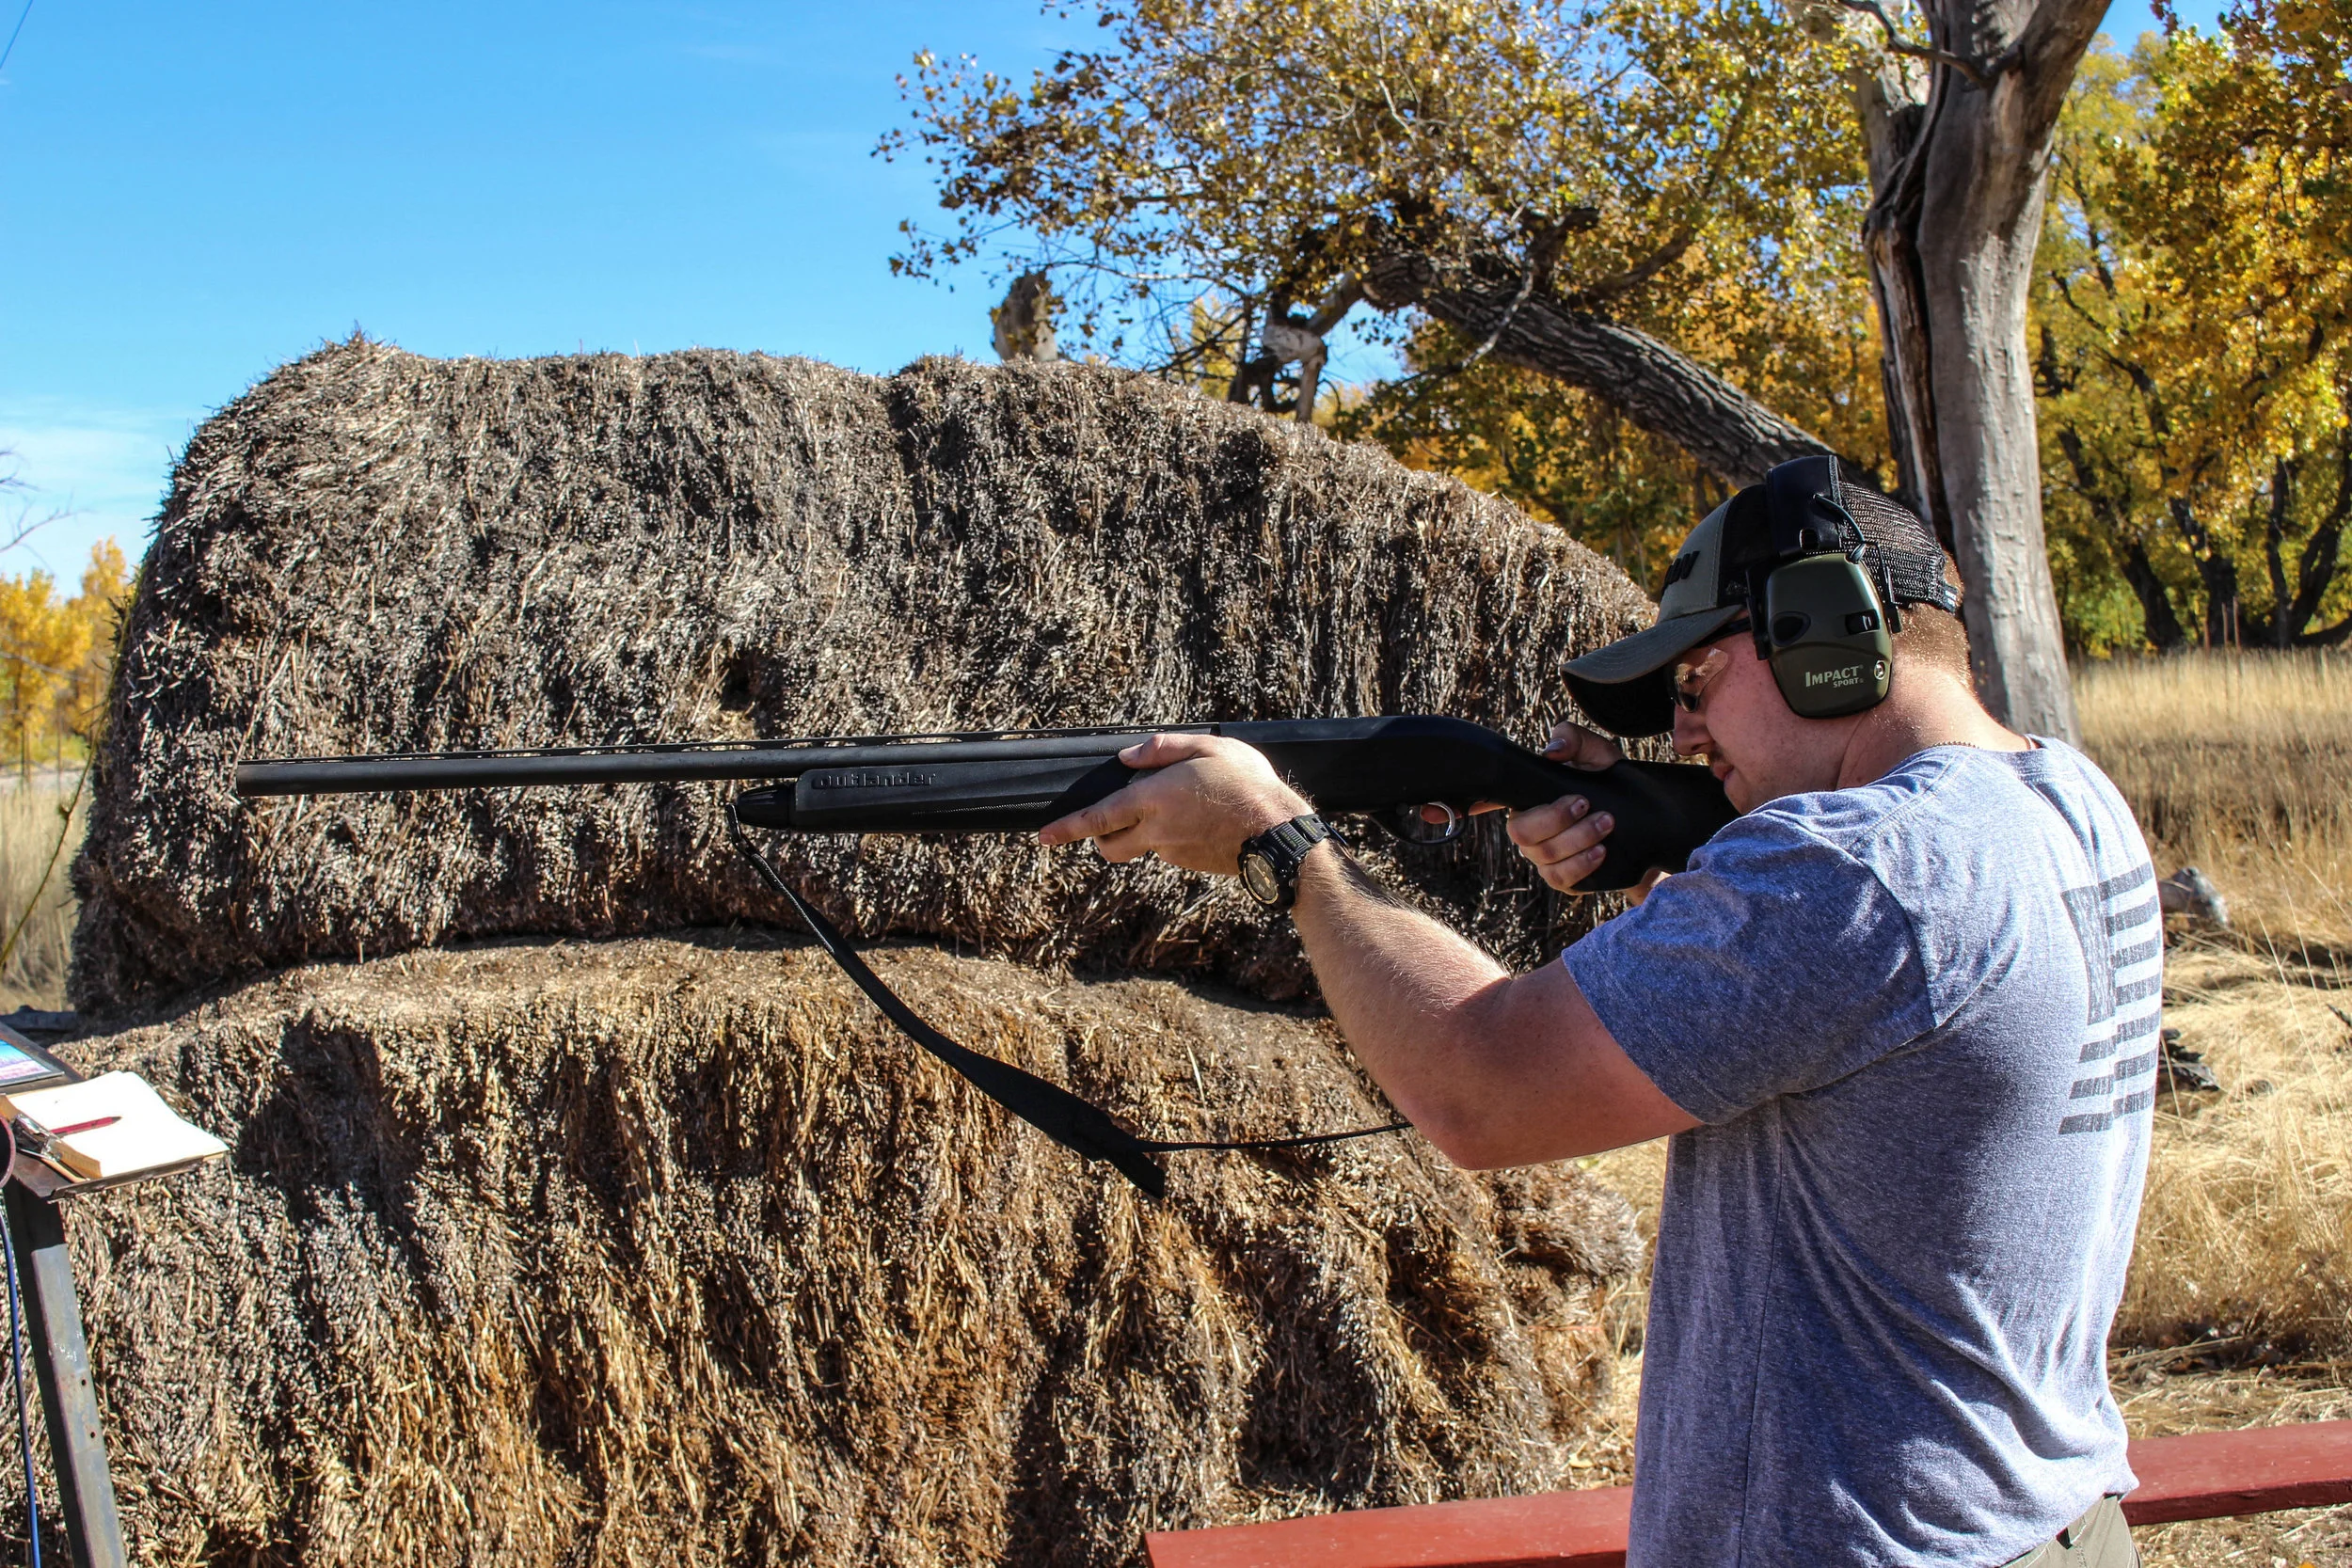
Howard Leight By Honeywell Impact Sport Shooting Ear Muff Review
I was recently sent over the Howard Leight by Honeywell Impact Sport shooting muffs for review. I decided to take them down to Kiowa Creek shooting club in Eastern Colorado to give them a run and remind my father how to shoot.
I have never even thought about upgrading my overused conventional earmuffs, however, upon testing the Impacts I should have much earlier. The Impact Sport earmuffs are electronic earmuffs which can amplify voices and other forms of noise. The Impacts use -
- Built-in directional microphones amplify range commands and other ambient sounds to a safe 82dB, providing more natural listening and enhanced communication
Before turning up the amplification on the muffs they acted sounded like any old pair of earmuffs. As soon as I turned up the knob on the side I was blown away. I could literally hear the leaves falling off the trees and my dad whispering to himself about how he had to beat my score this time around. I was truly amazed at how well the headphones worked. It was like my ears were protected while still being able to communicate with my pops. When shooting I would turn the voice amplification down and they would make the shotgun sound like a nerf gun. When shooting over 200+ clays it was very important to have a reilable set of earmuffs.
I was sent the Impact sport muffs in the Dark green which is admittedly my favorite color as you can probably tell by the picture above. The Impacts were miles ahead of my old "walmart" muffs not only in terms of function but also comfort.
You can feel the quality of the Impacts right out of the box. The leather headband is a great touch and helped keep the muffs snug on my hat.
The Earcups on the Impacts were extremely comfortable all day long. On past ear muffs, I have used I would often have to pop them off for a couple minutes and left my ears recover. I found myself doing this one time the entire day just to let them air out a bit. The padding is a very soft plush-like material that seals the outside out while staying soft to the ears. The earcups are also very low profile which not only kept me from looking like a space alien on the range but helped from hitting my gunstock while aiming at the clays.
On the outside of one of the ear cups, there is the amplify volume knob that also acts as the on and off button. Wheeling the knob all the way down past the click shuts the earmuffs off, while turning the knob the other way increases the volume. Underneath the volume knob, there is a headphone jack which allows the user to hook up their phone and listen to music while still protecting their ears. This is a great feature and can make the earmuffs not only earmuffs but headphones as well. The muffs came included with 2 AAA batteries and they also feature a 4 hour shut off timer to help save power.
The Impacts fold down to a very compactible size when you're done for the day - Because the earcups are such low profile when they are folded up the Impacts are very easily transported.
The earmuffs come in right around $40 and for that price these guys are a deal and a half. Seeing that the only "negative" I could find about the ear muffs were that my ears warmed up a bit while wearing them that is a steal. I was shooting in Colorado during a sunny 82-degree day and I did not expect my ears to stay cool under shooting earmuffs but I had to find something.
The Impact Sport Shooting Earmuffs by Howard Leight are a fantastic deal at $40. They come in a range of color options and its comfortable low-profile earcups not only were a joy to wear all day but kept me looking the part while doing it. The voice amplifaction was a blast to use and prove very useful while in between stations talking with my pops while still keeping my ears safe from the surronding shots.
+
- $
- Many Color Options
- Great Noise Protection
- Voice Amplification
- Leather Padded Headband
- Water Resistant
- Can Act as Headphones with the Headphone Jack
-
- Ran A Little Warm
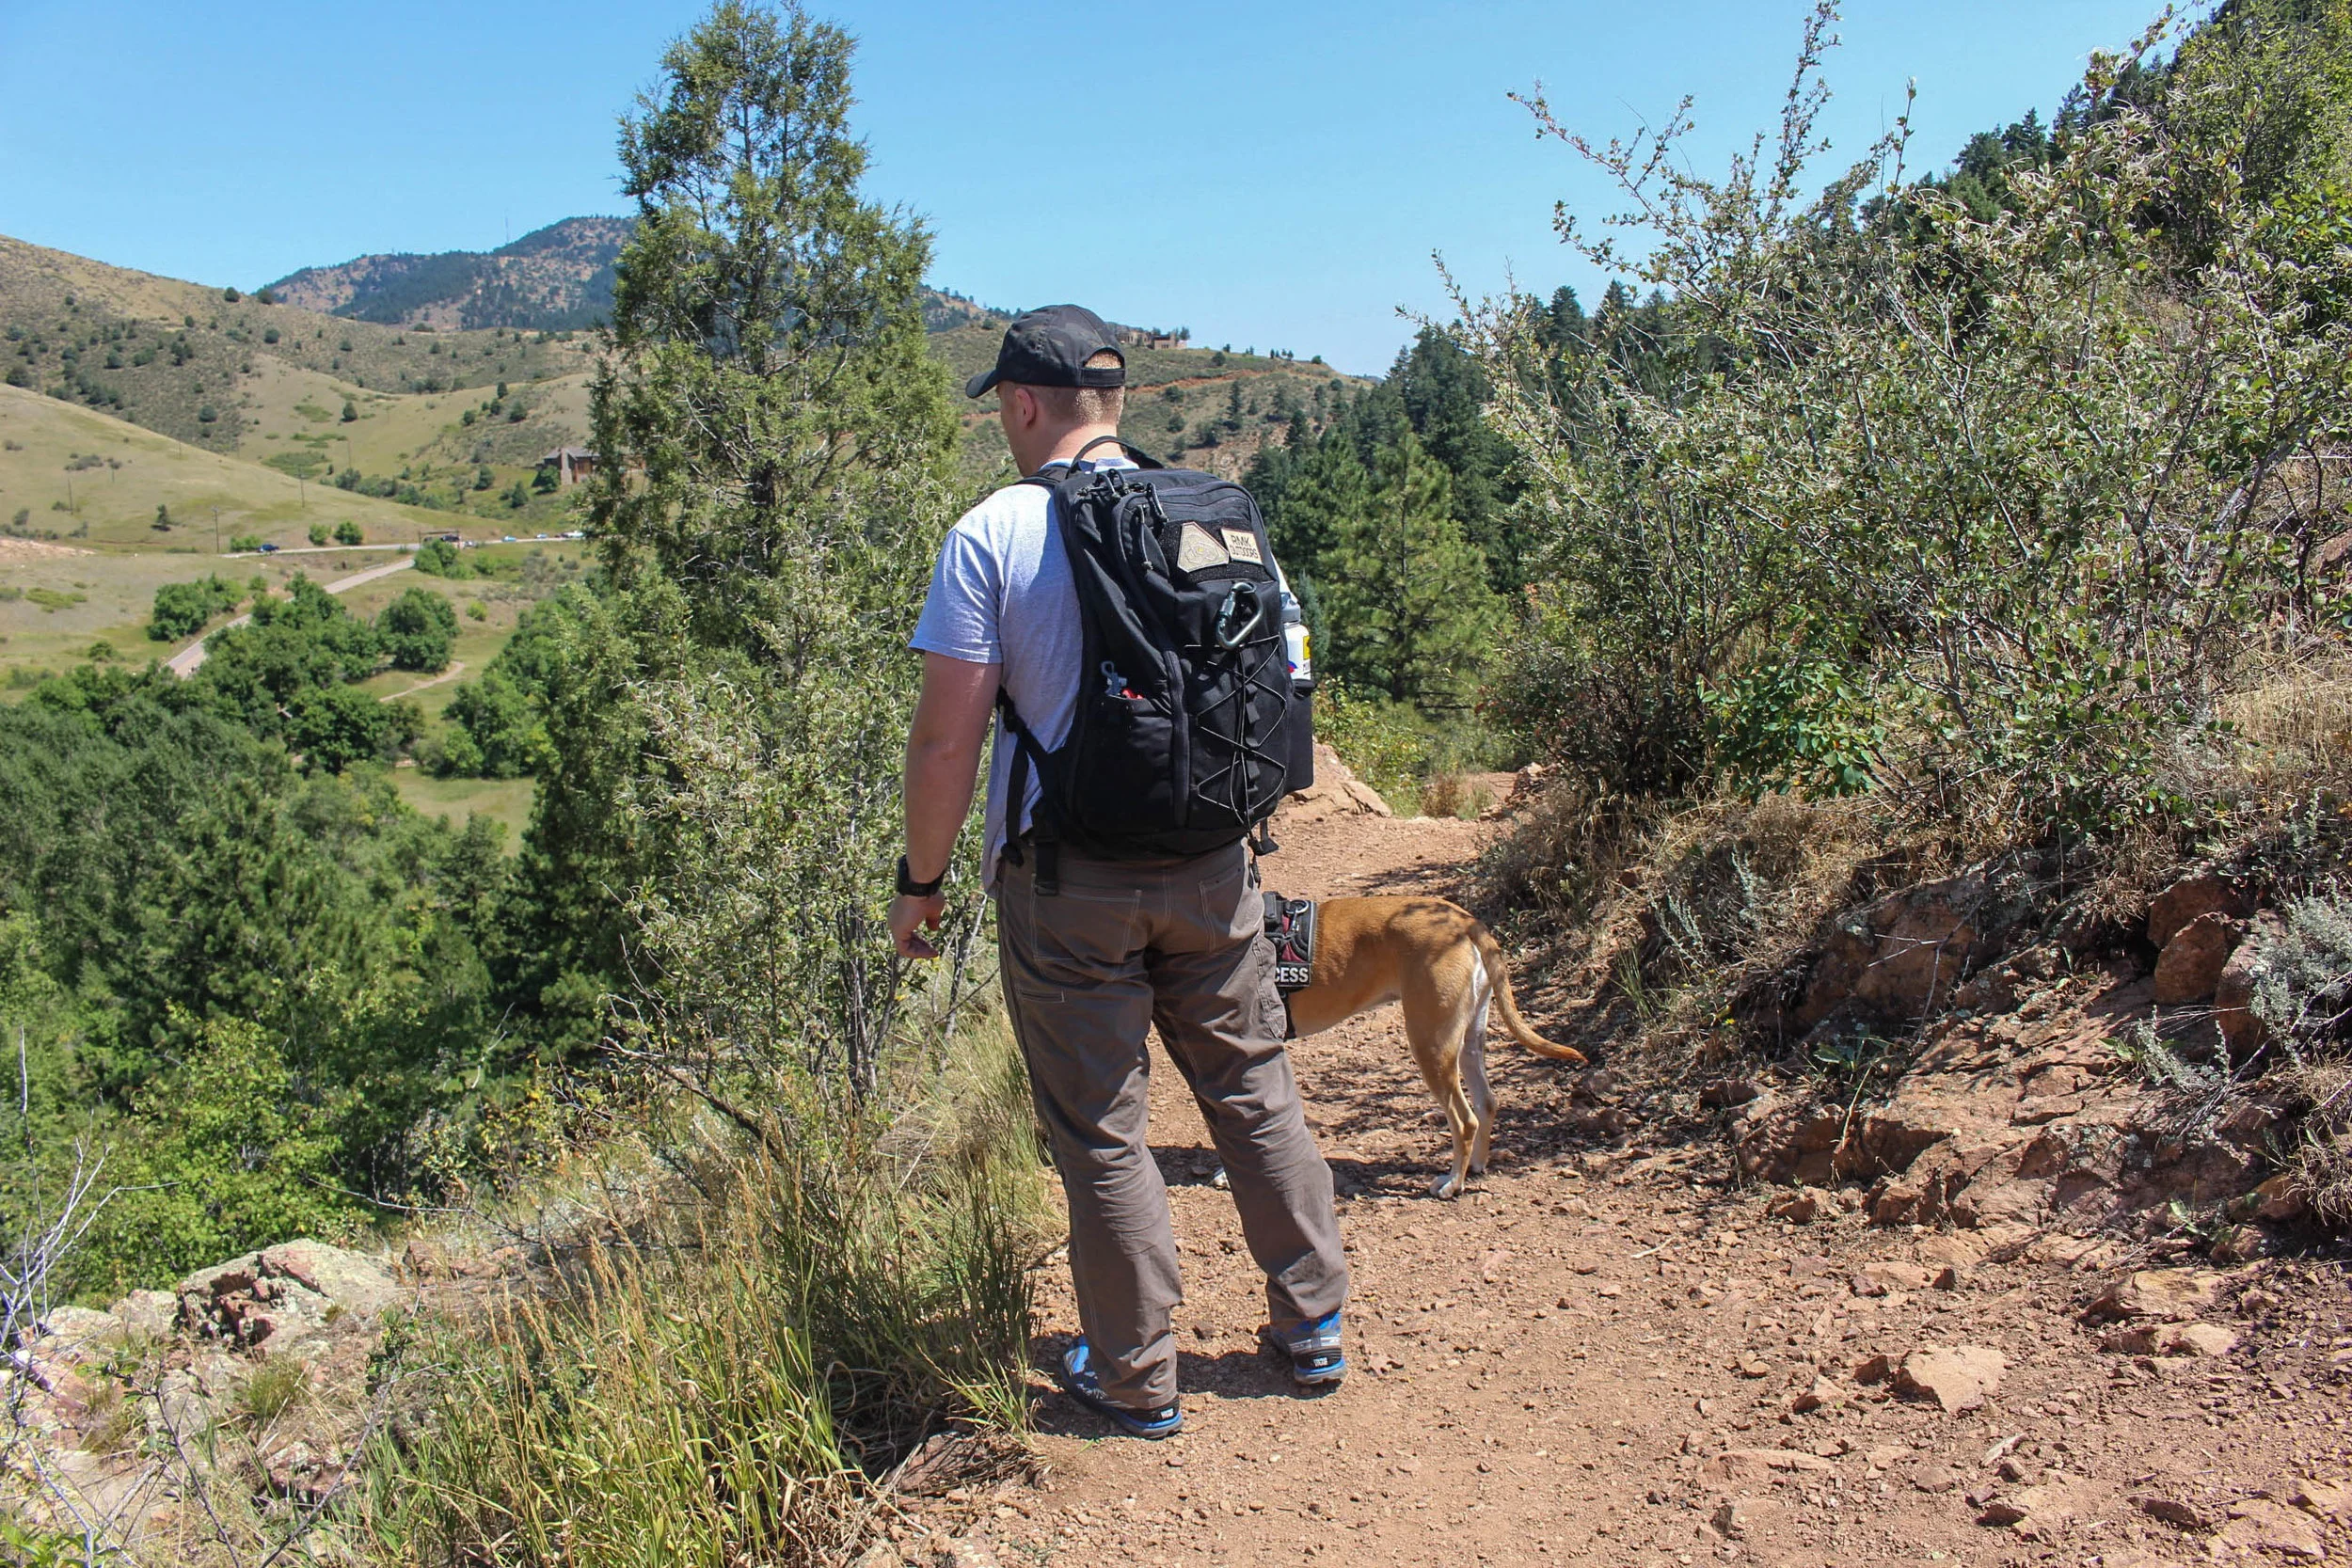
PDW SHADO Backpack Review
The SHADO by PDW was one of the most anticipated pack launches of 2016, We got our hands on the pack and got to see if it lived up to the hype.
Prometheus Design Werx is an outdoor gear company that specialises in producing top-tier products with top of the line materials right here in the US. If you are reading this then you have probably heard of another like company that goes by the name of Triple Aught Design. TAD was founded by Patrick Ma who split from the company and founded his new project PDW. I have had many TAD products and you can see the similarity in products with both PDW and TAD, which is a good thing. The SHADO was the first product from PDW I was able to get my hands on and probably one of my most anticipated pack orders in a long time. The pack is available in Coyote and Black and comes in at $289 for the pack alone. Many packs I review here at RMK following the same principle which is, Made in the US - Made with the best materials possible. These kinds of packs don't come cheap but in my eyes are normally worth the cost.
The 28L SHADO Materials:
- Invista Cordura® 500D
- 330D 90/10 nylon/PU elastane
- 70D oxford
- Nylon mesh
- Dri-Lex®
- Multiple density closed cell foam
- YKK #8 reverse coil zippers
- ITW and Duraflex® buckles and hardware
- 550 cord
- Shock cord
- Nylon Hook & Loop
From the materials listed above, one can tell the SHADO is not your average tactical pack. The 500D Invista Cordura is, believe it or not, a more badass version of my favorite Cordura nylon. By making the SHADO out of 500D instead of the typical 1000D Cordura PDW shaved off a couple ounces while keeping that tear and abrasion resistance 1000D Cordura is known for. The SHADO is also brought together by all #8 YKK zips which make opening and closing the bag exceptionally smooth. The combo of Cordura and YKK is a must have on any bag worth buying.
Something I like to throw on all my packs if they don't already have it, is the paracord/heat shrink zipper pulls. I originally got this idea from Goruck.
Starting on the front of the pack we have a velcro patch with extra room for all of your morale patches. Underneath the velcro you have a small daisy chain like attachment line running vertically. Over the chain there is a shock cord hooked up the the sides of the pack to allow for some quick external storage for things like an overlayer.
Directly above the velcro section of the pack you have your front grab n go pocket as I like to call it. This is where I typically store my wallet, keys, phone, and any other smaller items like chapstick or gum. On the inside of the pocket, there is a handy key strap. For how large this pocket is and it being the only one outside of the main compartments I would like to see some internal organisation for things like pens, and business cards.
On either side of the SHADO sits a drink a Nylon mesh drink bottle pocket. This is one of my key factors when reviewing or using an EDC style pack. On any given day I will be carrying a 40oz Hydroflask for my water and one of my many coffee mugs along with me. I loved seeing the SHADO have these pockets however they fell short when I actually used them. The material used for the pockets is great and does a good job at slimming down when not in use. The problem comes from the top of the pockets where for some reason there is stitching that cuts into the space of the opening. I did manage to get my large Hydroflask in this pocket one time after fighting the pocket and using both hands for a couple minutes. I thought these pockets would stretch out and make it easier to access as time went on but I was wrong. In the picture below is my Stanley master series mug that is only 16oz and is still squeezed by the pocket.
I am unsure why PDW decided to add this top section of the drink bottle pocket, because if it was not there I could maybe get the bottles in within under a minute.
Moving to the inside of the pack we have a full claim-shell opening. This style of opening is great in a pack like this and allows for serious organization while loading out the main compartment of the pack. This is also not commonly found in a pack that does have bottle pockets so props there for PDW.
The inside of the main compartment is where the padded and suspended laptop sleeve hides. The sleeve is padded enough that I felt comfortable leaving my Macbook in there and is suspended from the bottom of the pack so I didn't have to worry about it hitting when I lay the pack down. While on the topic I will say, I wish the bottom of the SHADO was more padded or even just made with 1000D Ballistic nylon to give some peace of mind when setting it down. I usually carry my DSLR and other expensive/fragile in my EDC packs and not having any type of padding was hard to get used to. Especially since the pack is made with 500D Cordura instead of the 1000D Cordura I am used to. The main compartment was plenty large enough to hold my BOgear EDC pouch along with my GR2 Field pocket with room to spare. I would have also like to see the laptop sleeve in the other compartment but we will go over that next.
The front flap which you unzip acts as the internal organization of the main compartment. On the inside of the flap, there is a large mesh pocket that runs the entire length of the pack. You see this pocket a lot on similar packs however they are normally split up into two separate pockets. The SHADO has only one pocket and comes with both positive and negatives. The positive is that you can keep larger items in this pocket that you don't want in the main compartment. The negative is you will most likely be using this pocket for the smaller items you don't want in the main compartment and they will all just fall down the bottom of the pack. This inside flap is normally where I keep my laptop charger, external charger, and hard drive, and other electronics I don't want in the front grab pocket. While using this pack every item I put in would slide all the way down to the bottom and was a hassle when trying to grab it. This could be fixed fairly easily by just adding a zipper in the middle to seperate the one pocket into two.
Behind the main compartment, you have the second large pocket of the SHADO. As I mentioned before this is where I would like to see the laptop sleeve placed so I can keep all of my bulky and non-forgiving items in the front compartment. I struggled to find a use for this second compartment as it felt weird having books in it, then my laptop and DSLR/kits in the front pocket. This compartment would be great however if you wanted to hook up a hydration bladder as there is nothing else in the pocket. There is a flap on the back side you could slide the bladder into however there is no hose outlet so you would need to bring both of the zippers up together and run it through that way.
The back of the SHADO features a lightly padded back panel with two raised sections to help with air flow. At the bottom of the back panel, there is a slot with velcro to allow for the optional hip belt. The back panel was comfortable while carrying the pack all day, but don't expect any super ventilation while hitting the trails.
The shoulder straps on the SHADO are lined with mollee to give plenty of attachment points and the pack does come with an included sternum strap +. While using this pack I couldn't help but notice the length of the straps.. one issue I have never had before. I am in no way a small guy especially when it comes to the chest and back. I have never had a backpack with straps that I had to cinch all the way up to come close to fitting me. I know this was a much talked about aspect of the pack on many of the closed Facebook groups I am in and I wanted to see it for myself. The strap also keeps the pad all the way down instead of stopping and just using a 2" nylon strap. I feel this was the reason I was not able to continue cinching the straps up to give me a tighter fit. On the bottom of the straps, there are buckles which allow you to unclip the straps. The straps are lightly padded but feel flimsy. I was able to get the straps to form against my chest pretty well though. Once fully adjusted the SHADO did carry well even with substanial weight.
Along with the super long shoulder straps, the pure overall length of the SHADO just felt too big. I come in right at 5'10 so the pack could fit taller people better however for me it felt way too long. As you can see from the picture below, even with the pack fully cinched up the bottom was still hitting my backside.
Verdict
Overall, the SHADO was one of the weirdest pack reviews I have had in awhile. I was originally so excited about the SHADO and could not wait to get my hands on one primarily due to the awesome list of materials and pictures I had seen. After testing it out with my EDC and taking it on some hikes, however, I was disappointed. The pack to me felt like it was trying too hard to be different while staying the same as other packs. If you are a taller individual I could see the SHADO fitting extremely well, but for us under 6ft guys not so much. The SHADO is built with Grade A materials and built in the US by a great company, it is just not the pack for me.
+
- 500D Invista Cordura
- Suspended Laptop Sleeve
- Full Clamshell Opening
- Velcro Panel
- Made in the US
-
- Bottle pockets are much too small
- Laptop Sleeve in front compartment
- Shoulder straps way too long
- Bottom is unpadded
- Front inside mesh pocket should be two sections
- No Admin style pocket for pens/business cards
- Top grab handle is only 2" webbing
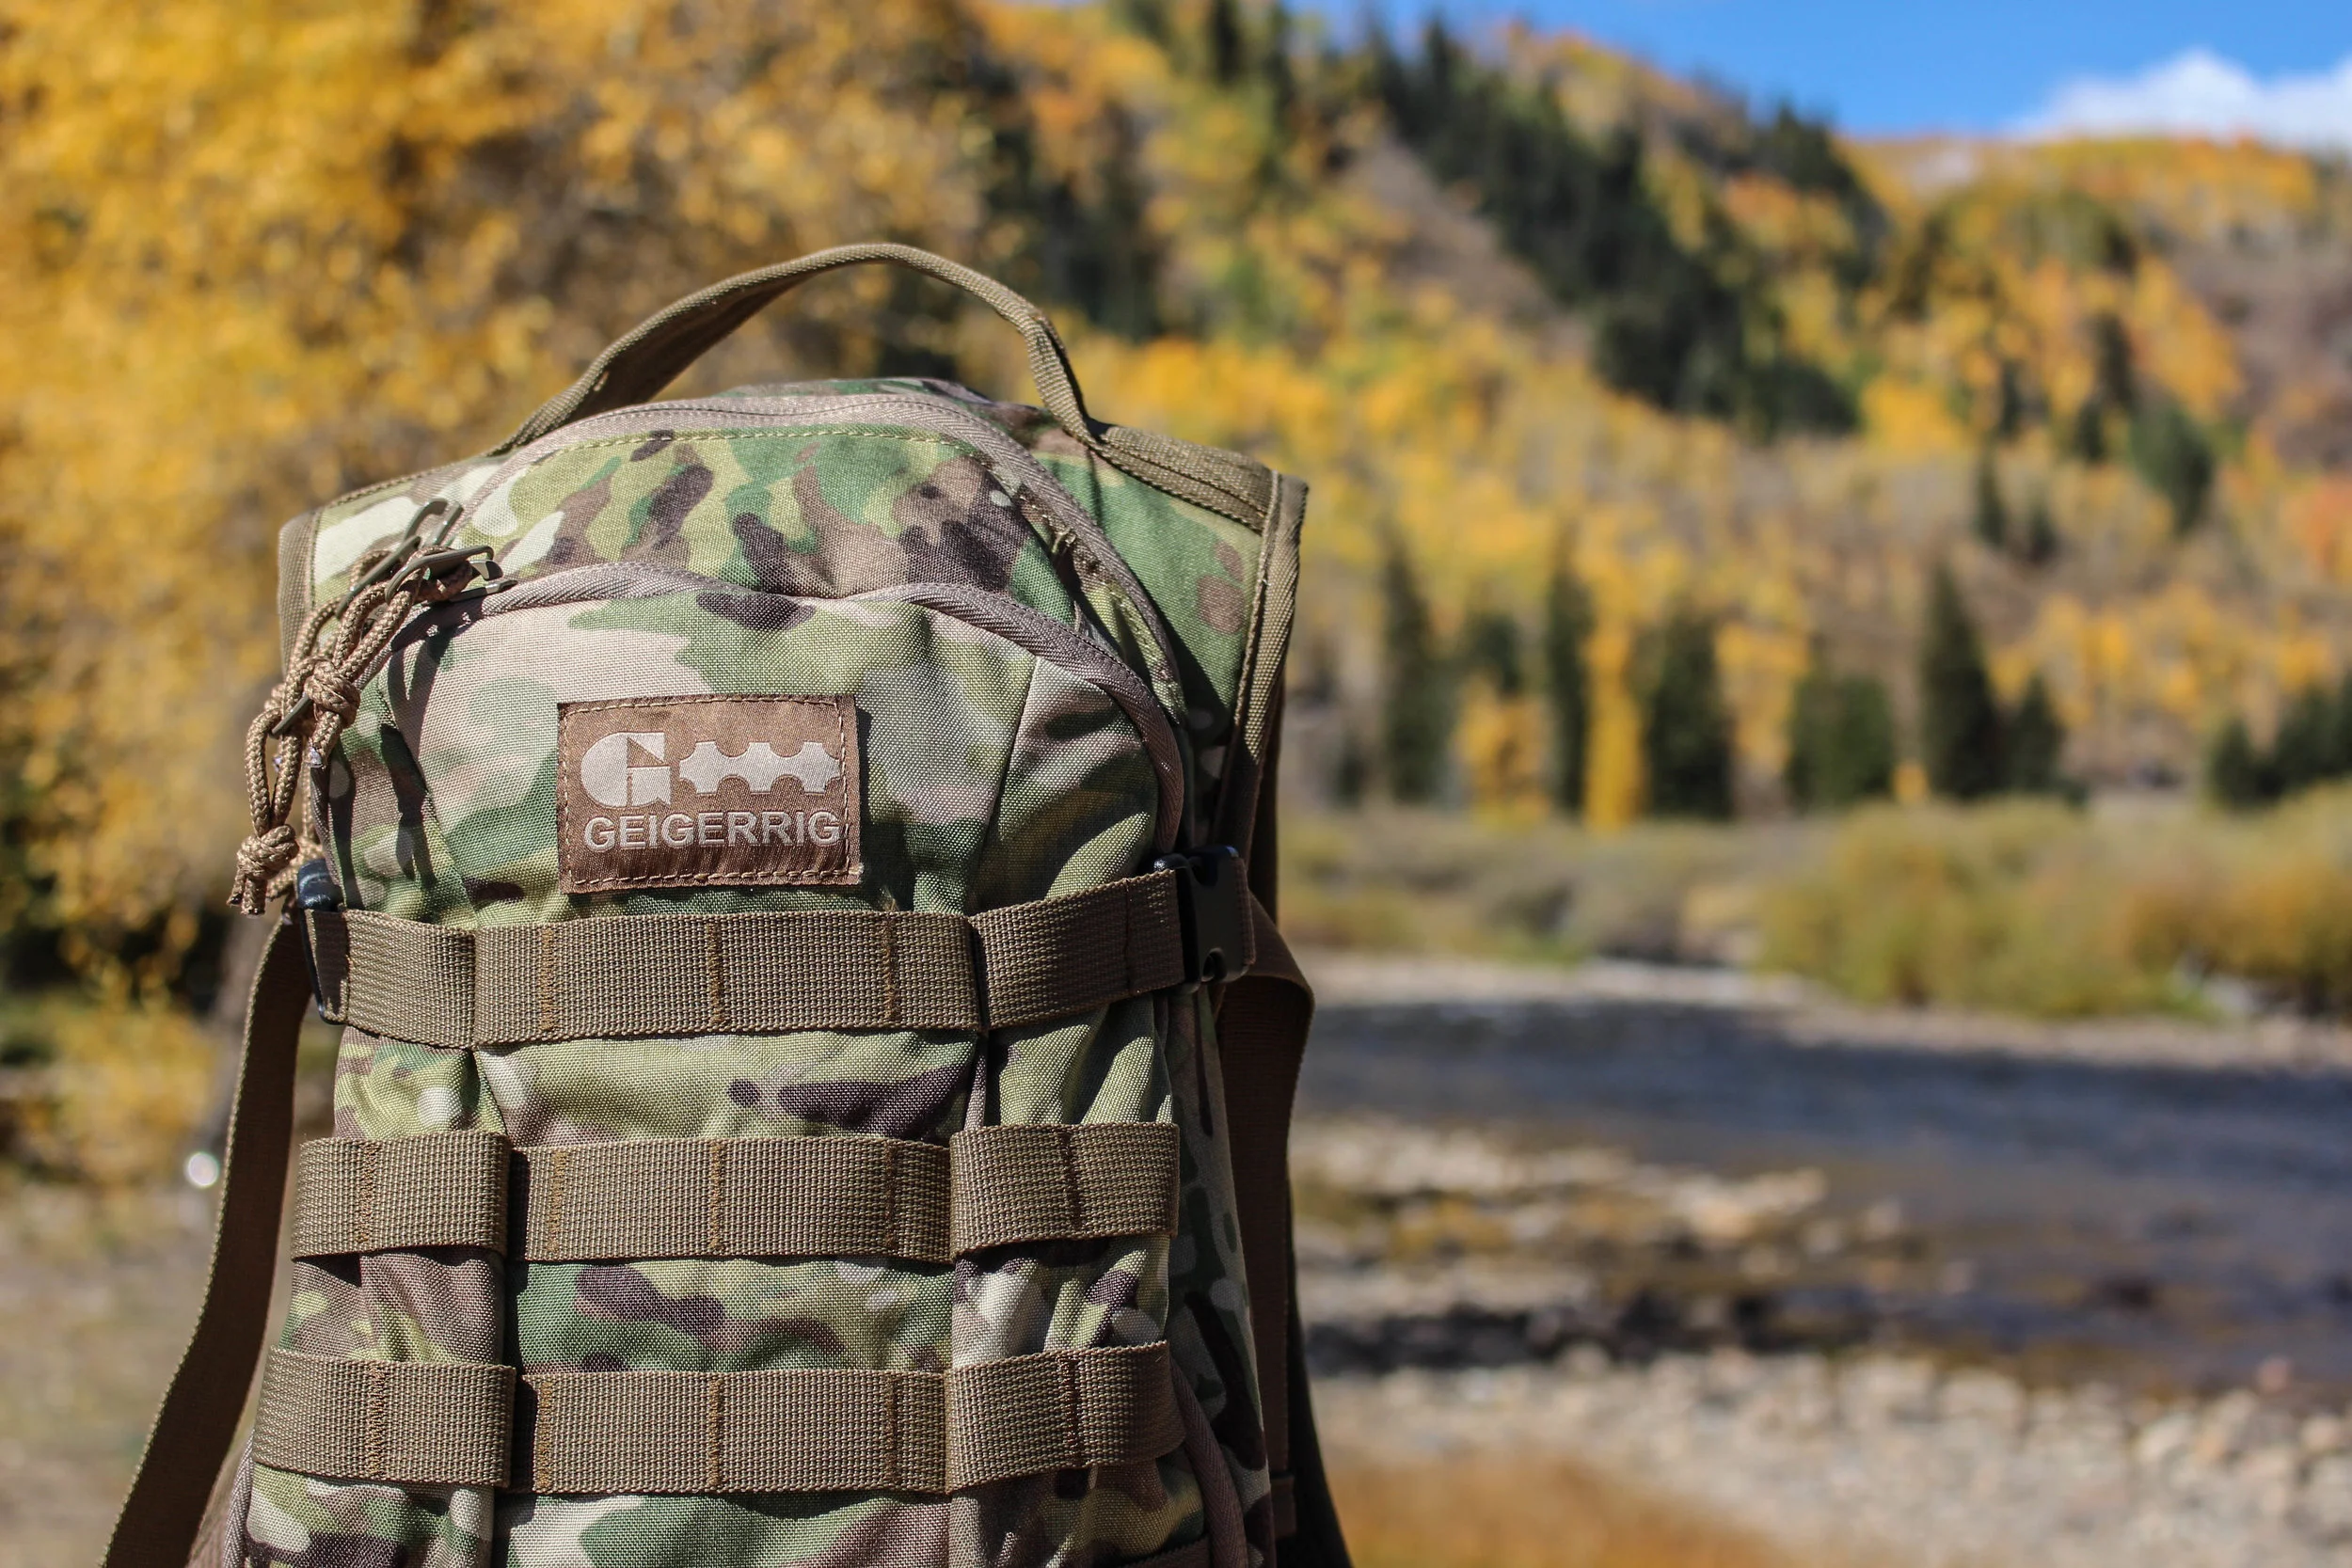
Geigerrig Rig 1600 Tactical Hydration Backpack Review
Anyone who loves the outdoors needs to have a go-to hydration pack. Whether it be for hiking, biking, trail running, hunting, or just plain adventure the right hydration pack will help get you further and keep going. I have had my fair share of hydration packs over the year varying from Camelback to Osprey however, it always felt like something was missing. I loved having access to water straight from the hose without having to take the pack off, especially for mountain biking. That was never the problem, it was always the actual pack that felt off. Both previous hydration packs I had did not have enough organization to grant using it even with the water bladder.
Enter the Geigerrig Rig 1600
When it comes to a complete package for a quick day-trip adventure pack, the Rig cannot be beaten. We will start with the specs of the Rig first. The whole pack is built from 500D Multicam Cordura, which if you have followed RMK at all you know this is hands down my favorite fabric - mixing in all the best attributes, weight, abrasion resistance, tear strength, and feel. Truthfully if you are making packs without Cordura right now you are doing something wrong.
The Rig comes in at 1600 Cubic inches, hence the name which equals a 26L volume. I did notice during my testing this pack did not feel like a 26L pack when I had it on riding or hiking. The Goruck GR1 26L also comes in at the same size and feels much more bulky than the Rig.
To start off, on the very front of the pack you have your typical Military style Mollee webbing to give multiple attachment points as well as connect to any mollee backed pouches you may have. Above the mollee webbing sits the front admin pocket. Upon opening this pocket, you are greeted with a decent sized pocket with plenty of organization up top to keep all of your smaller items secure and ready when you need them. On the very top, there is a section separate from the pocket that lays down. This flap has two small zippered compartments and a place for cards, pens, and pencils. In the top most zipper I kept my keys on the key strap and right below is where I would store my wallet and whatever other small items like chapstick or gum.
Underneath the top zippered organization pockets you have two larger mesh pockets for any other items you want to keep in the front pocket.
On either side of the Rig, there are two heavy duty compression straps the help keep the load close to your back or make the pack very slim when not holding a ton of gear. At first I did not think I needed compression straps on a smaller hydration pack however when I took the Rig on my mountain bike ride packed with a full bladder, my DSLR, GoPro, gorilla pod, med kit, and a few other items I was loving the straps. They do a great job at staying out of the way and not flapping all over the place but are right where they need to be when you have to strap up. When strapped they also can act as a second closer system if you need to have the zipper open to carry taller items. At one point I was able to carry my DSLR on the Gorilla pod and have it held in by the buckles for quick access while the pack stayed on my back.
Below the compression straps on either side of the pack sits a small but great side pocket. The side pocket can not hold a ton but does a great job at storing small quick grab items like spare camera batteries, a fire kit, gloves, etc. On my bike ride and hikes I loaded one pocket out with my spare camera batteries and the other with my work gloves. This is a great feature of the Rig.
The main compartment of the Rig is exactly how it should be. Large and simple. The main pocket is just one large empty pocket perfect for the larger items in your loadout. While testing this pack I was able to fit my DSLR, Gorilla pod, GoPro and its Gorilla pod, my Med kit EDC pouch, an extra layer, and still had some room. When the water bladder is loaded fully it can push into the main compartment somewhat but that is to be expected. I love the emptiness of the pocket so I can easily slide in and out my camera without catching them on pockets, hooks and whatever else doesn't need to be there. One thing I would like to see added to the main comparment is some light padding on the bottom for some extra peace of mind when carrying Camera or other expensive eletronics.
Another feature that separates the Rig from other hydration packs is the included, removable, padded hip belt. Not many packs this size offer a fully featured hip belt and I am not sure why because after using the Rig's I am in love. The hip belt is perfectly padded, not too much that it is uncomfortable while riding my bike but enough to support a 30lb Goruck Ruck weight. The hip belt also has a small pocket on either side that was large enough to store my iPhone 6s and would work great for keys and other small items. The belt can be removed effortlessly as it is attached with some heavy duty velcro at the base of the pack. This is one of my favorite features of the Rig.
The back panel on the Rig is also more than expected from a typical hydration pack. The panel is home to three large separate padded mesh islands to help with not only padding but ventilation. When riding my bike with the pack my back did get sweaty but that is fairly hard to avoid while mountain biking. When just hiking the pack did a great job at venting. At the bottom of the back panel, there is a large lumbar mesh pad which houses the velcro for the hip belt.
Right behind the padded back panel runs a zipper which reveals the water bladder compartment. The Rig comes with an included 3L bladder which is not your average bladder. The Geigerrig bladder does not only hold water and give you a hydration hose but has a separate "pressure hose" which the user can pump full and give the water hose pressure. At first, I really thought this was just a marketing technique however upon using I doubt I will ever be happy with another bladder. Pumping air into the bladder allowed me to pinch the outlet and use the hydration hose as more than a hydration outlet, I was able to spray my face to cool down with water, fill up my pup's water bowl and spray off my boots at the end of the hike. On the right shoulder strap, the Insulated water bladder hose runs down and connects to the plastic hold. The left strap houses the pump hose in a small pocket which can be pumped while zipped shut. The addition of the Insulated hydration hose really helped to not blasted with a stream of warm water on the first gulp after a while.
The shoulder straps on the Rig are lightly padded and backed with the same mesh material used on the hip belt and back panel of the pack. The Rig comes with an included sternum strap and plenty of attachment points. Each hose runs down the straps and stays low profile due to the loops and clips holding the hoses down.
The Rig 1600 Tactical Hydration Pack by Geigerrig is not only my favorite hydration packs I've used but one of my favorite day hiking/adventure packs. The attention to detail is very apparent from the stitching to the small mesh parts in high contact areas. The pressurized water bladder is an awesome feature and the removable padded hip belt brings it all together to make a monster day pack. The pack comes in at $210 which is not cheap but completely justifiable with the Cordura construction and top-tier features. The Rig also comes in the Mulitcam verison I have, Black, and Coyote Tan. I look forward to seeing what other great packs come from the guys over at Geigerrig.
+
- 500D Cordura
- Padded Removable Hip-Belt
- Compression Straps
- Padded Back Panel
- Great attention to detail
- Pressurized Water Bladder
- Great Organization for a Hydration Pack
- Mollee Webbing
-
- No padding on bottom
- No Velcro patch on Front for Morale Patches
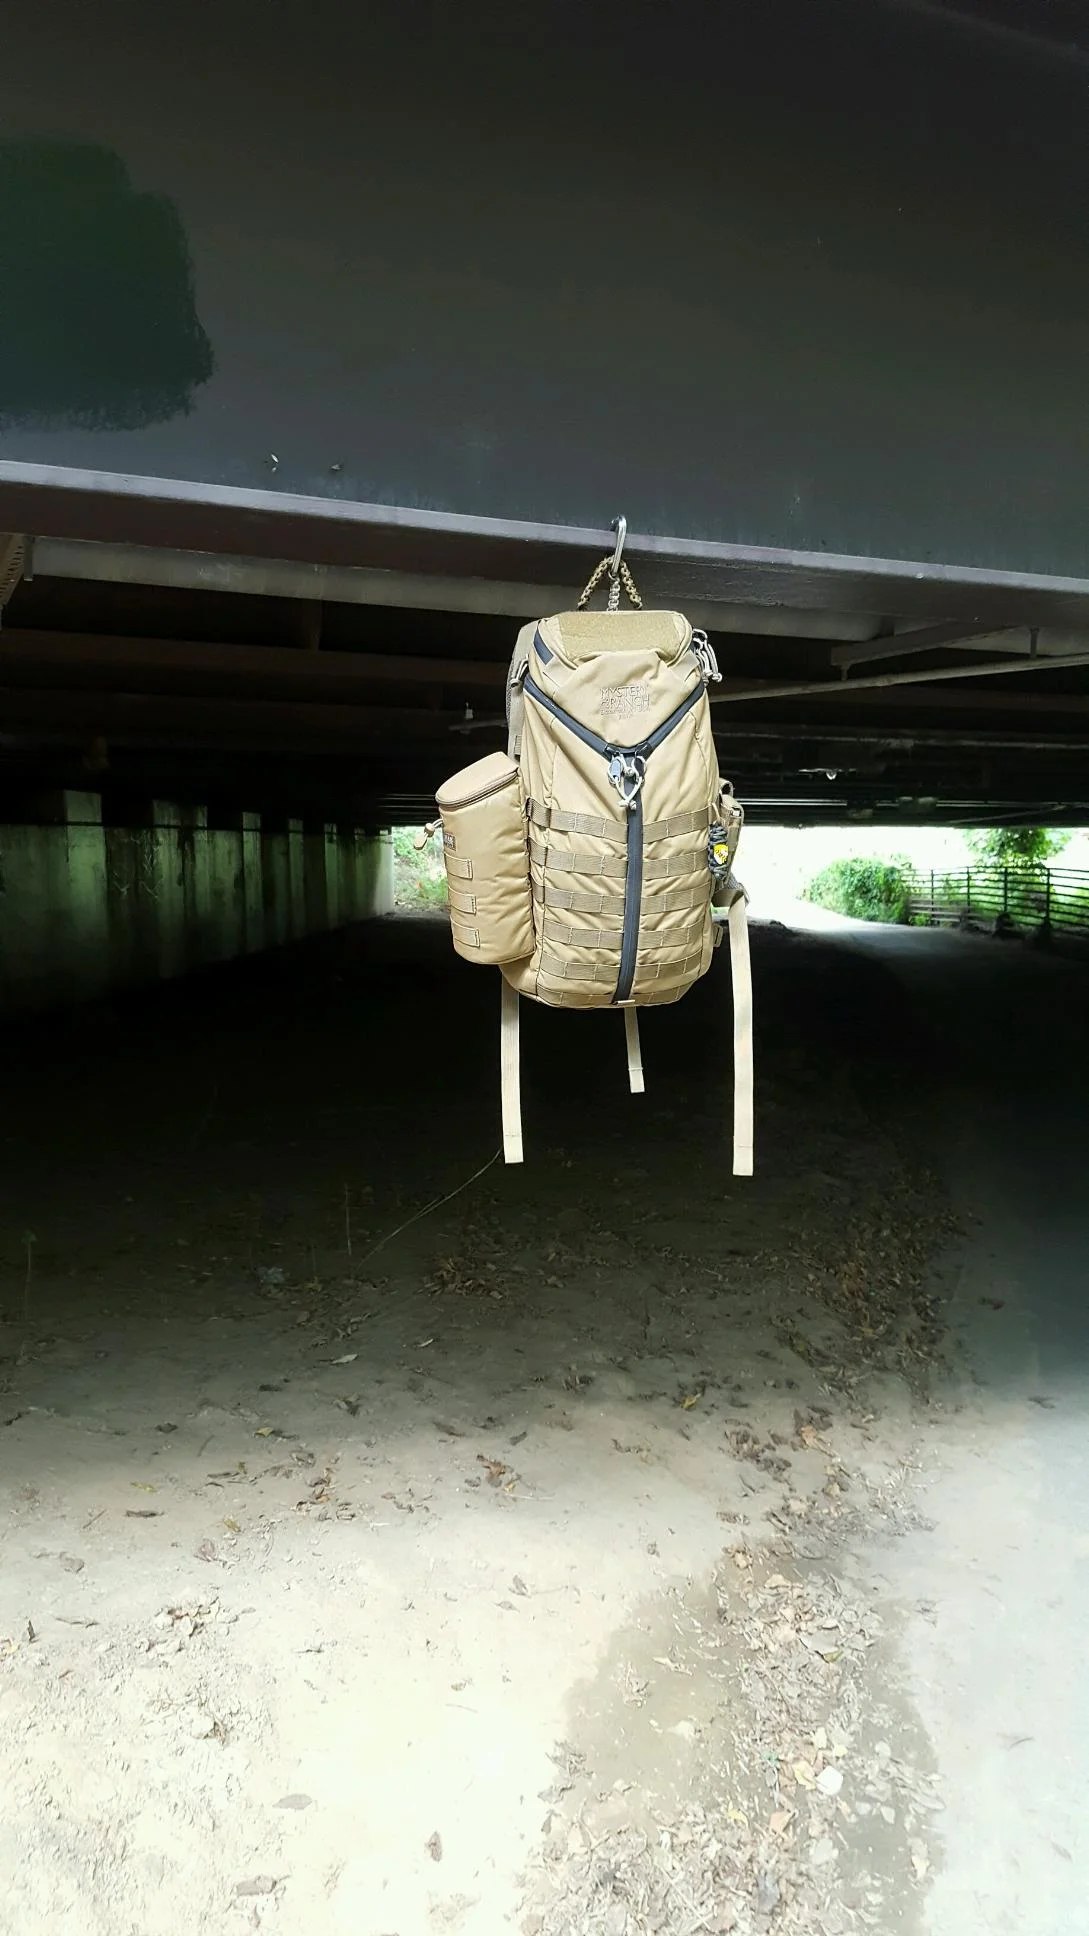
Mystery Ranch ASAP Backpack Review
This review was written by Josh Bonin. Josh is a full-time student at the University of Maryland studying Criminal Justice. Josh works for the Maryland Police Department and is a dedicated pack/gun nut.
Mystery Ranch is well known for their military style packs as well as their hunting packs. The brand started in 2000 and came from the original company known as Dana Designs, both are founded by Dana Gleason. Mystery Ranch is currently expanding into more every day as well. The ASAP is a 1200 Cubic Inch, 20L pack that functions exceptionally well as an EDC, primarily for outdoor use but can be used as a range bag too. It comes in coyote tan and Multicam® at this point, and features 500D Cordura Fabric. One of the best parts of the ASAP, as well as others made by Mystery Ranch, is the patented 3-ZIP design which allows top access like a roll top pack and front access like a clamshell pack. My personal favorite fact related to the ASAP is that it is hand sewn in Bozeman, Montana in the USA.
I have taken it on a few day hikes and would say that is it my most comfortable pack for single day excursions. The Futura yoke, which can be adjusted easily using the plastic piece that is in the back panel, allows customization to personal torso height. I am 6’ and ordered a M/L and it has a good amount of play down and a few inches up in height.
The ASAP takes a weight load very well. While it only comes with a 1” nylon webbing strap (which I have removed but picture the strap attachment points), it does have load-assist straps. Also, if you adjust the yoke to fit you right, the weight will sit just on your lower back so with good posture it does not feel too heavy, even without a beefy waist strap.
The ASAP has a double zipper on the top just behind the straps. This allows for a hand to fit into the pack to access something from the top if it is small, but mainly for a water bladder hose. Since the zipper opens from the left of right, the hose can be ran on whichever side the wearer prefers.
You can also see that I have wrapped the standard carry handle that is 1” nylon webbing in a king cobra paracord knot. The basic strap is comfortable and plenty strong, I just find it more comfortable and a great way to store paracord.
The ASAP features U.S. made YKK water resistant zippers with a heavy duty nylon, paracord type piece weaved through the zipper. The ends are tied off and melted to prevent fraying. With the zippers being the most critical components holding the pack together all along the front when loaded full, it is nice to see these giant, durable YKK zippers.
The top of the pack has a very large Velcro panel to add name tape of patches of the wearer’s choice. There is a pocket on the top that opens towards the users back making it easy to slip the pack off and get into this pocket, rather than a front access pocket where you have to flip the pack around.
I threw a pretty standard size flip black pocket knife in there to show general size. There is an additional, smaller pocket within the top pocket. It is perfect for keys, wallet, knife, sunglasses, and any other small EDC items one may have and need easy, quick access to. Below is a picture of my Hellbent Holsters Combat Wallet to show general size.
The inside of the pack features two side pockets with a 1” nylon compression strap over it. These straps can get in to way when loading the pack from the top, as things catch on them when trying to push the item into the pack. Each of these pockets fits a standard elongated 3L water bladder.
The back panel includes three rows of MOLLE, 4 columns high to add any accessories the user might want in the pack. Personally, I do not use them because it is placed right in the middle and can interfere with different items you may want to pack, BUT it is nice to have them there. They also include a loop at the top middle of the pack for yet another 3L water bladder, meaning this can easily hold 3 3L bladders comfortably.
You can get a glimpse of it above but I have added a better picture below. There is a tag in the ASAP that shows the sign of on the start date, builder, and inspection of the pack. It has absolutely nothing to do with the pack functionality itself but is a nice touch on top of it already being hand-sewn by Americans.
+
- 500D Cordura
- Built in America Lifetime warranty
- Plenty of MOLLE
- Futura Harness
- 3-ZIP Water Resistant Design
-
- $$$- Expensive at $245.00 for Coyote and $282.00 for Multicam®
- Internal organization is lacking
- No Laptop Sleeve
Overall, the Mystery Ranch ASAP is incredibly functional; it has a ton of MOLLE on the outside to accessorize, some internal organization, customizable yoke, and is hand-sewn in the USA. The 500D Cordura provides a durable fabric without being too stiff while also weighing it at only 3 pounds. Mystery Ranch has done a great job creating a solid outdoor daypack. I do not recommend it if the user needs to carry a laptop due to the lack of a dedicated compartment and padding on the bottom of the pack. They do have a 3-ZIP dedicated to urban EDC and laptop carry which is called the URBAN ASSAULT. It is much less expensive at a $150.00 dollar price point and comes in many colors, but is made in the Philippines and does not have MOLLE. It can be found here: http://www.mysteryranch.com/urban-assault-pack
The ASAP can be found here: http://www.mysteryranch.com/asap-pack
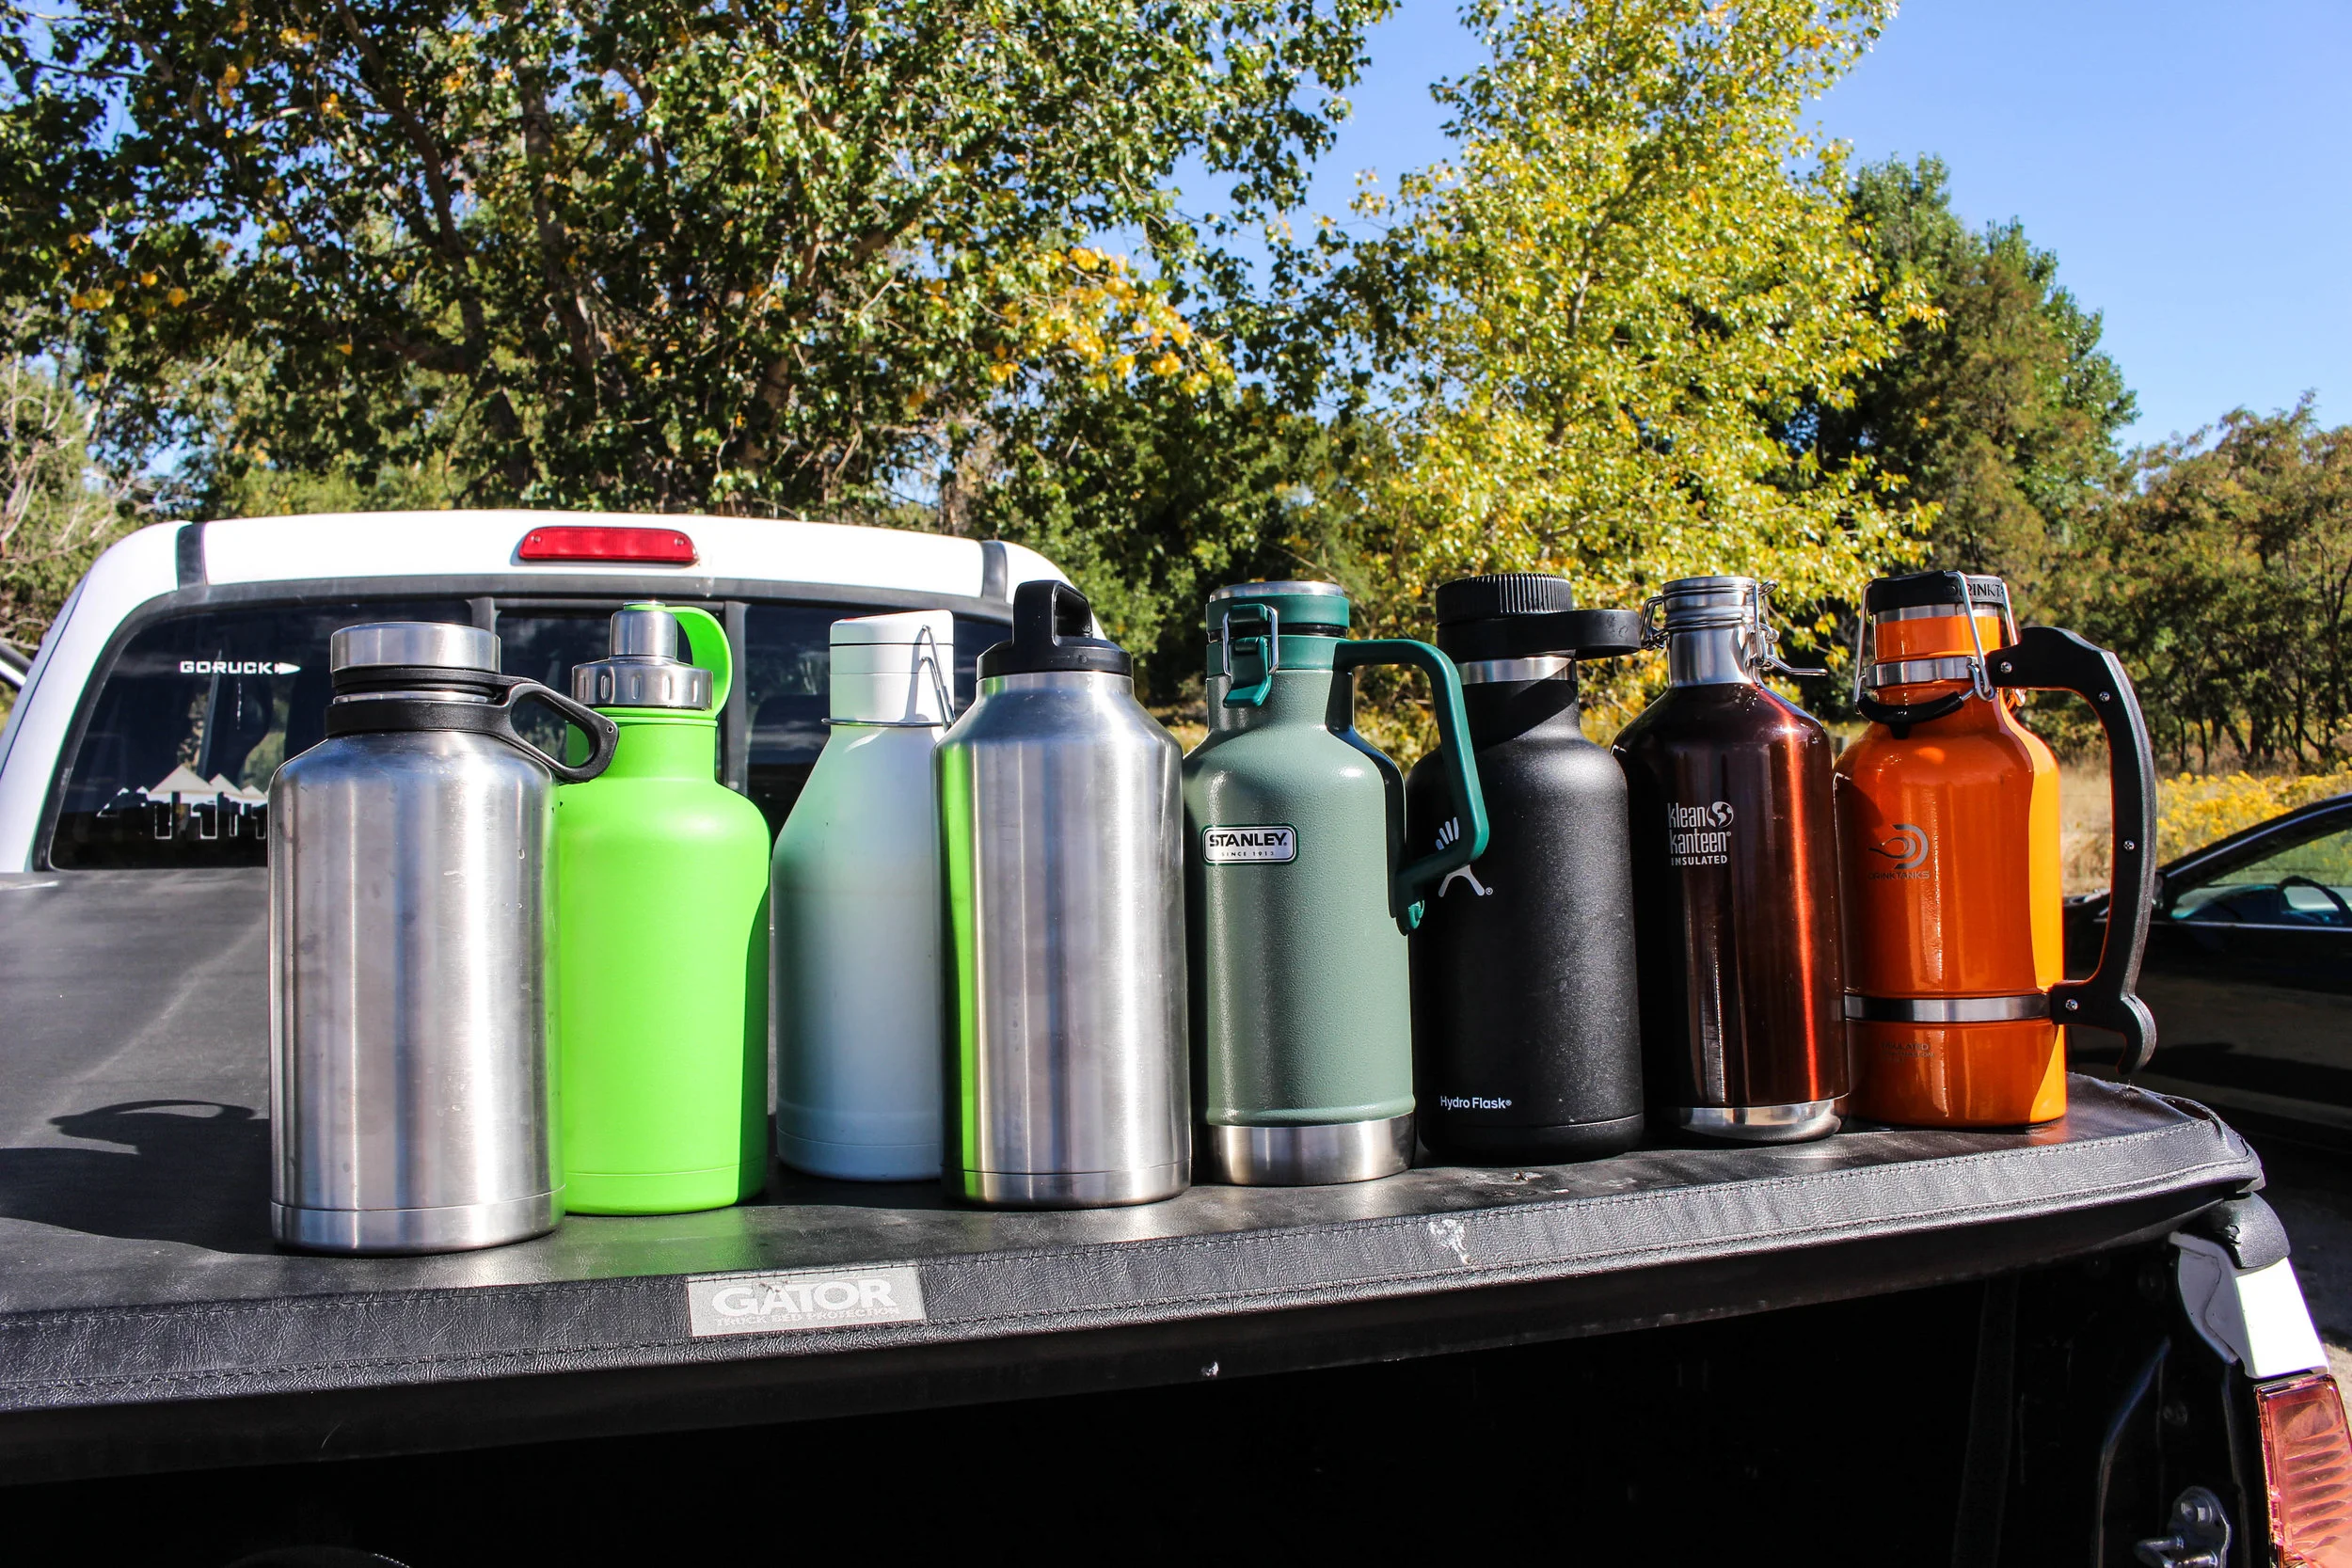
Best Insulated Beer Growlers of 2016
The Insulated water bottle is one of the fastest growing trends in the outdoor industry right now. While at Outdoor Retailer this last August I couldn't help but notice all of the brands competing for the top spot. With Colorados craft beer industry growing at the same rate as the bottles I decided to put together a "Growler Gladiator" Review and see who's got the top Growler in the business. Next to each section header will be listed the top two Growlers for that category. I will also be choosing my top 3 picks behind the Winner at the very end.
The Growlers in this review are all Insulated and range from $50-$89 and are all 64oz. We have Growlers from the following companies, Yeti, Miir, Drink Tanks, GSI Outdoors, HydroFlask, ECO Vessel, Stanley, and Klean Kanteen.
The review will be comprised of a few different aspects.
- 1 - Temperature and Carbonation Retention
- 2 - Weight
- 3 - Price
- 4 - Lid
- 5 - Carrying
- 6 - Pouring Ability
- 7 - Final Ranking
Temp and Pressure
(GSI Outdoors + Klean Kanteen)
The first part of the head to head was the Temp and Carb test. I started this test around 6pm and poured 40oz of beer into each Growler. The starting temperature was 40-40.5 degrees in each Growler. I took two measurements throughout the test, the first was at 12pm the following afternoon where I also judged the pressure each Growler held throughout the night. Here is the first set of measurements for the first 18 hours in Red and the second measurement at 24 Hours in Blue.
Temp after 18 Hours and 24 Hours
The two Leaders of the Temperature test were GSI Outdoors and Klean Kanteen. Each only gaining 8 and a 9-degree increase in 24 hours. The next Growler was ECO Vessel gaining 11 Degrees, followed by Yeti gaining 13 degrees. GSI Outdoors and Klean were also the top two when it came to pressure released after the 18 hour period along with Miir and Hydroflask coming in second.
Pressure after 18 Hours
Weight
(Klean Kanteen + HydroFlask)
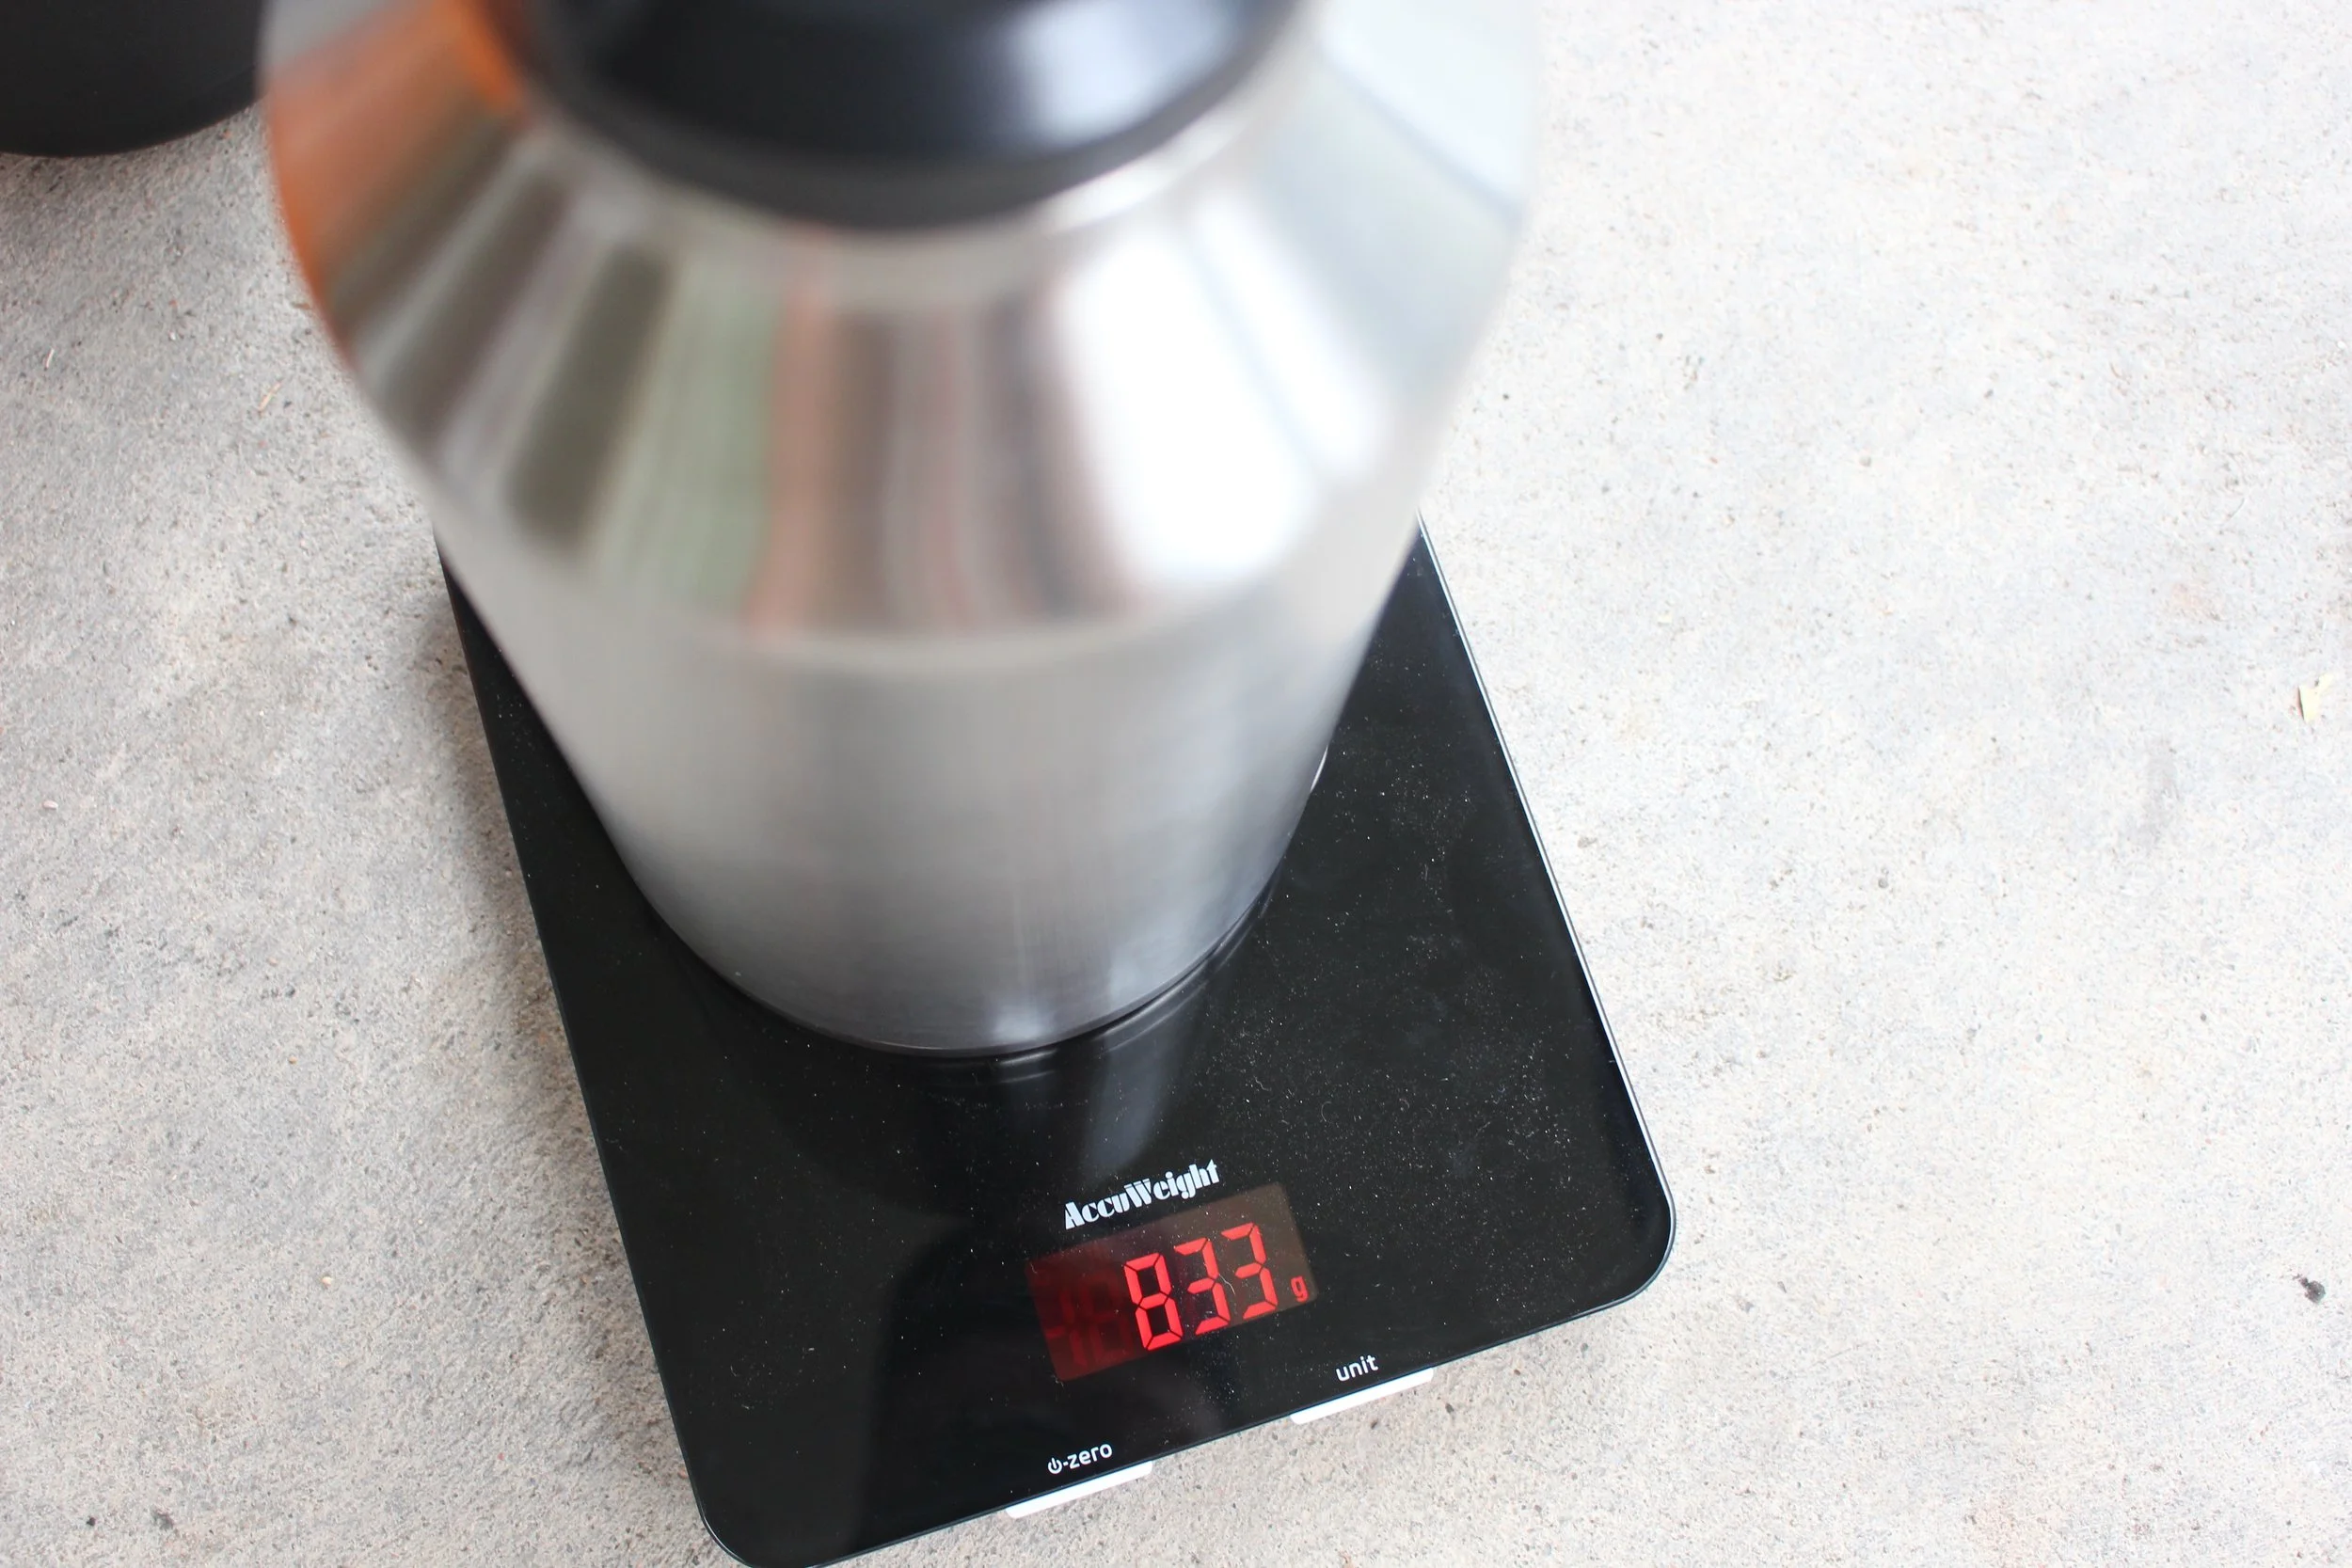
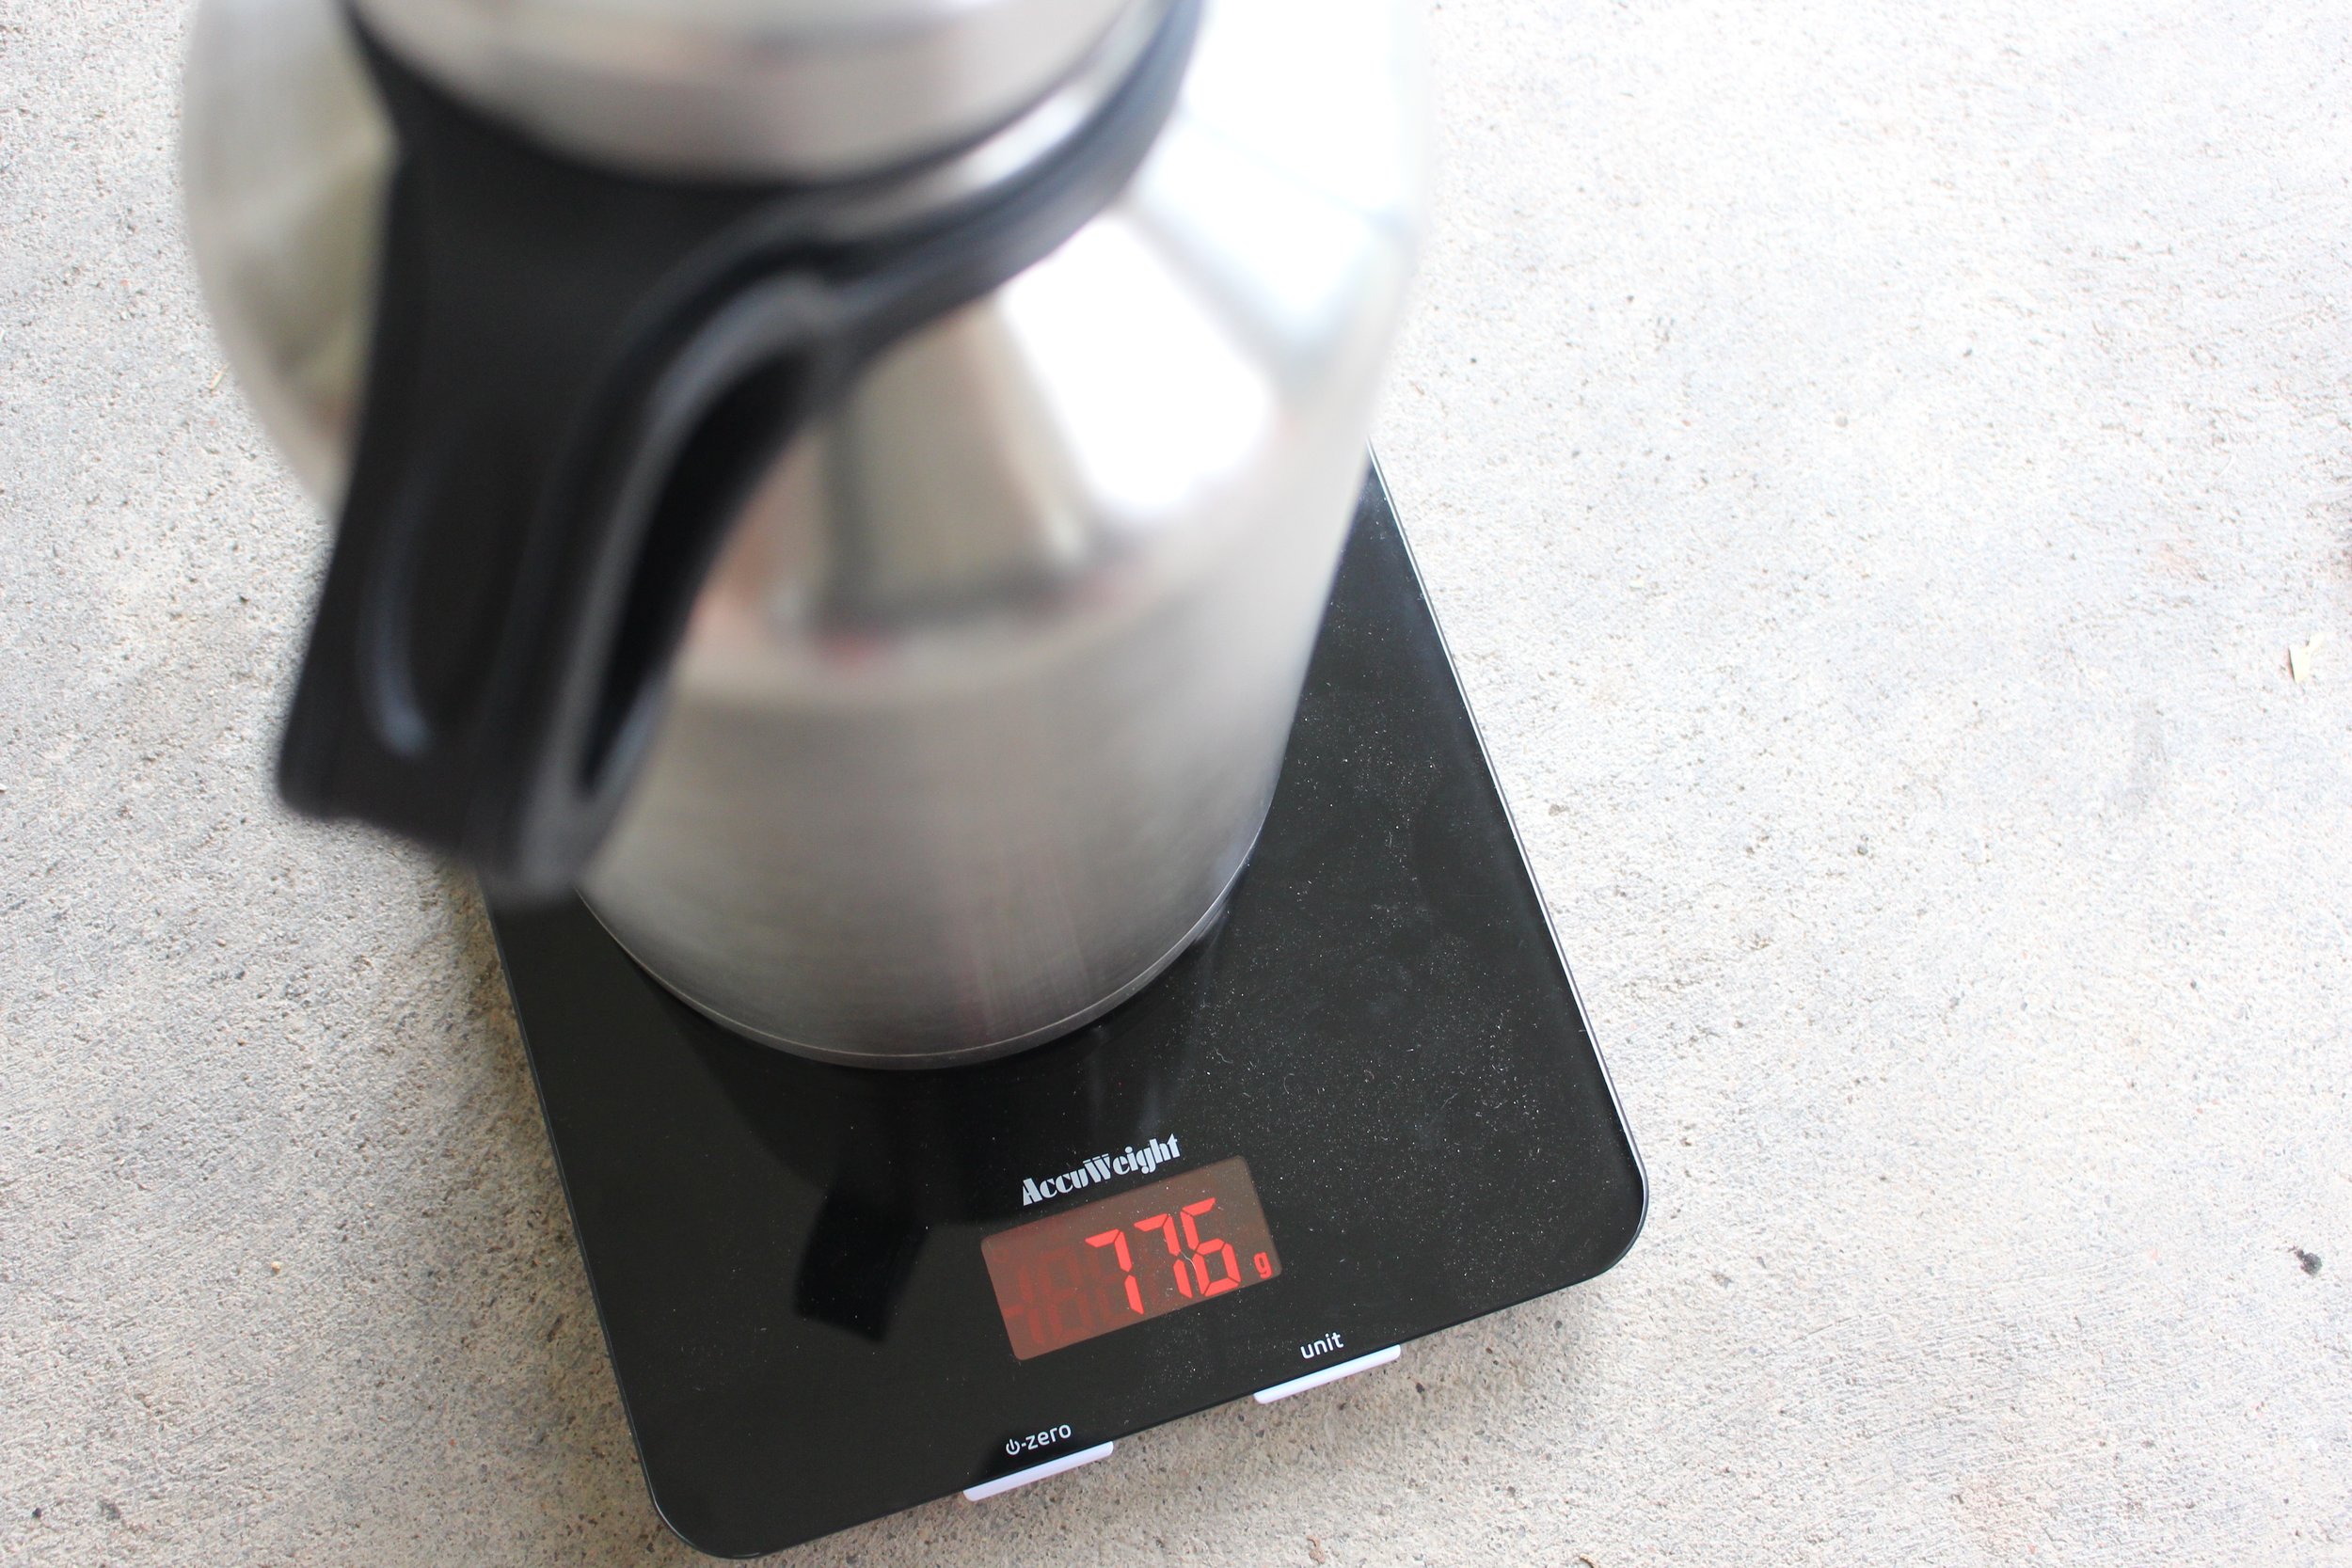
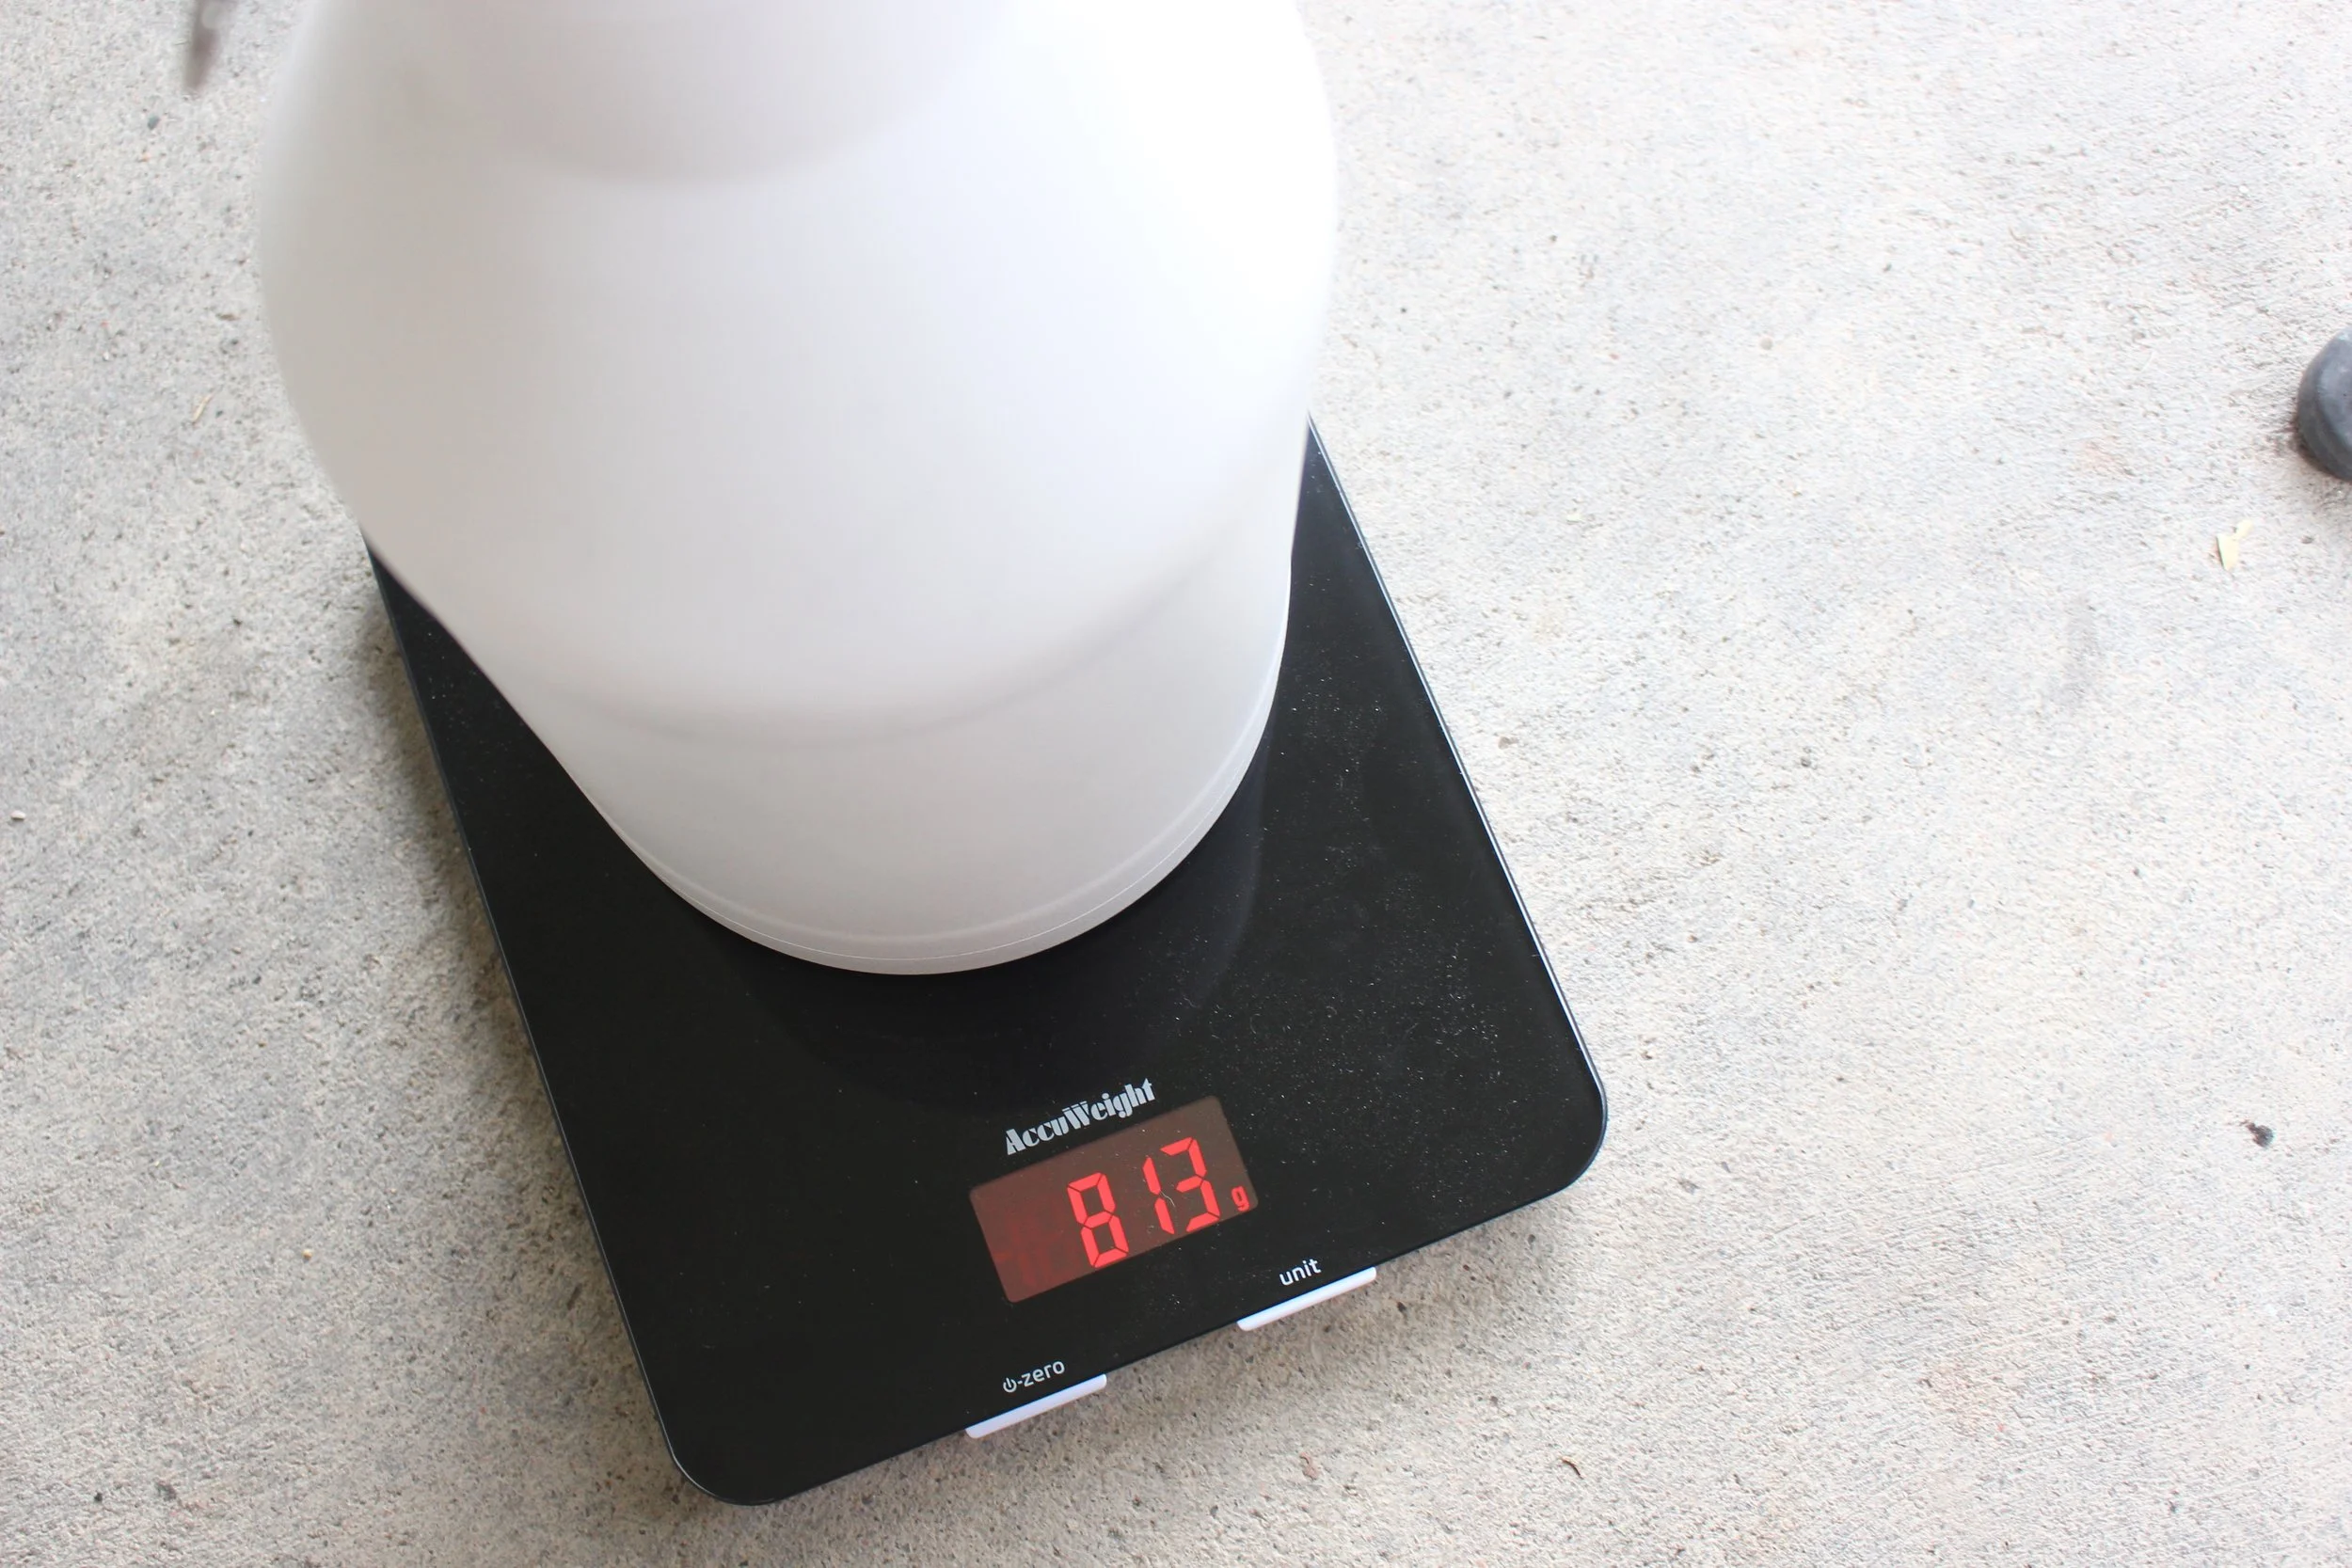
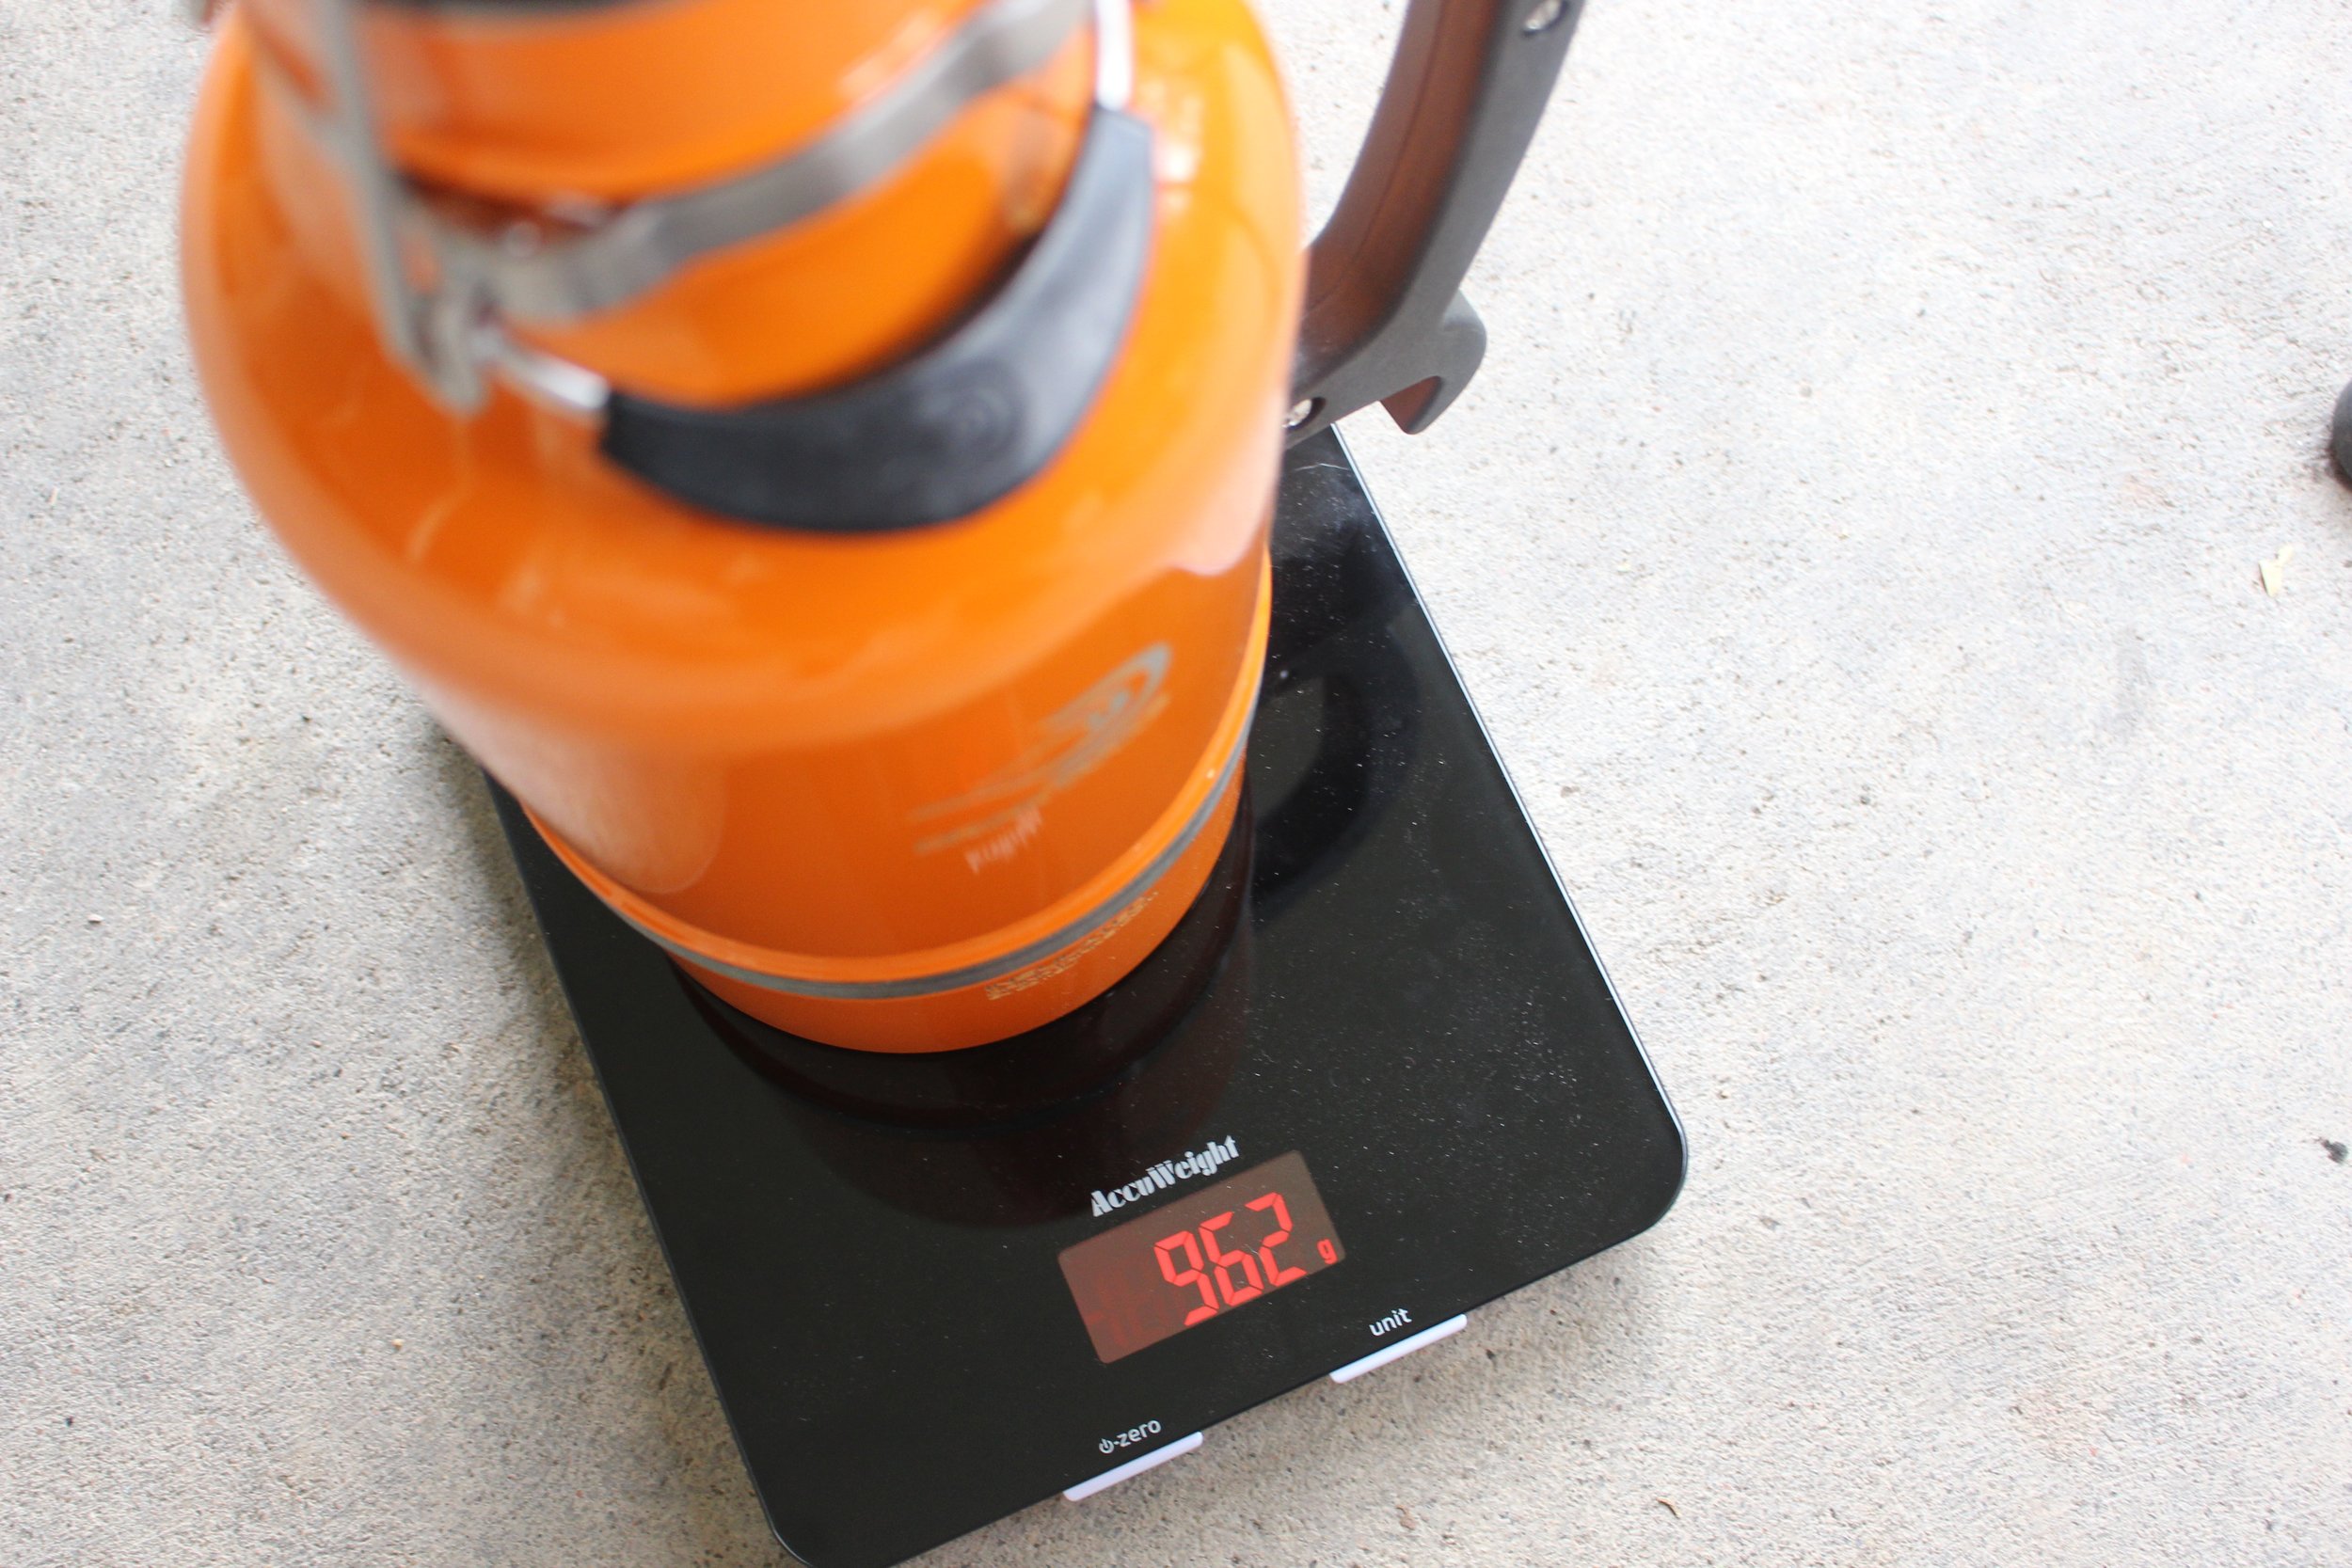
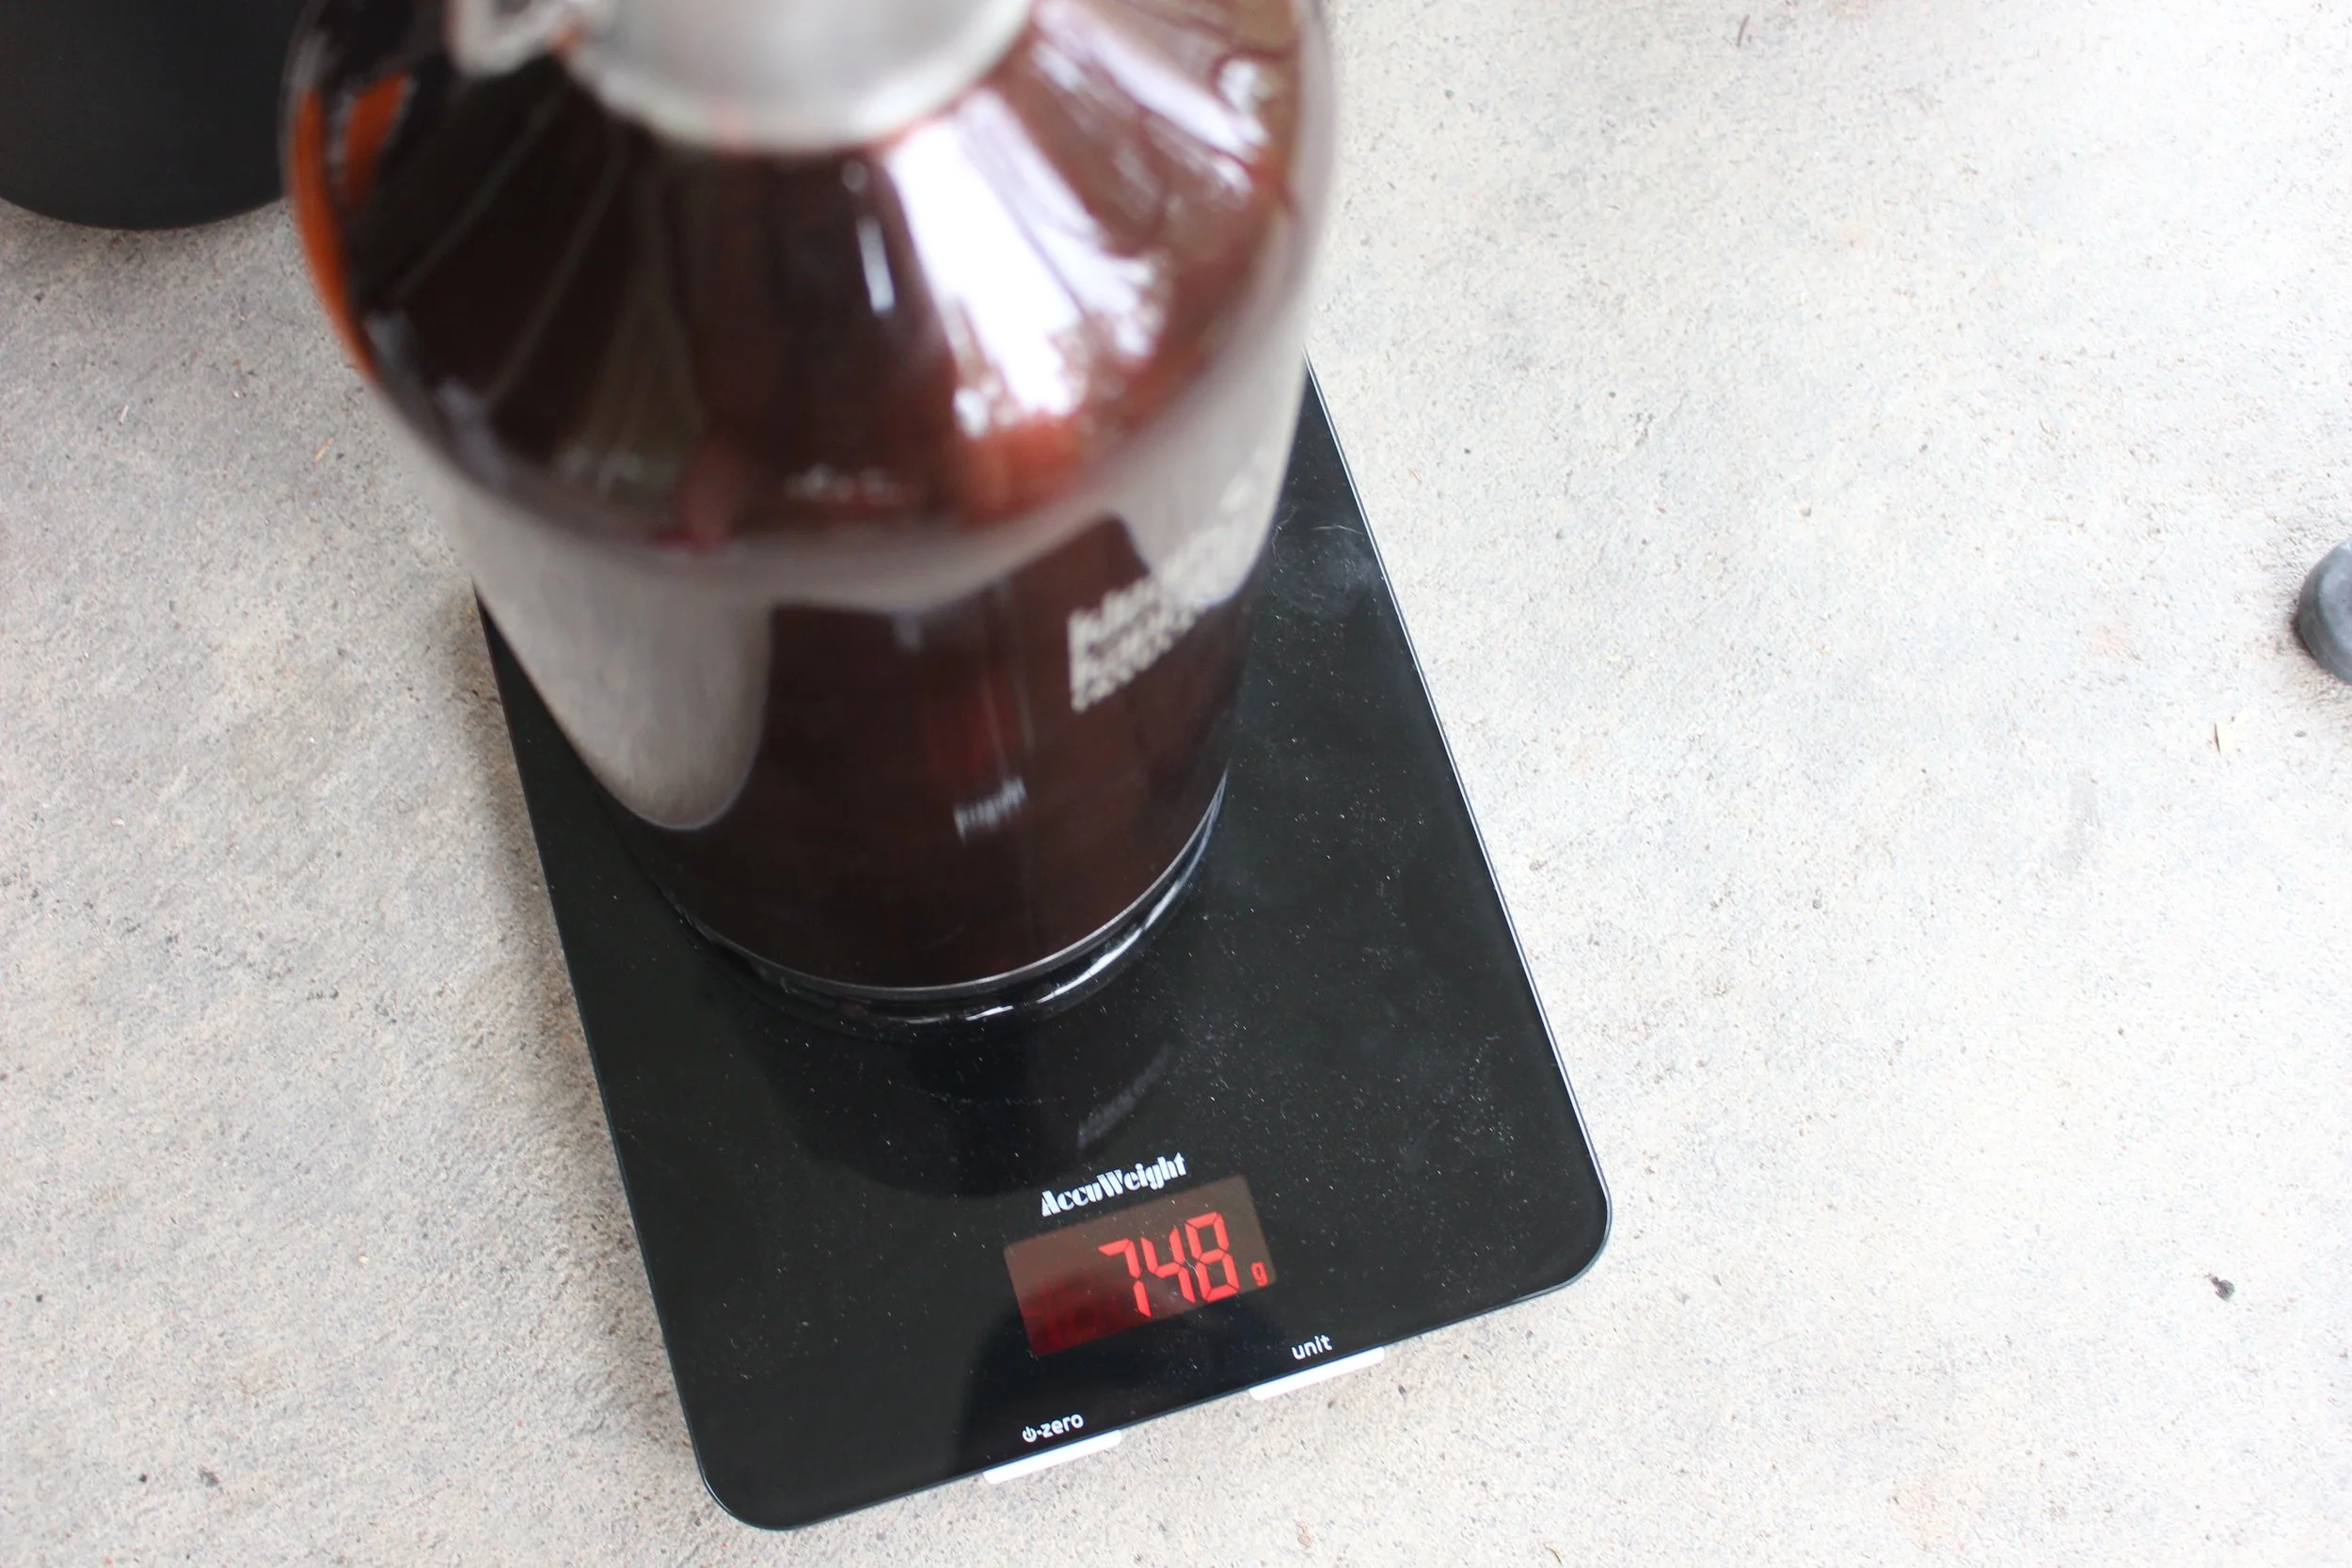
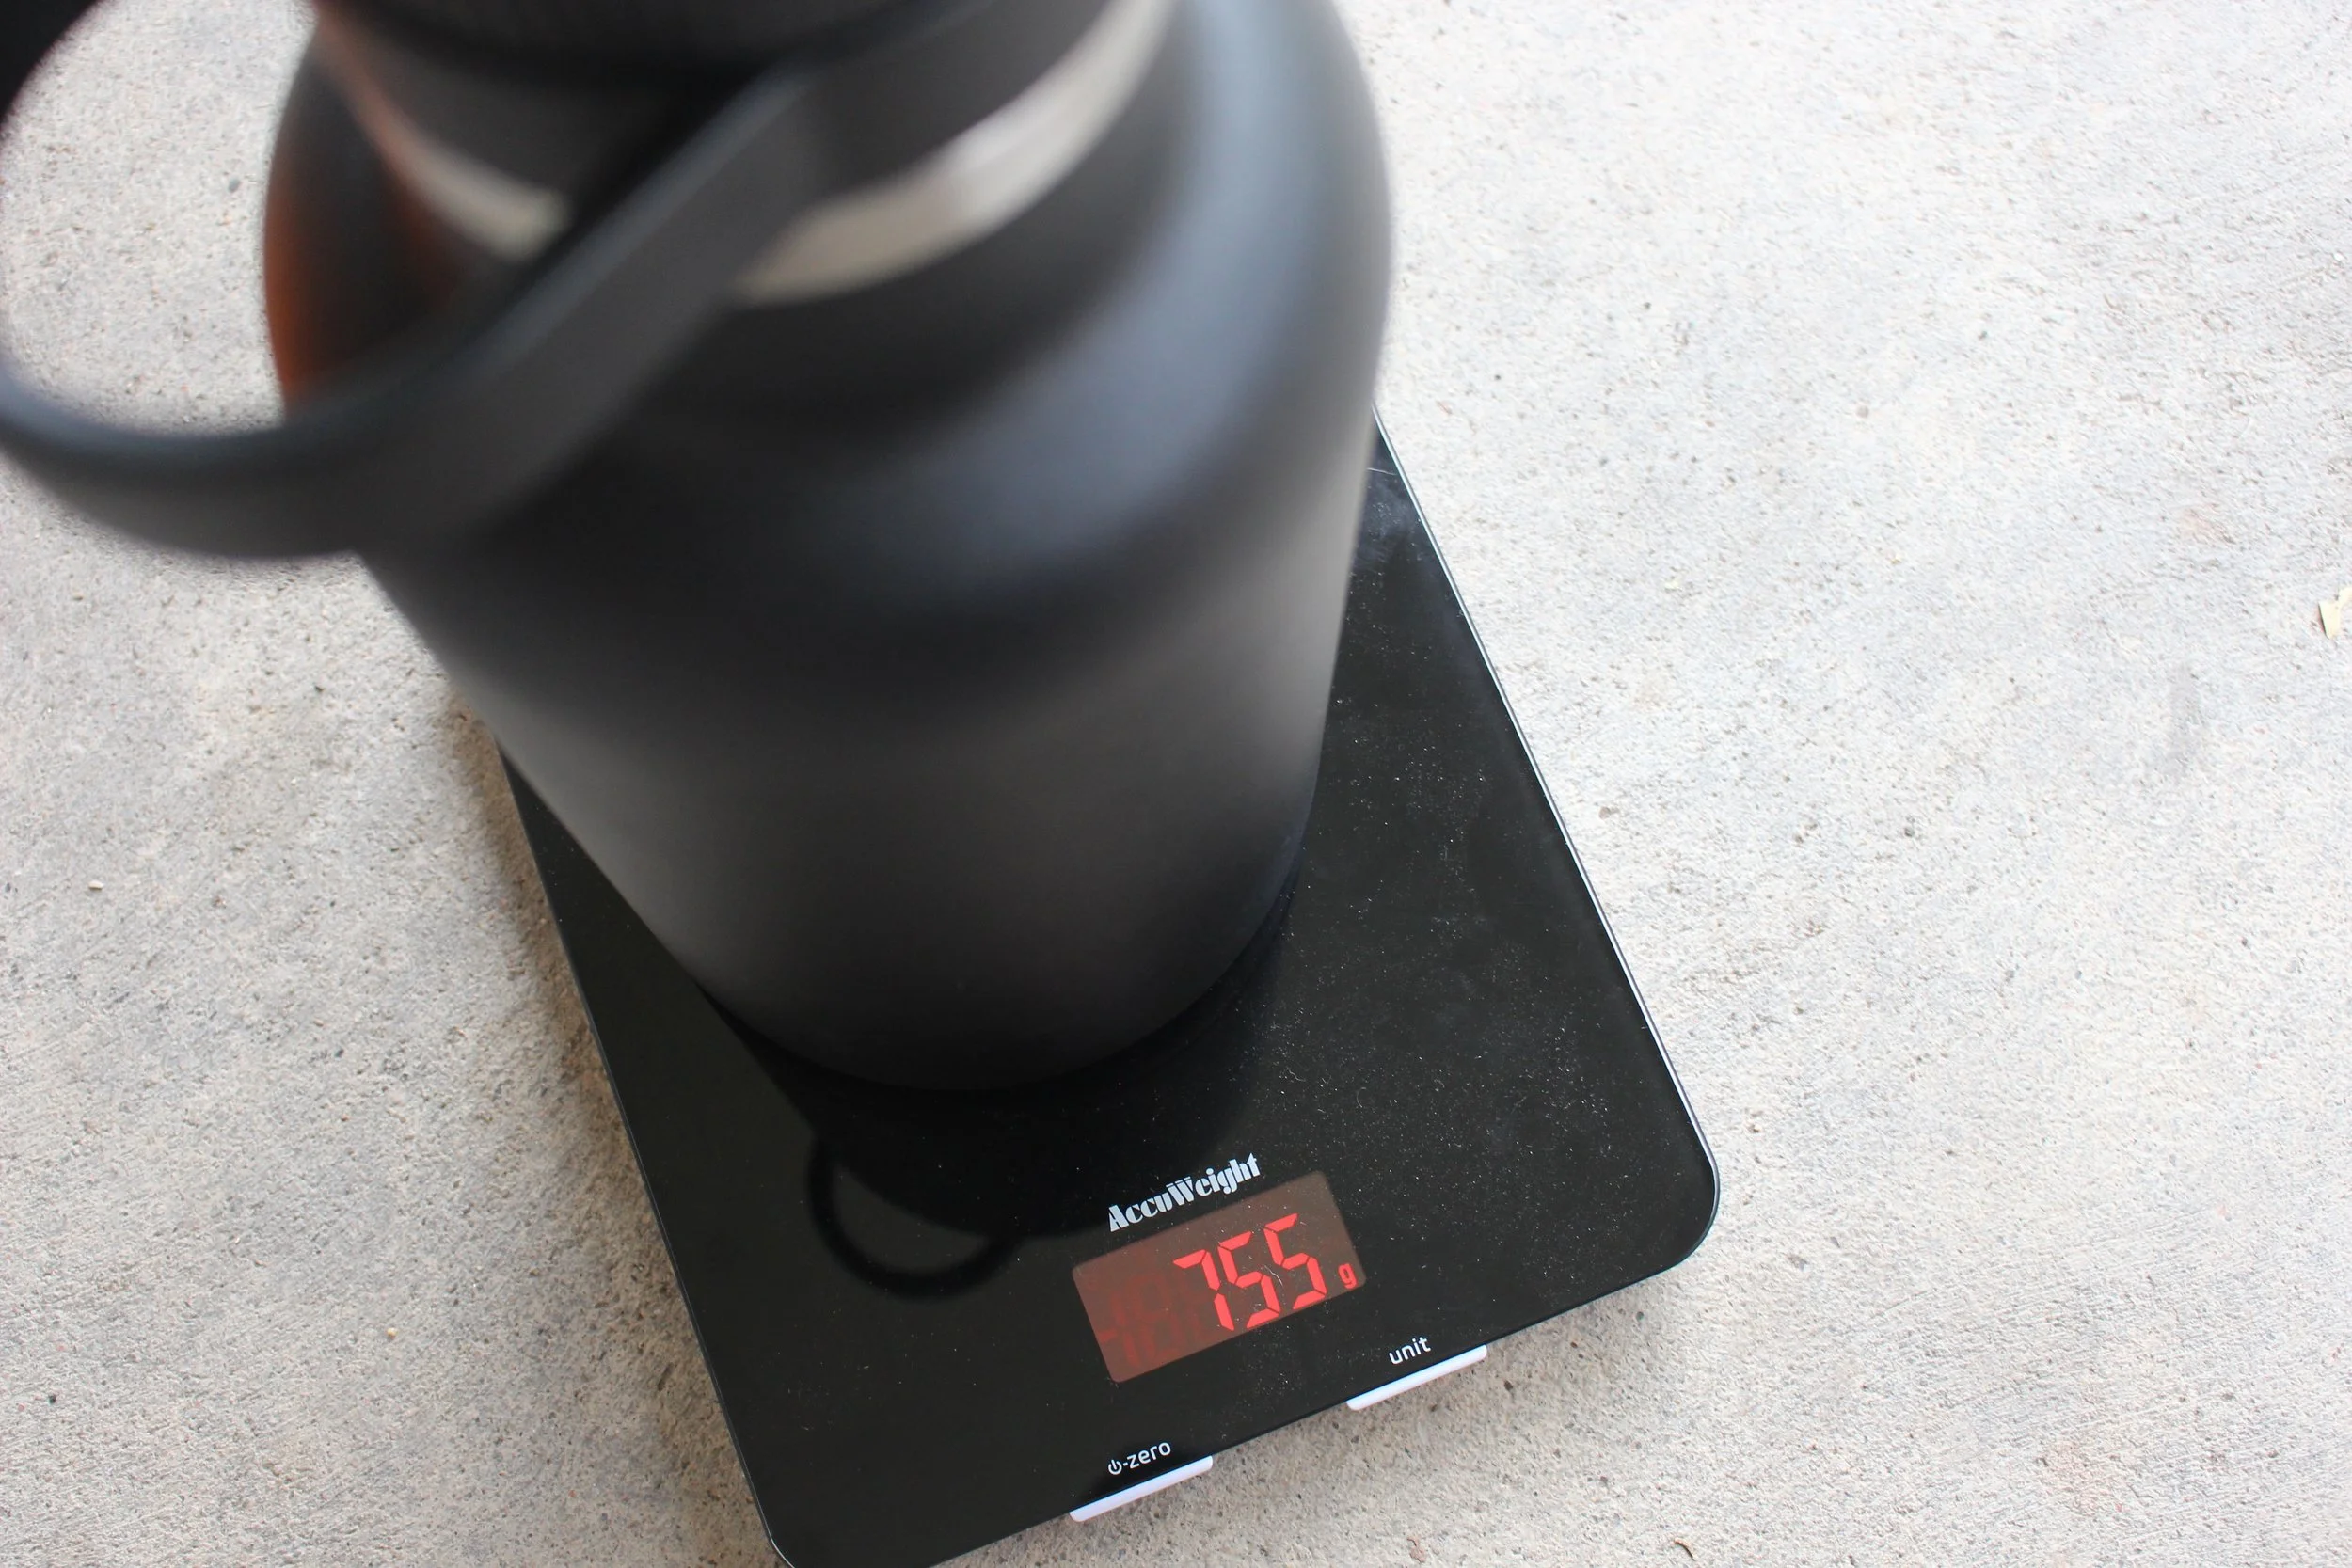
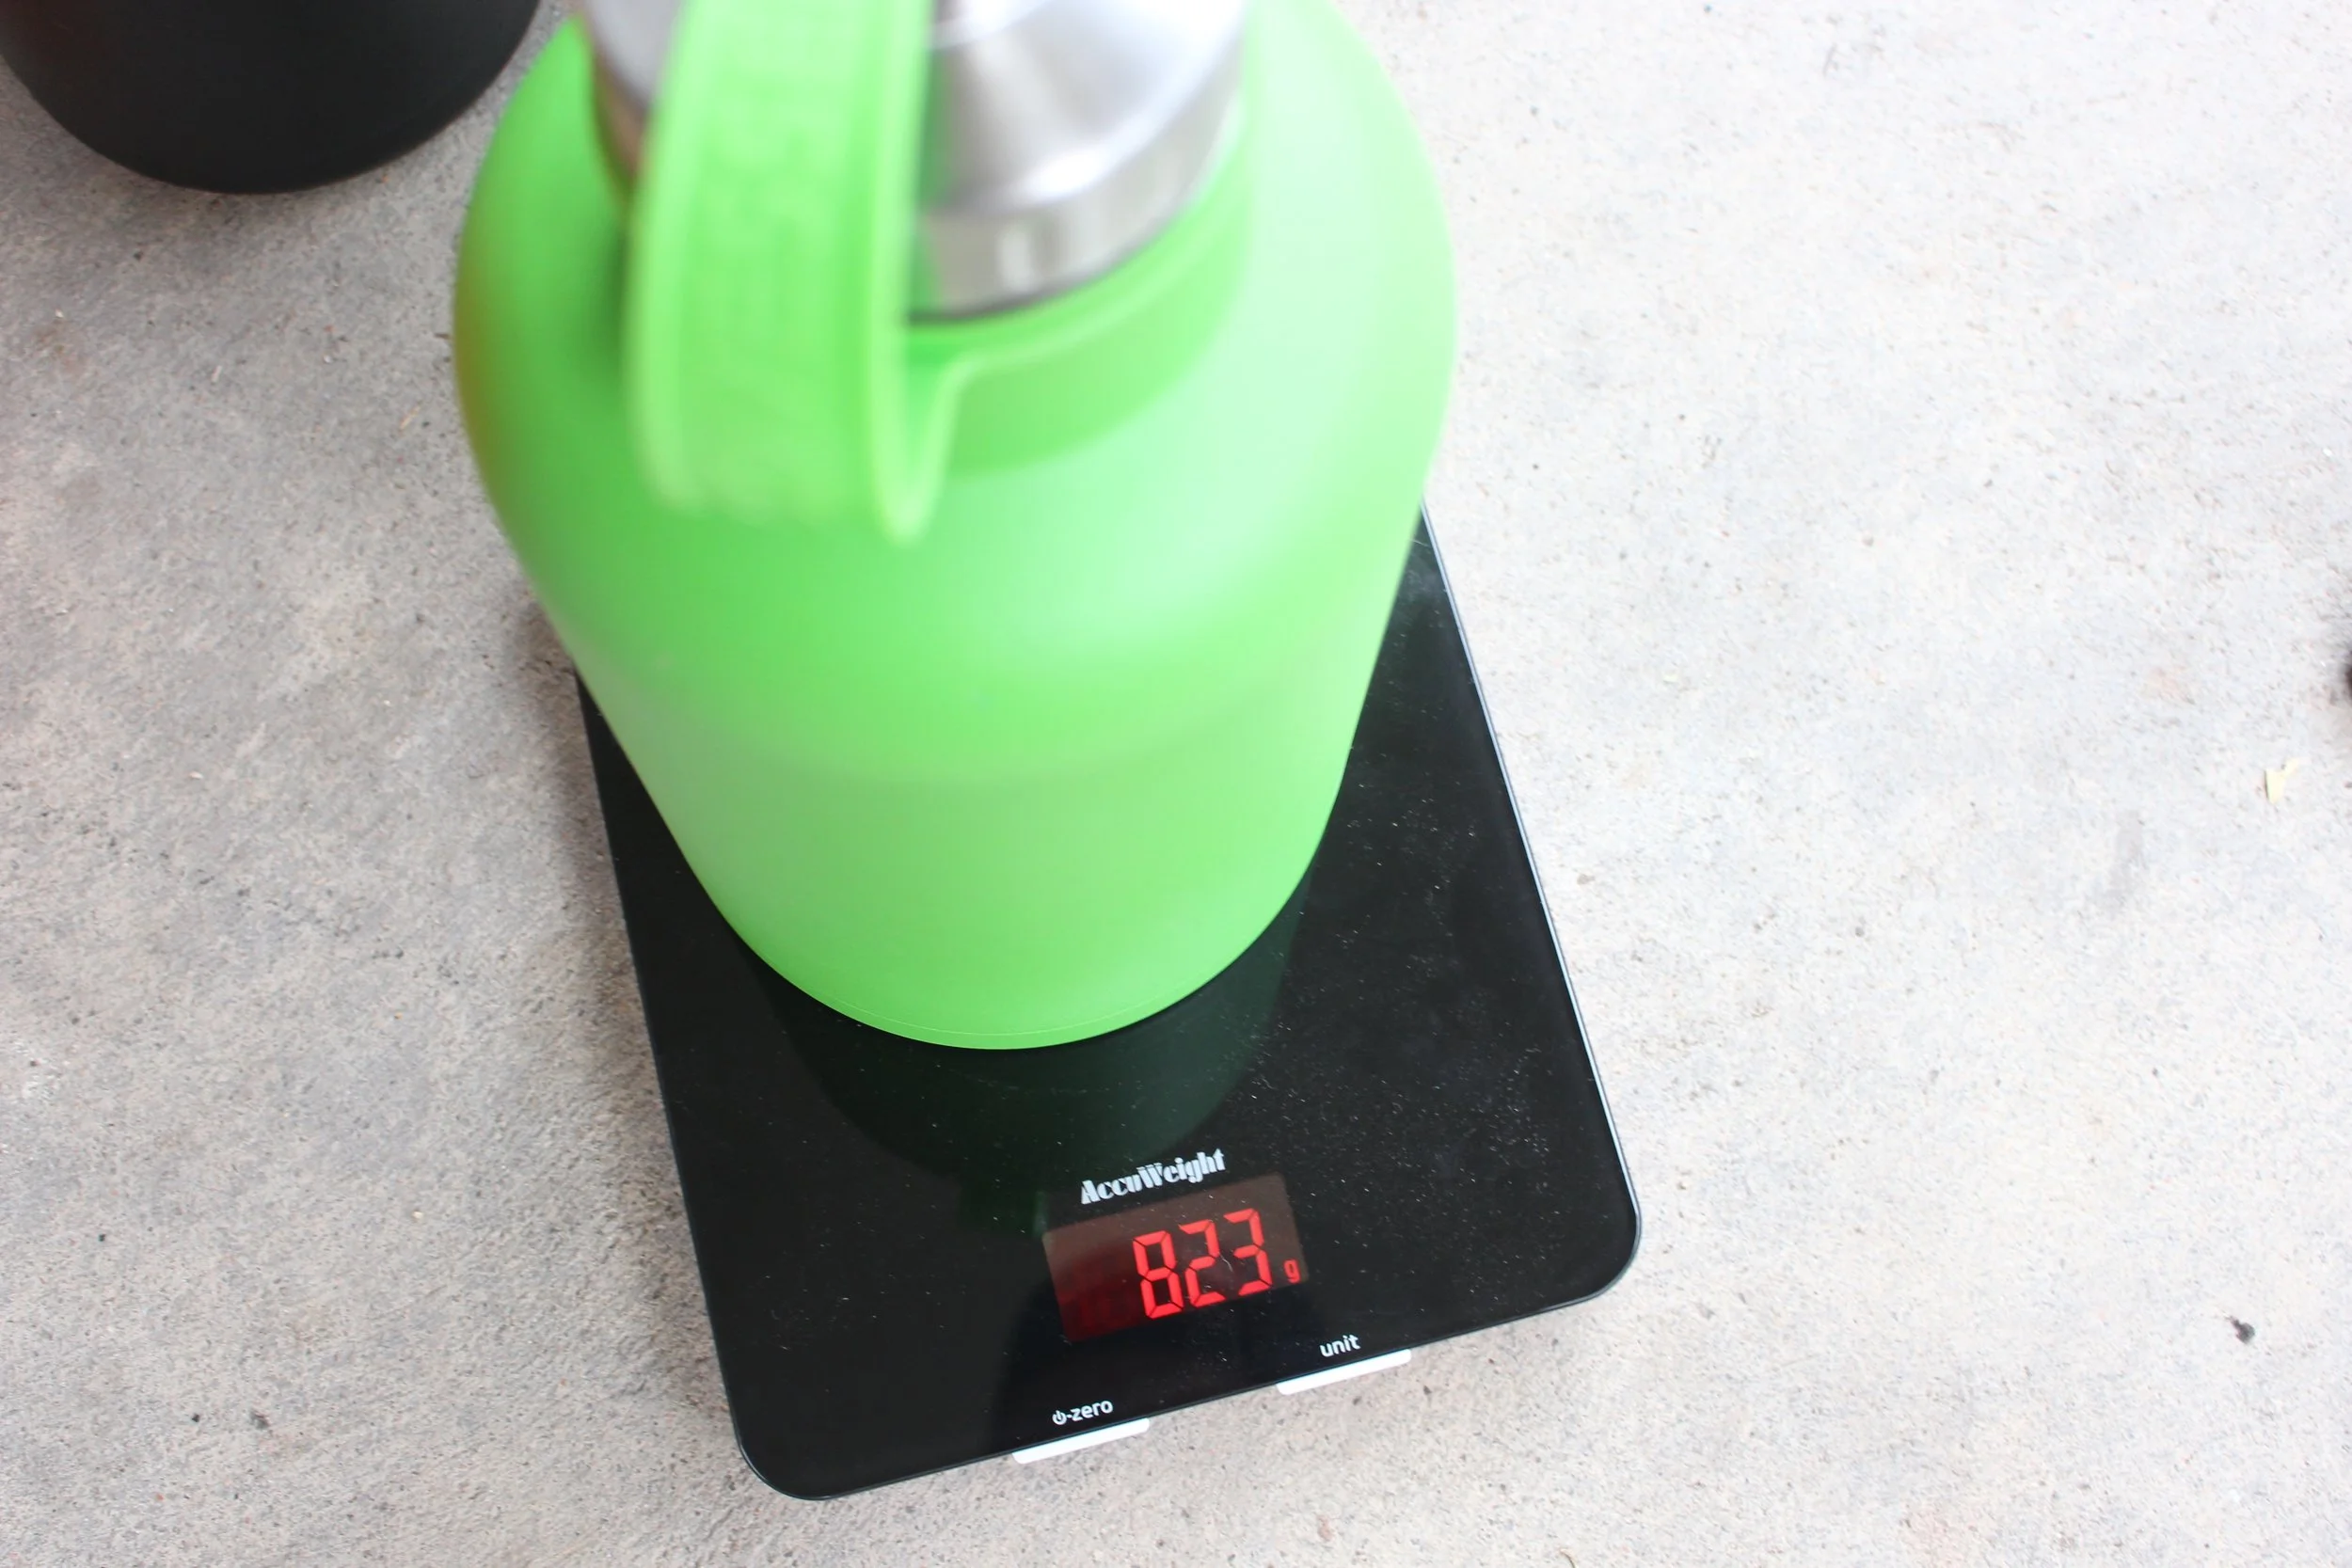
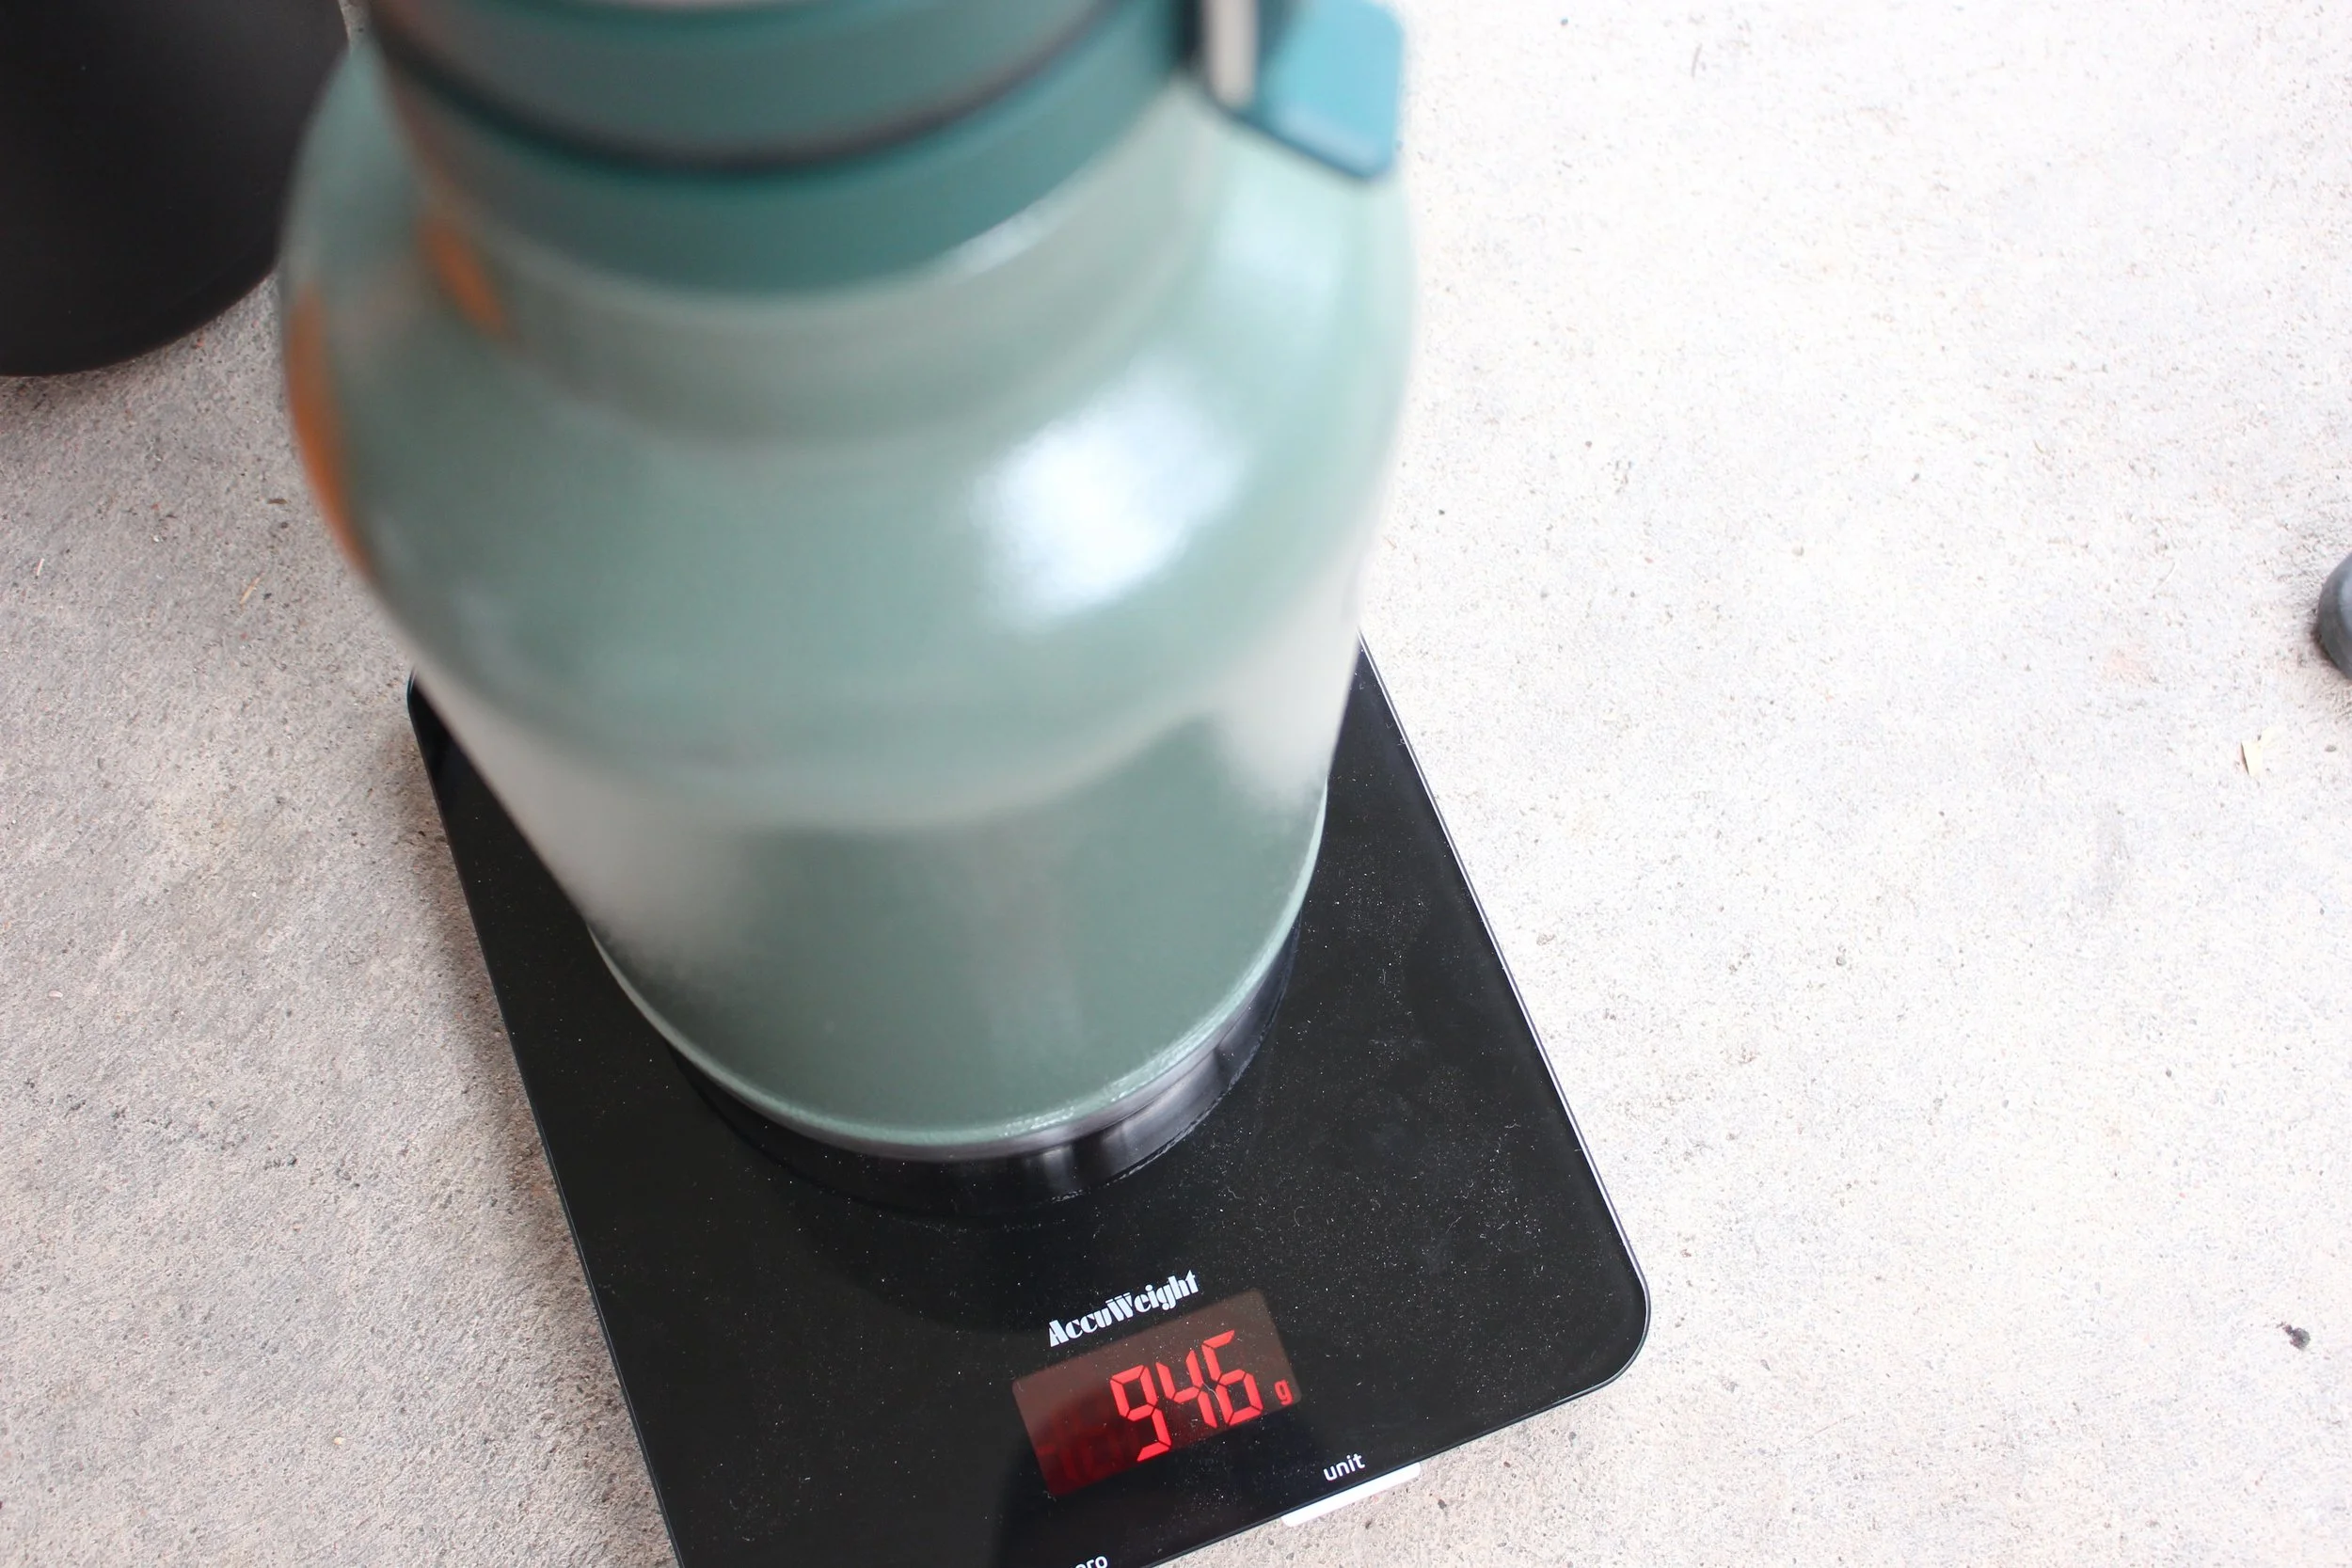
Weight is not a huge part of this review, however, there are a few Growlers with a decent range in weight and may be the deciding factor in some buyers checklist especially when most people who will be using these Growlers will be carrying them around all day at festivals, concerts or camping. Below I have listed the weight of each Growler with a picture wheel.
- Yeti - 29.3 oz
- GSI Outdoors - 27.3 oz
- Miir - 28.6 oz
- Drink Tanks - 33.9 oz
- Klean - 26.3 oz
- HydroFlask - 26.6 oz
- ECO - 29 oz
- Stanley - 33.3 oz
Again, in this category Klean Kanteen is on top followed closely by HydroFlask. One of the factors to this weight is the added features some of the other Growlers have which we will be talking about later on.
Price
(GSI Outdoors + Stanley)
Everyone has their own taste and some of these Growlers will suit people differently, they will all keep beer extremely cold, but a few might last longer than others. Having said that it comes down to what you're going to use this Growler for and how much you are willing to spend. Below is the listed Retail price for each Growler at the time of this review.
- Yeti - $89.99
- Miir - $54.95
- Drink Tanks - $69.00
- GSI Outdoors - $54.95
- HydroFlask - $64.95
- ECO Vessel - $54.95
- Stanley - $50.00
- Klean Kanteen - $69.95
In my eyes for the cost to price ratio, the winner in this one clearly goes to GSI Outdoors with Stanley close behind. The Stanley may be somewhat heavier and not keep your beer quite as cold as the other top dogs however it is almost half the price of the Yeti and even comes with a game-changing handle to help with pouring. The GSI Outdoors continues to be top in almost every category which still has me trying to find something to bash about it. As of now I can't.
Lid
(HydroFlask + Klean Kanteen)
When it comes to the difference in each of these Growlers and trying to find a way to separate them, the lid is the best factor. Almost every Growler in this head-to-head has a completely different lid and each has their positives and negatives. I will be going over each lid in detail in separate sections with pictures of each.
Yeti
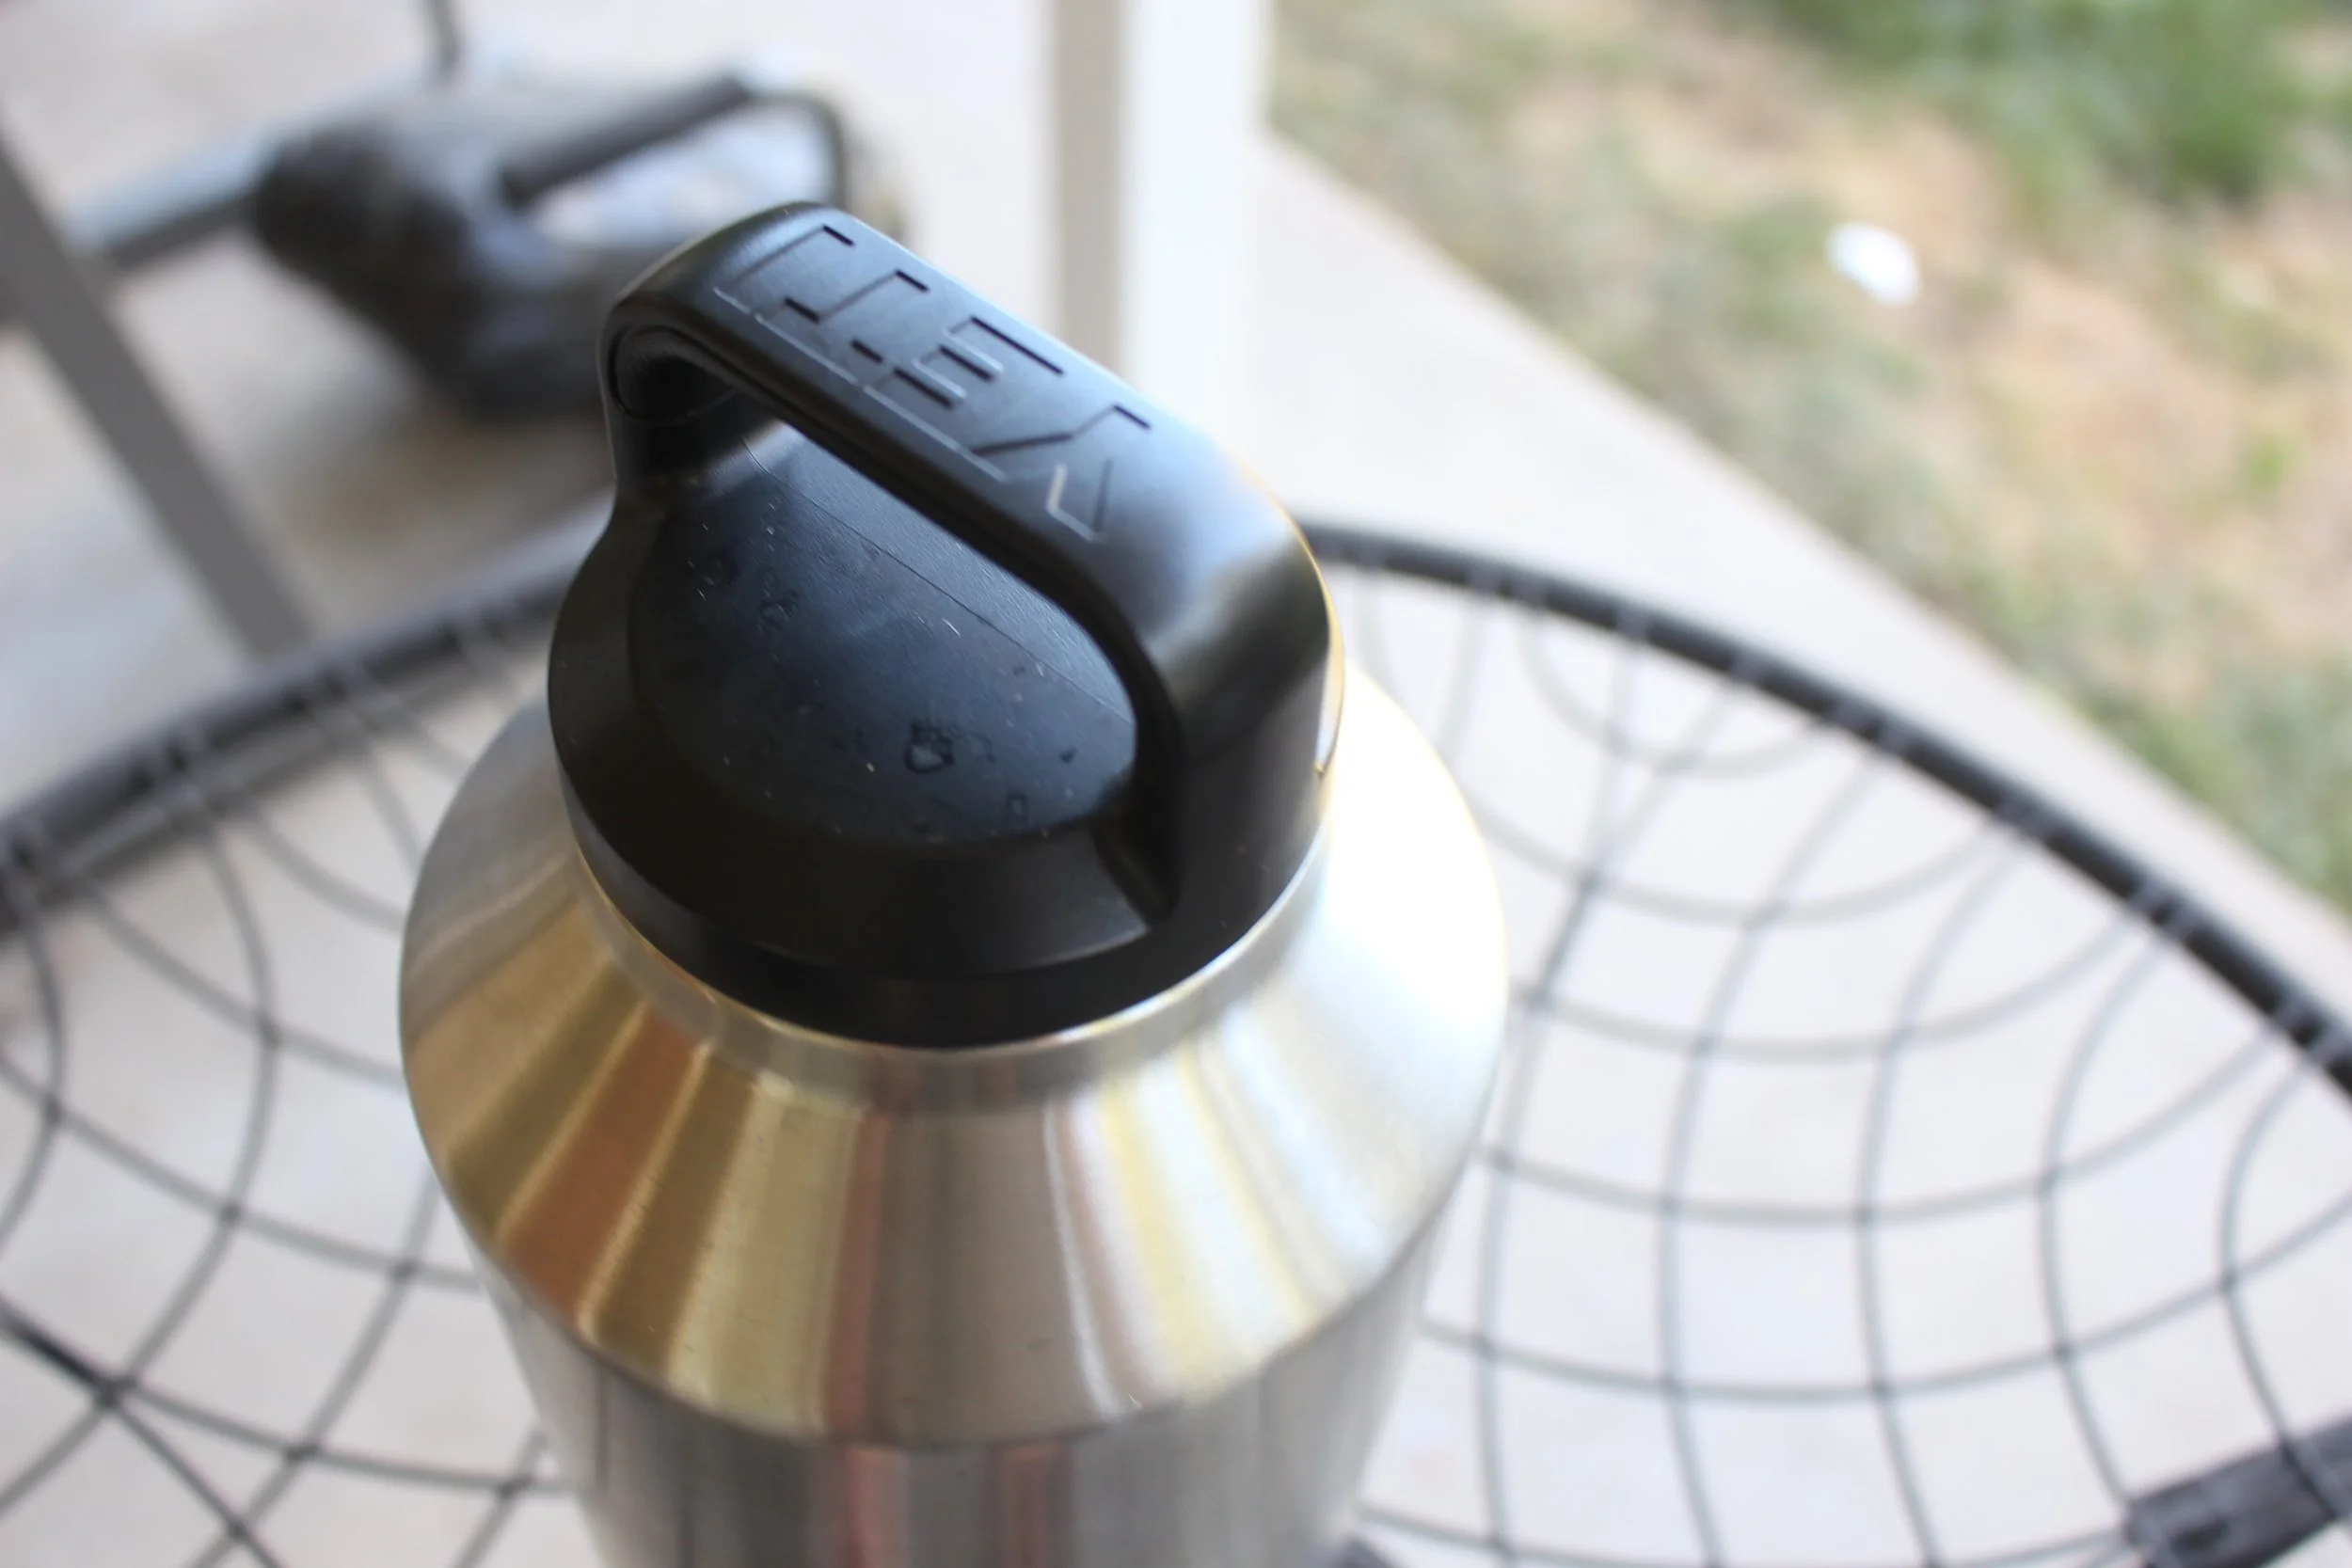
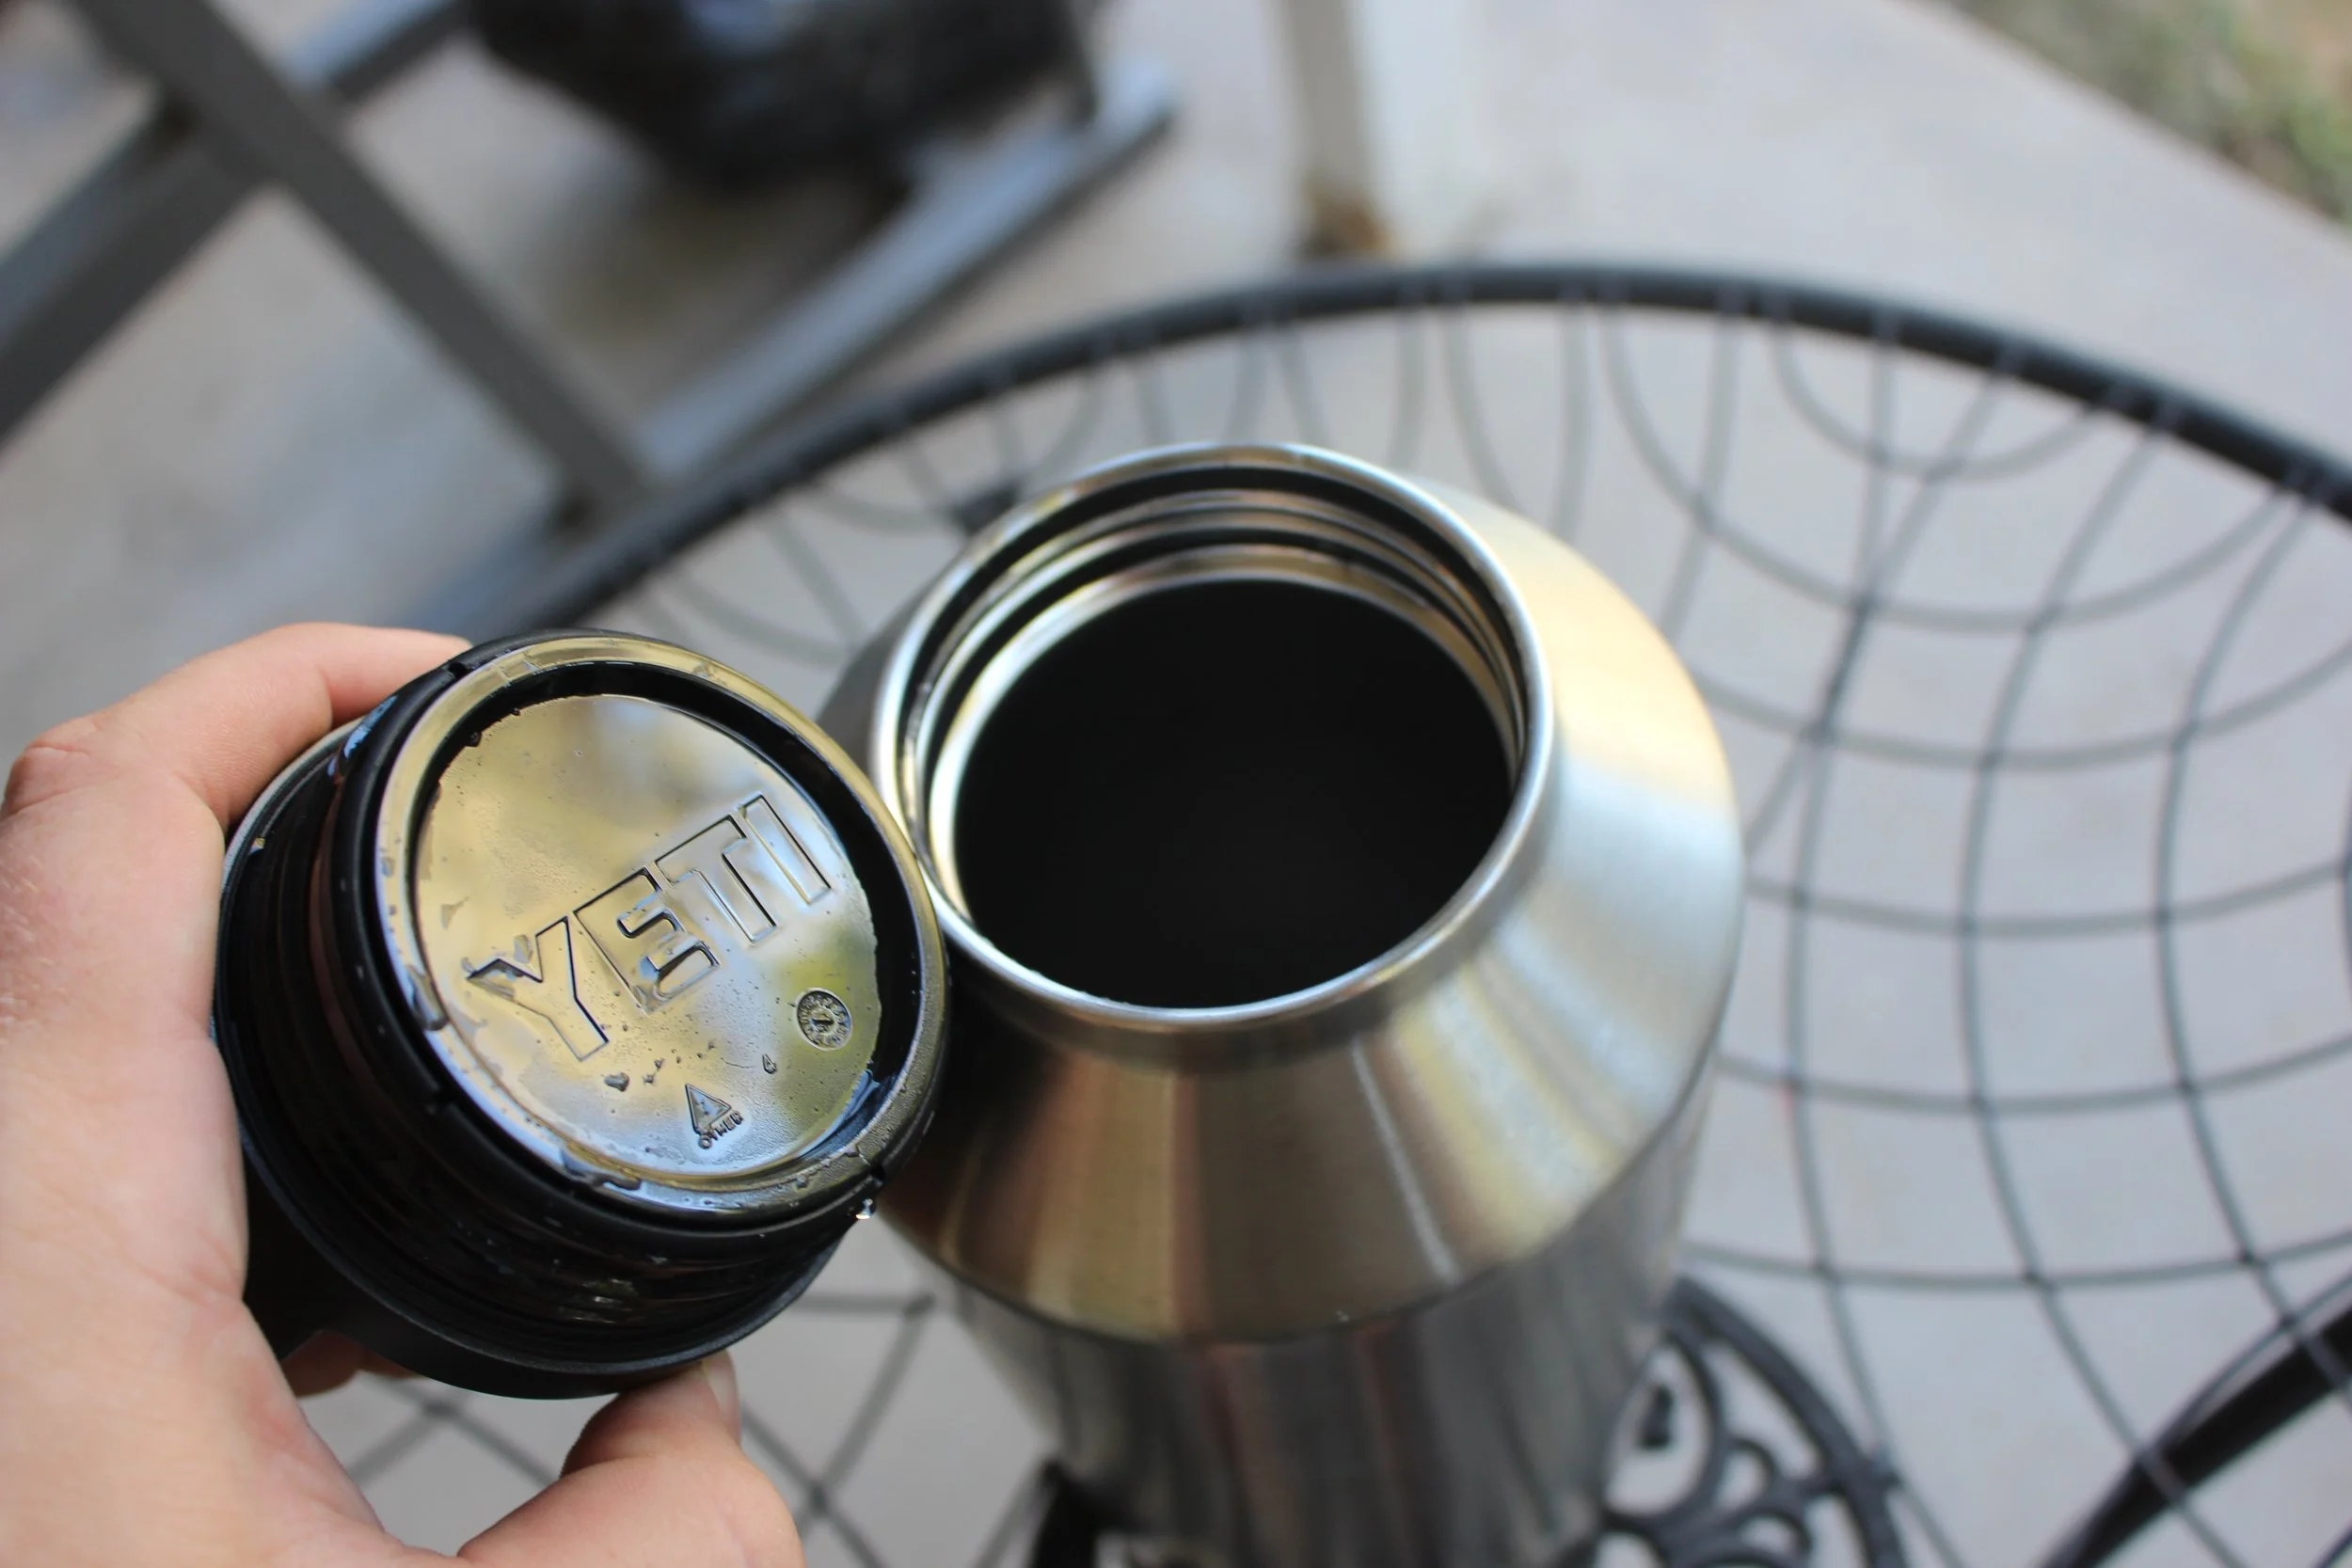
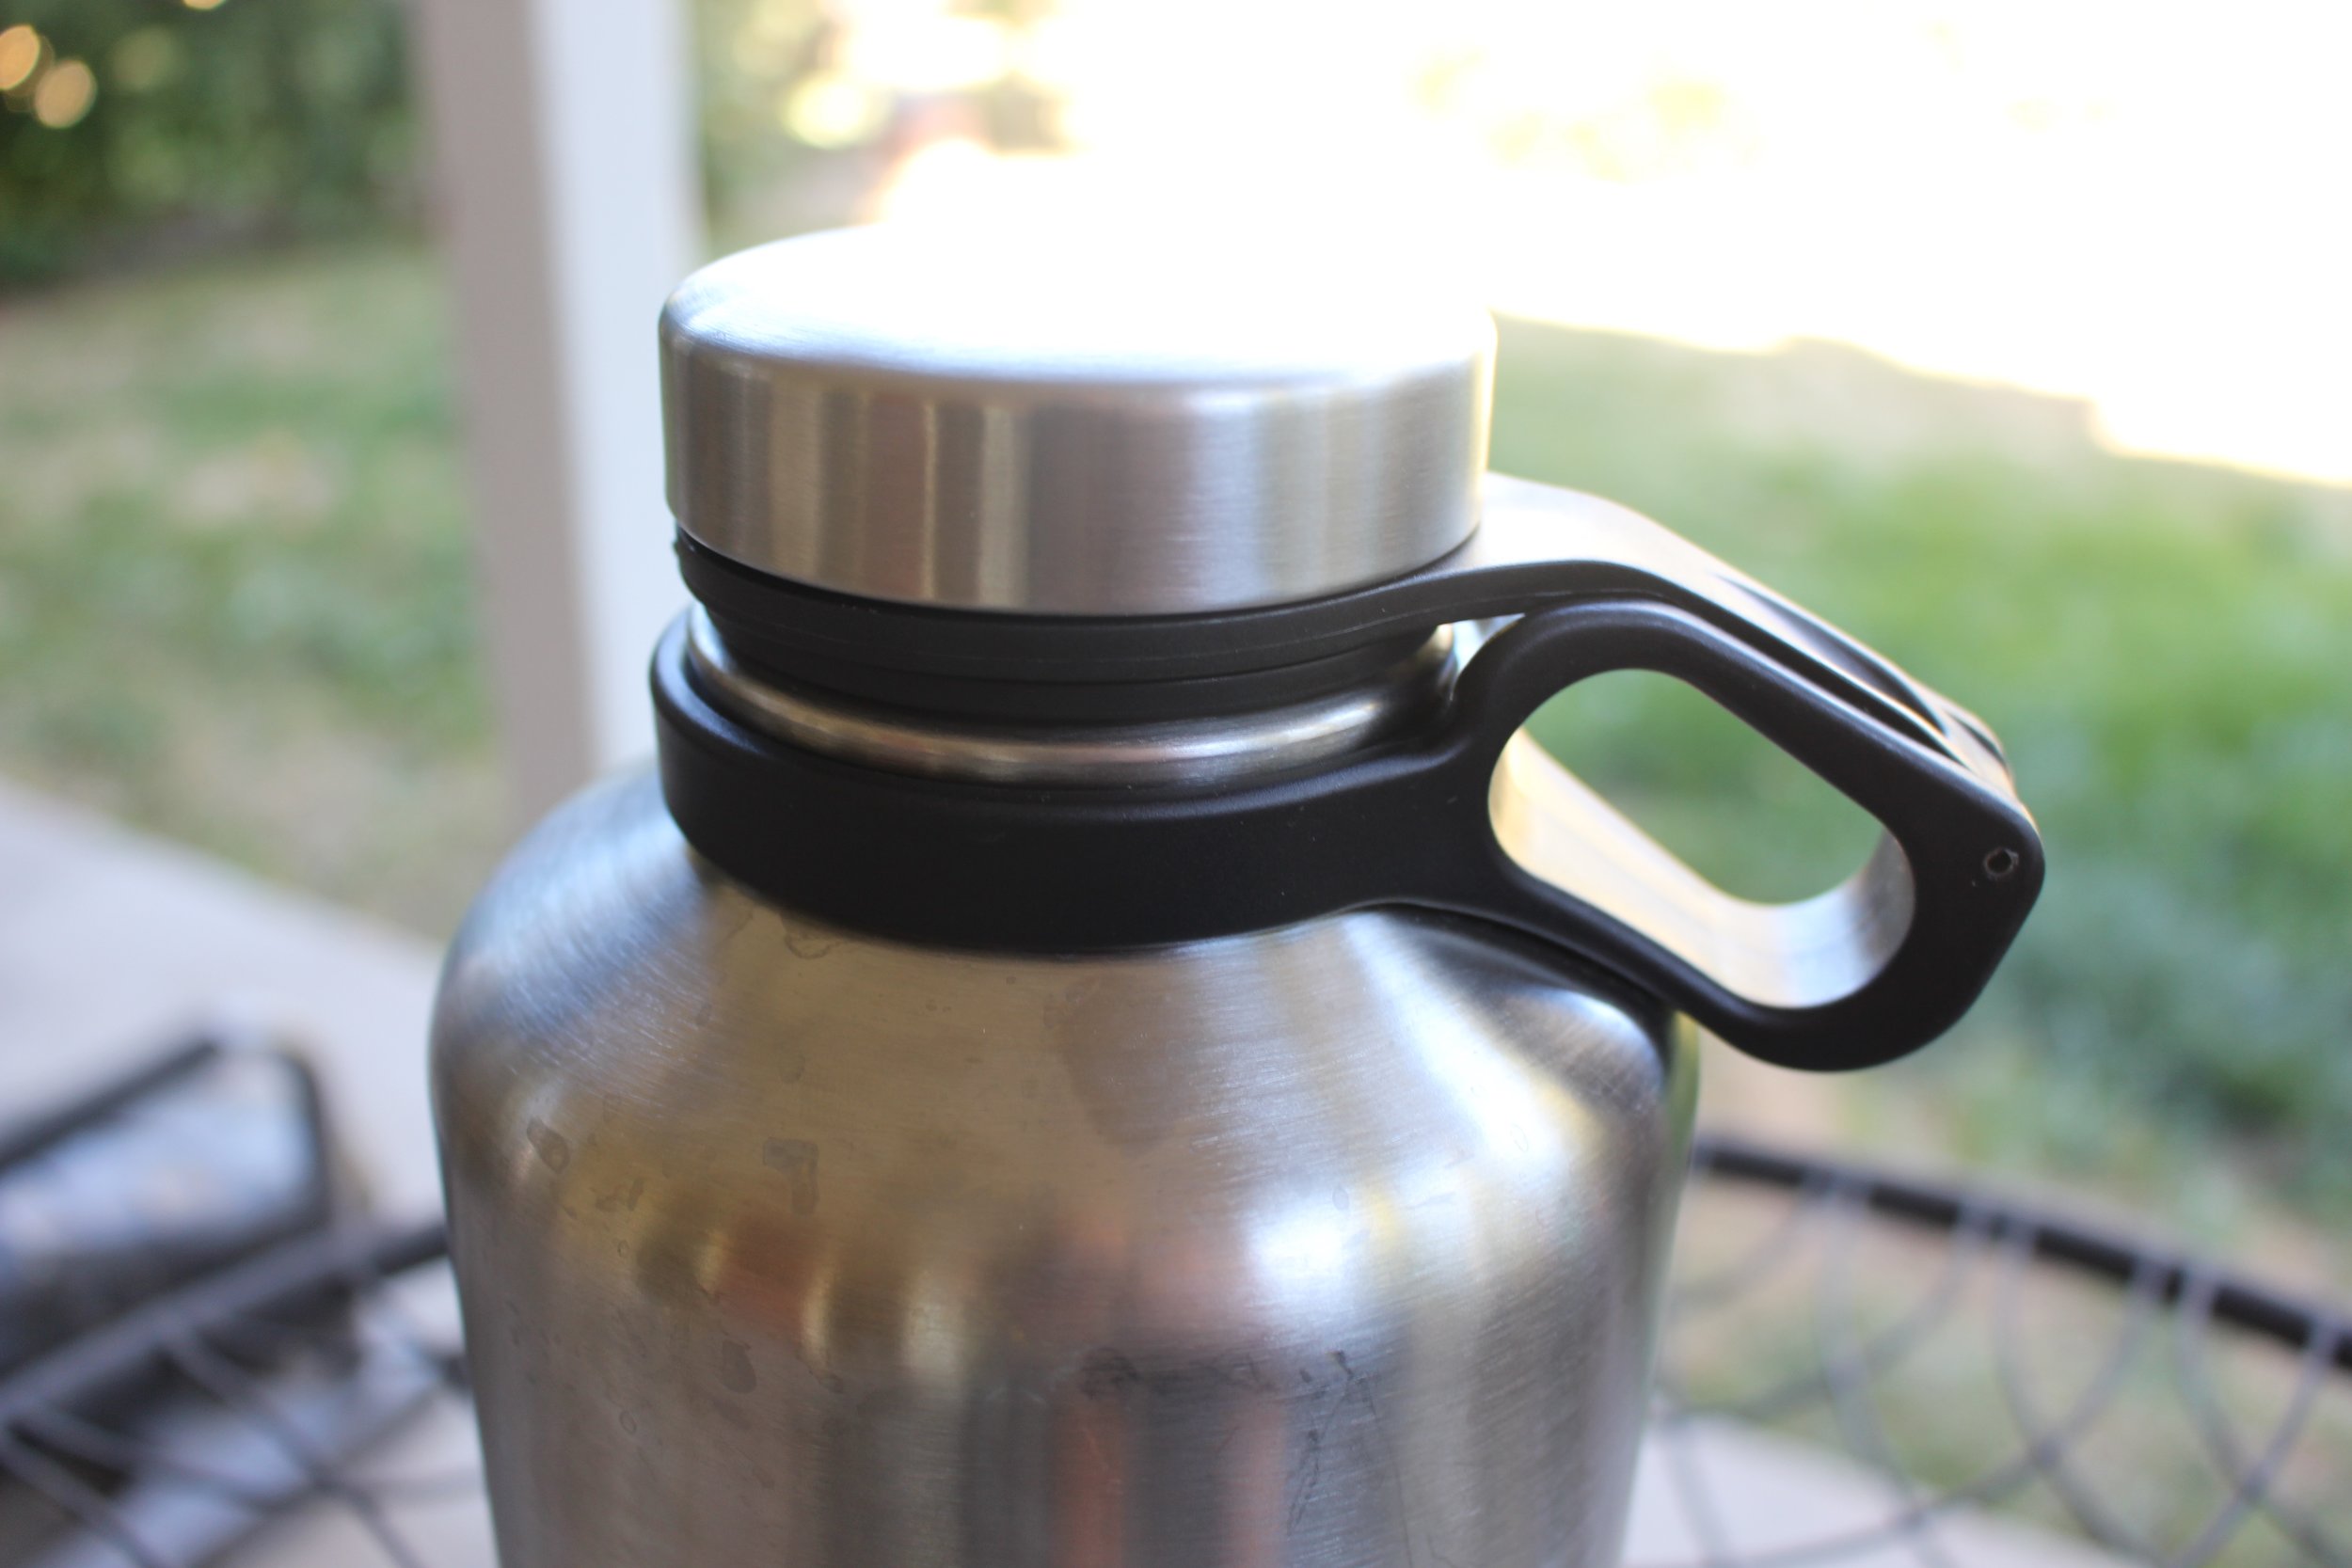
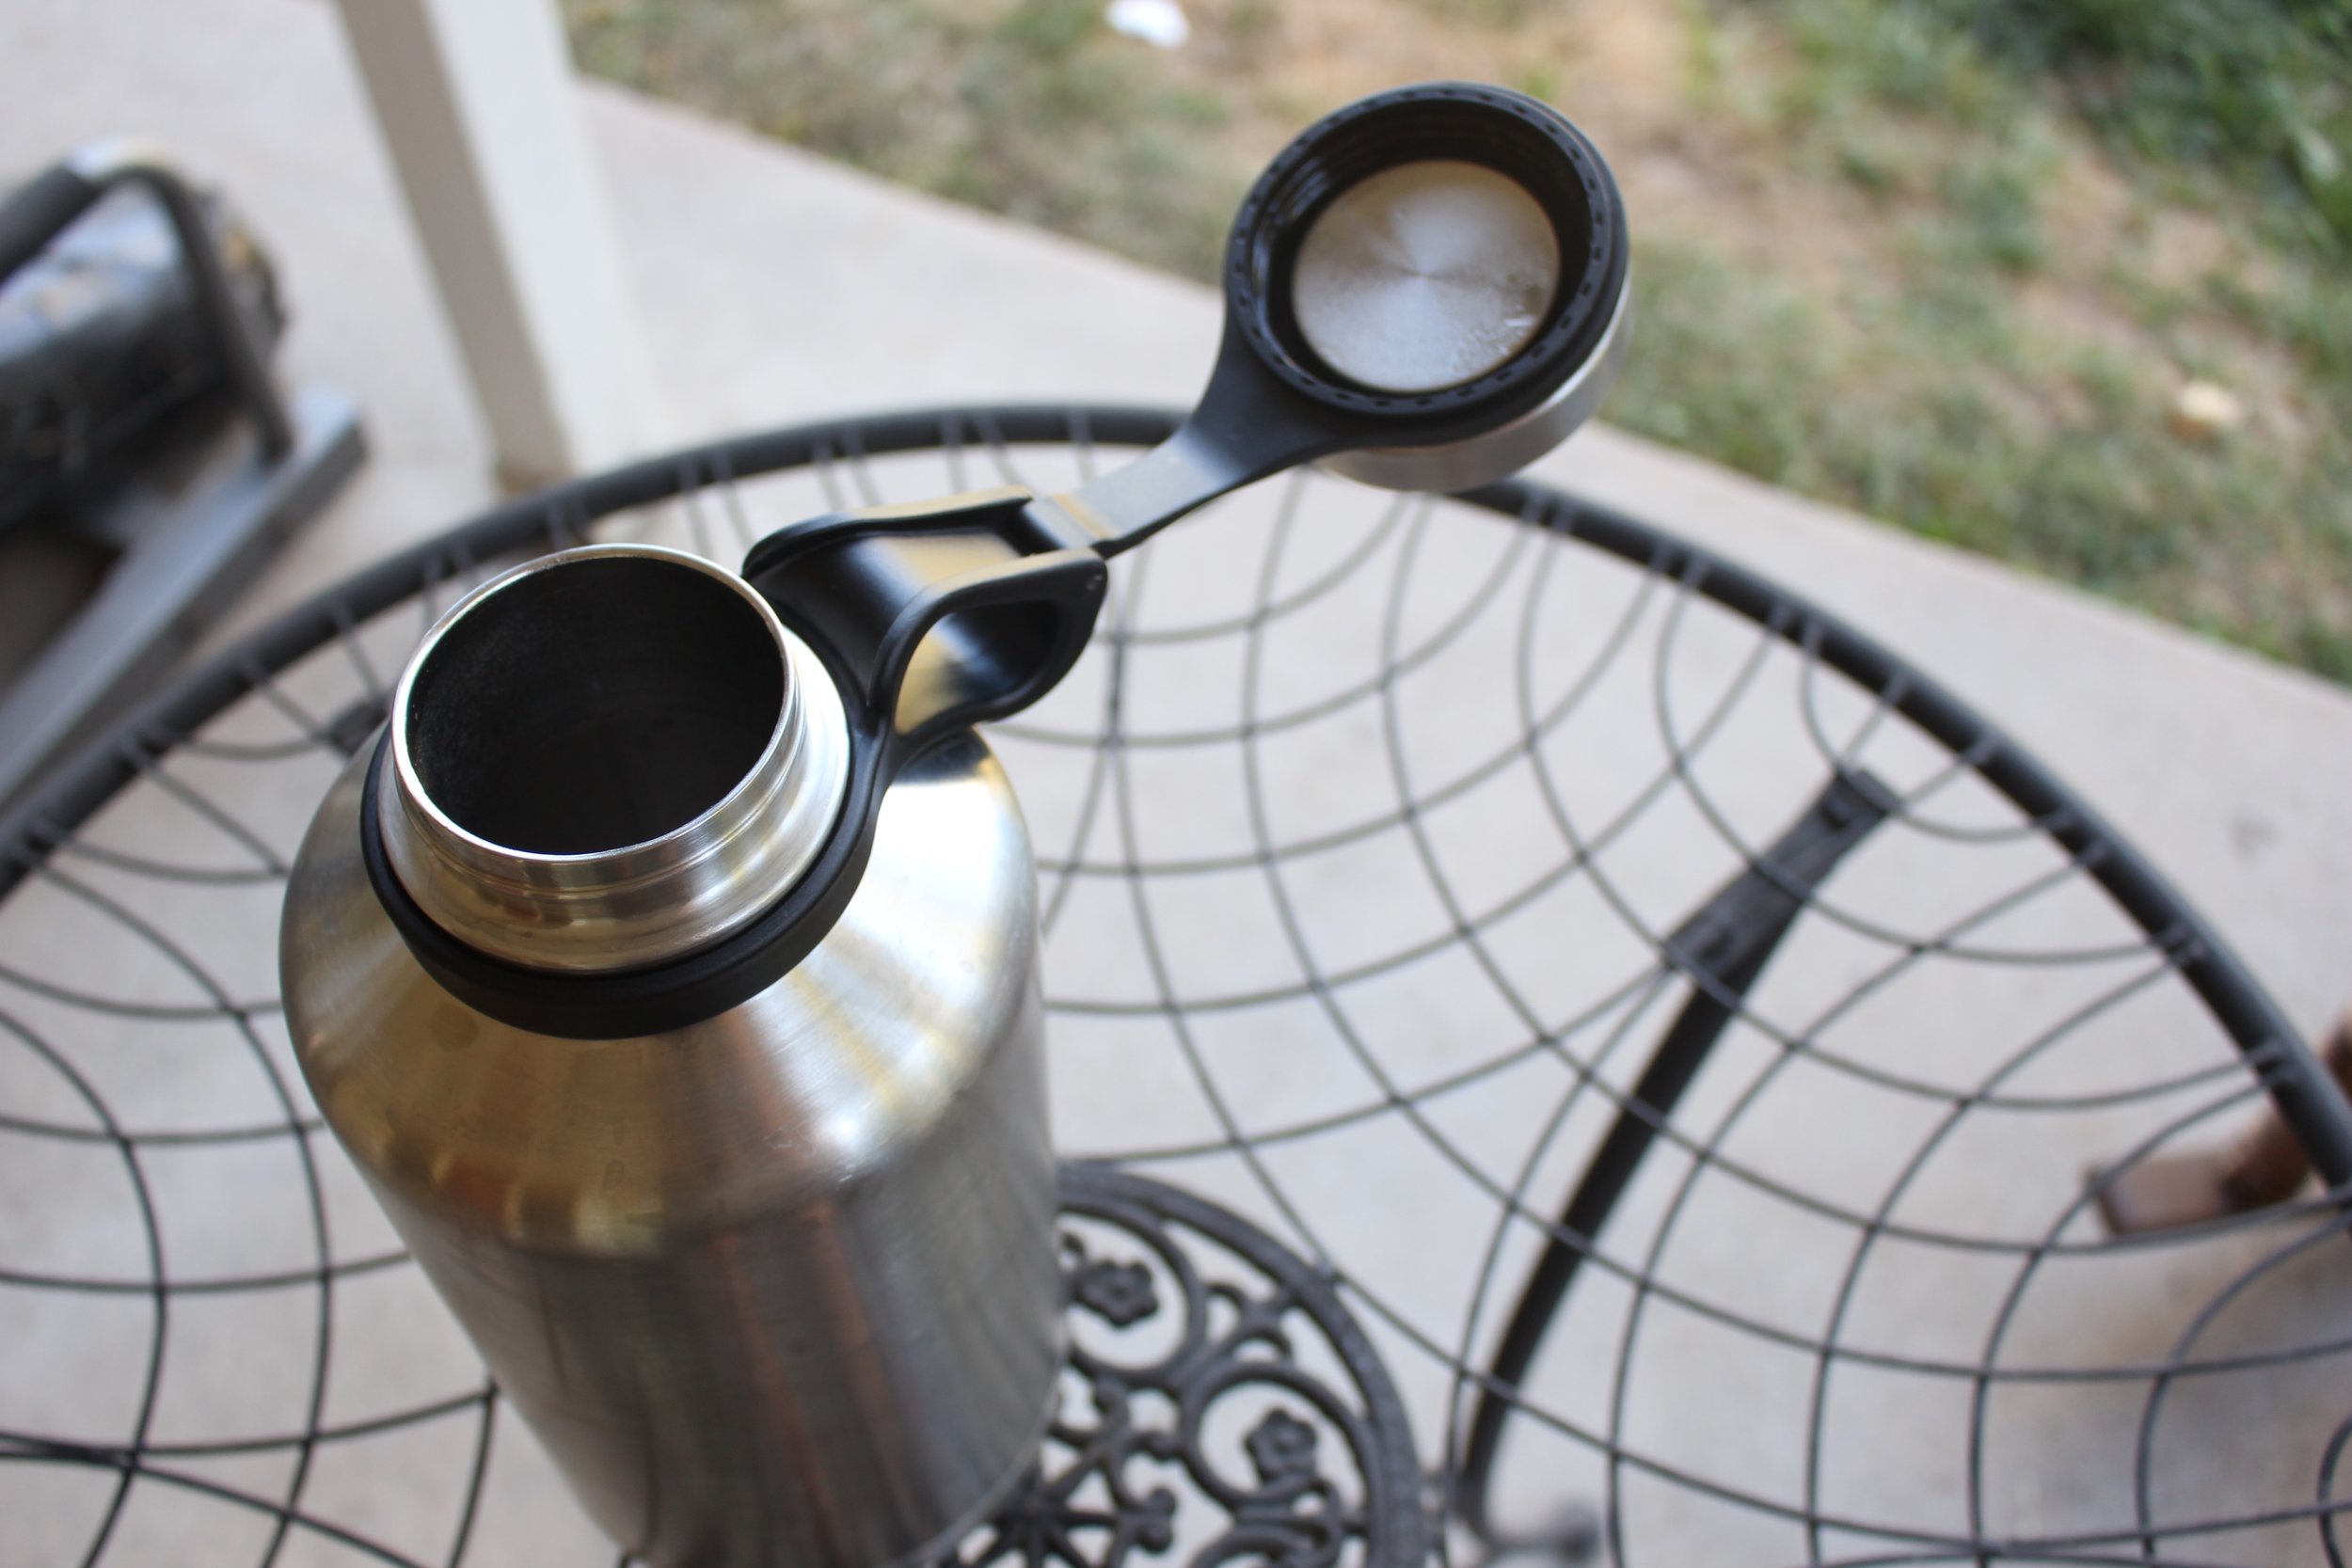
First up we have the Yeti Growler. The Yeti is probably the "burliest" Growler and the most simple. The Yeti features a simple "screw on" hard plastic lid with a handle on the top. The handle on the top makes screwing the lid down tight a breeze. The Yeti lid also screws inside the body to give even more of a seal then the conventional over the body style.
8/10
Stanley
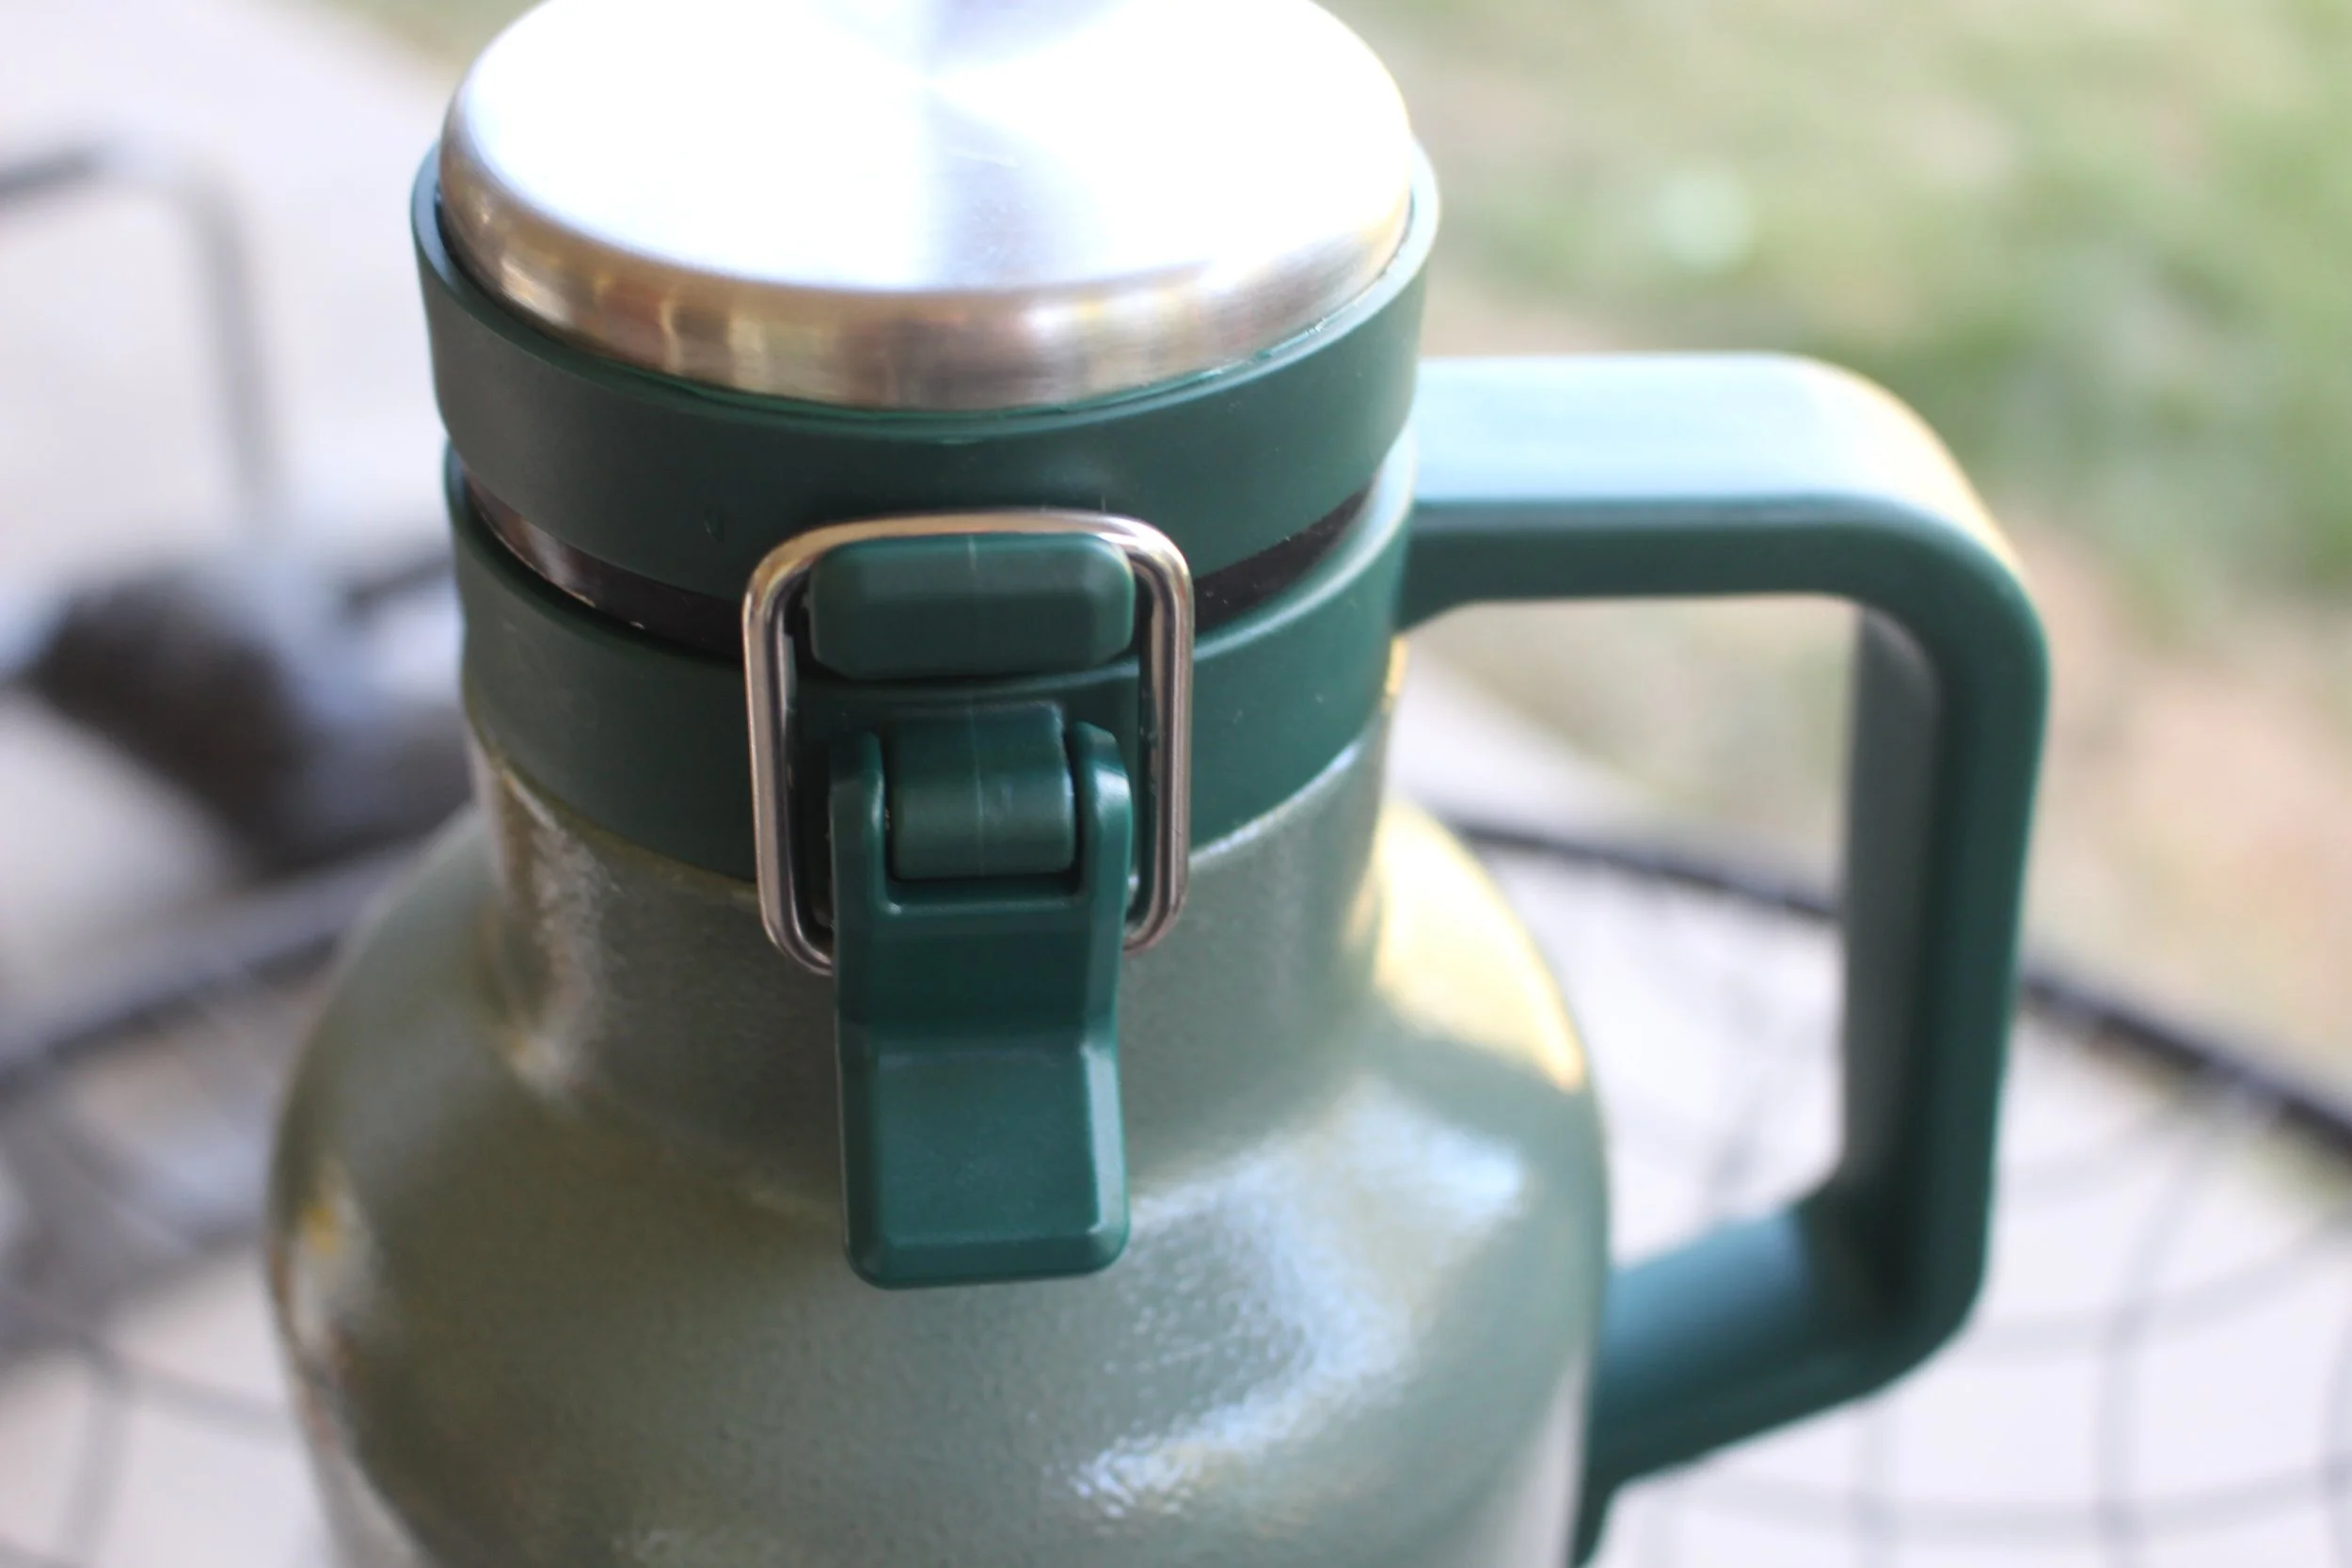
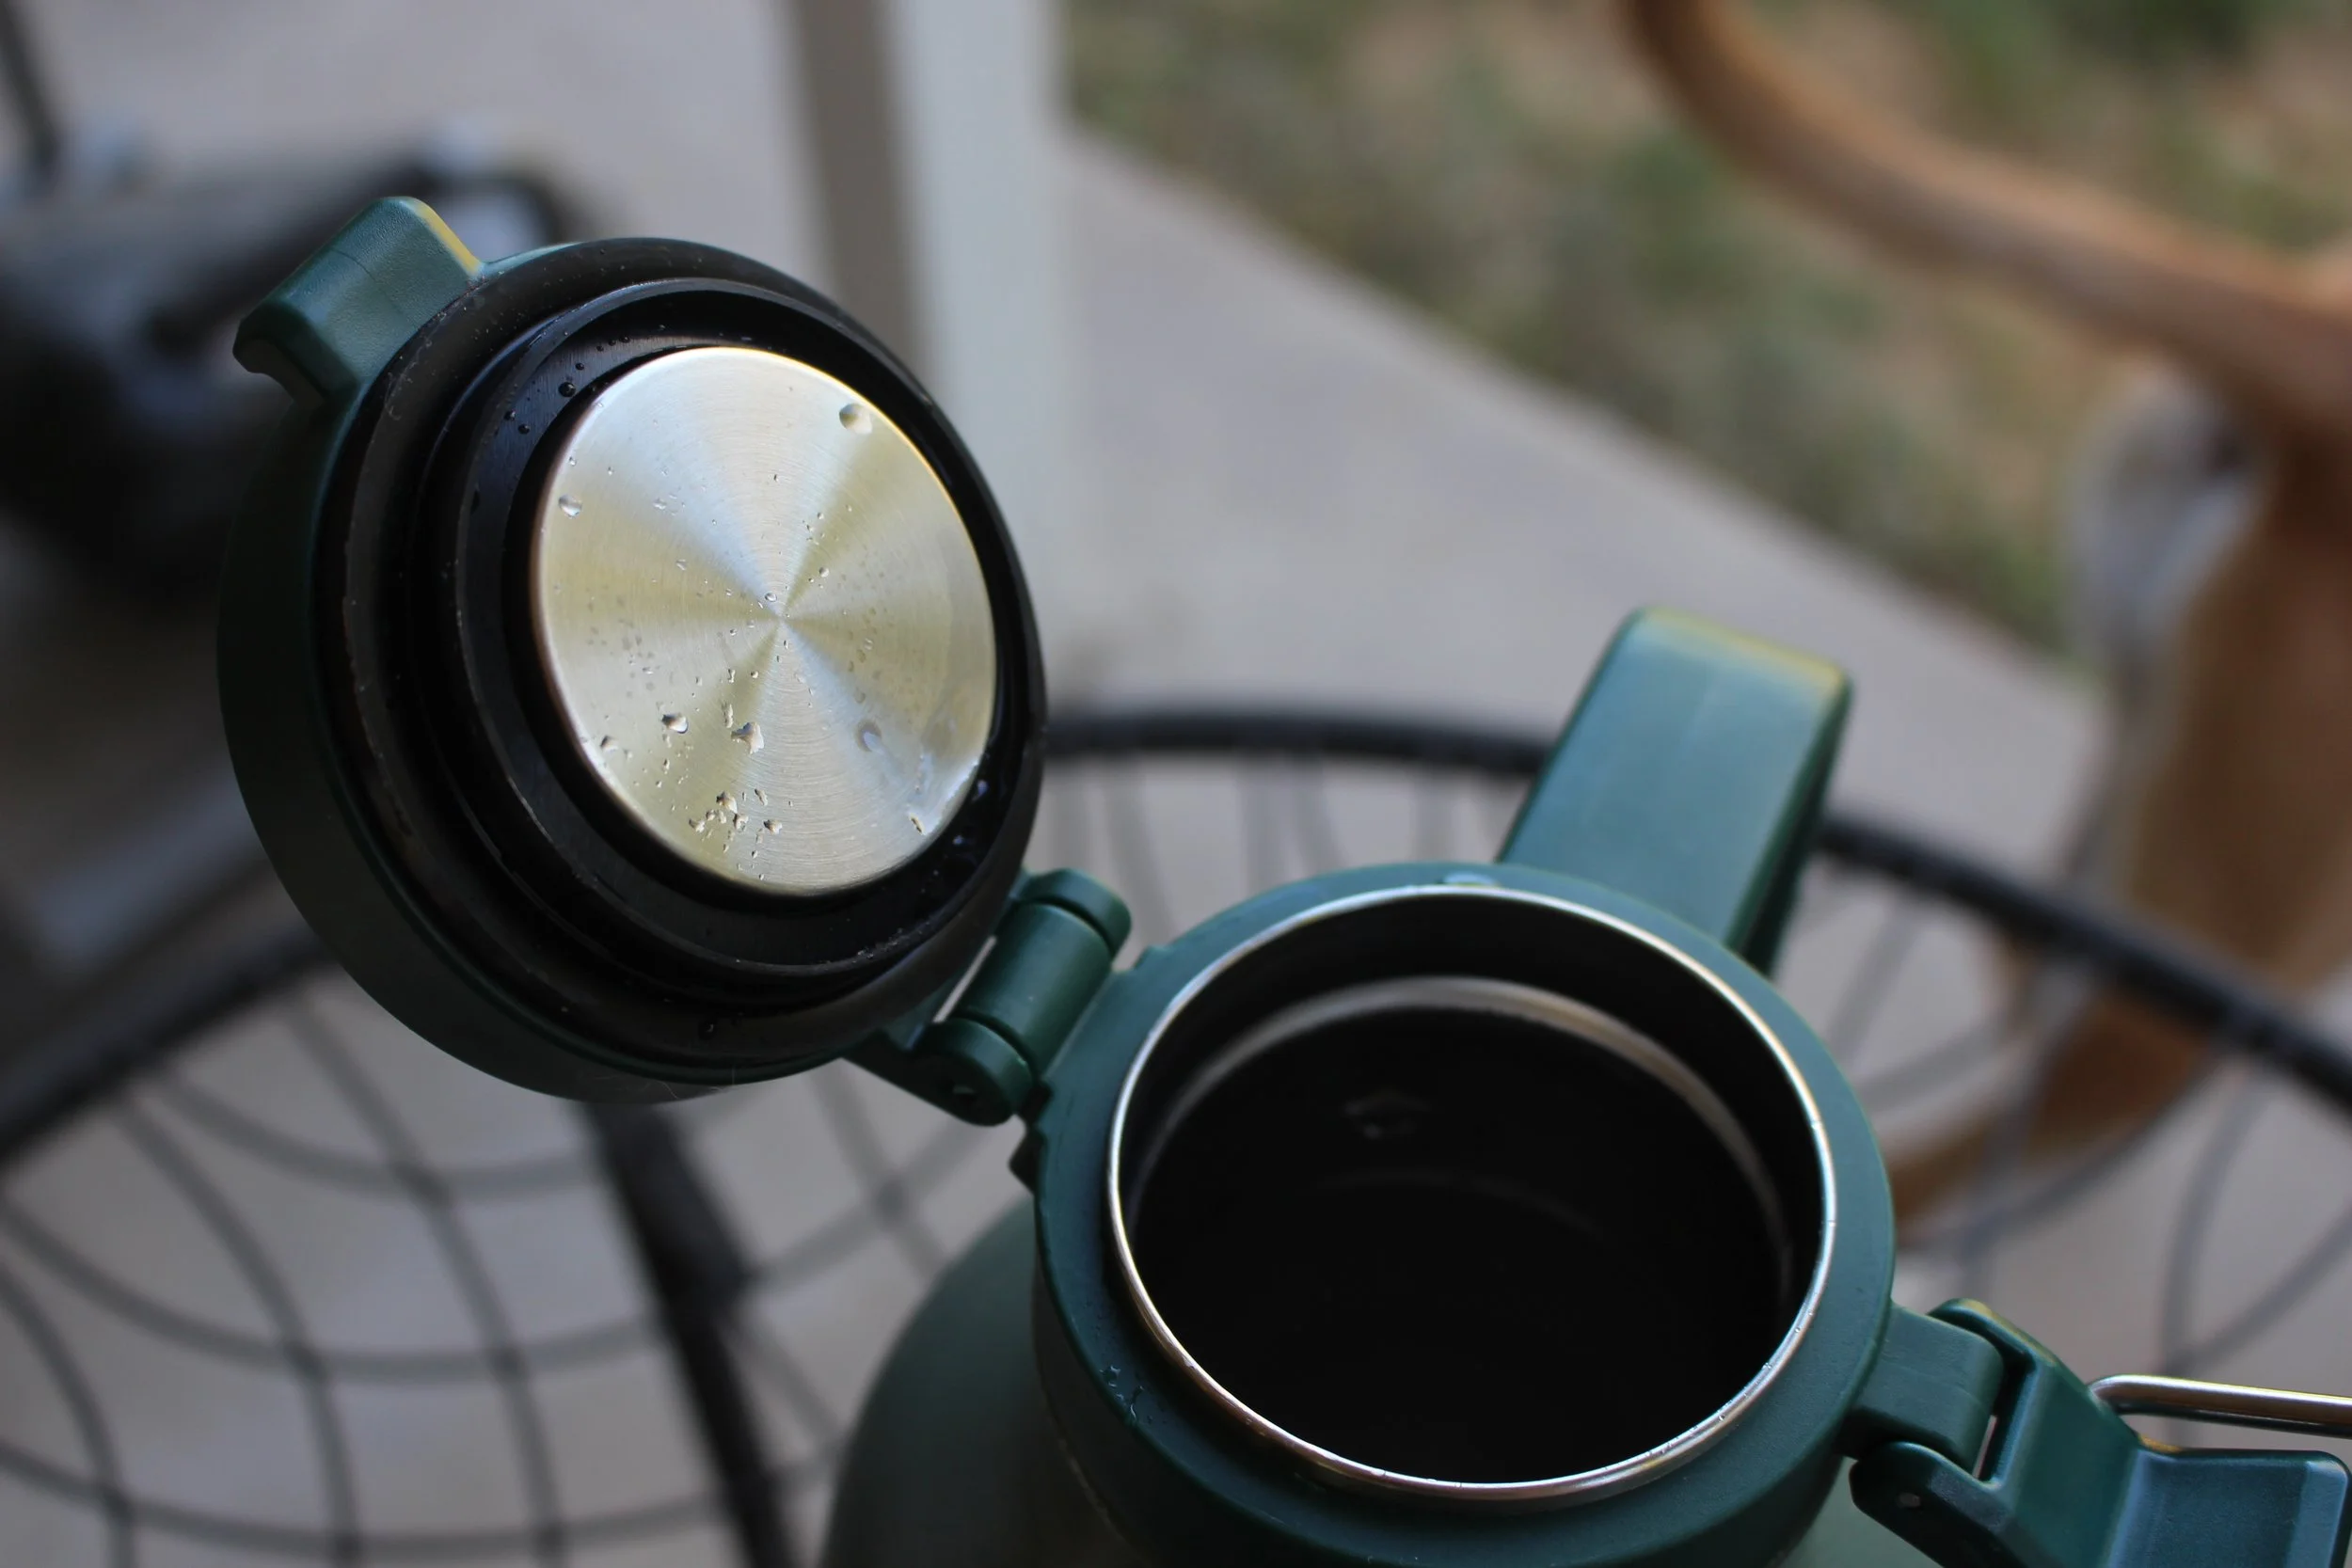
The Stanley Growler features a "clamp" style lid that it quick and easy to get to your brew of choice. It also has a rubber coating on the inside to help with pressure and a tight seal. Underneath the cap the Stanley also uses a stainless plate to help with Temp control.
7/10
Miir
The Growler from Miir is probably the oddball of the bunch in terms of looks and lid. The Miir uses a clamp style like the Stanley except with a different lever. The Miir has one large steel clamp that will drive against itself to open and close the lid. Underneath the Miir has air filled rubber under cap which does a great job at keeping in pressure. Throughout my testing, I noticed that every time I opened the Miir I was greeted with a loud pop ensuring the seal. The lid did also prove to be the hardest to shut quickly or while using one hand.
6/10
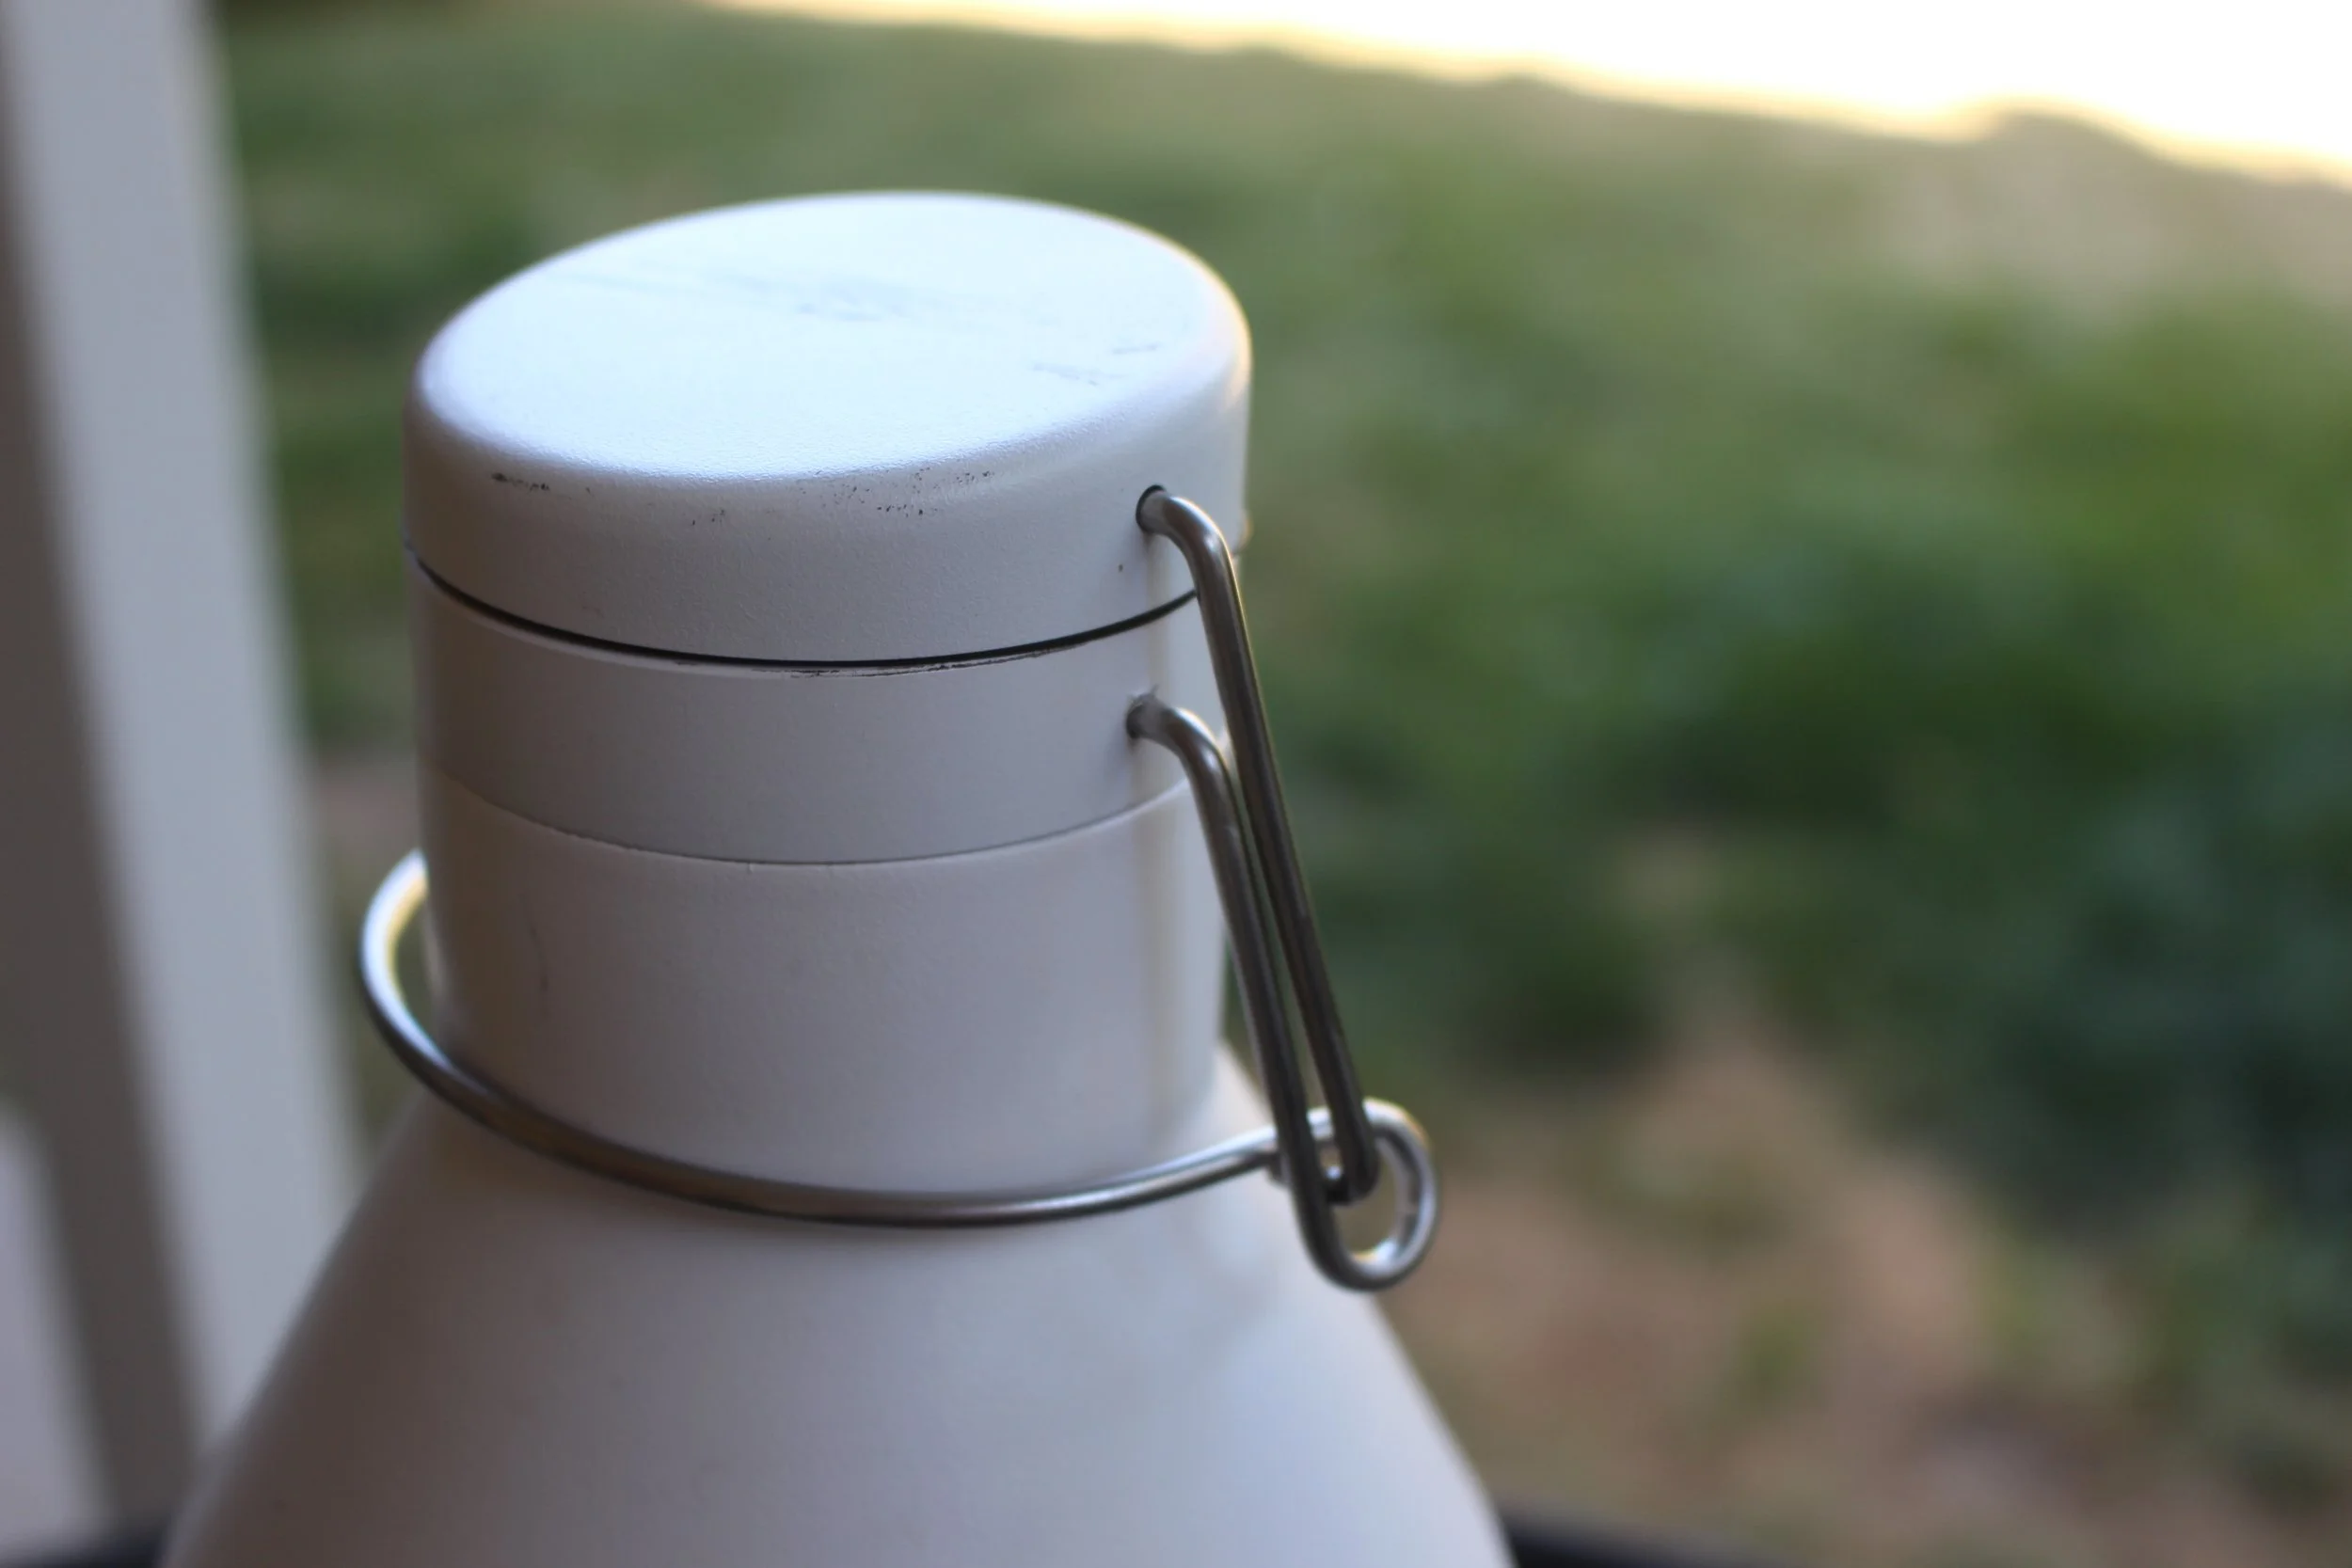
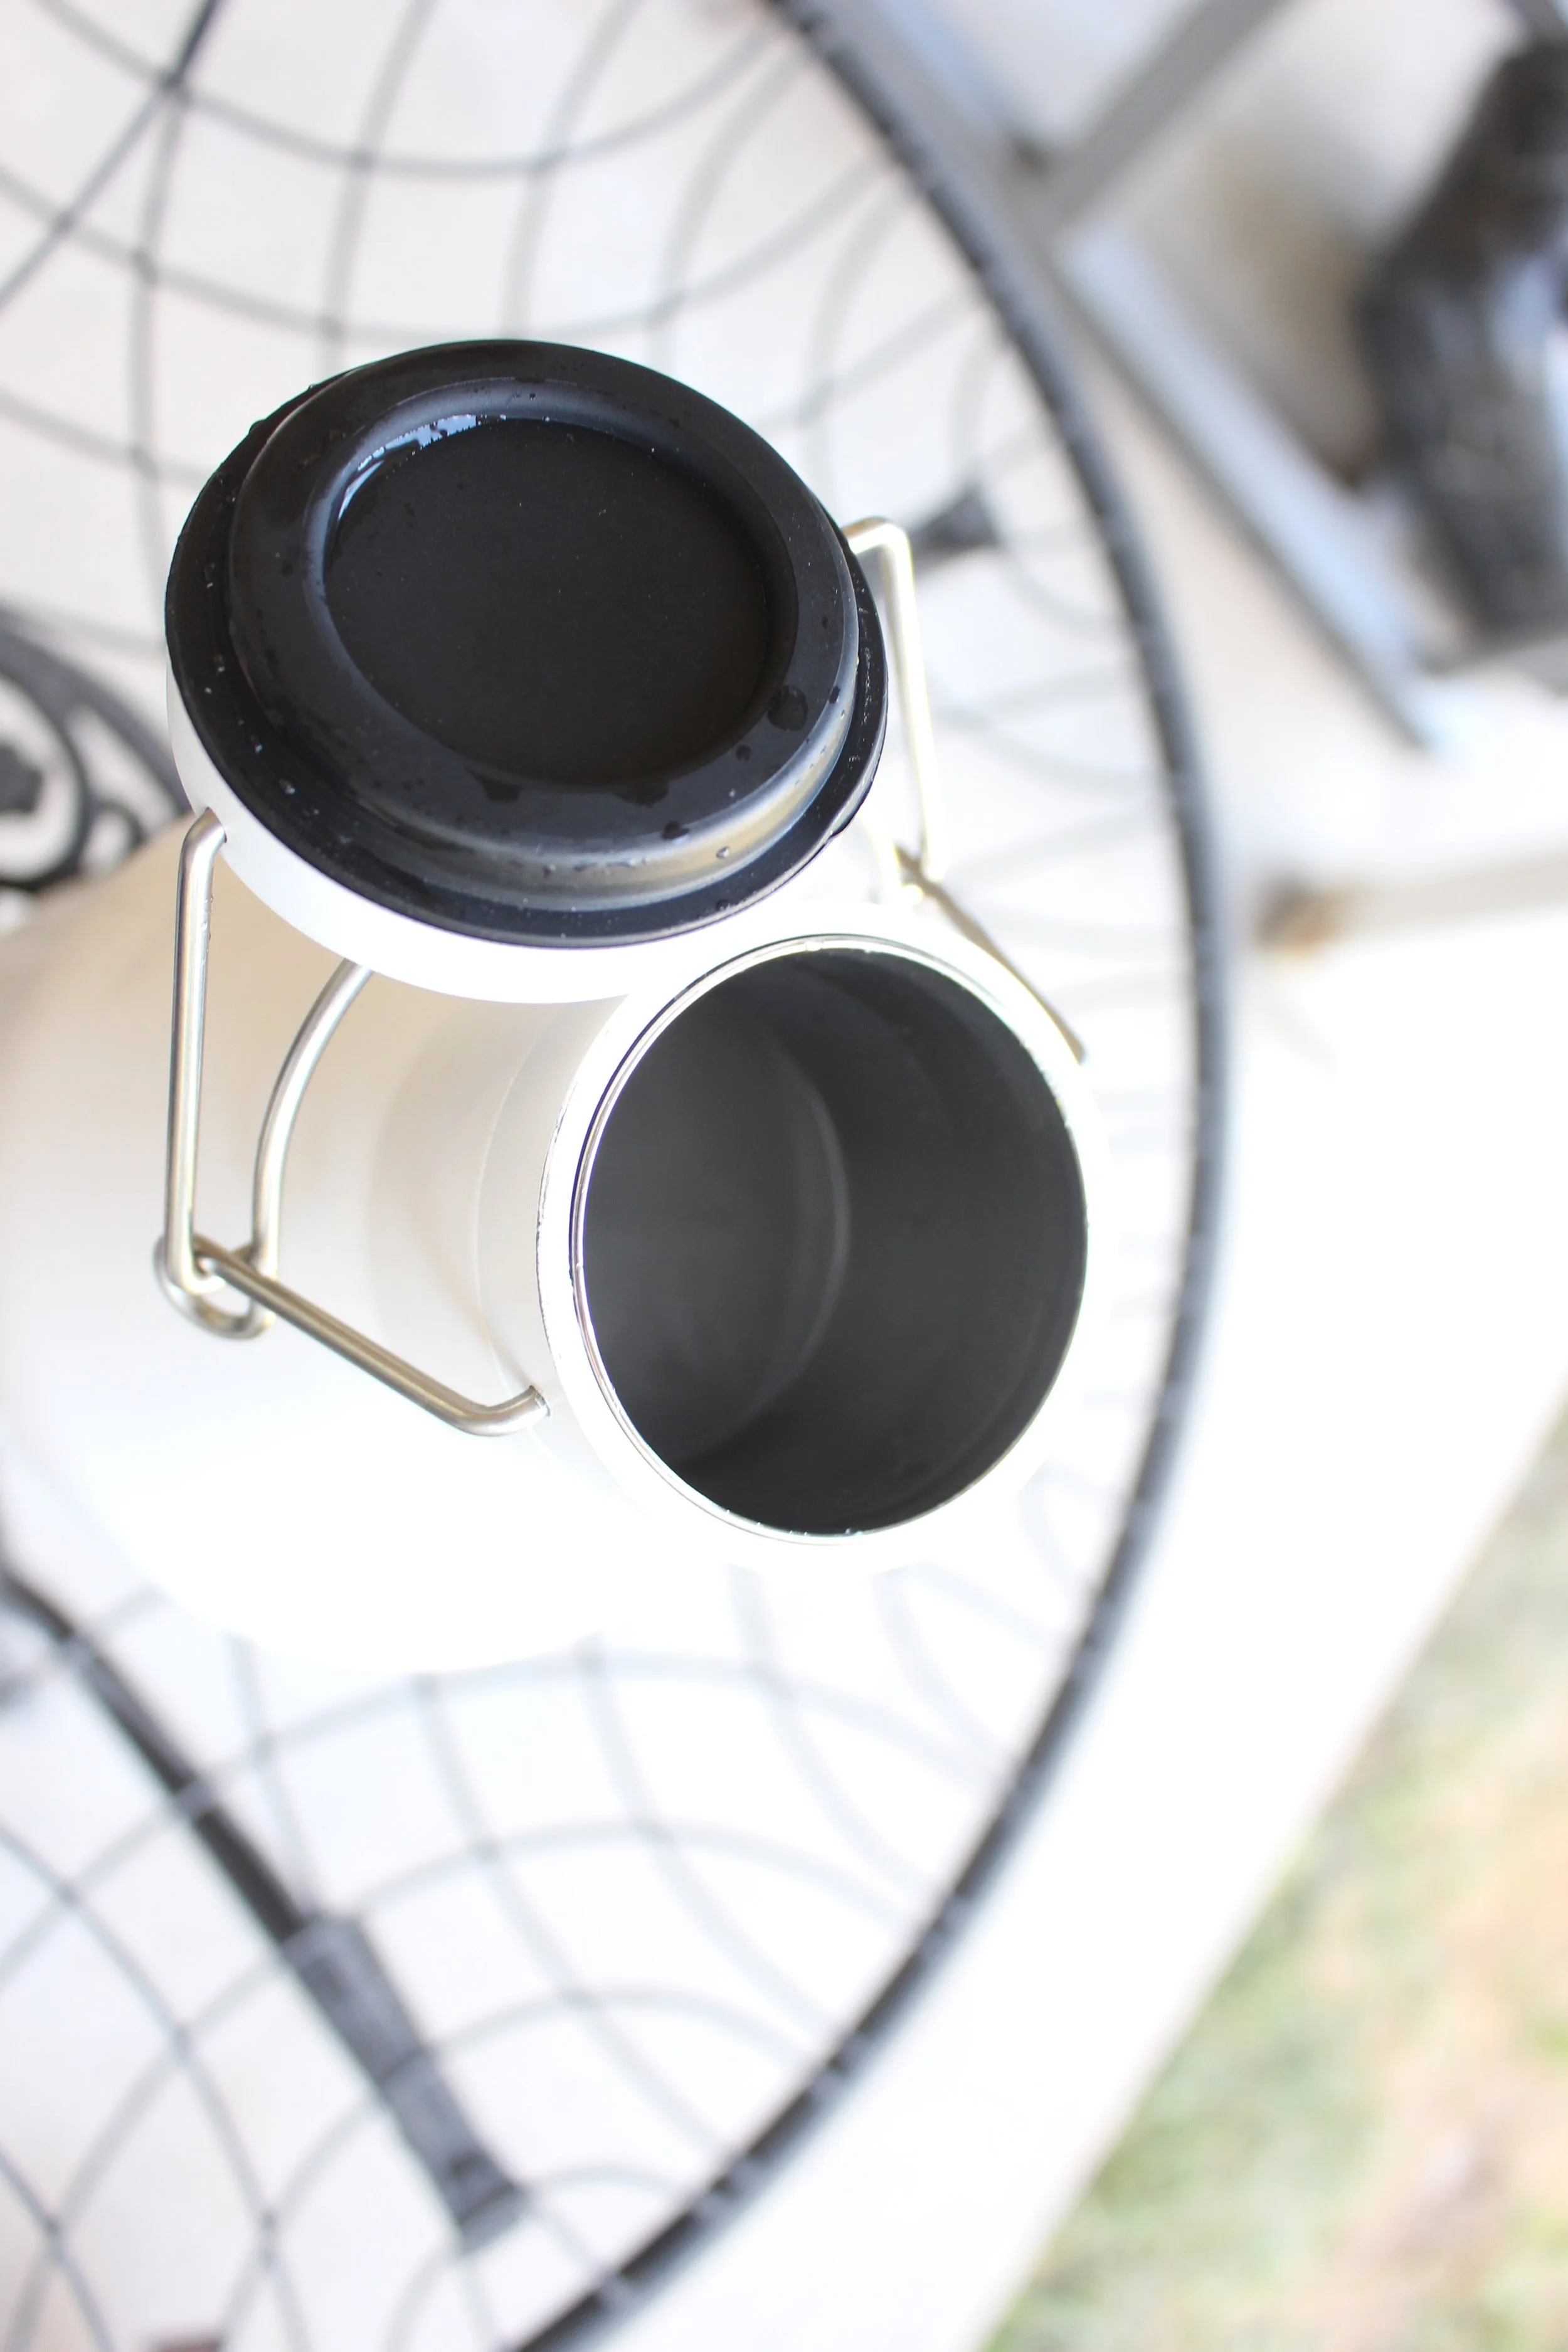
Hydro Flask
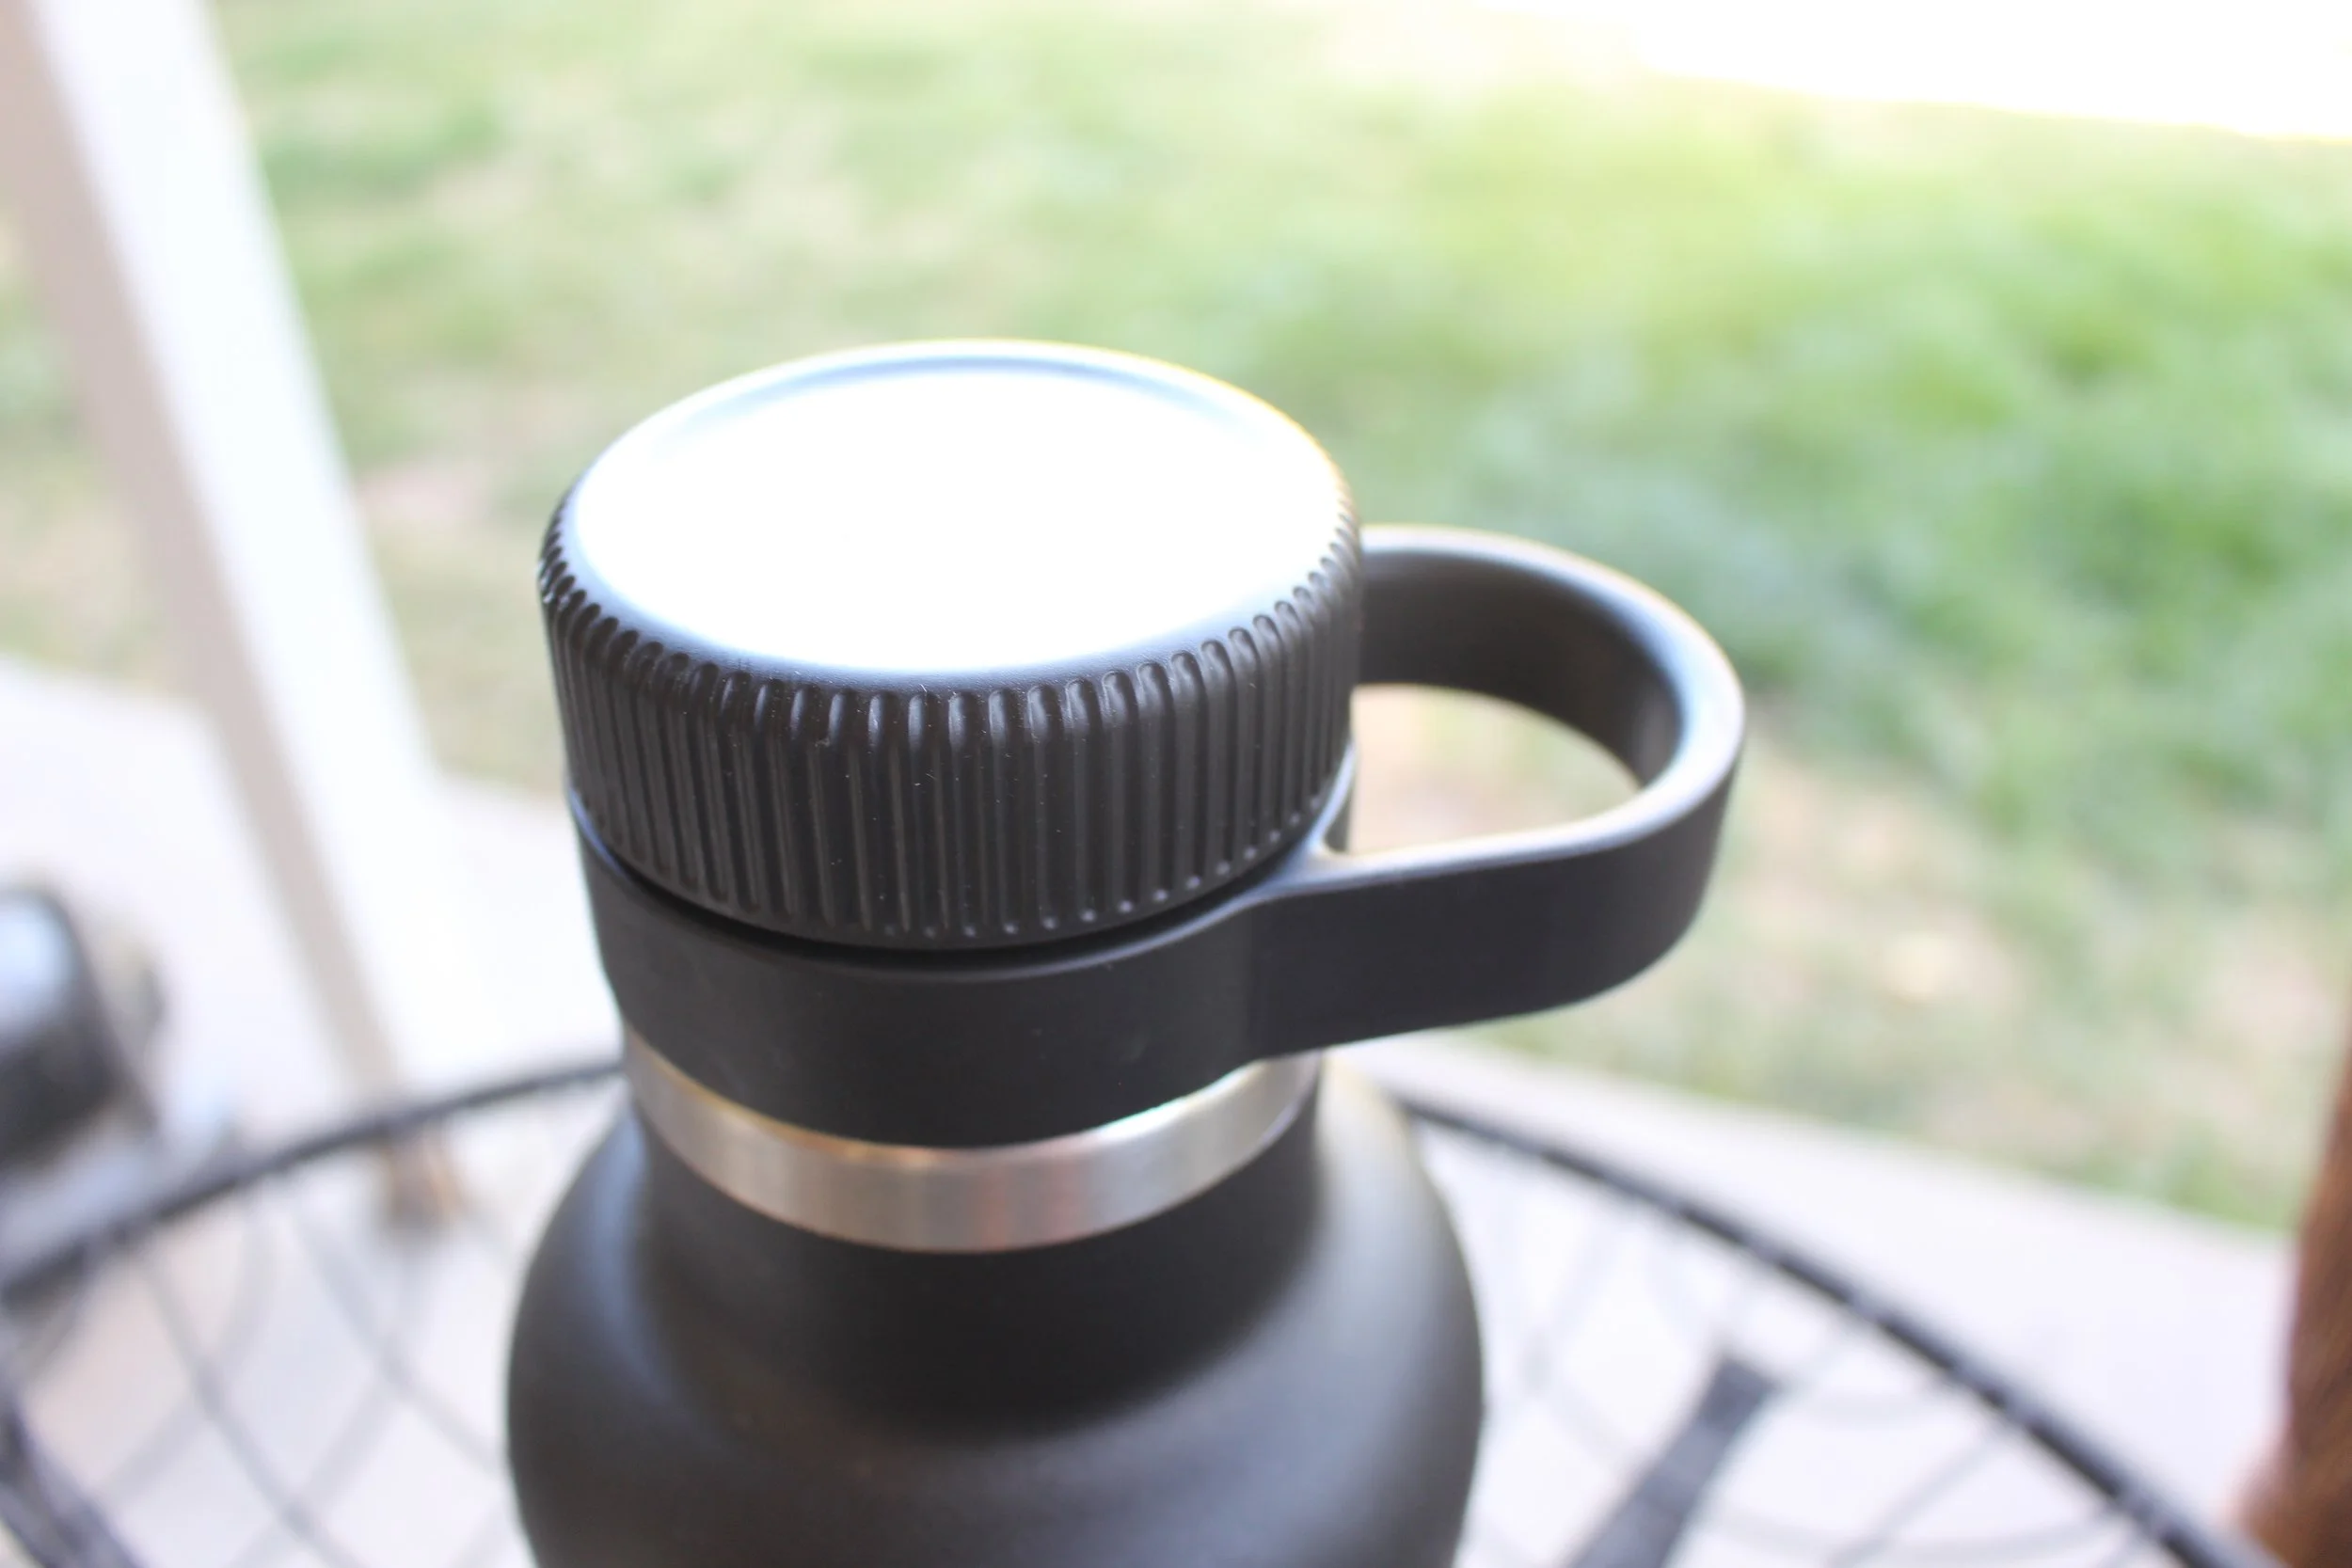
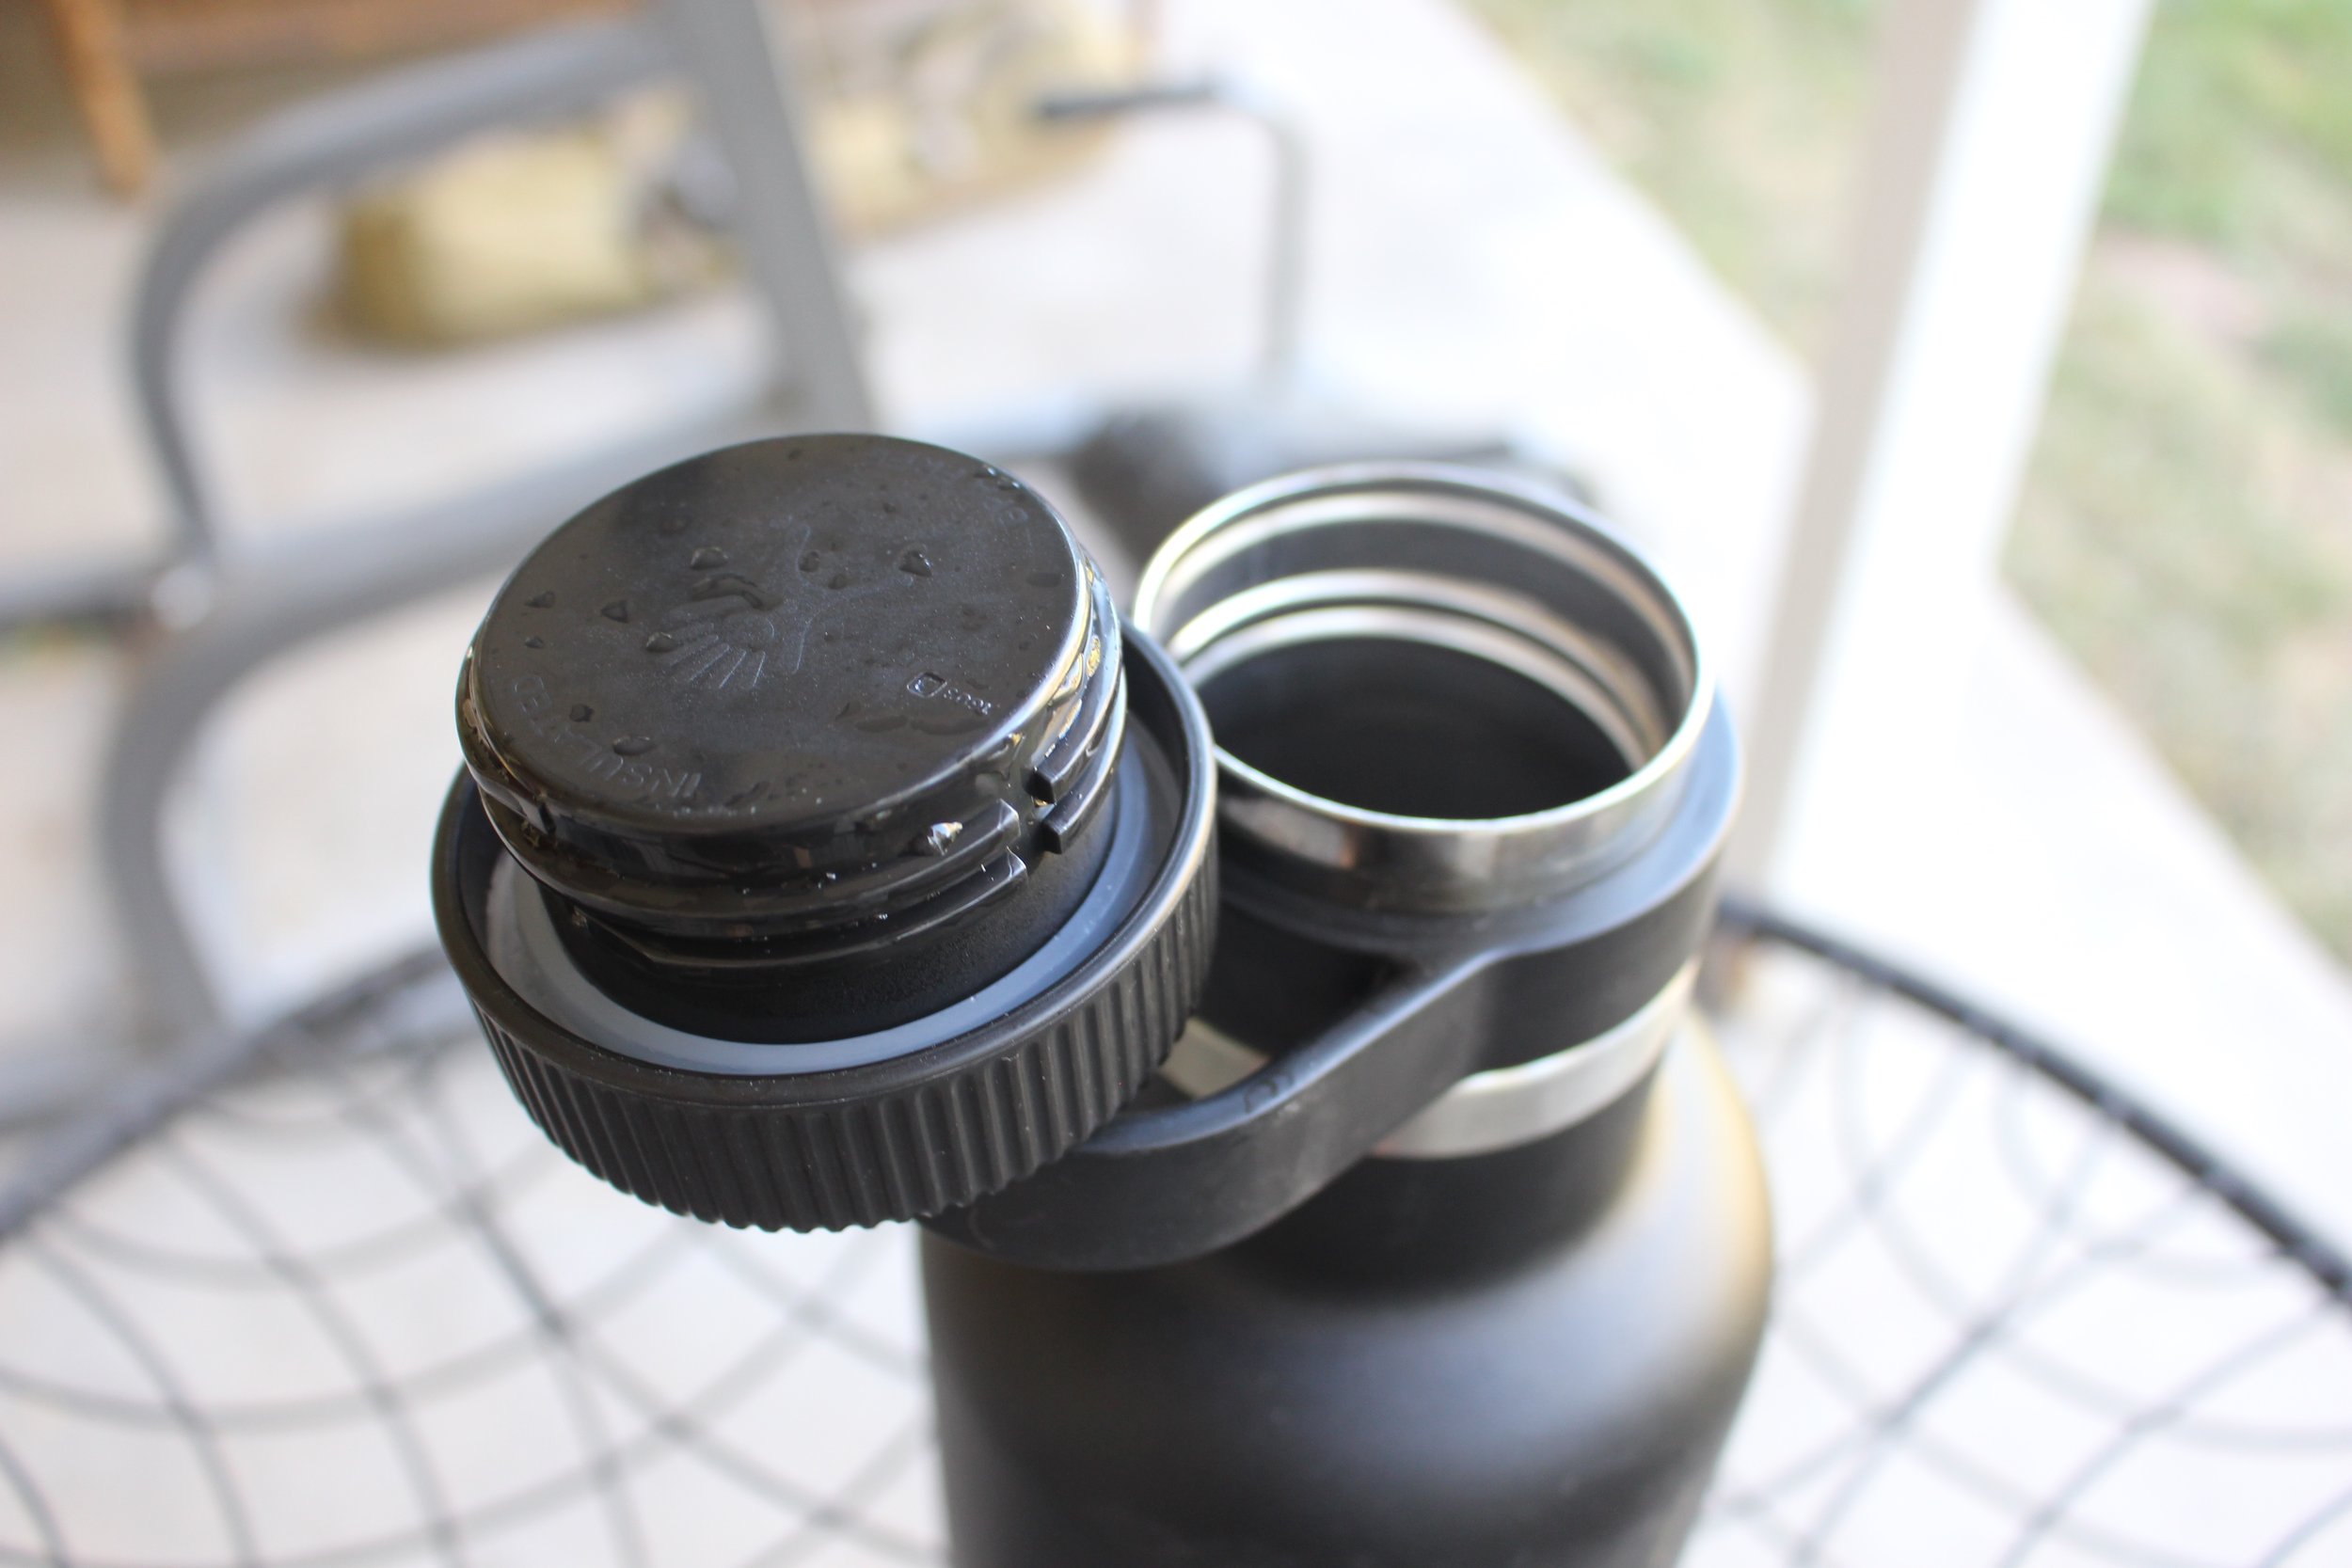
The Hydro Flask lid was one of my favorite lids during the testing. I think it was a mix between the easy twist style opening combined with the indented side of the lid to help with wet hands. The screw on lid also performed very well when it came to sealing the pressure probably due to this Growler being Hydro Flask's second generation and the super deep screw-well of the lid going on the inside as opposed to the outside like the first gen.
9/10
Eco Vessel
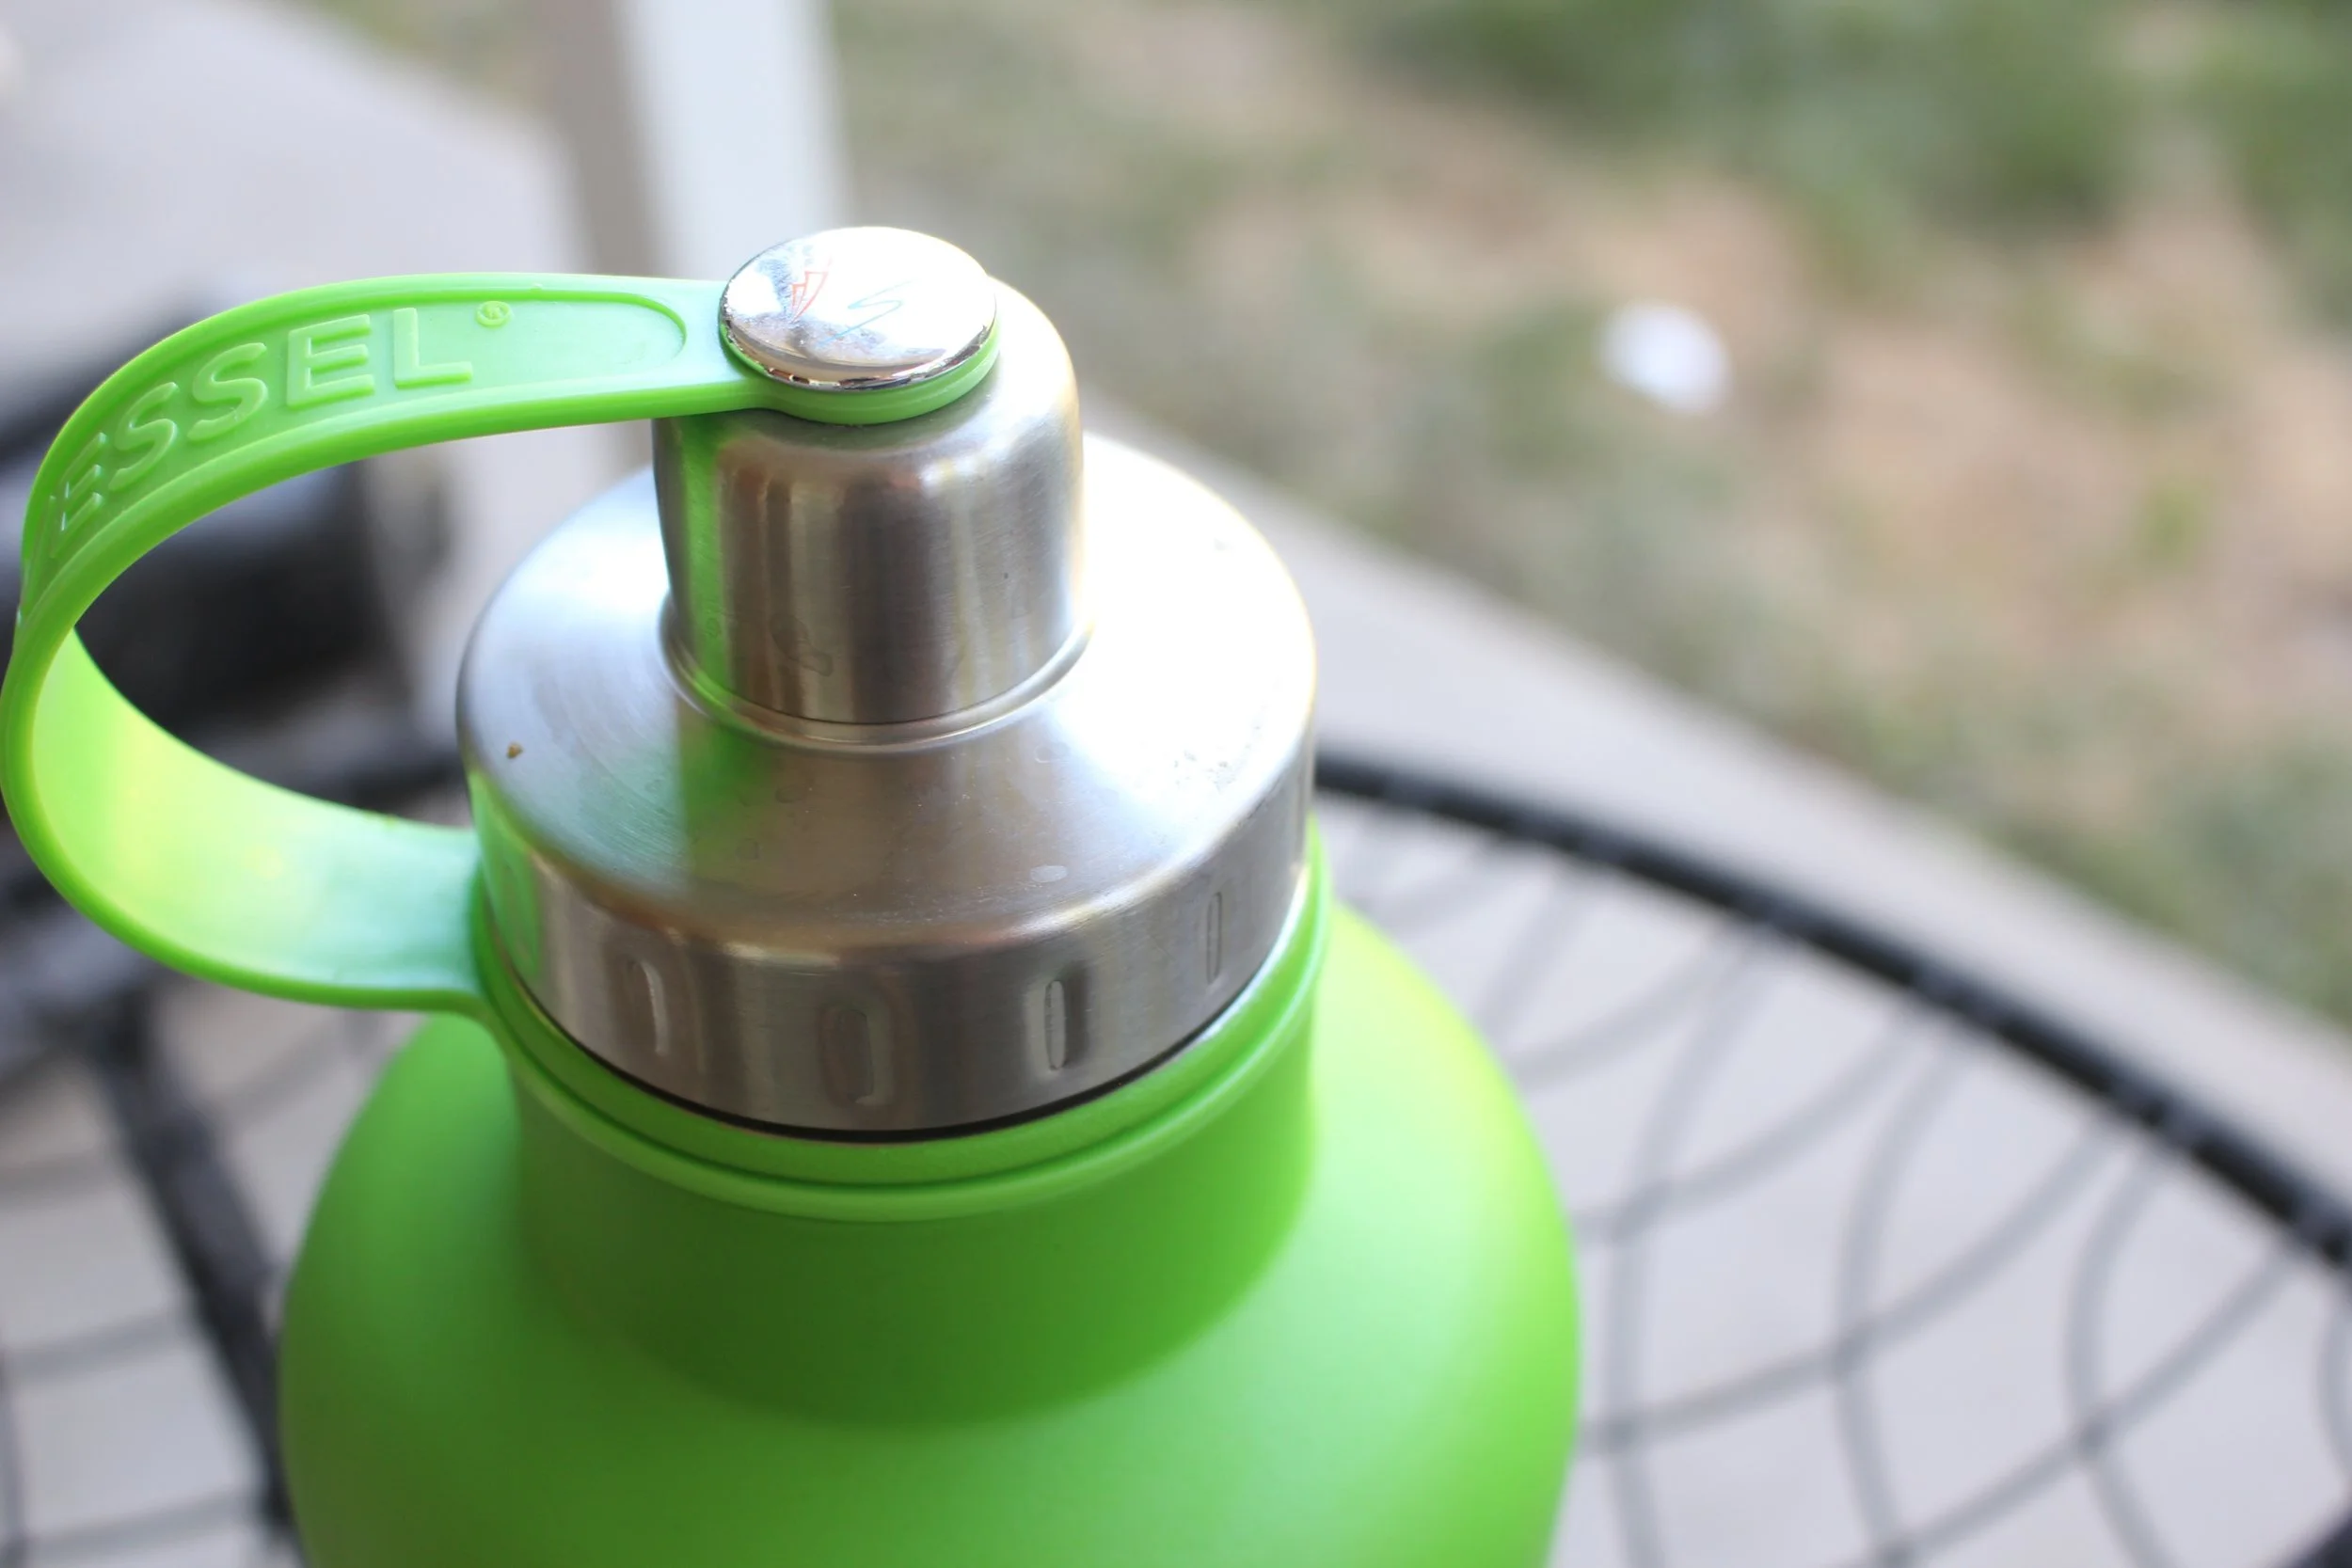
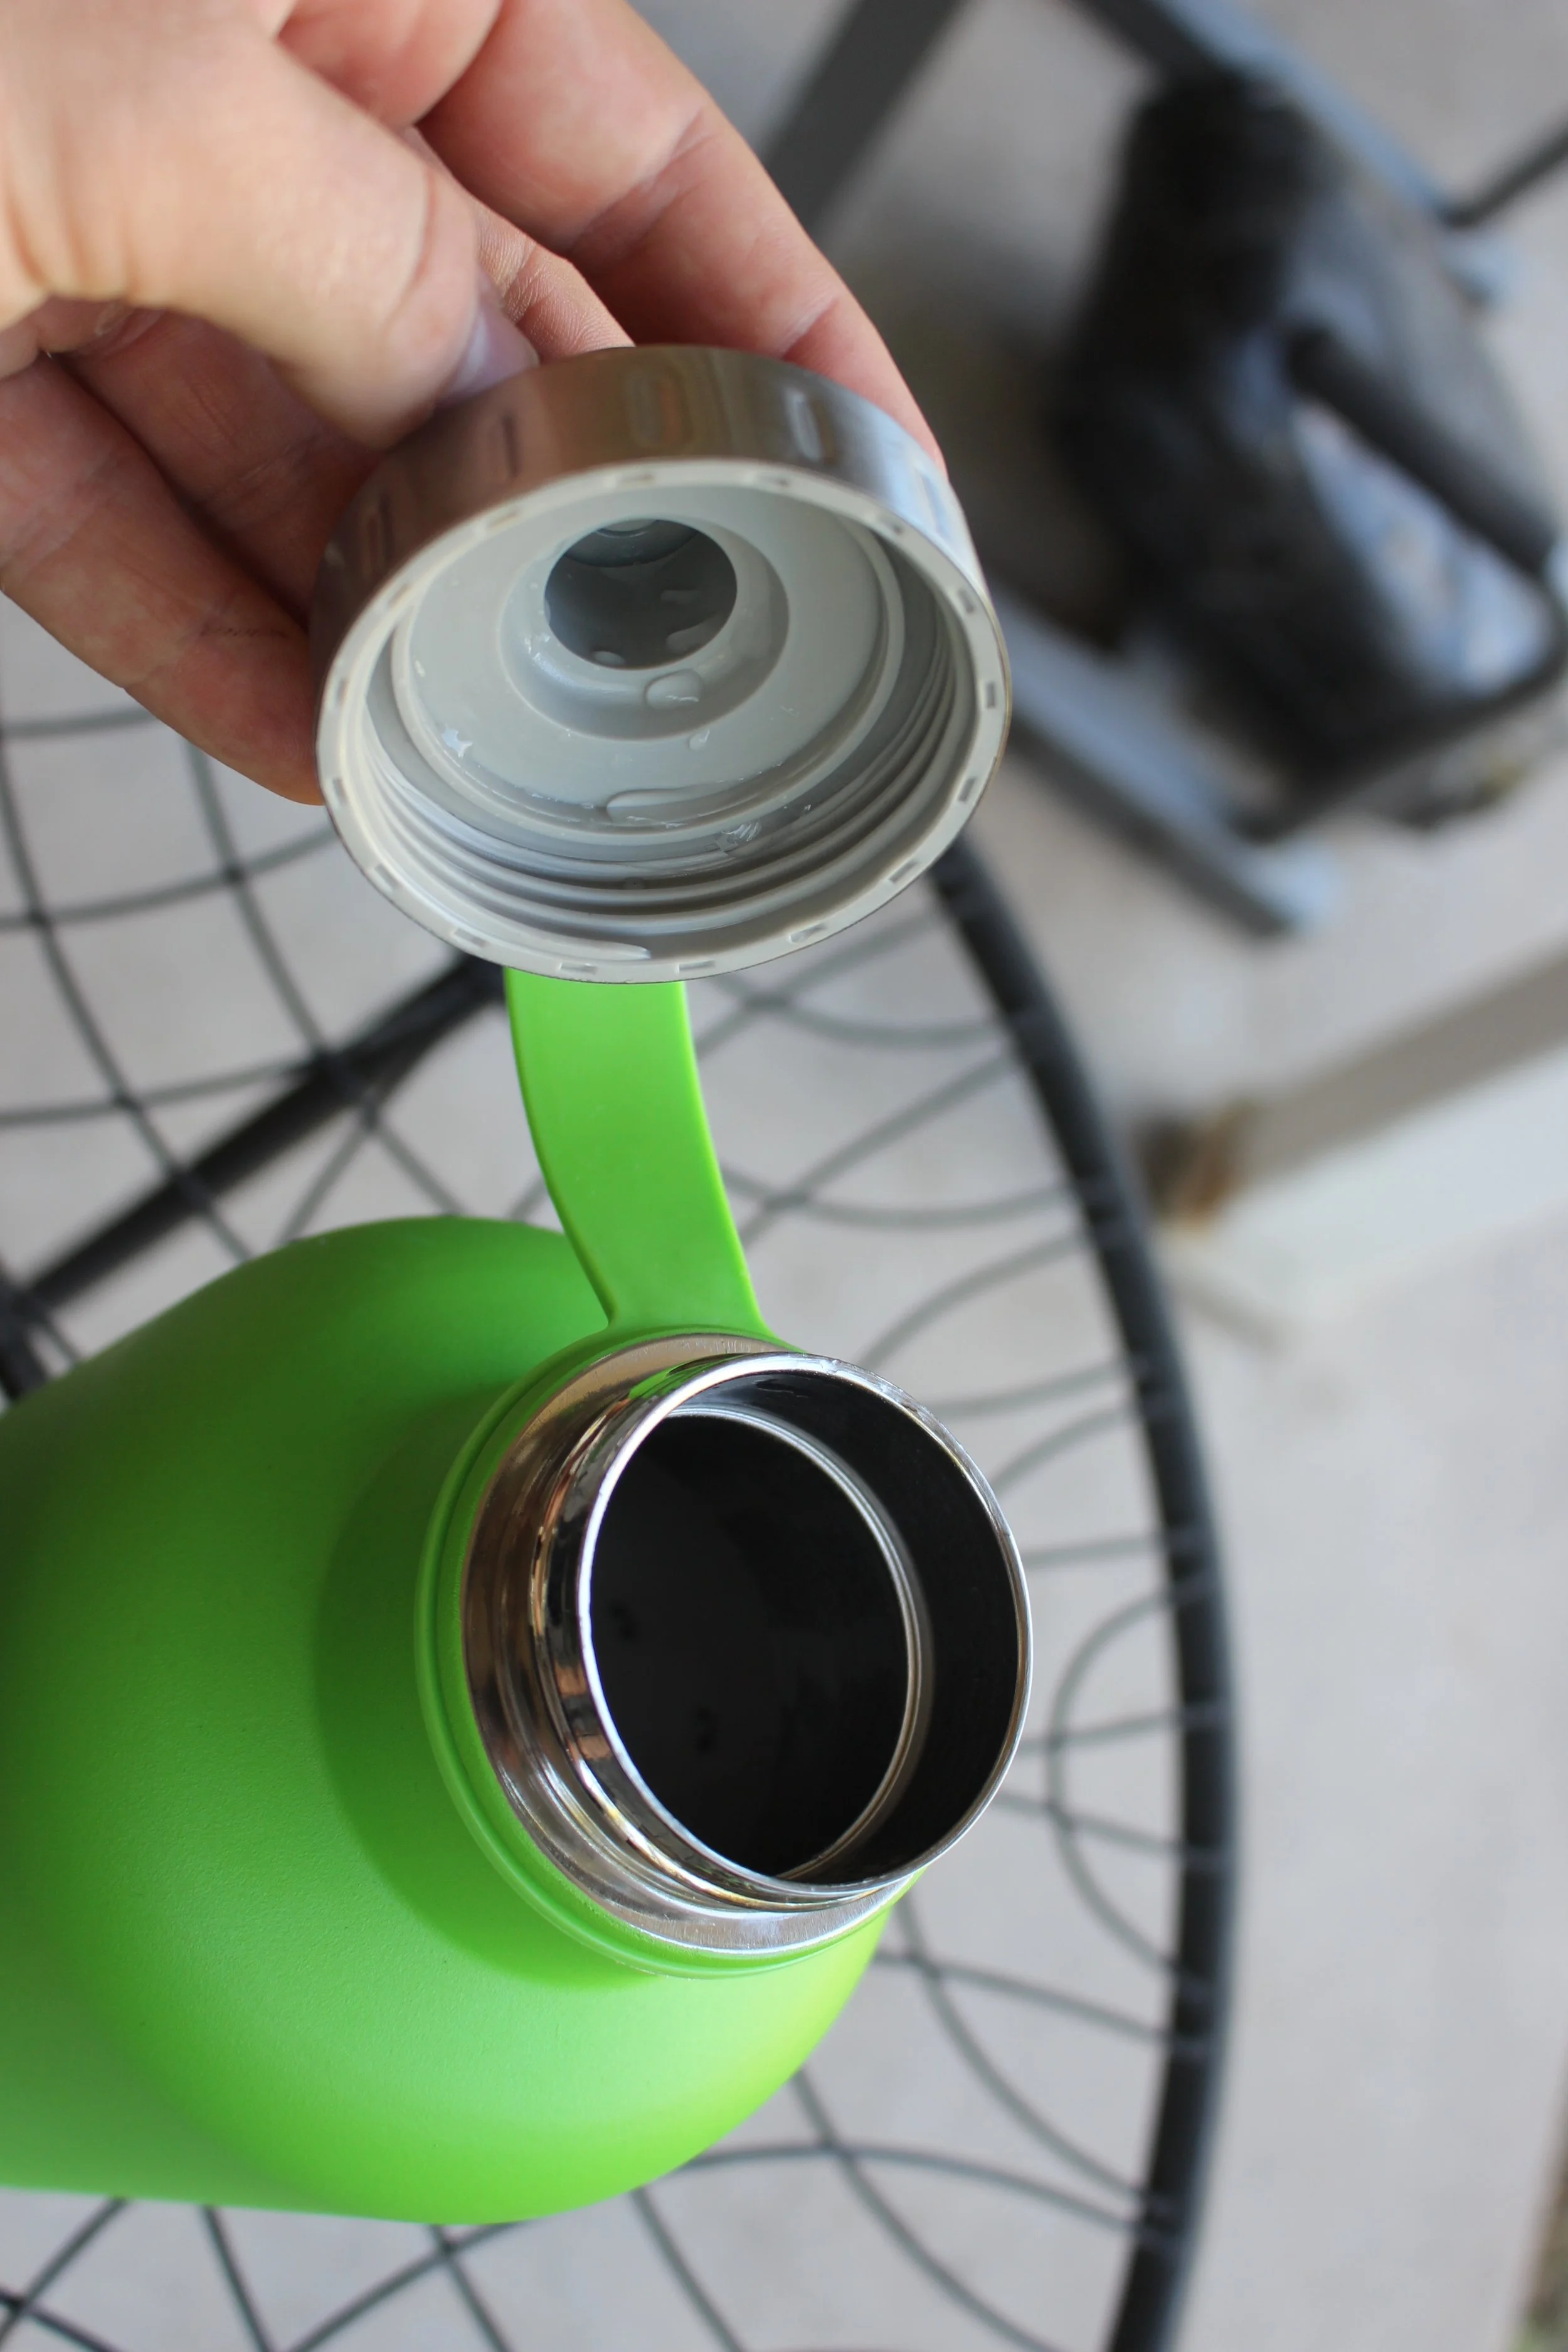
The Eco Vessel supports a stainless screw on lid with a hard rubber strap connected to the top. The lid held pressure decent however I think if it was more of an in bottle style like the Hydro Flask's it would have done much better. The addition of the rubber strap to the lid was a great feature that helped keep everything in place. The stainless top can also be slippery when twisting opening even with the small indents featured on the side.
6/10
Drink Tank
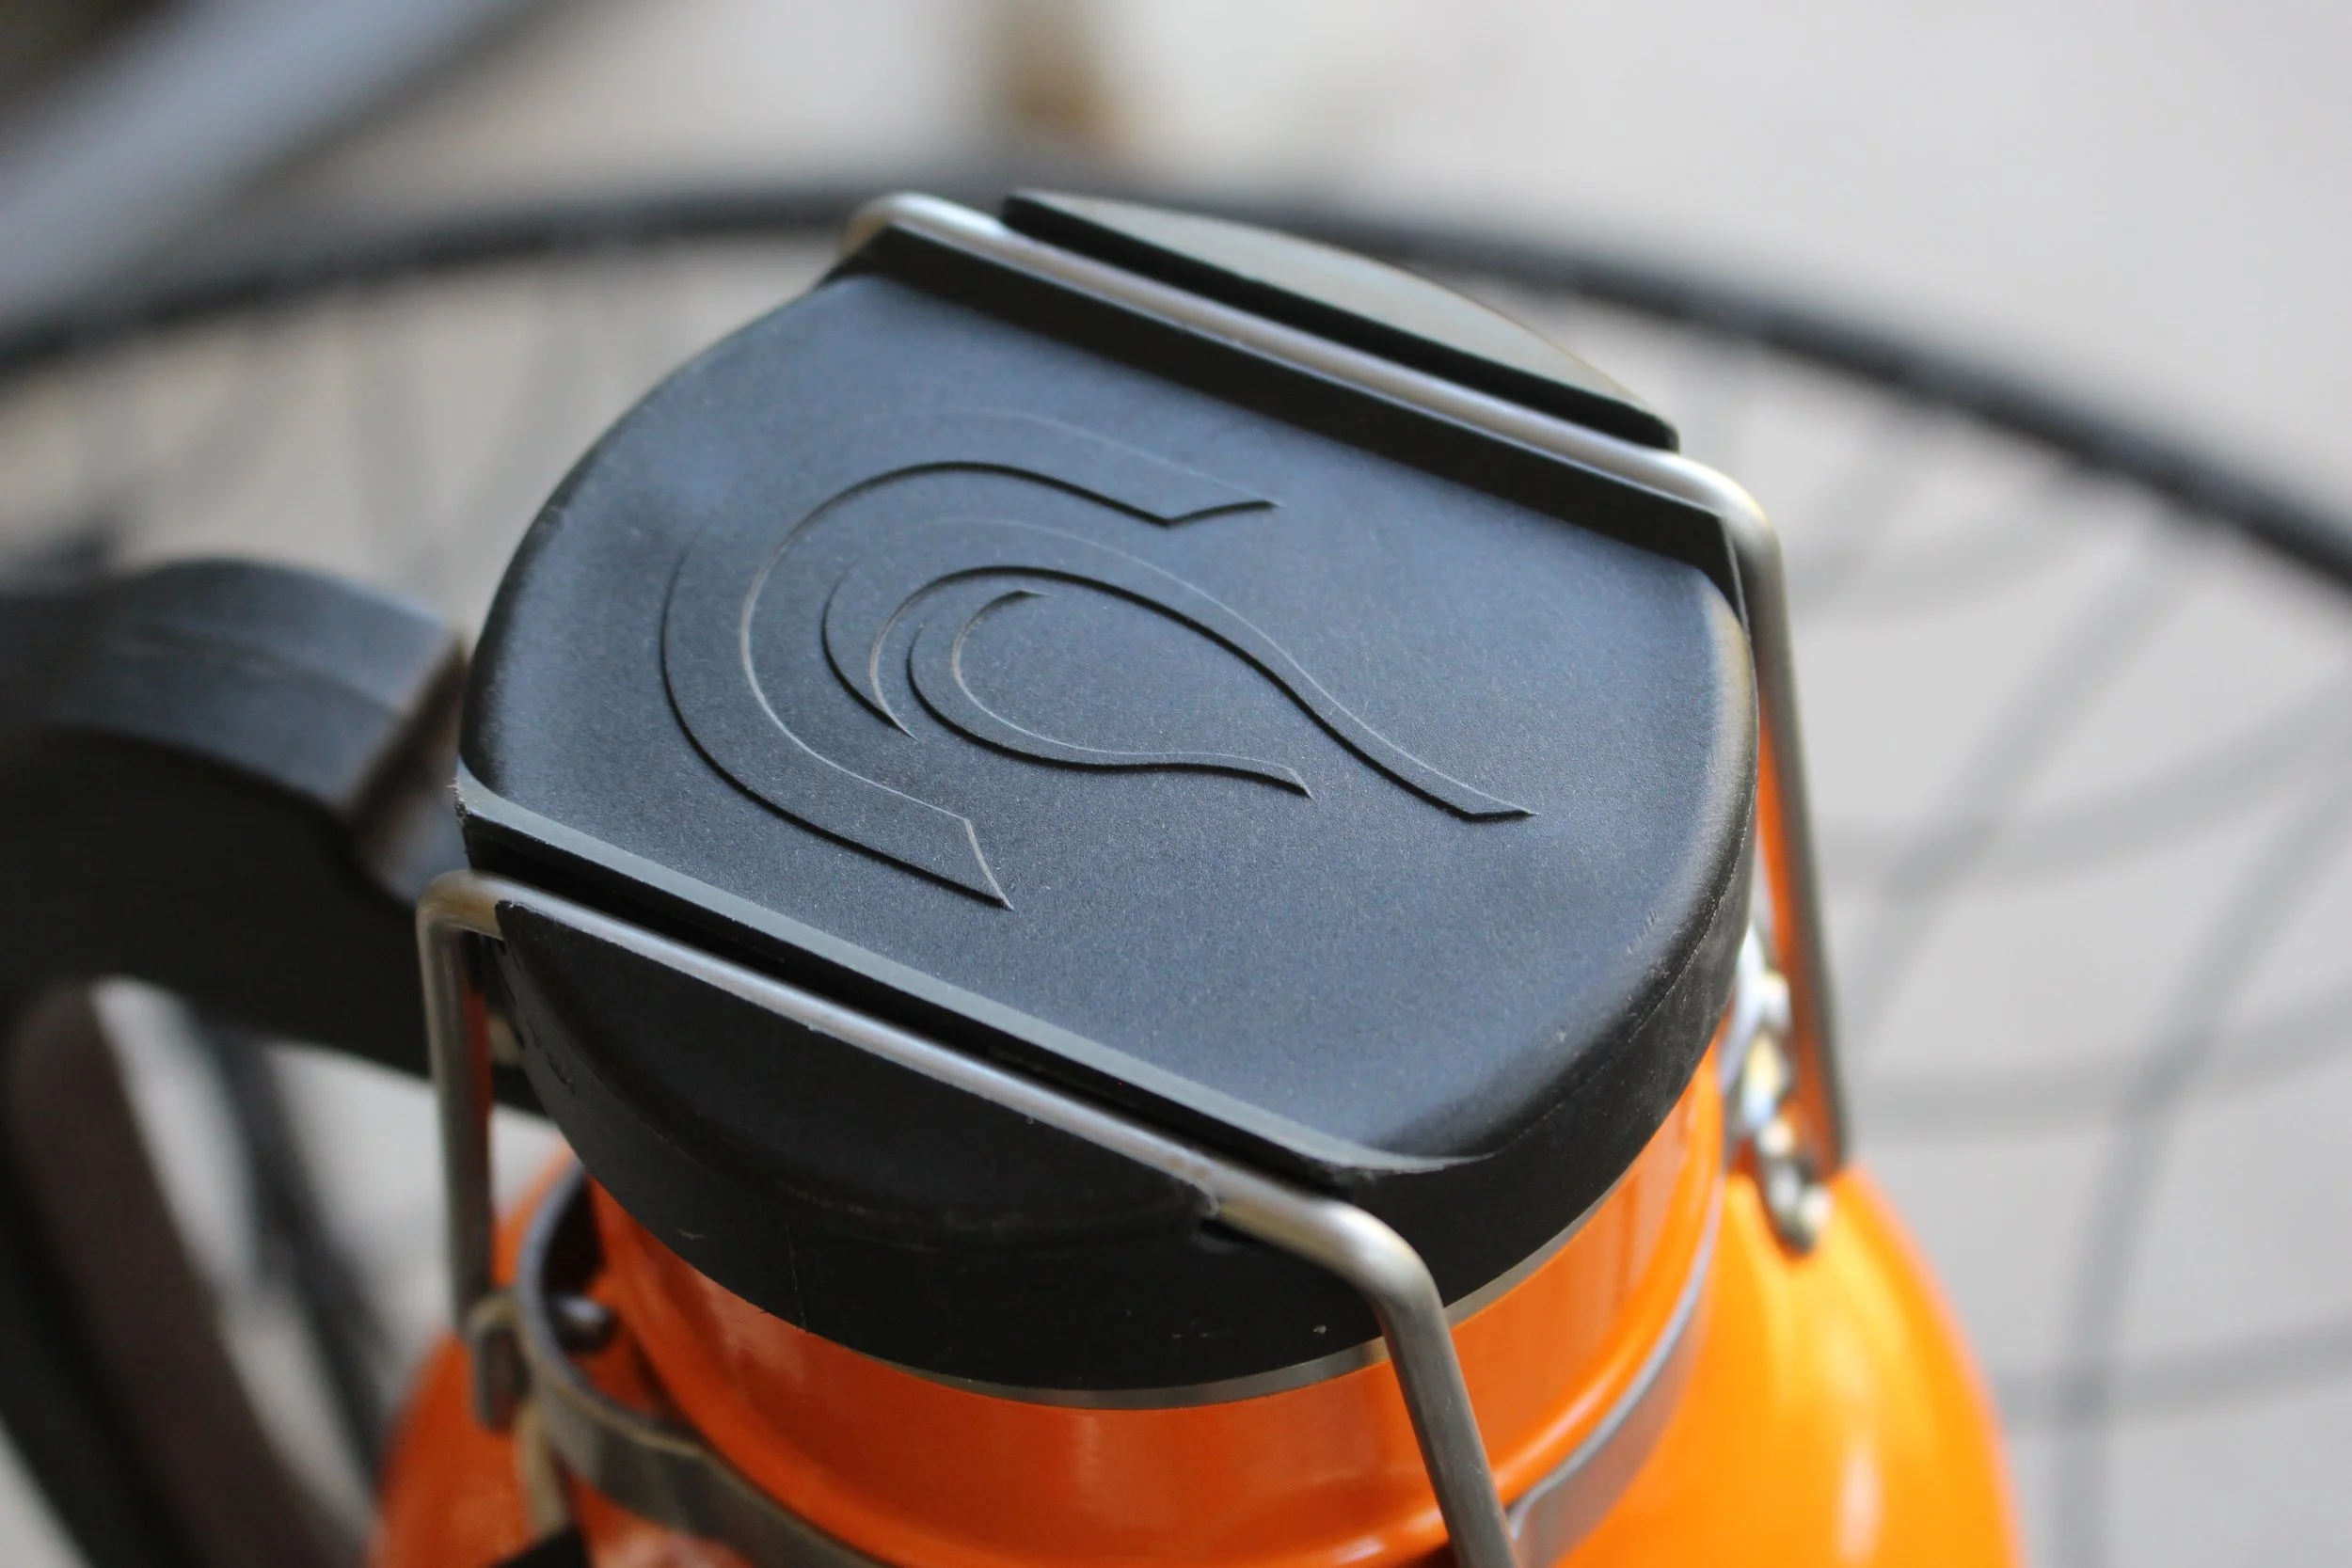
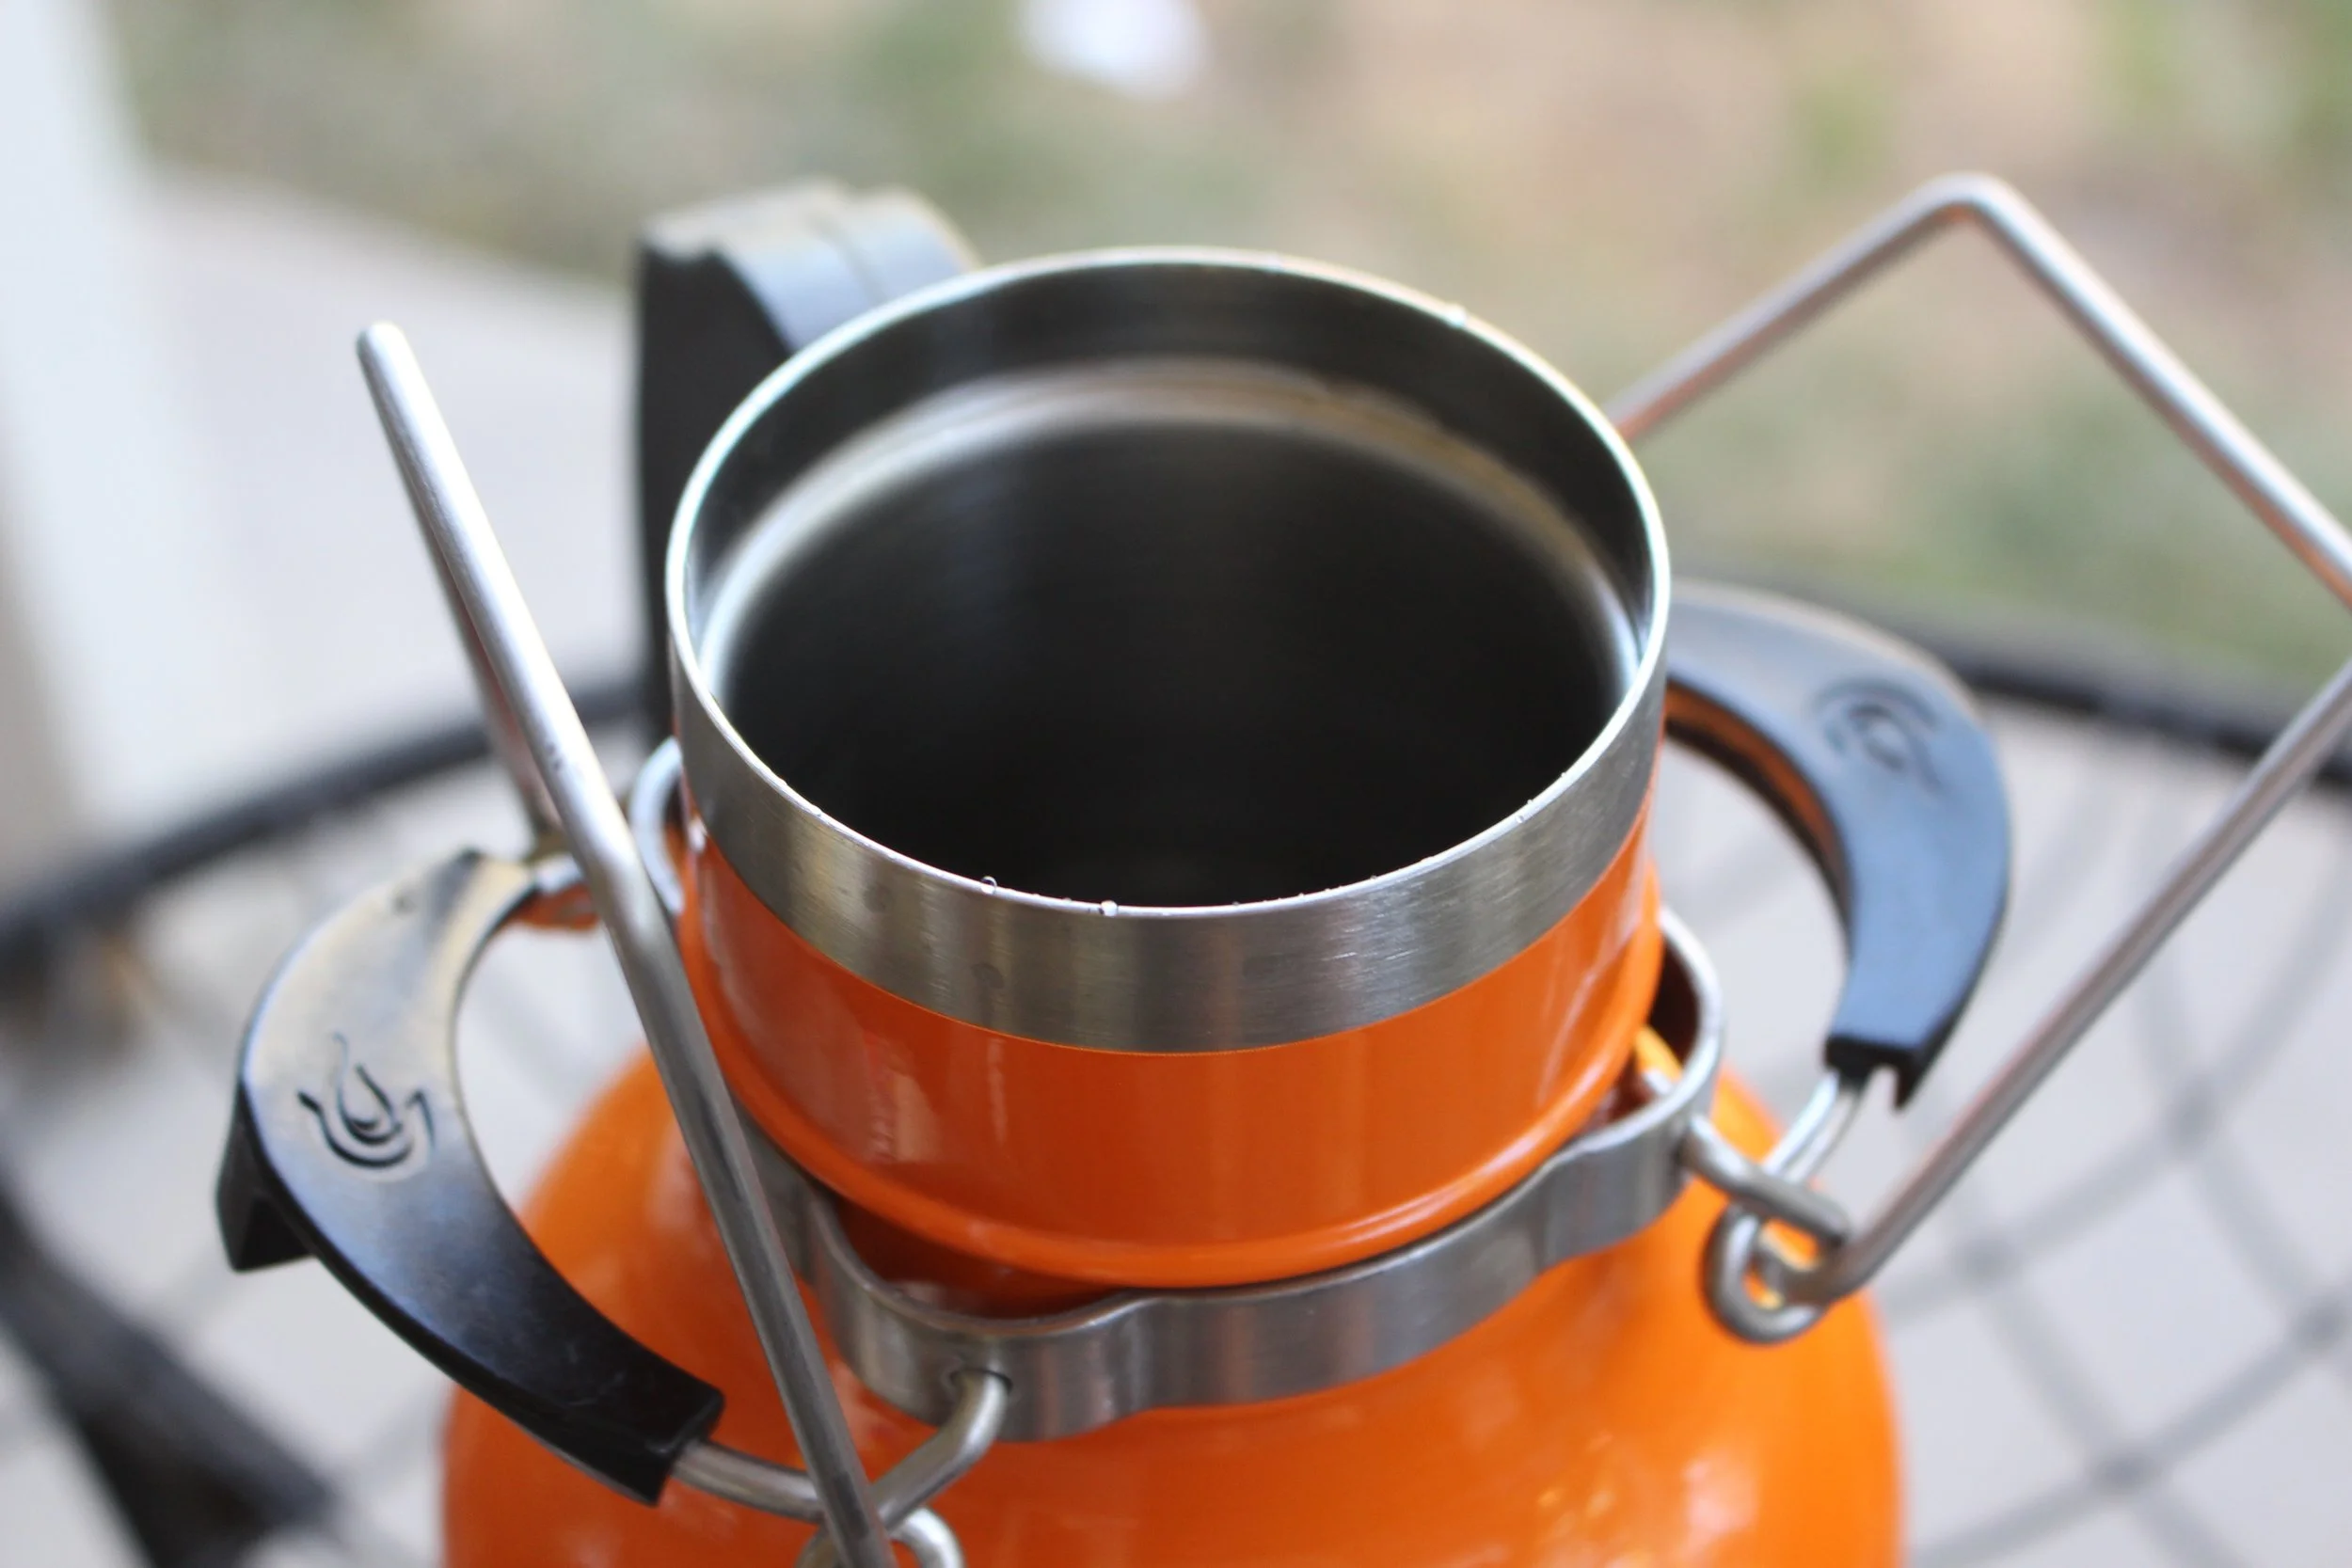
Drink Tank's Growler has without a doubt the most unique style lid of the bunch most Growlers are either Clamp style or Screw. The DT is what I would call a double-clamp-latch-screw lid. The DT is open by unlatching each side pull. After you unlatch the steel beams you then can remove the lid. While this lid was defiantly the most unique it did prove to be the slowest lid to open. I absolutely love the different look of the Drink Tank Growler, however, I was not a fan of the lid. Re-latching the lid also takes considerably more effort in needing to line up the steel bar slots on either side of the lid to close it.
4/10
GSI Outdoors
GSI Outdoor's Growler lid was another one of my favorites during the testing. The lid is made up of stainless like the body and uses a screw style closure. After unscrewing the lid you can leave the opening and not have to worry about losing it as it stays attached via the handle. Underneath the GSI also uses a stainless plate to help with temp control. It's a simple and effective lid.
8/10
Klean Kanteen
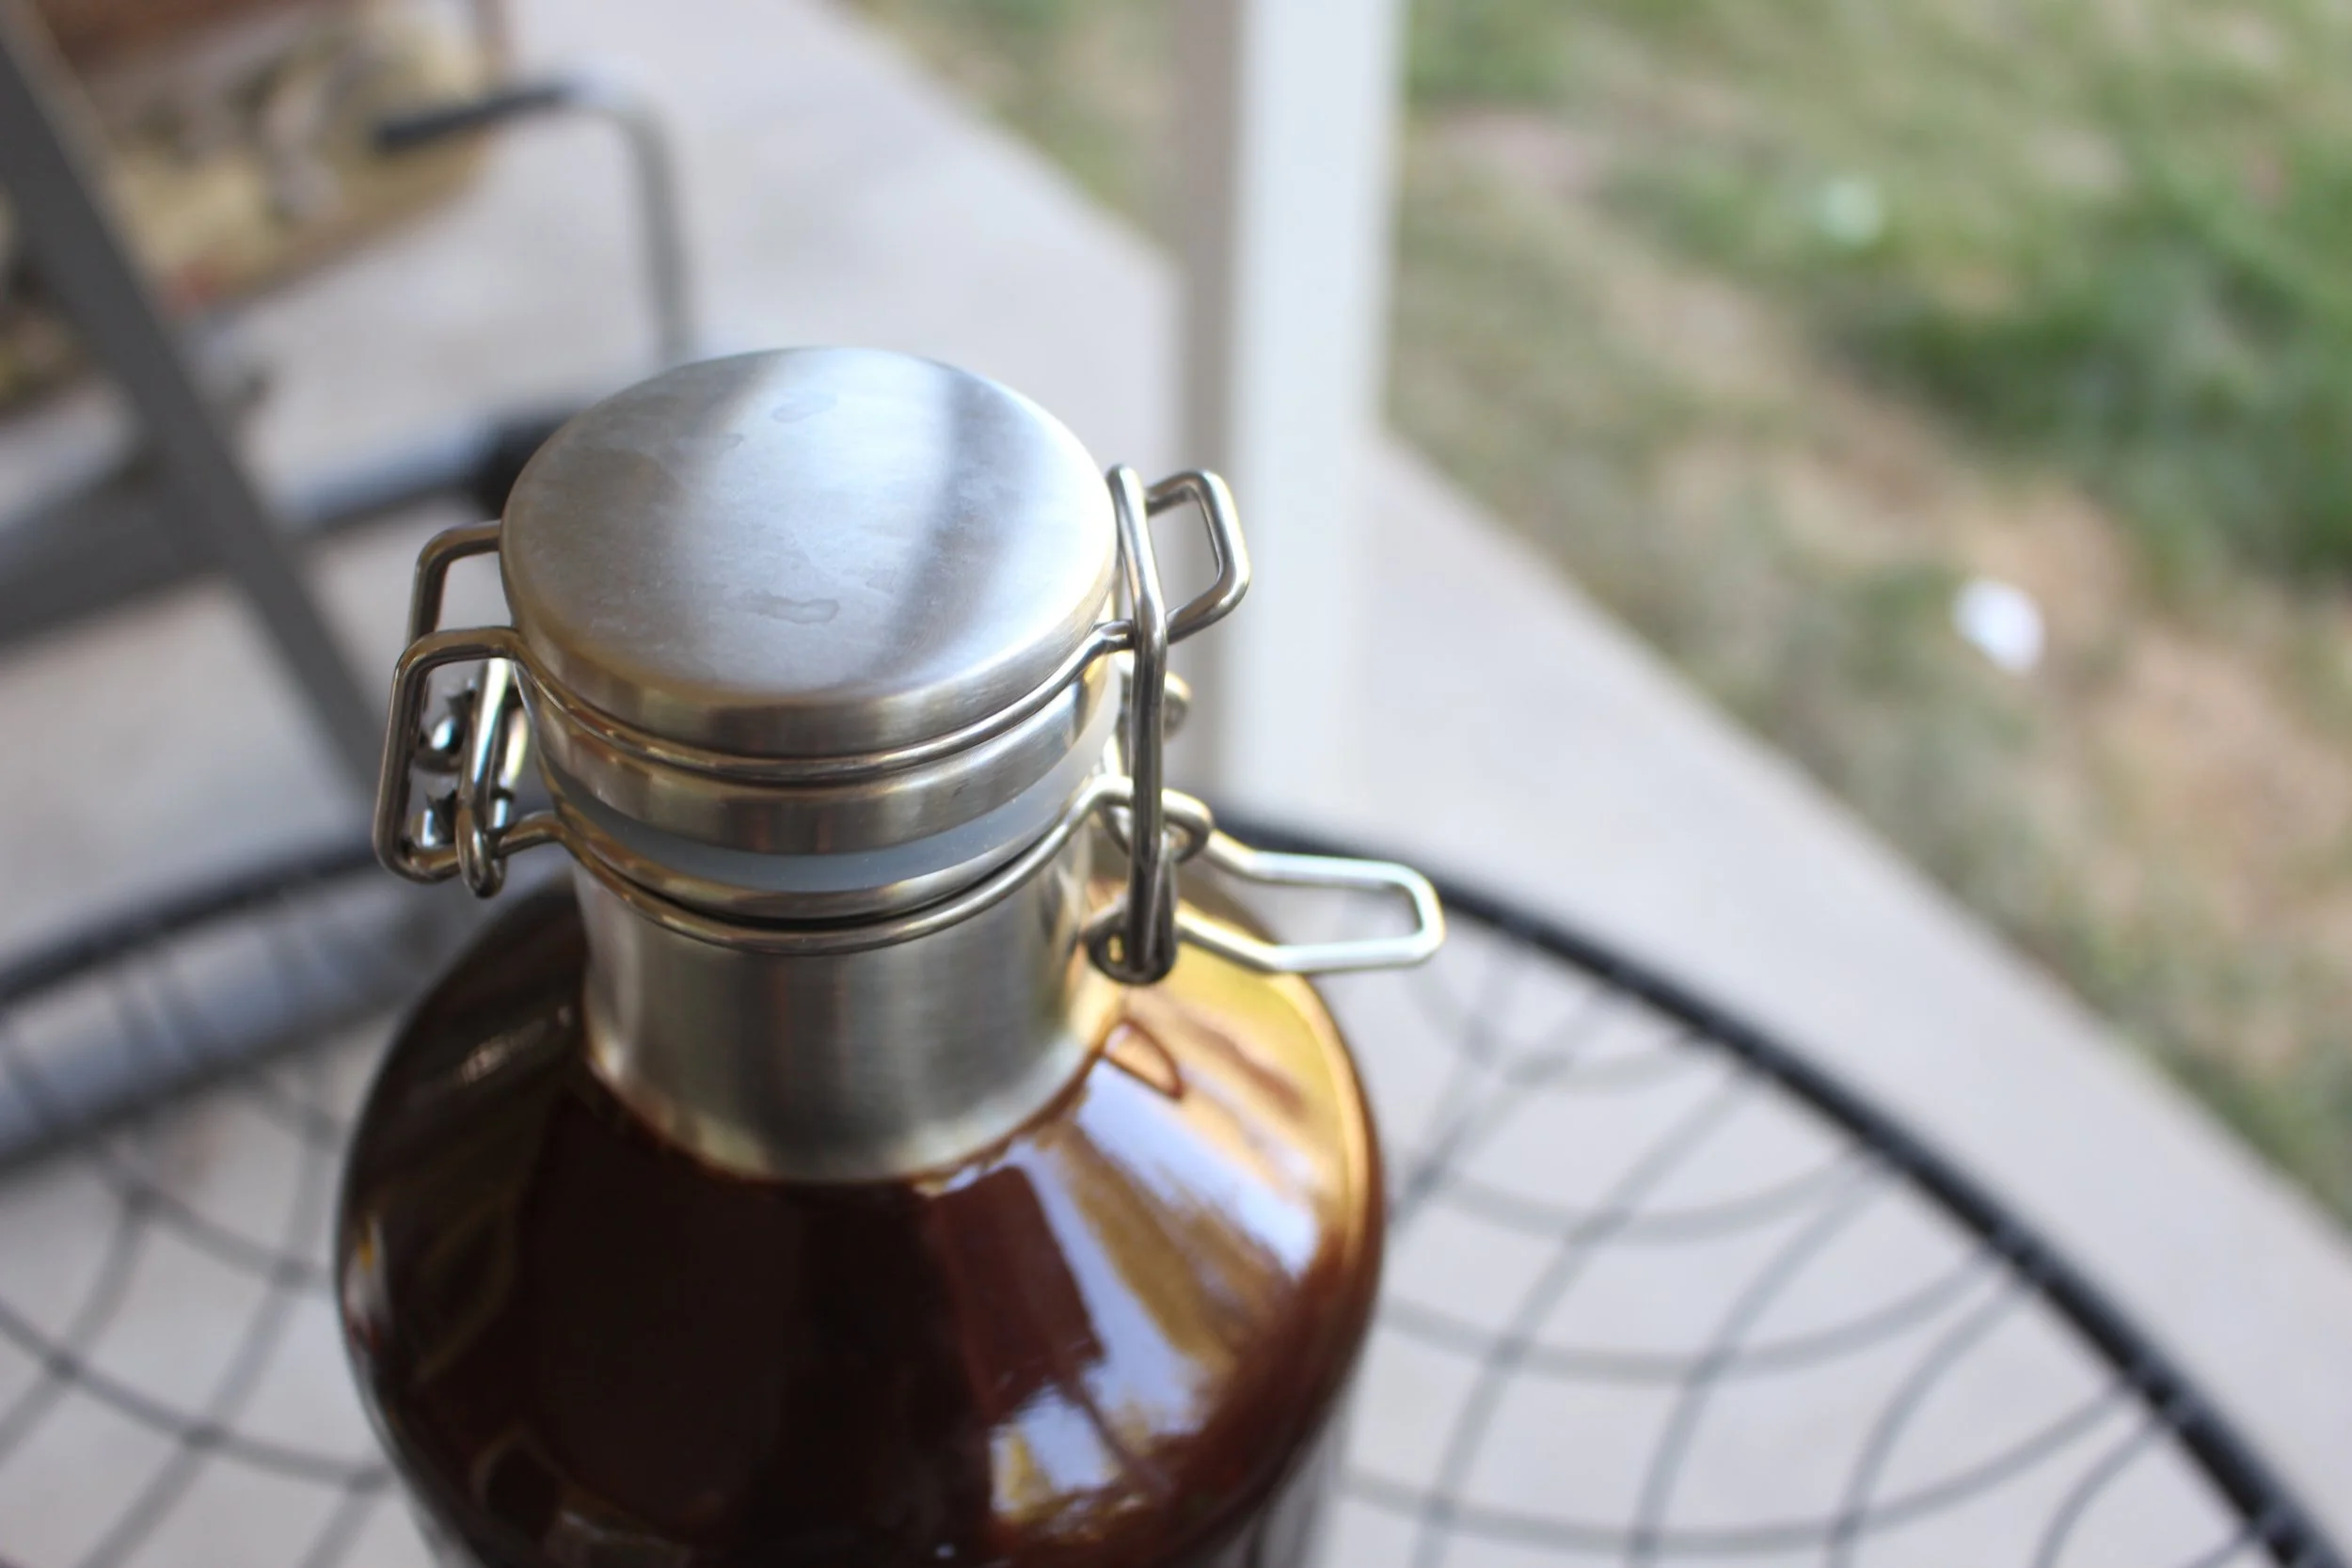
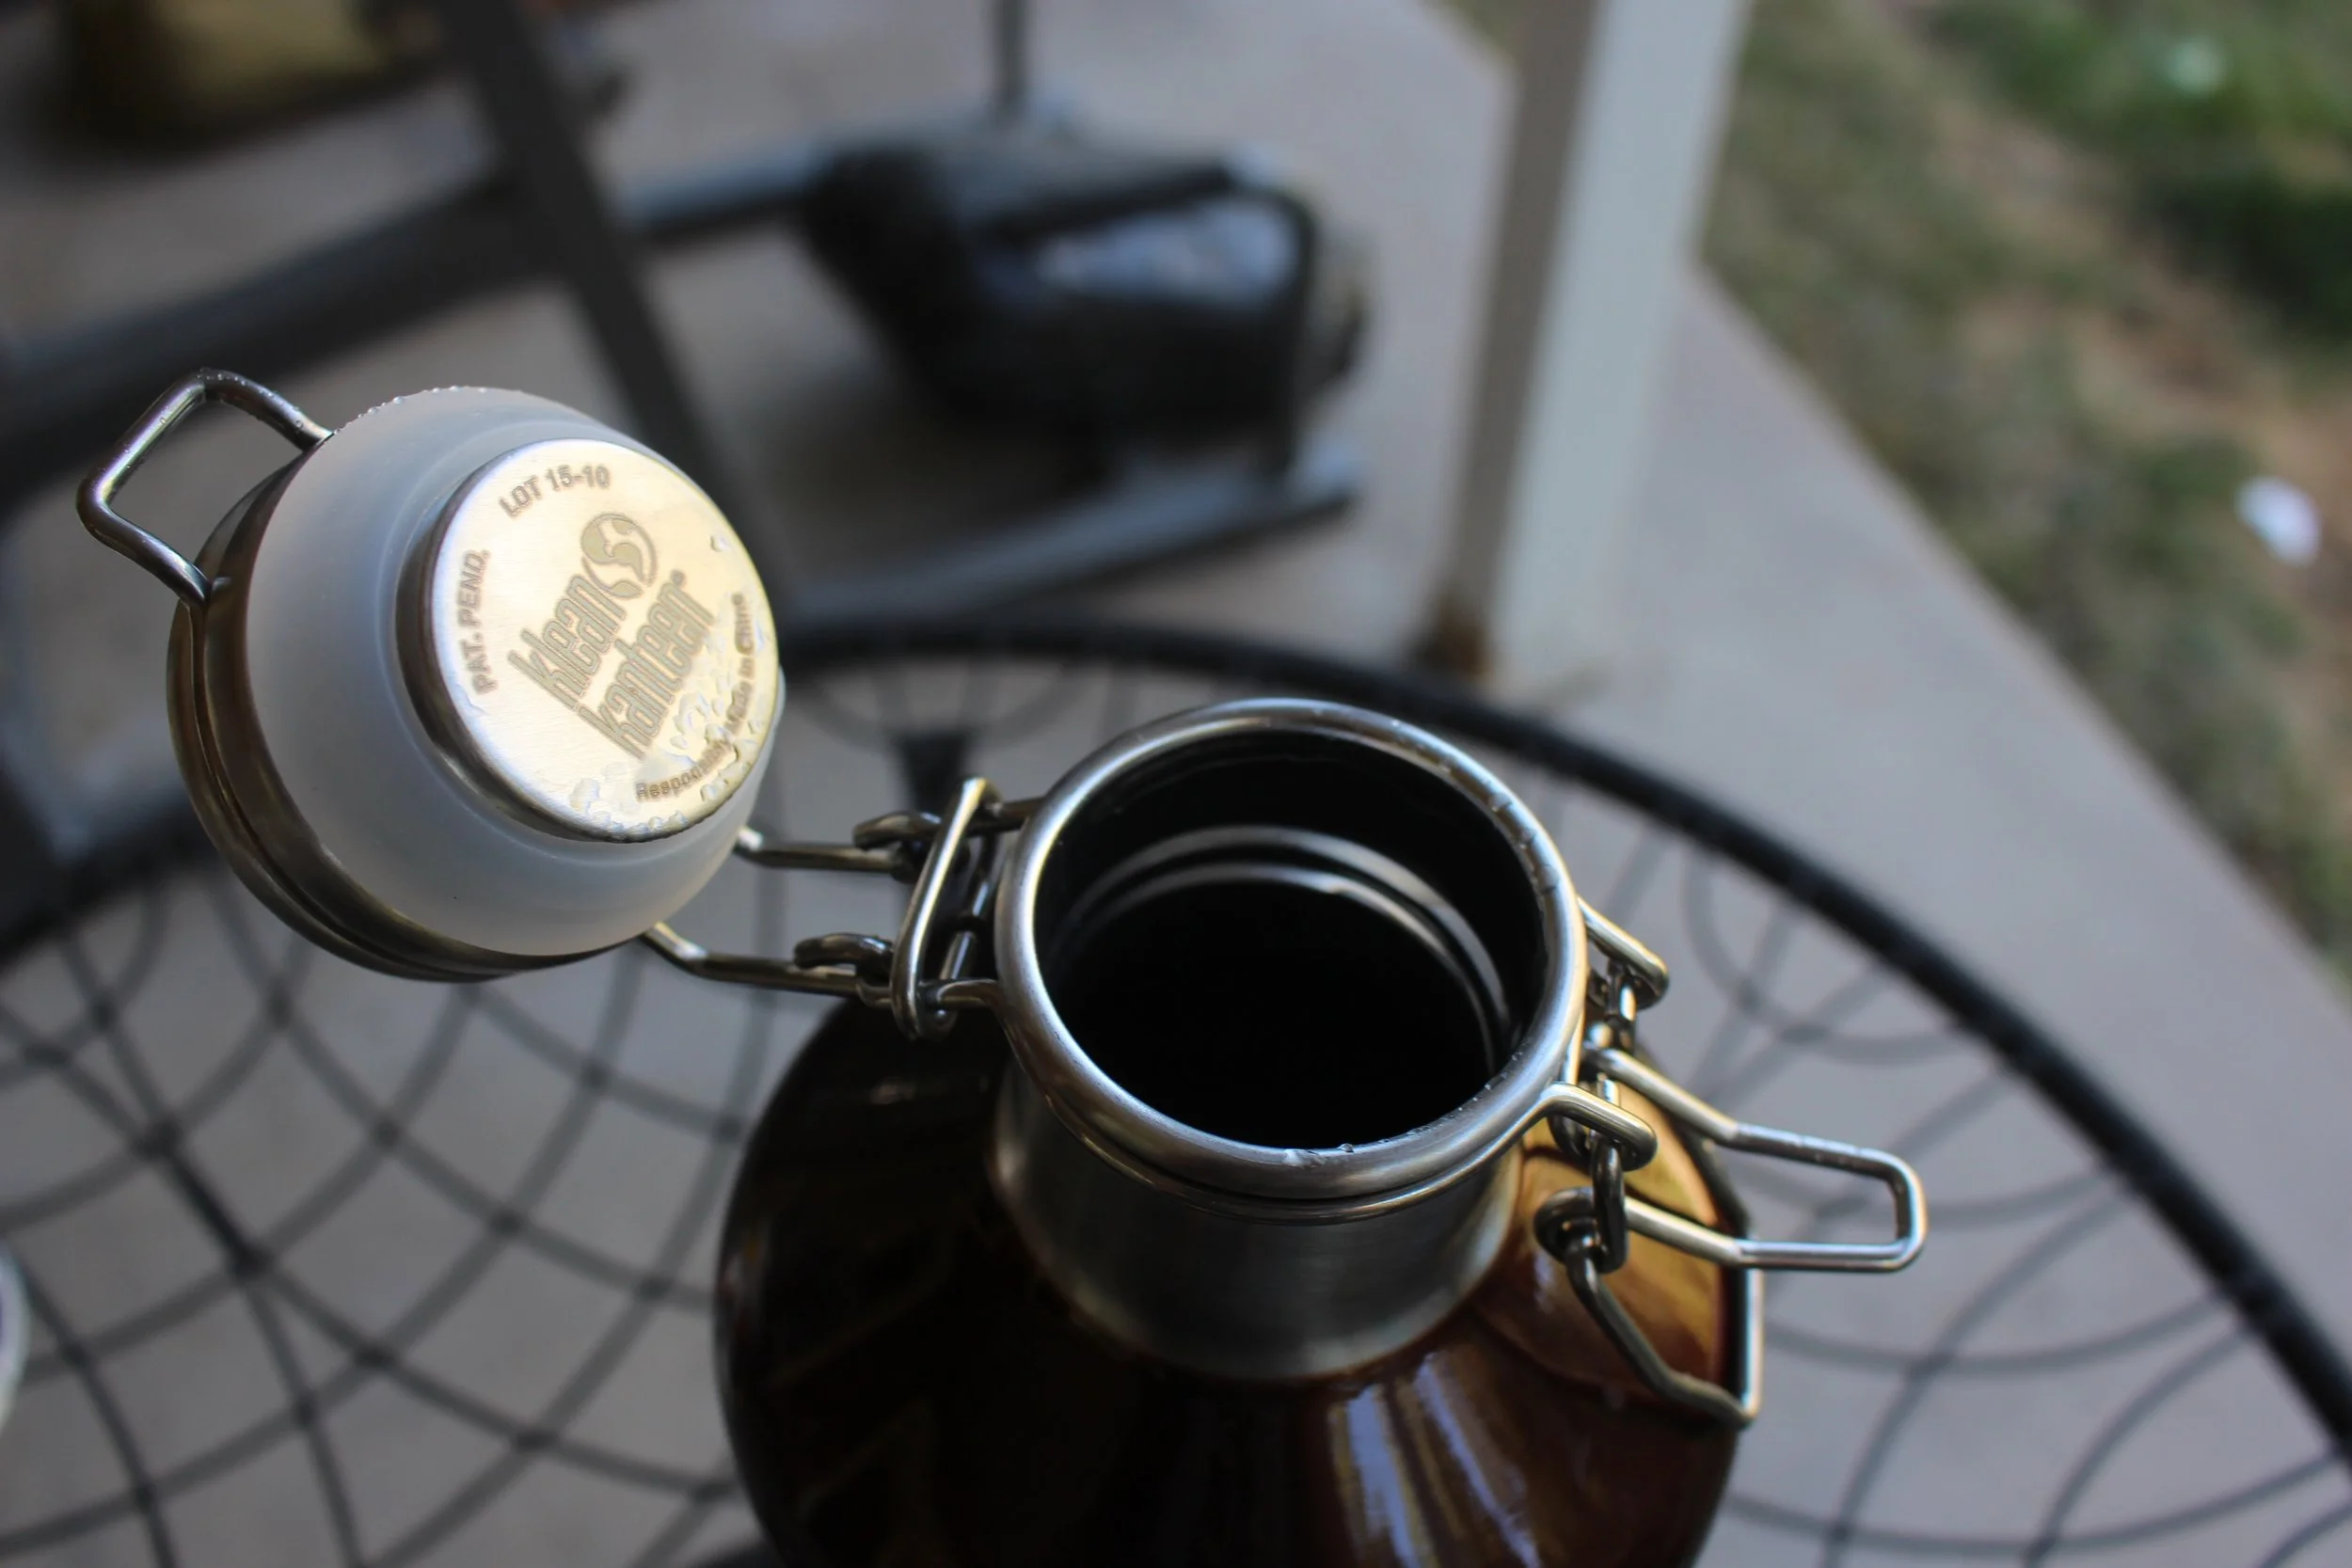
The Klean Kanteen not only utilizes the latch style lid, it perfects it. The lid is full stainless and is closed by clamping down on a top stainless bar by the pressure of a connected one. The lid is easily closed and opened and does not take much effort. Upon opening throughout my testing the lid "popped" open and almost hit me with air. Underneath the lid, there is a stainless plate surrounded by a clear soft rubber seal which squishes down around the lid when closing and makes the seal air tight. The lid on the Klean is smart while still being simple and effective.
9/10
Pour-ability and Carrying
(Hydro Flask + Stanley + Drink Tanks)
When it comes to pourability and ease of transportation three Growlers really stood out. The Hydro Flask, Stanley and Drink Tanks. Obviously, any Growler with a handle is really going to excel in these categories. The Drink Tank and Stanley Growlers both have great beefy handles that make pouring and carrying the beer a breeze while the Hydro Flask has a smaller neck and allows to grab hold a pour better than most of the Growlers on the list. The Hydro Flask also has a very simple yet effective handle attached to the lid and makes carrying the Growler very simple. You can also attach the Hydro Flask to a Caribeaner and carry the Growler that way.
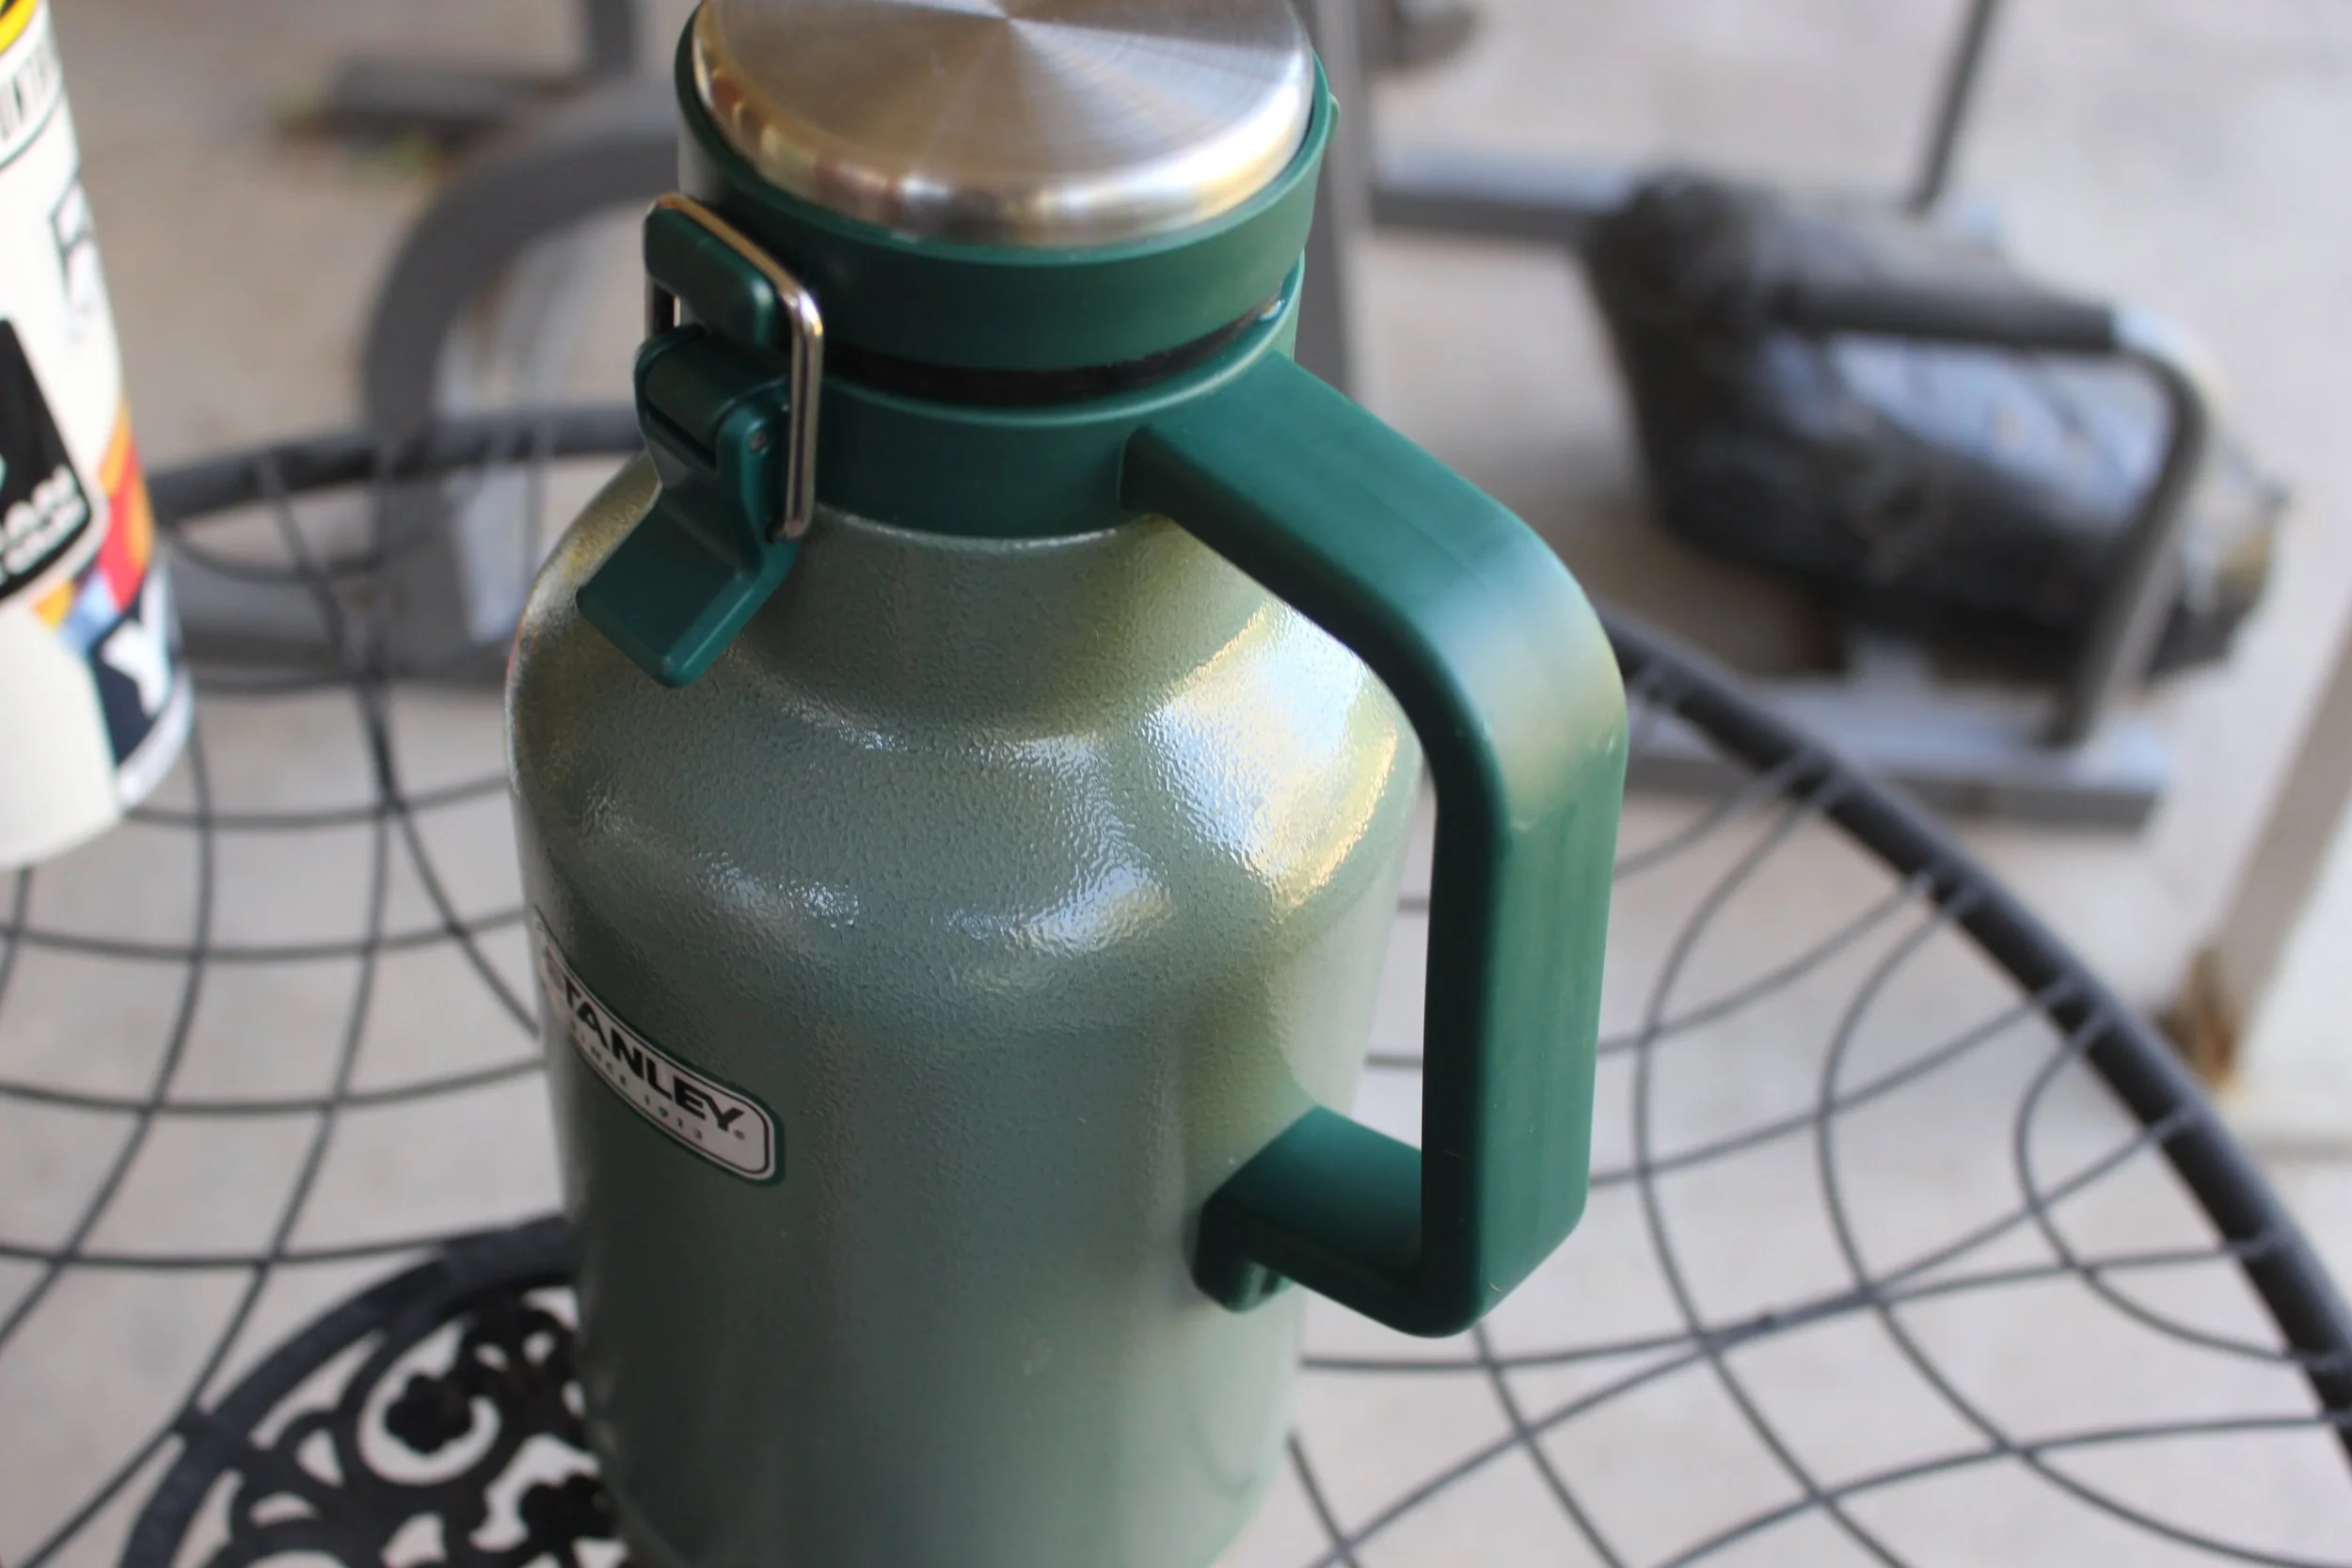
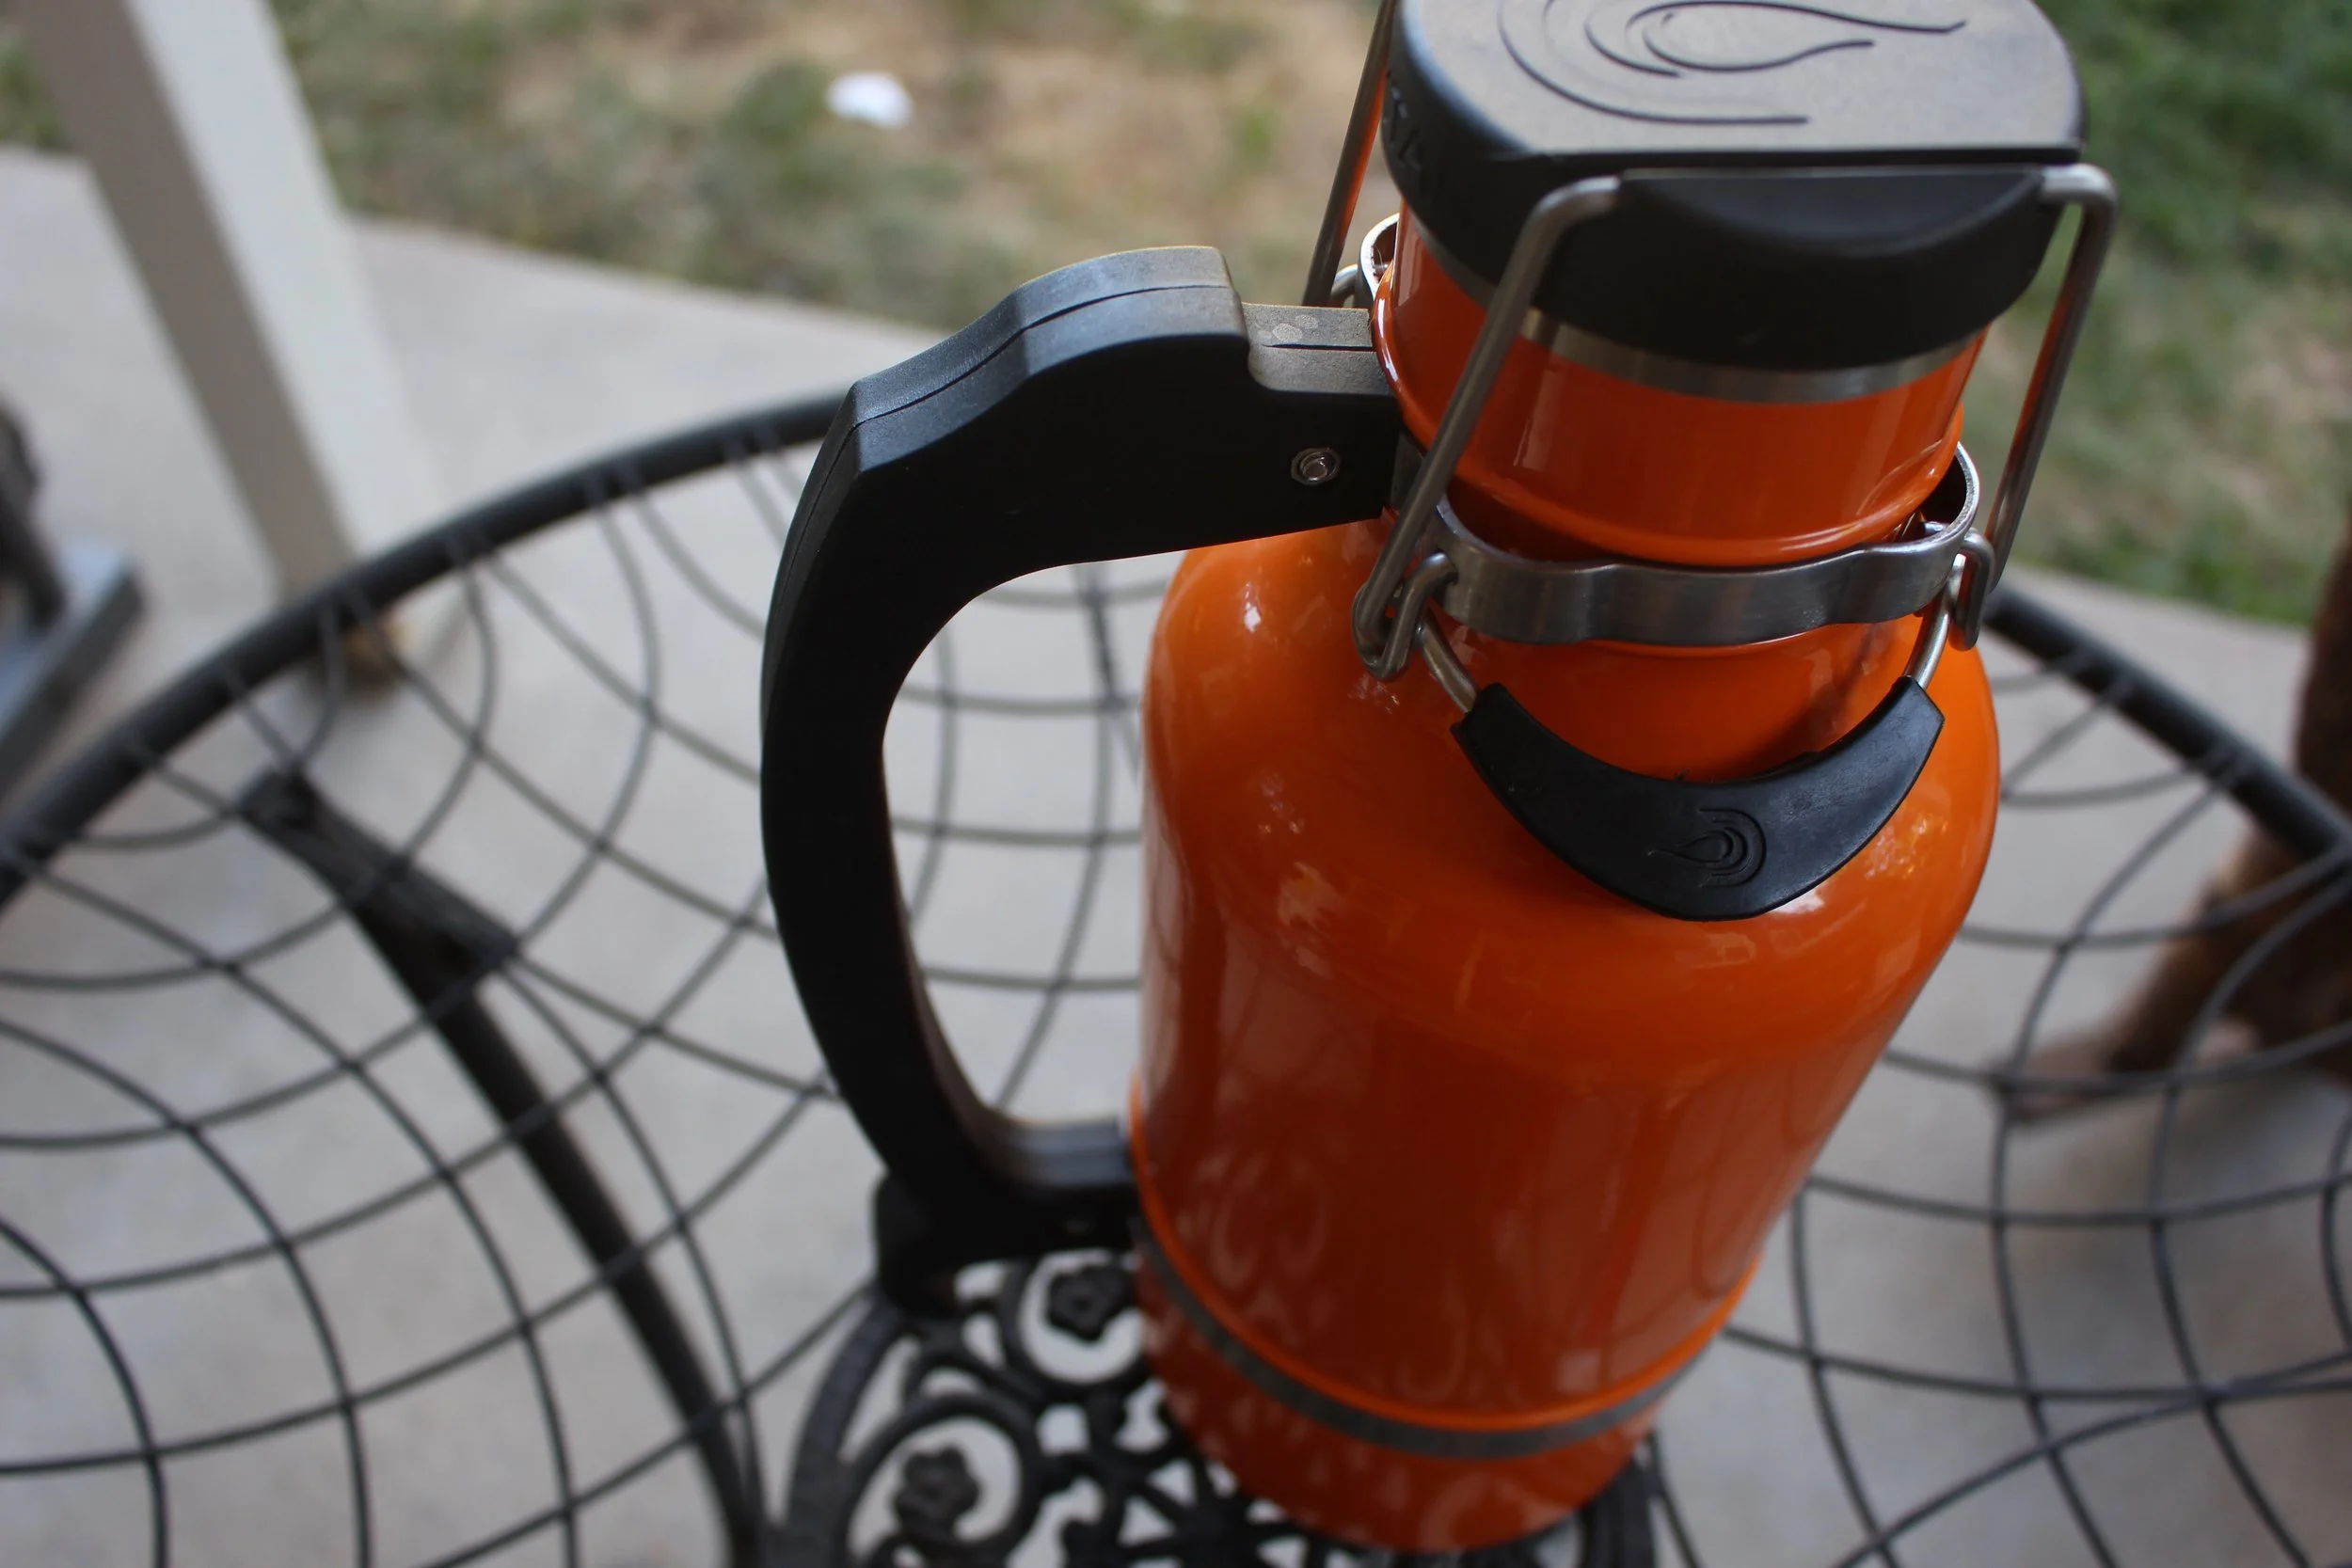
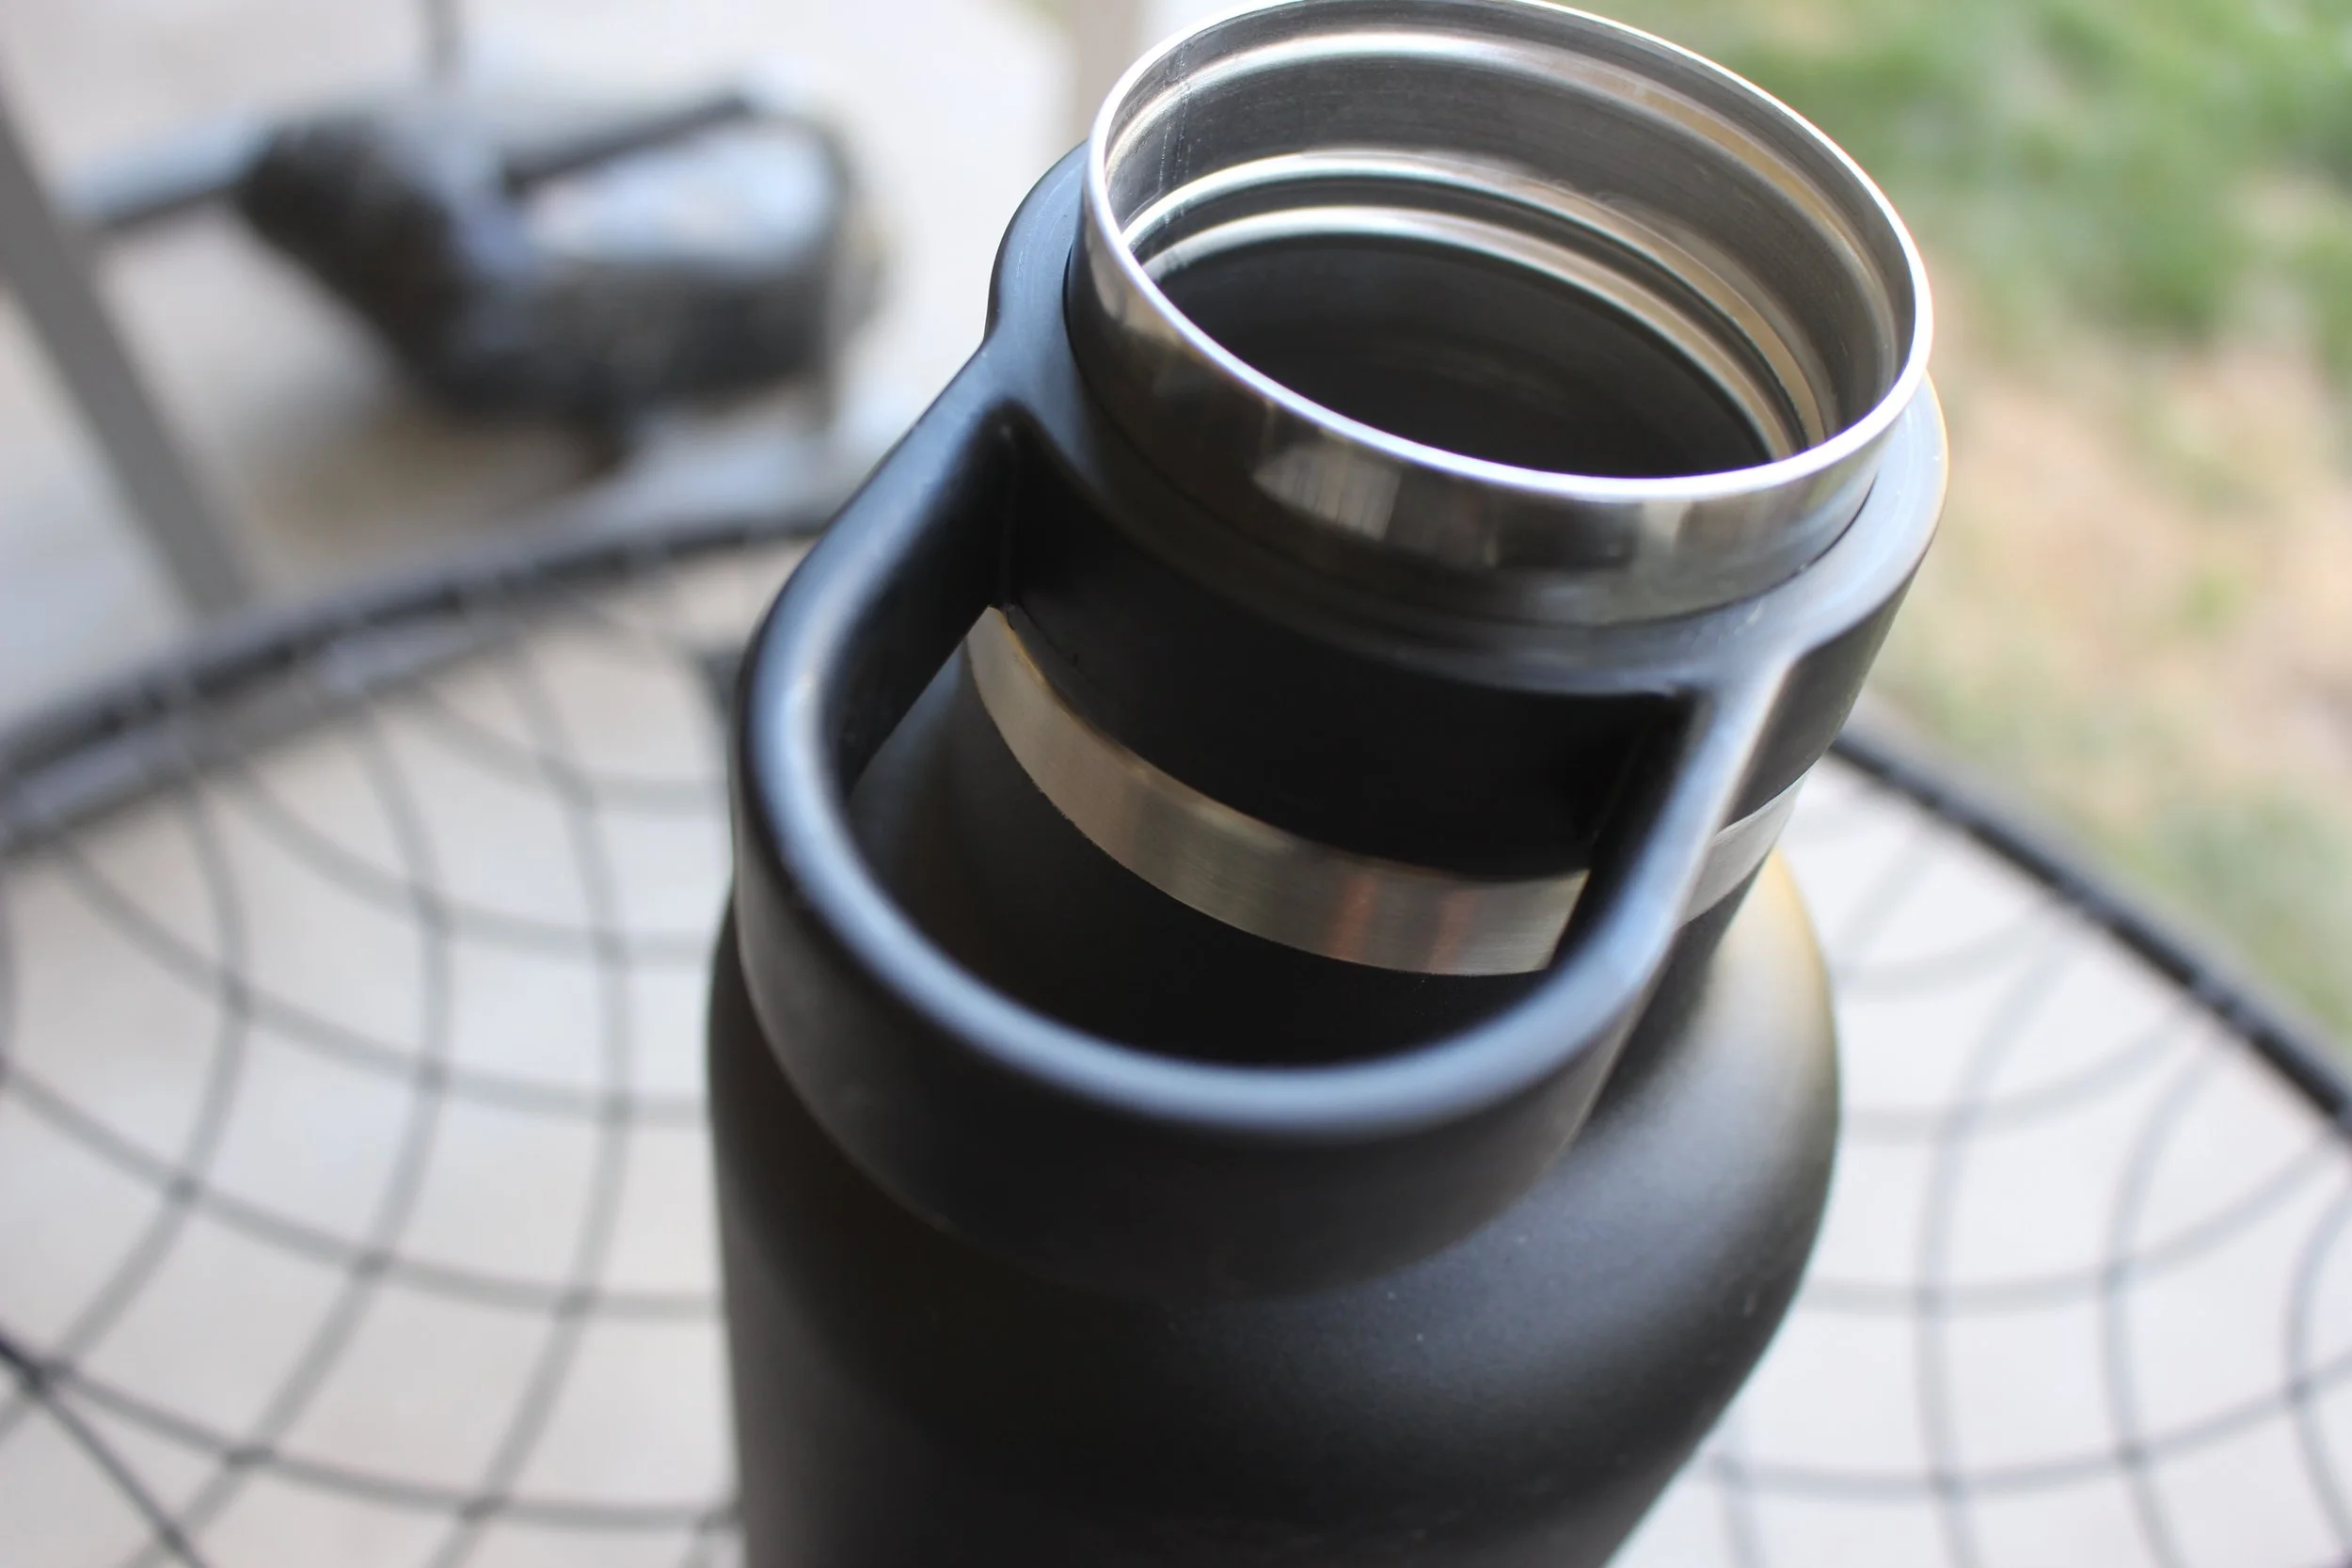
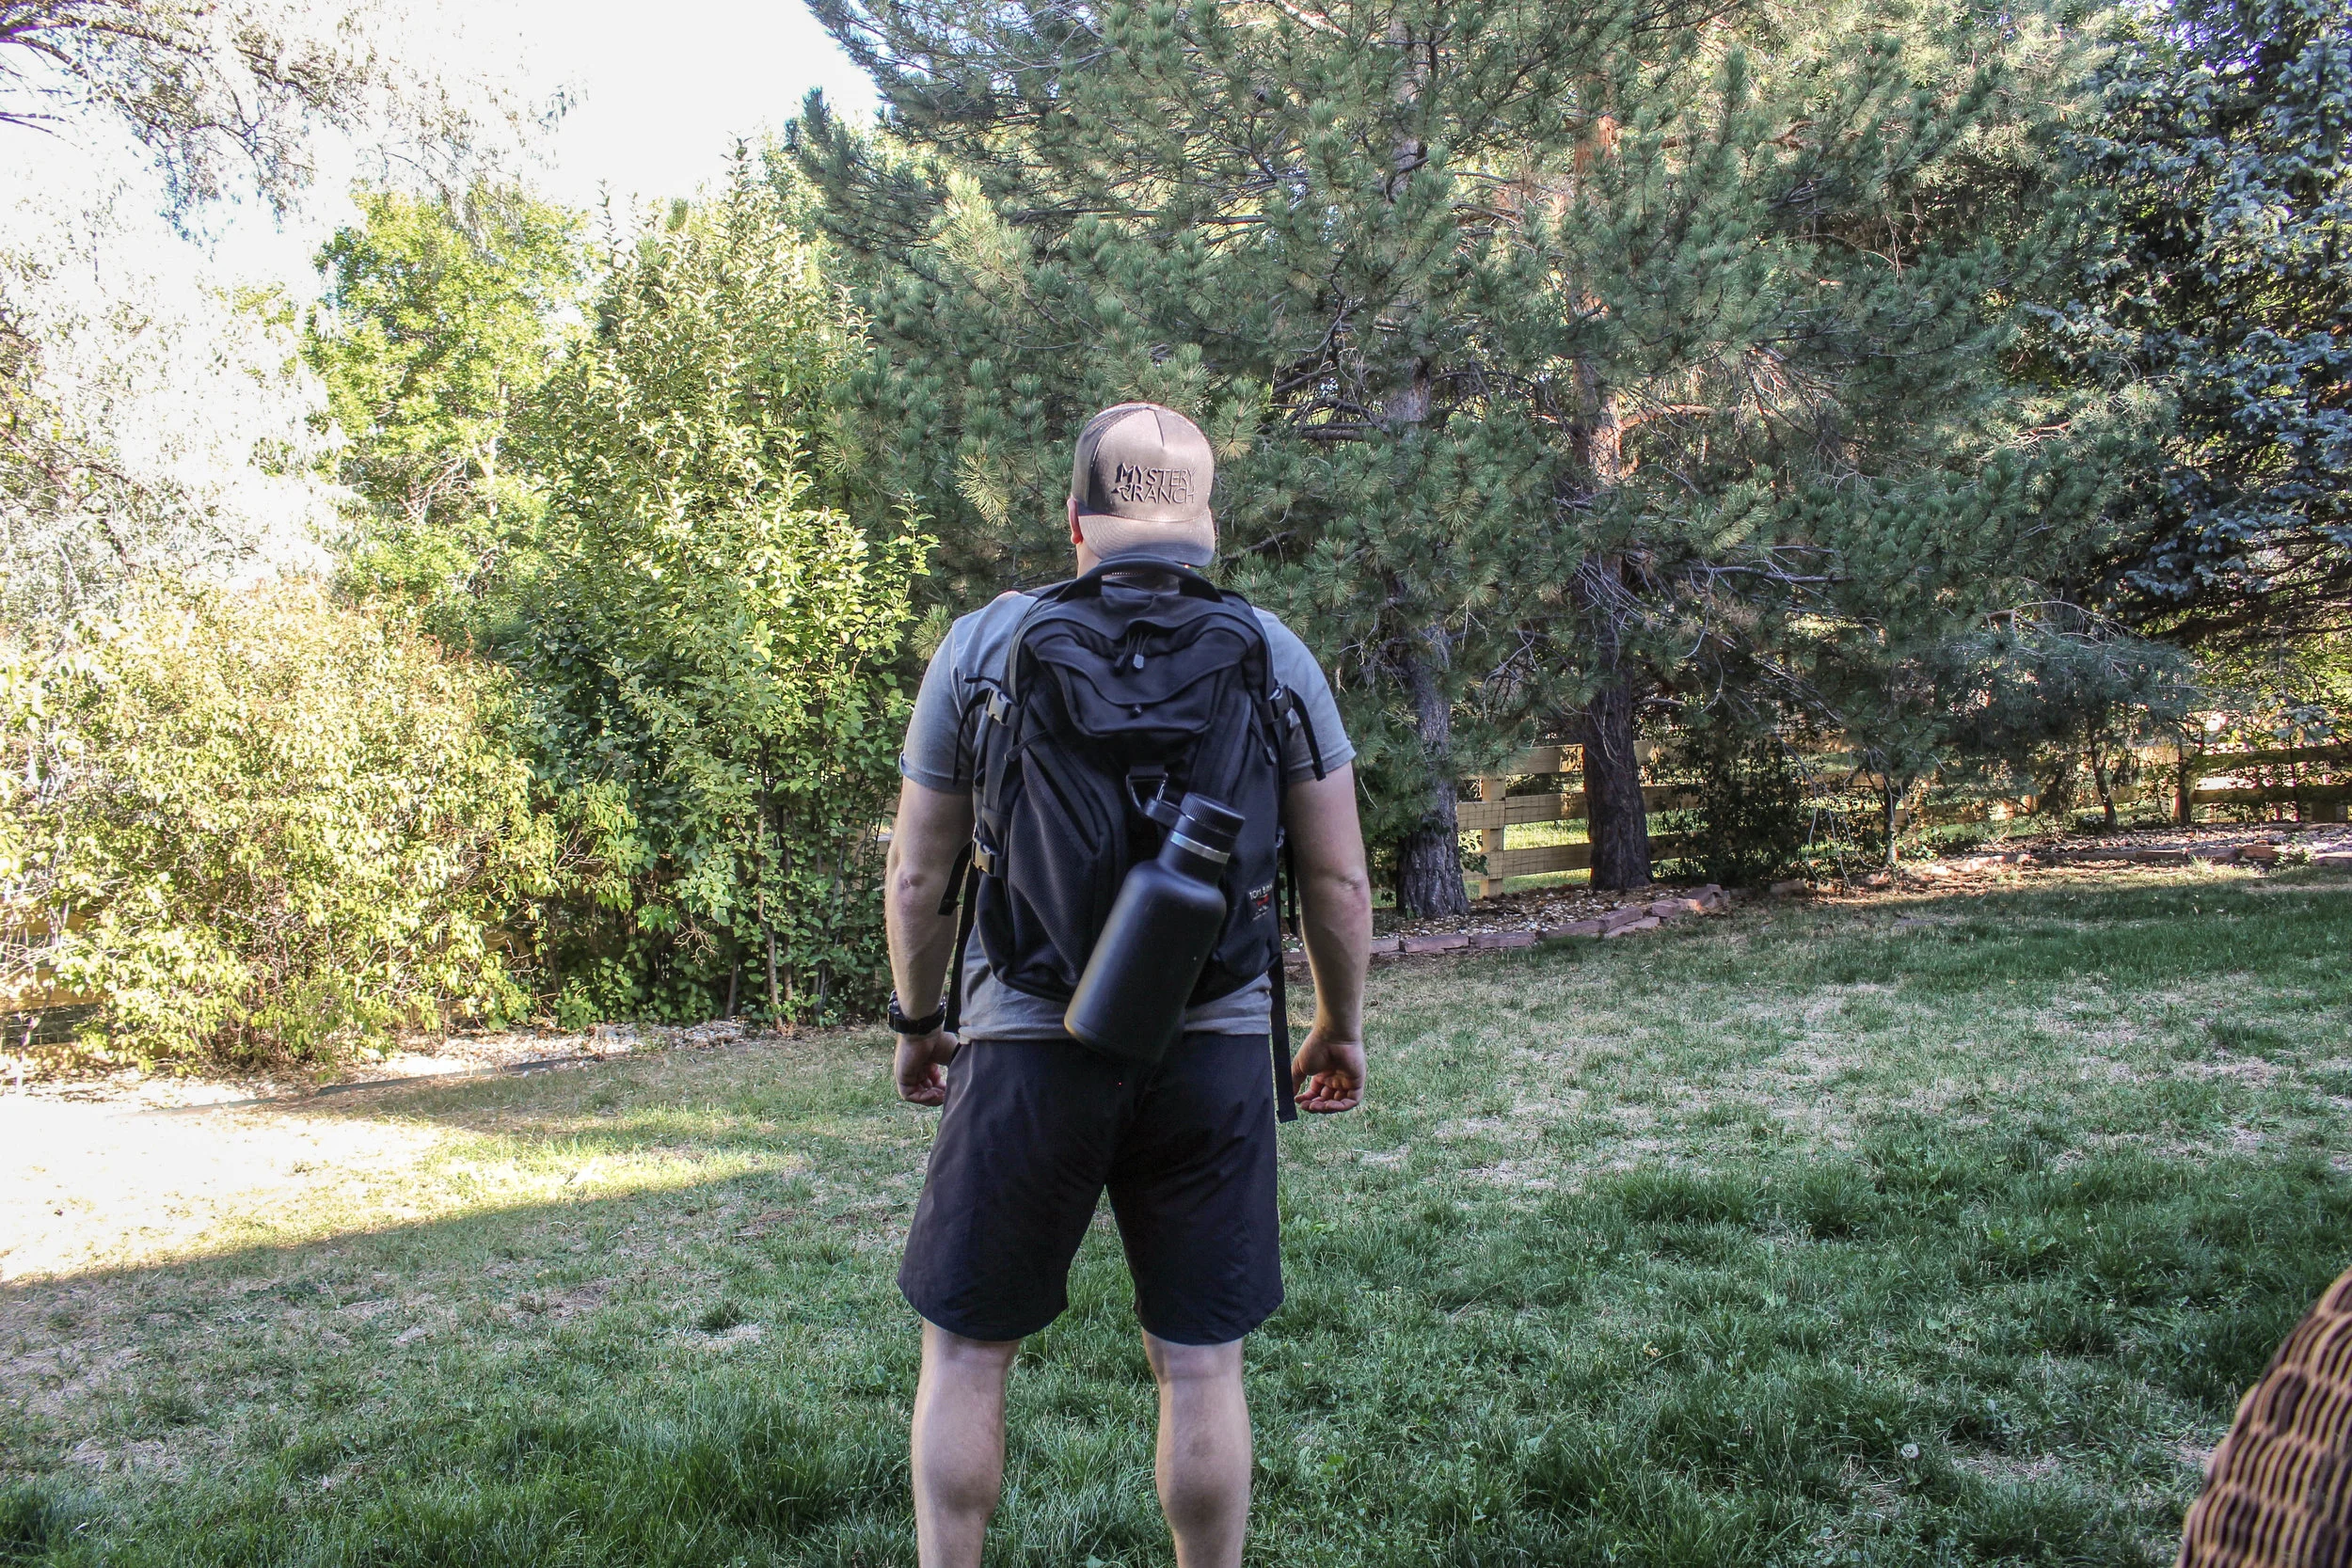
The GSI Outdoors and Yeti Growlers were also runner-ups in this category with their Lid carry method.
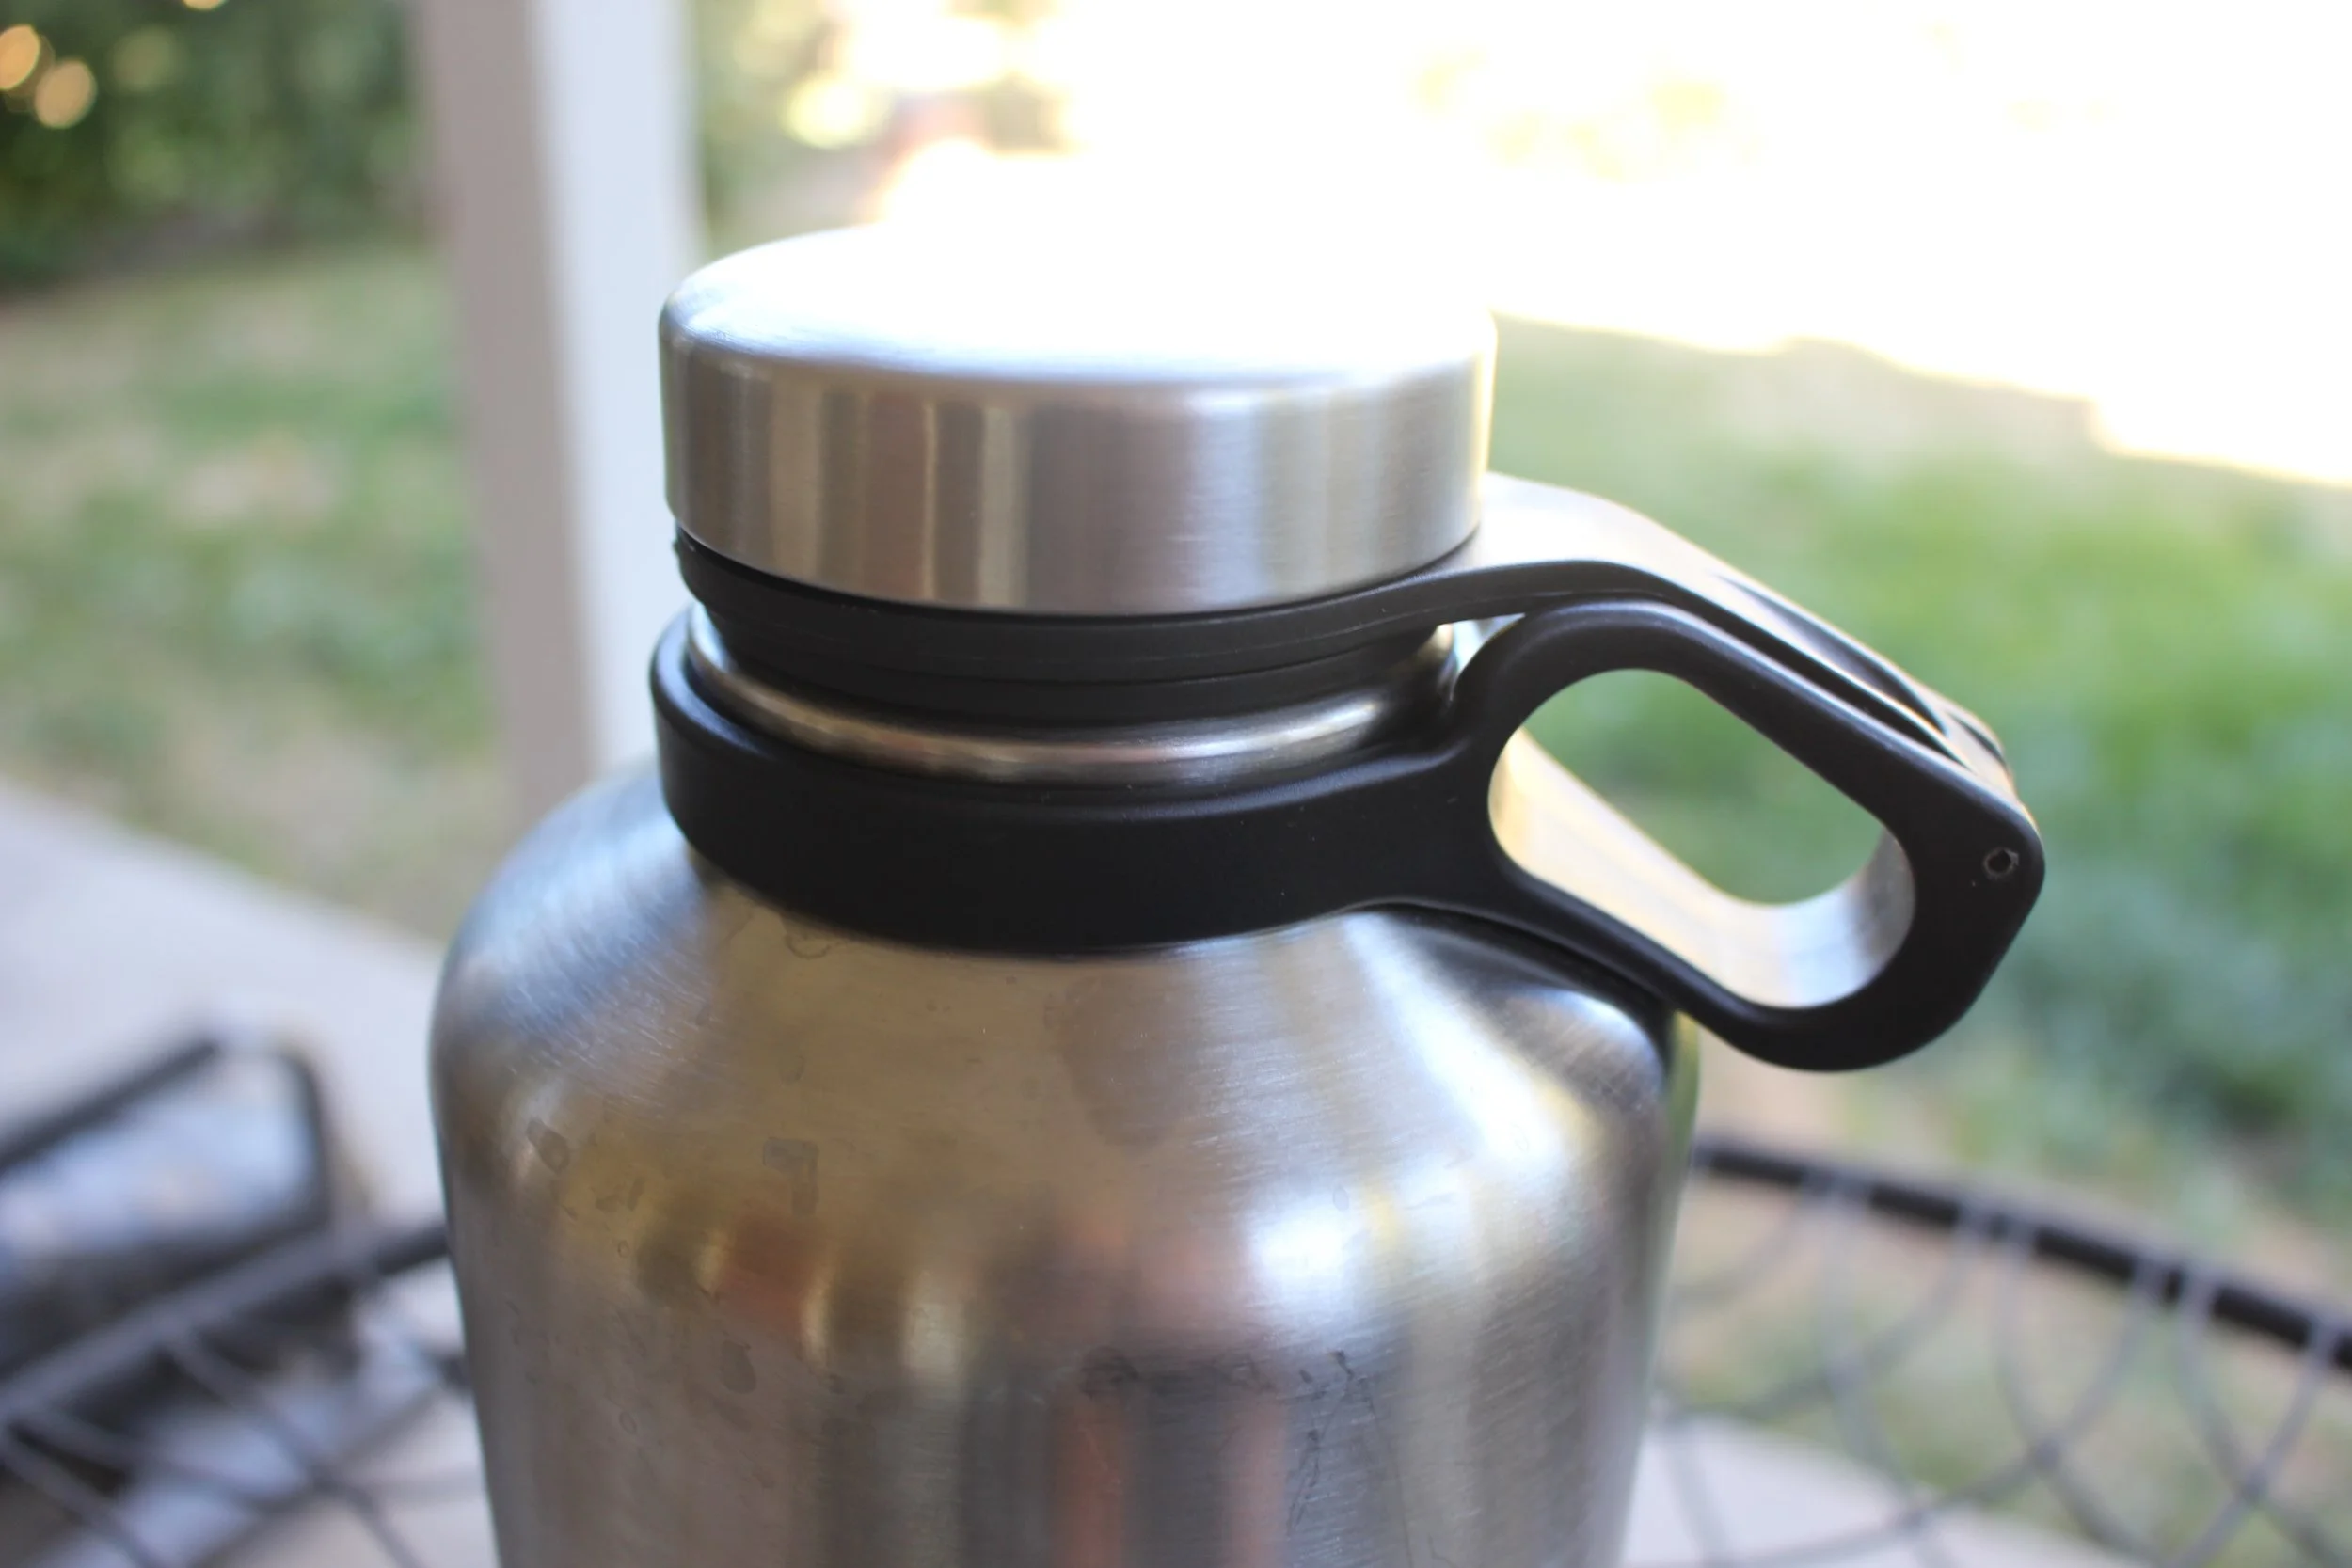
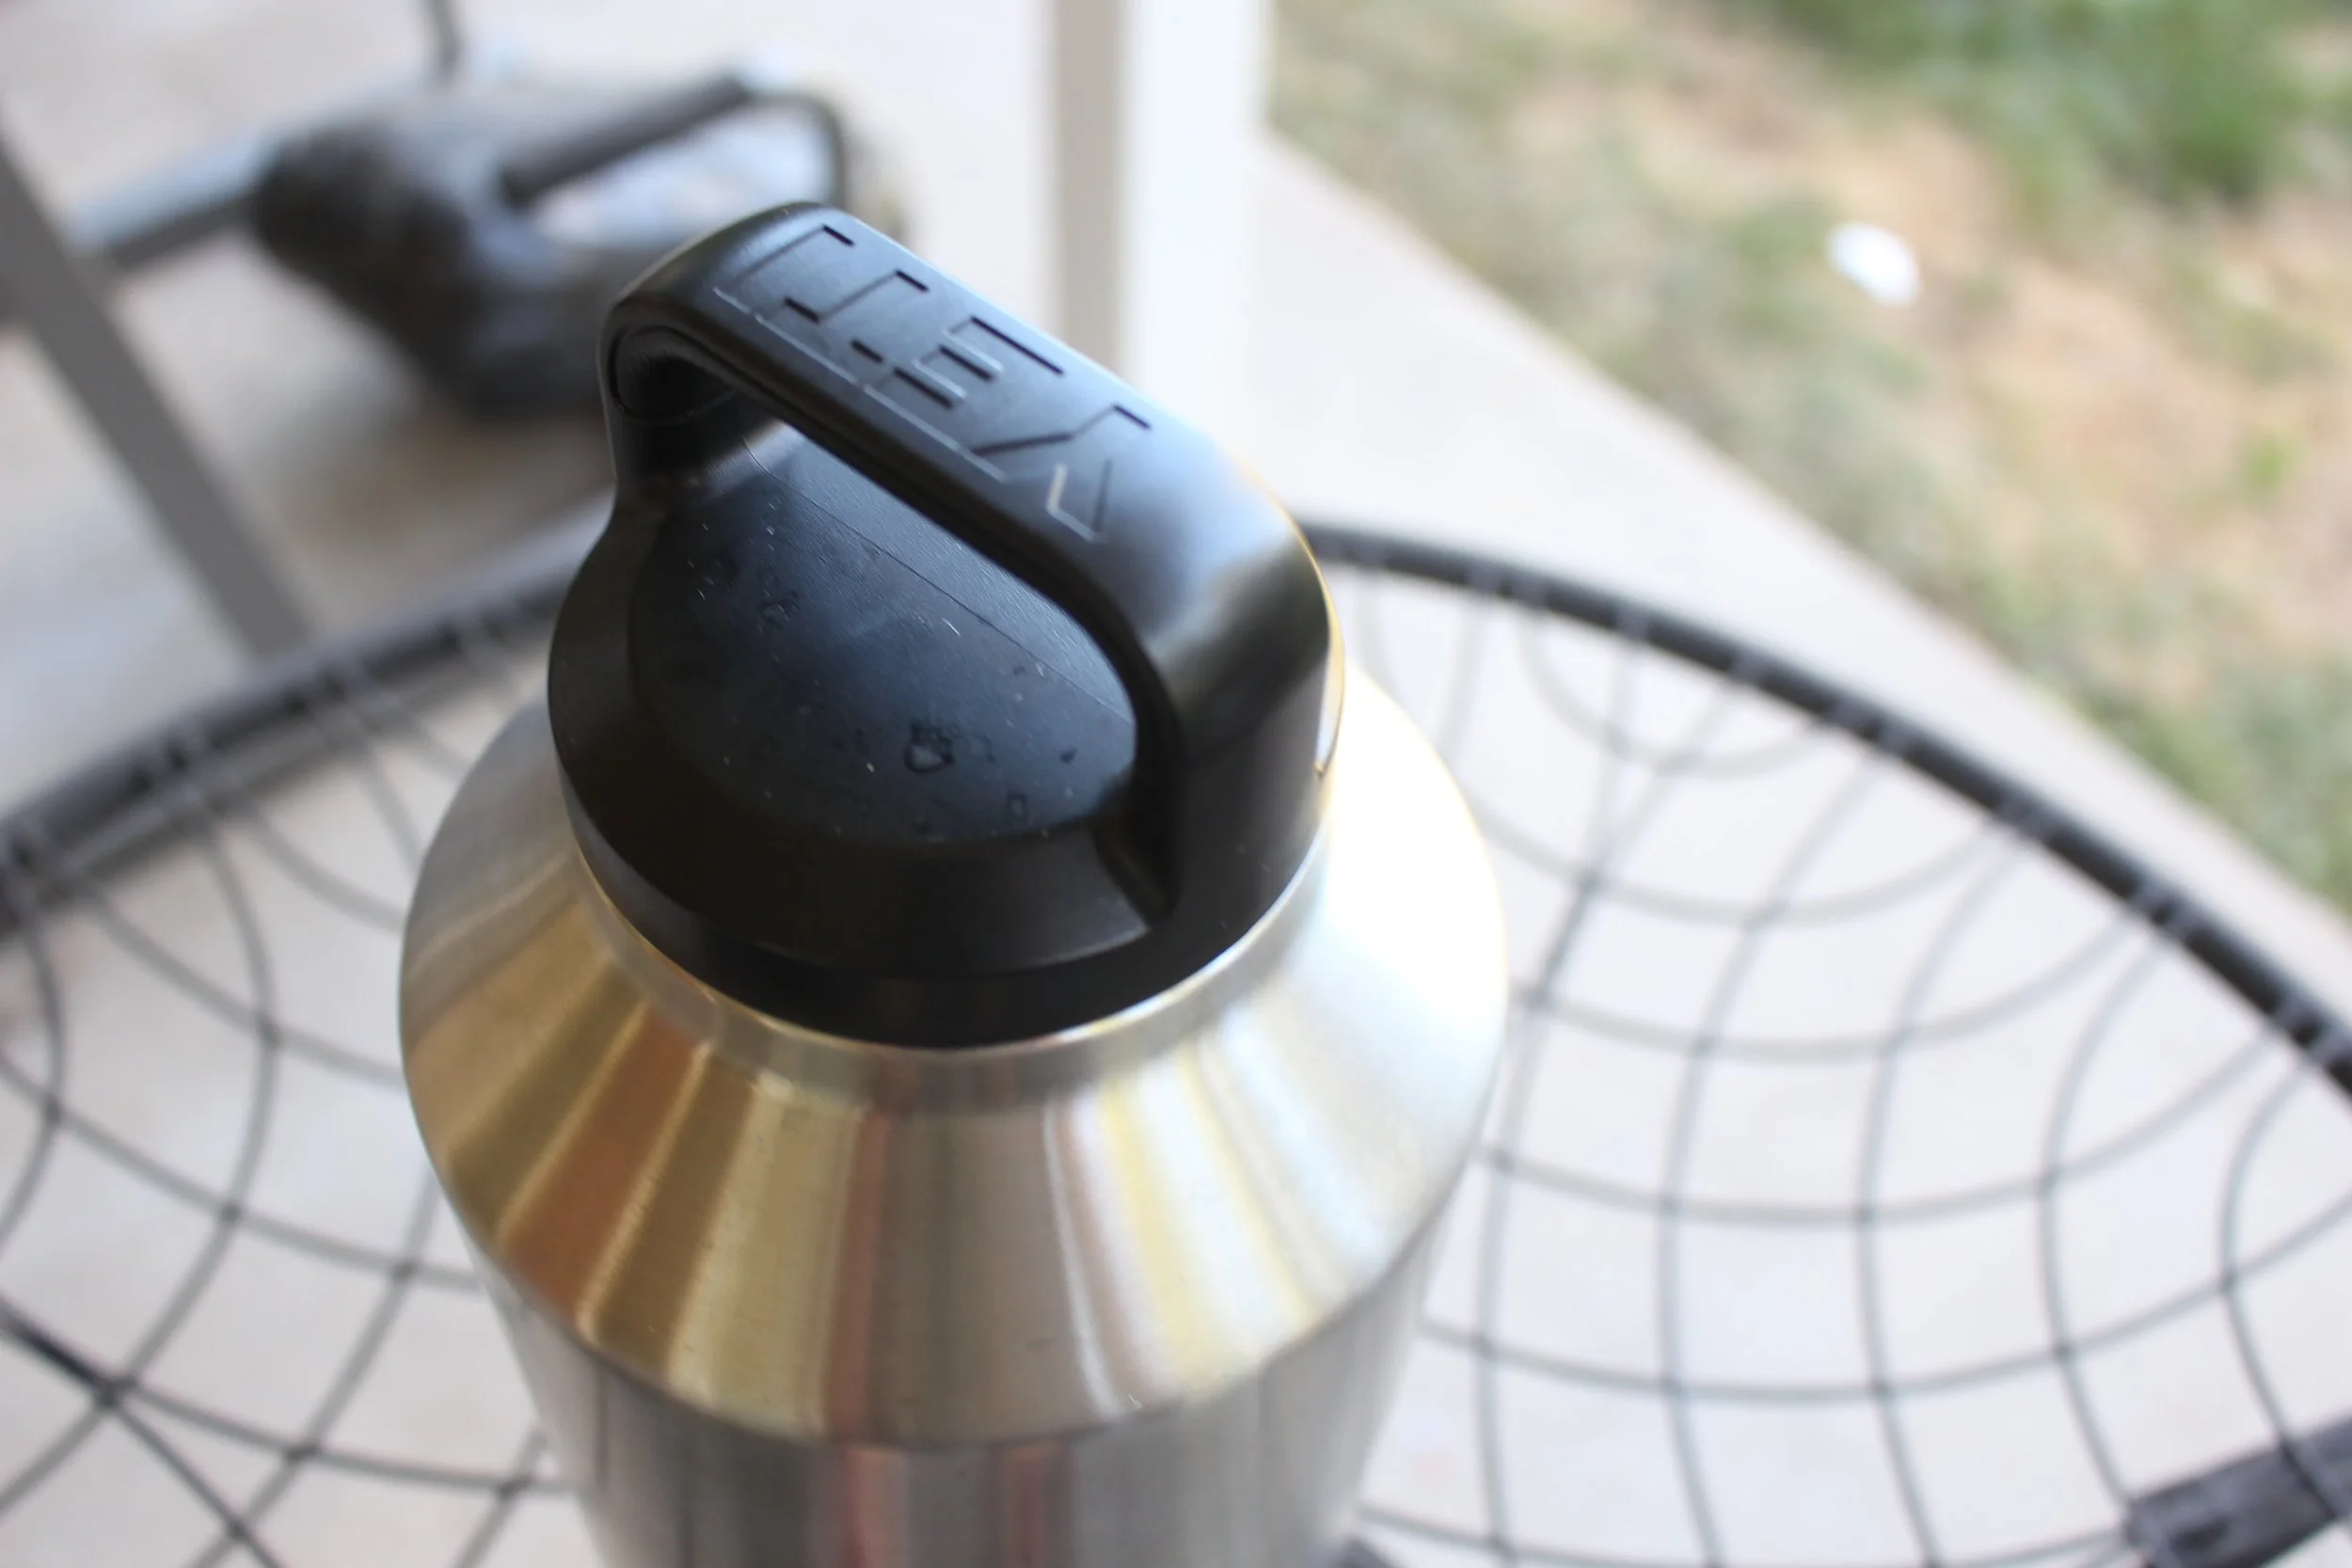
From the testing done here at RMK we narrowed down our top three Growlers of 2016.
Hydro Flask
GSI Outdoors
Klean Kanteen
All 3 of these Growlers were consistently in the top of the tests and our favorite to use. GSI Outdoors and Klean Kanteen were both miles ahead on the Temperature test as well the pressure test. All three of these were the lightest in the class while keeping the beer the coldest. Each was great when it came to pouring and lid use.
If we had to pick one other runner-up it would be the Yeti Growler which also faired very well in our tests.
At the end of the day, personal preference comes into play more than anything. Each of the Growlers featured here are top tier quality and will keep your beer cold for hours on end. If you were on the edge about which Growler to carry around with you for 2016 hopefully this review helped you make the final decision.
Yeti Hopper Flip 12 Cooler Review
"Your New Outdoor Buddy"
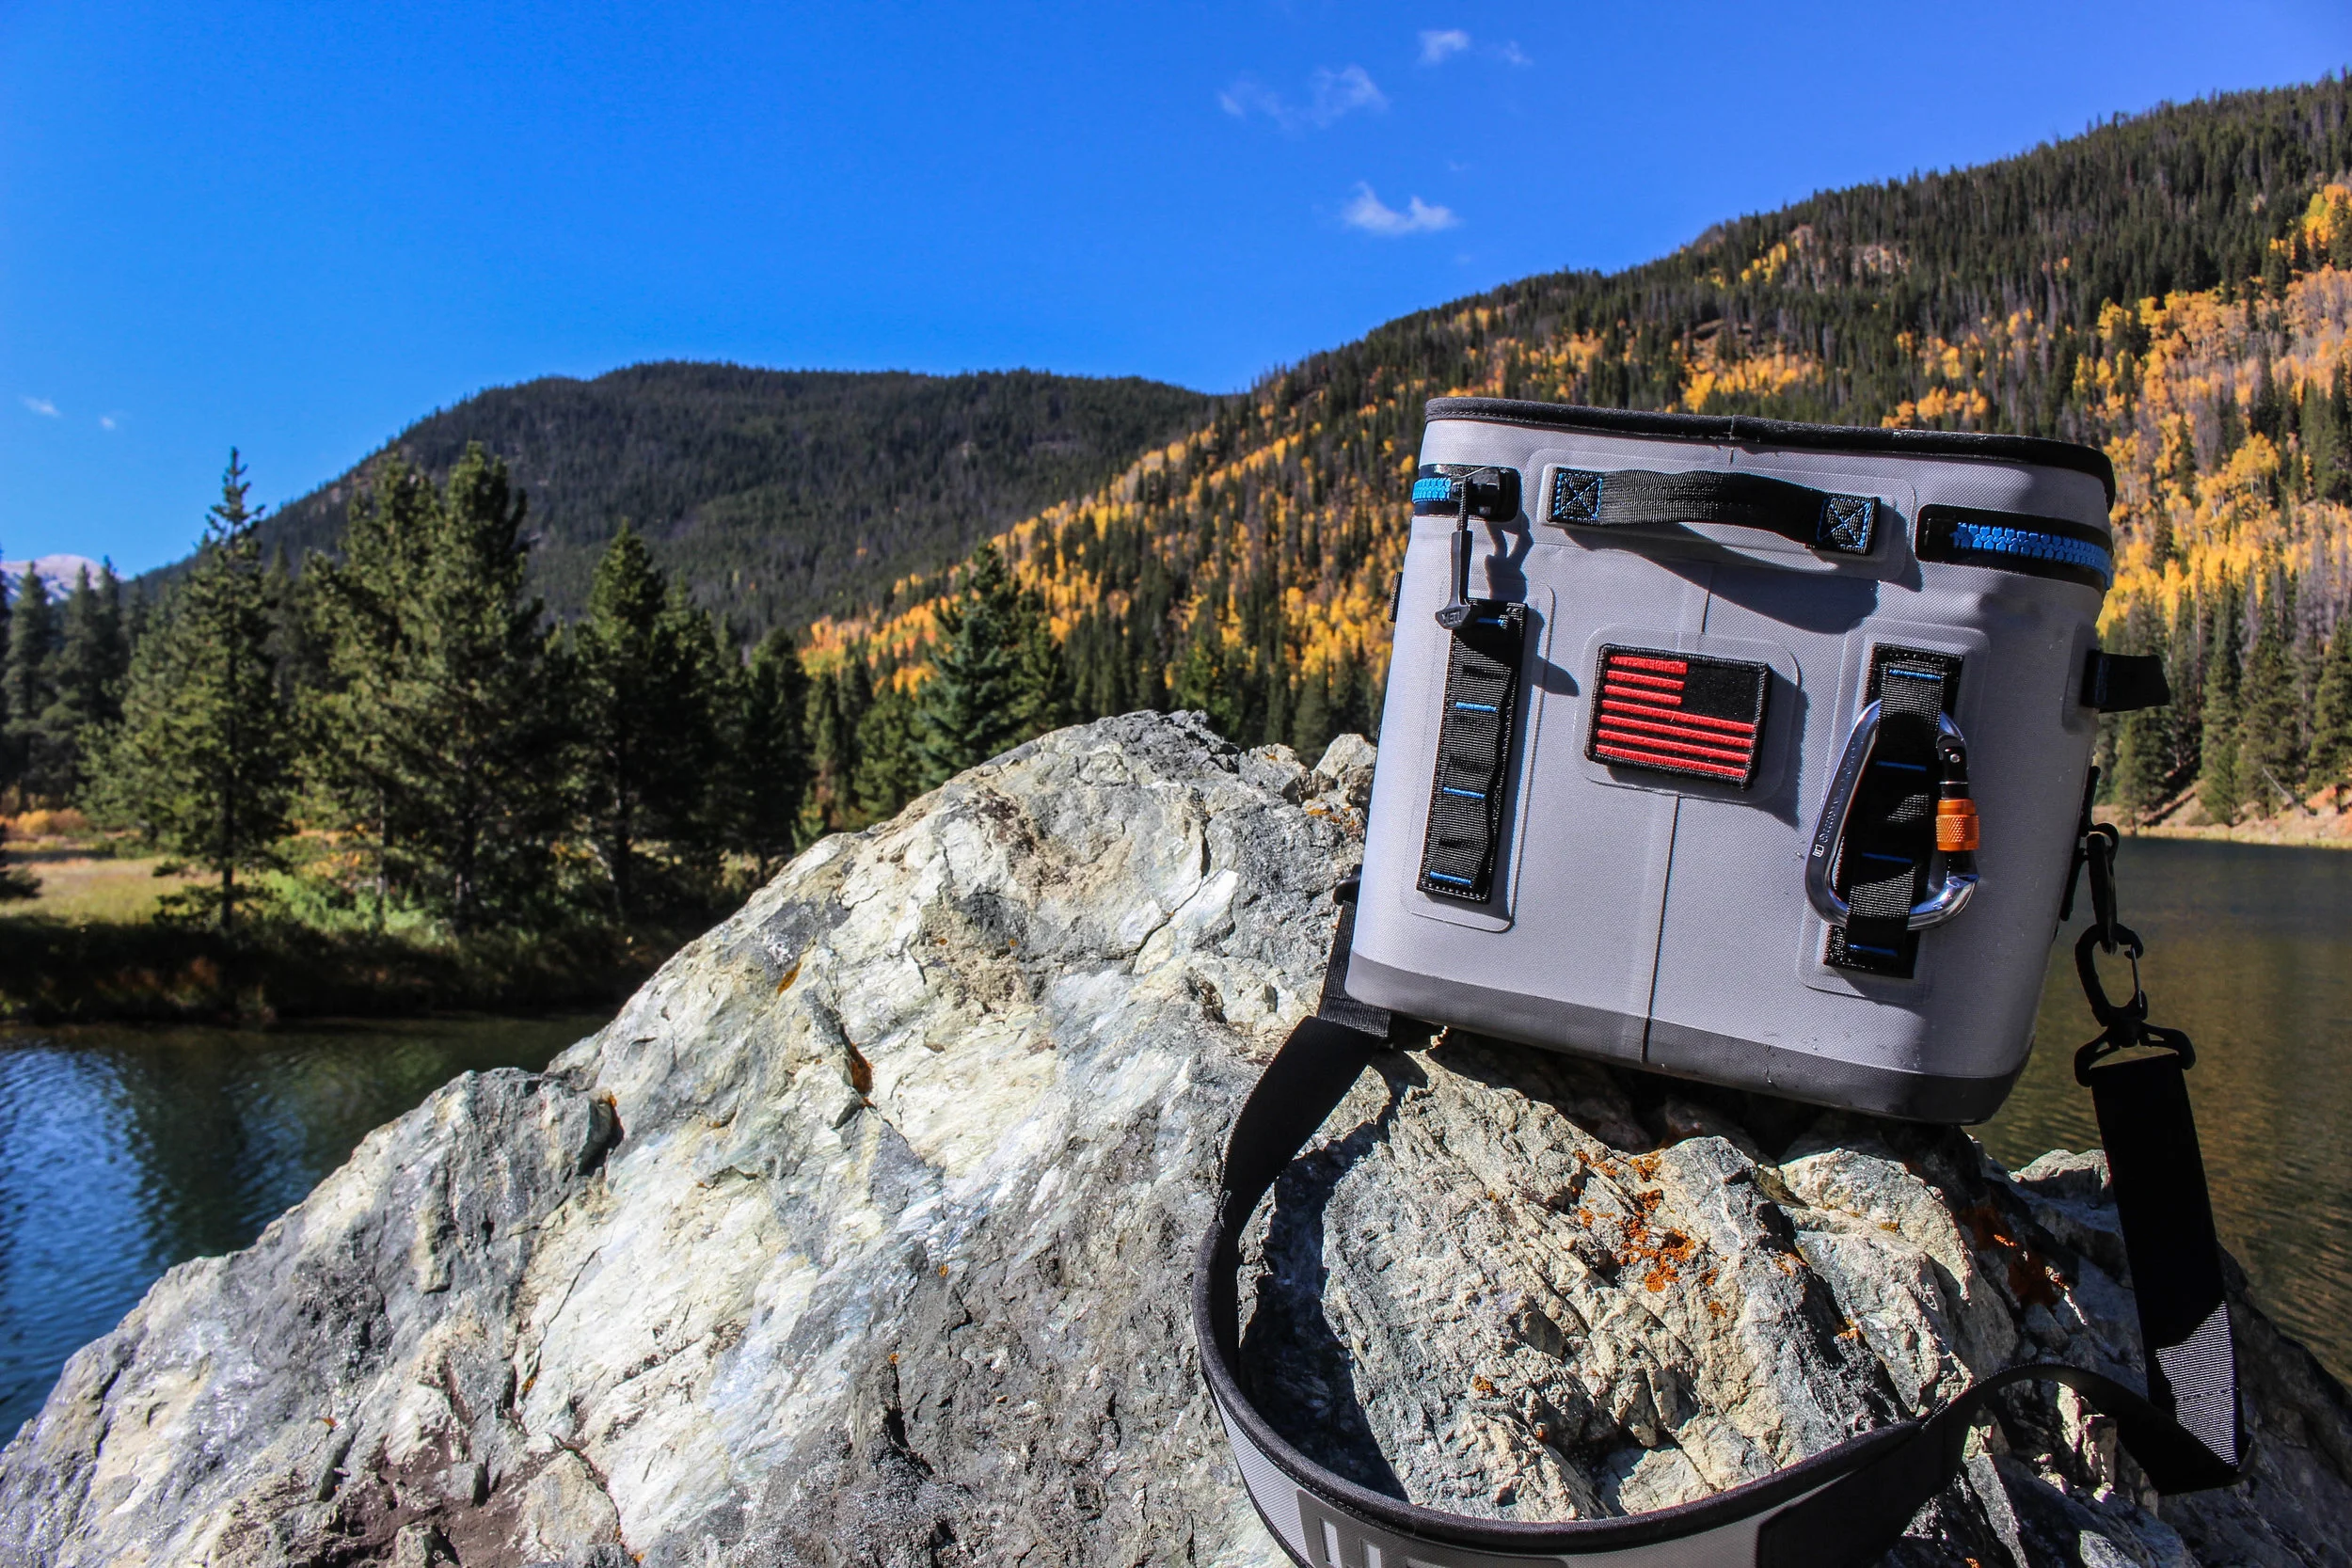
Every now and then I get a product in my hands that is everything I could have ever imagined and more. The Yeti Hopper Flip which came out last month is that product. I have taken this thing every day to the Fire Academy as my personal lunch cooler and to a few trips up in the mountains of Colorado, it has done nothing but continue to impress the hell out of me.
Yeti is the Rolls-Royce of outdoor coolers and is the go to for anyone serious enough about keeping their food/drinks cold as can be while being able to last a lifetime and look damn good doing it. The Hopper Flip hit the shelves last August and has been a hit since. I was able to get my hands on one for testing after seeing it in person at Outdoor Retailer.
If you have ever owned or dreamed of owning a Yeti Cooler you know they are not cheap by any means. The Flip follows this same principle coming in at $279.99. I will go further into detail about the price and my ideas on whether or not the Flip is worth it later on. The Flip is Yeti's first real "personal" cooler at only 3lbs and measuring just over 11" x 12".
"Perfect Size for the Day"
The Yeti to me is the perfect size for a day cooler or a personal lunch cooler. It fits my lunch at the Academy with ease and plenty of room to spare. I did put it to the test to see how many beers the Flip could hold and it stayed true to the 12 listed on the Yeti site. Yeti was nice enough to throw in their Flip-sized Ice pack which I put on the bottom of the beers and lay them down to pack in tight with some room to spare for ice on top if you wanted. The beers stayed ice cold the entire day only with the ice pack which is amazing. The ability to only throw a small ice pack in the bottom of the cooler and be able to keep everything on top without ice in between and getting all your food wet is great.
"Cold As Ice"
To build on that, I decided to do a test with only the ice pack I was sent from Yeti and the beers. Over a 24 hour period, the Temperature in the beers only raised 3 degrees F while sitting outside on my back porch. Any cooler that can hold a temp like that is a winner in my book.
Not only does the Flip keep things extremely cold, it looks great while doing it. On the back of the Yeti, there is a 2x3 Velcro patch to throw all of your hard earned morale patches or even a name patch. On either side of the Logo or Velcro patch, there are two rows of mollee style webbing which allow you to attach anything you want. On mine, I decided to throw on a Black Diamond Caribeaner for some looks and a possible attachment point for keys or whatever else. Yeti also sells a bottle opener which can be attached easily to the mollee which is a great idea and way to always have one near your booze box.
"Shoulder Strap To Match The Cooler"
Each side of the Flip is paired with side grab handles and an attachment point for the included shoulder strap. The side handles are a great option if one does not want to use the strap or needs a quick way to grab the cooler and go. The shoulder strap on the Flip matches the same build quality as the cooler itself. I hate seeing a quality built duffle only to be greeted with a half-ass shoulder strap, which is honestly, a huge part of any bag or cooler you are going to be carrying from place to place like I will with the Flip. The shoulder strap is built from the same material as the cooler itself their "Dryhide Shell" on the outside of the strap and a very soft and comfortable neoprene on the inside. The shoulder strap made carrying the cooler packed with 12 beers much easier.
"Element-Proof HydroLok Zipper"
Above each side handle runs the patented Yeti HydroLok Zippe. The HydroLok is by far the largest and most secure zipper I have ever used here at RMK and for a god reason. Obviously, a major difference with the Hopper line of coolers compared to the normal hard-sided coolers most people are used to is the zipper on the top. In order to keep everything on the inside of the cooler, you need to have a bombproof zipper that not only keeps the cold in but keeps the water out. I did a quick test up in the Blue River in Dillon Colorado to see how the zipper held up with our lunch inside. The cooler as one would probably guess floats so I had to jump on top of the cooler which helped check off two tests instead of one, however, we will get to that later. After pulling the cooler out of the rocks and water I opened it up to not one drop of water. The HydroLok zipper is the real deal when it comes to a zipper that will no matter what keep your drinks cold and the elements out of the Flip. Below I am going to show mulitple pictures of the HydroLok (I'd love to run these guys on some of my packs)
While testing the Yeti I was trying to find something I did not like or would change about the cooler. The only thing I found which is really not a big deal but I thought I would mention is when the lid of the cooler is opened and pulled back it will not stay in the open position but swing back shut. I didn't find this to be too big of a problem but it did make grabbing things out with only one hand a little bit harder. It is nice in the way too that you won't ever have to worry about leaving the lid of the Flip open!
As mentioned above the Flip while getting submerged was also able to stand tall while support my 200lbs frame, for a soft sided cooler I feel that this only shows the type of build quality by Yeti on the Flip. This section of the review is where I feel the $279 price tag gets completely justified. Will the Flip keep your drinks cold? Yes. Is the Flip the same size as other personal coolers on the market? Yes. Do other coolers have handles and shoulder straps just like the Flip? Yes. Could you throw other coolers off of mountains and down a river like the Flip? No.
The Flip is my first Yeti as stated at the start of this review and it will not be my last. It is truly amazing the type of build quality Yeti has built themselves on and you can feel it firsthand with the Flip. The DryHide Shell that the Flip has on the outside is literally as tough as nails, it is scratch-proof and puncture resistant. Throughout my testing, I would slam the cooler down, kick it over, and walk over it. All while the Flip holds on to over 10lbs of beer. Never once did I feel like I damaged the cooler or was worried about what I had on the inside. The soft sided nature of the Flip also acts as a padding layer for the goods inside.
+
- It's a Yeti
- Padded Shoulder Strap
- Side Handles
- Velcro patch and Mollee webbing for Attachments
- Will keep cold for 24+ Hours
- Water and Element Proof
- Crush, Puncture, and Scratch Proof
- Looks Great
-
- $$$
- Does not stay open when lid is pulled back
Could you get by with buying a $50 cooler from Walmart? Yes, without a doubt. You just have to ask yourself how many of those $50 coolers will you have to purchase over the years. After testing and getting to experience the Flip for myself I have no doubt that this cooler is worth the $279 price tag. Yes, it is a lot of money for just a cooler but if you use it enough it is well worth it. Each Yeti comes with a 3-year warranty in case you feed the cooler to a walrus or something, but other than that I doubt you will need it. The Yeti Flip will be coming on every adventure I need to keep a few drinks or a lunch cold on here at RMK Outdoors. I will be trying to get my hands on the bigger Hopper 40 for longer trips like camping or hunting at the cabin in Wisconsin.
BOGear EDC Pouch (My Main EDC)
If you have read any of my other BOgear reviews you would know I am a huge fan of the work they do over there. Not only awesome work but great customer service and a huge reason why I continue to use their products here at RMK.
I was able to get my hands on one of their brand new EDC pouches for review and it has turned into my EDC carry along the way. Before the BOgear EDC pouch, I was using a Maxpedition Beefy Pocket which was great however still somewhat small for what I wanted to keep in this pouch.
The EDC pouch from BOgear comes in at 3L which is a nice chunk of nylon. The pouch is also made from all 1000D Cordura which is great they still produce to the same quality of their packs and didn't skimp out on the materials. Along with the 1000D Cordura, the EDC is closed by all black YKK zipper, which work flawlessly and always will.
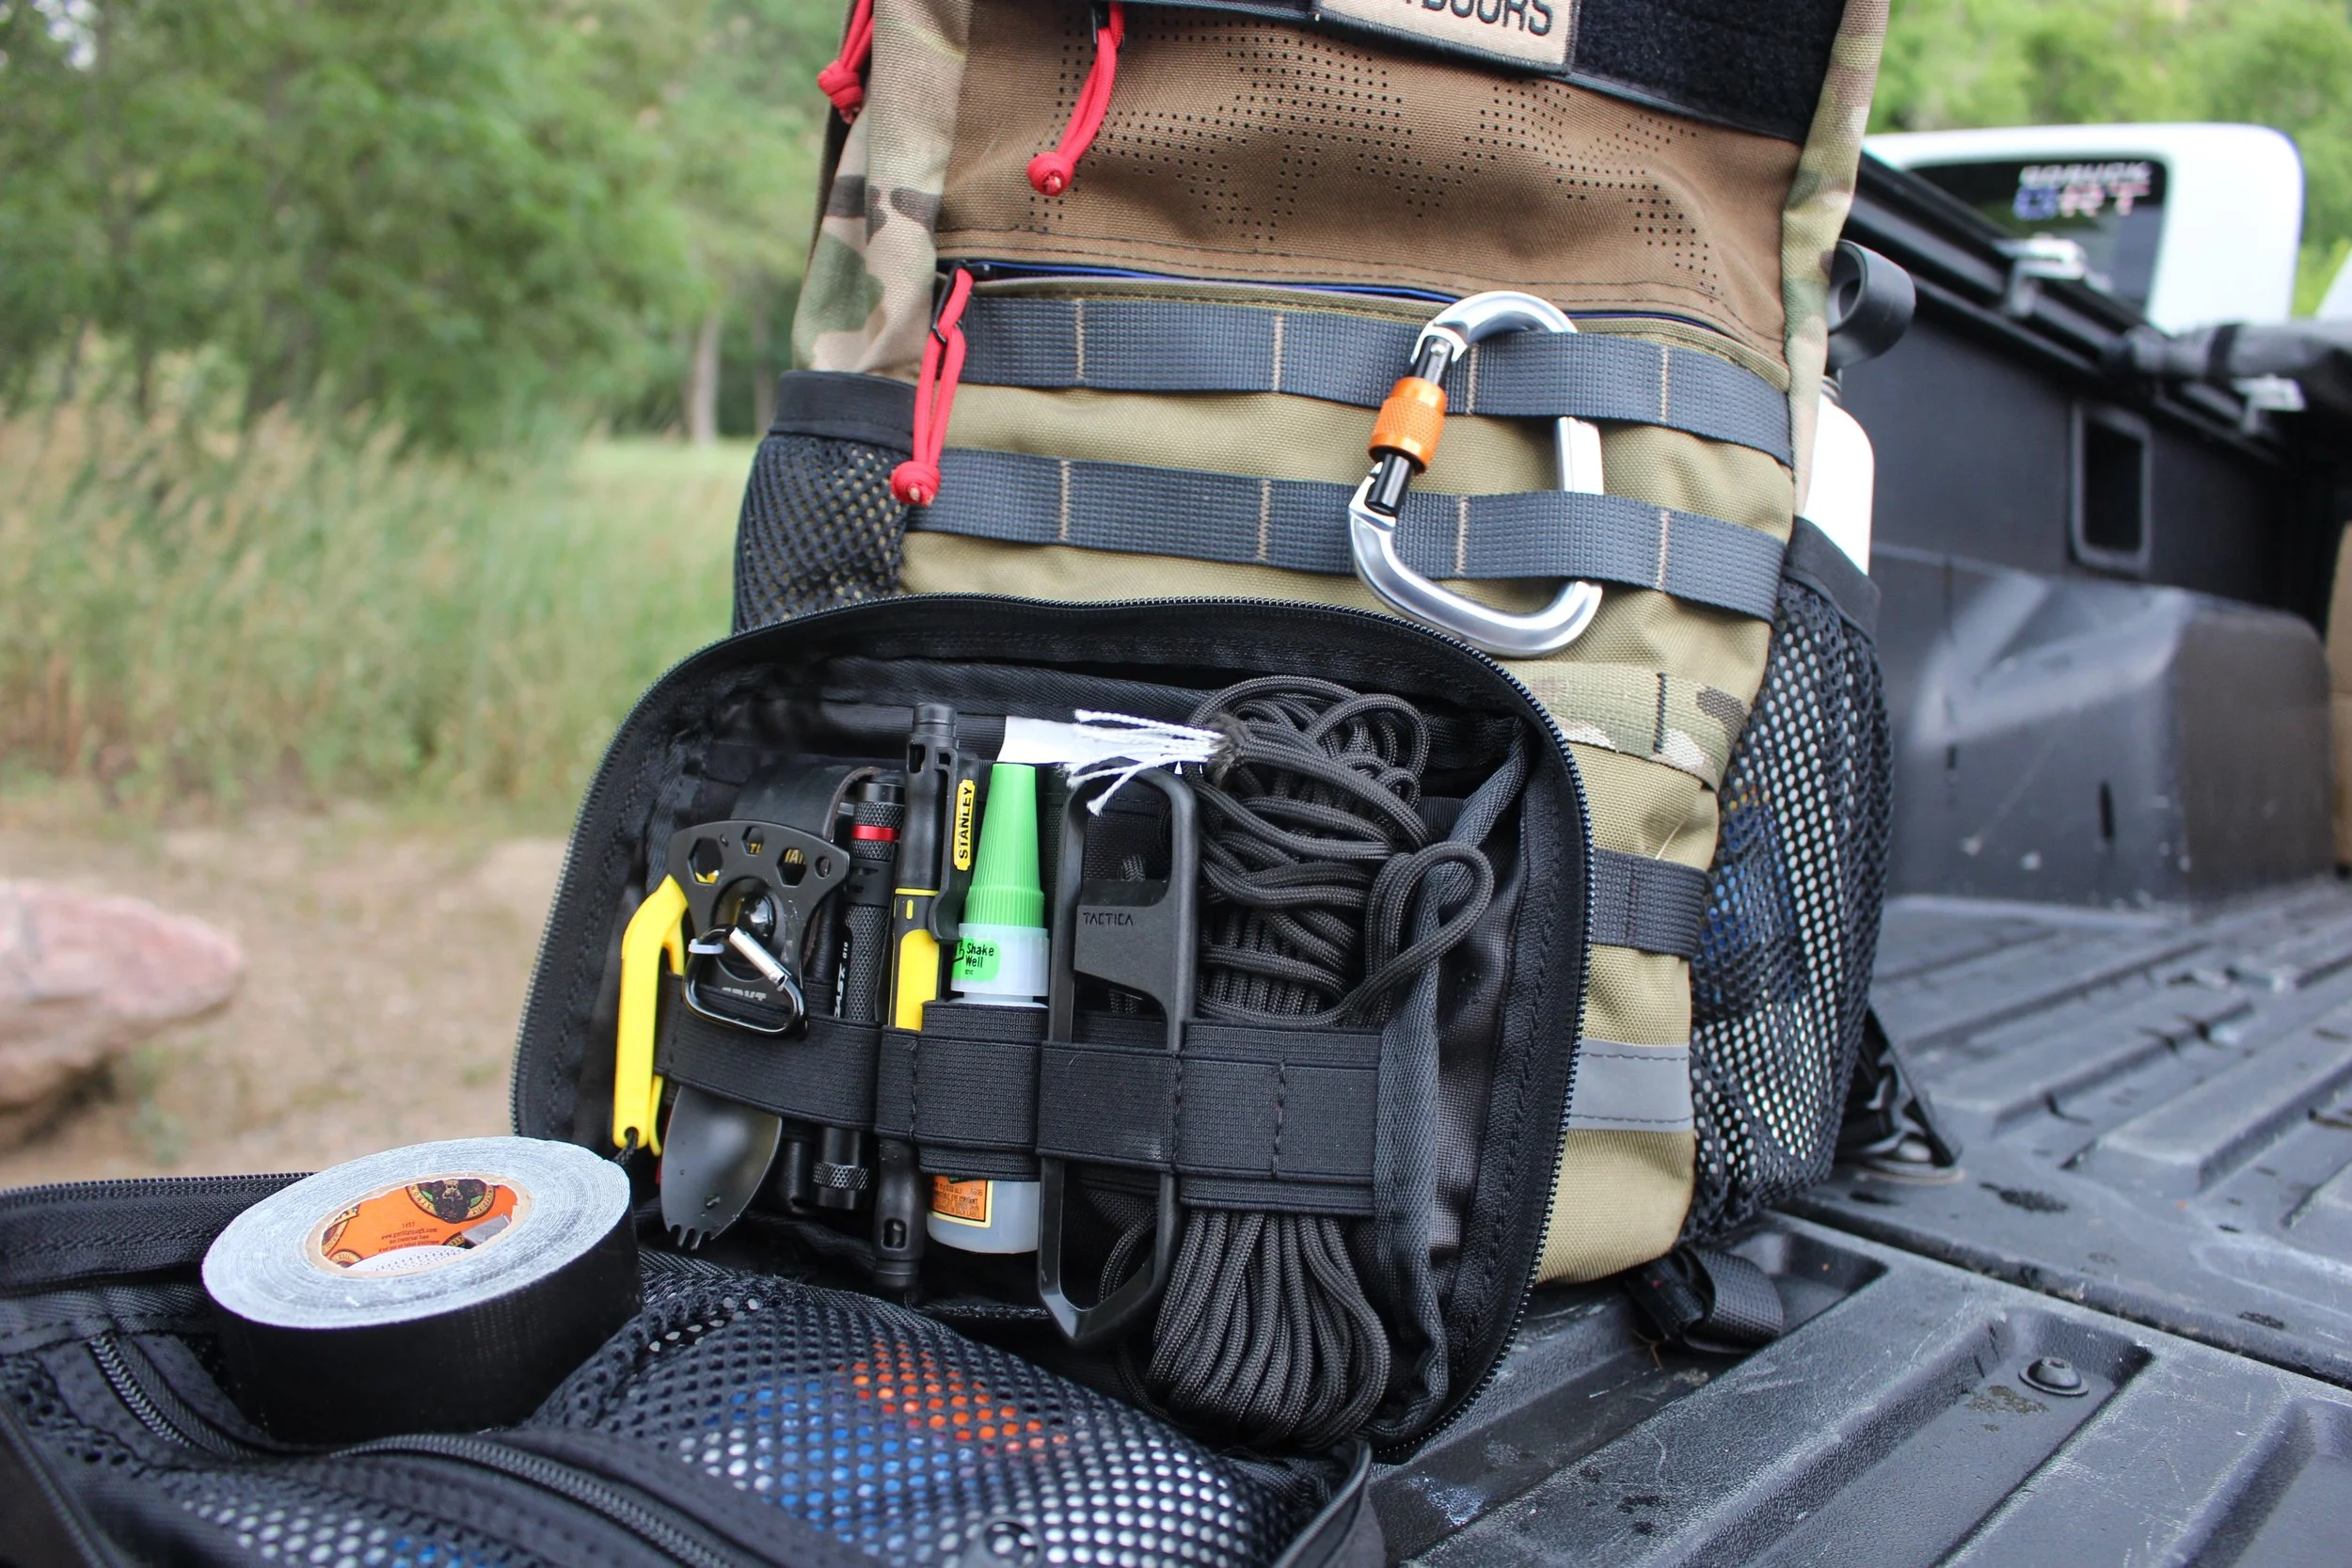
When you open up the EDC Pouch you are greeted with two separate sides which will help store all of your kit. On the one side, you have two rows of elastic webbing that will work to hold all of your tools and smaller items. Here I have the following
- 550 Black Paracord 15ft
- CRKT Eat'N Tool'
- Whistle
- Leatherman Kick
- Lighter
- Gorilla Glue
- Stanley Compact Screw Kit
- Coast Flashlight
- TACTICA Precision Bottle Opener
The elastic webbing on the Pouch is plenty tight to keep your kit from moving around while traveling yet it is spaced well enough to hold all different sizes of items with ease. Beneath the elastic webbing panel, there is a pocket without closure where I keep a Space Blanket and a Knot book just in case.
On the opposite side of the EDC Pouch, there is a full zippered mesh compartment which can carry whatever else you want to pack along. In this pocket, I keep all of my "Medical" items such as Band-aids, wraps, scissors, gloves, medical tape, Antibiotic Ointment, Sting relief and other smaller items. On the outside of the mesh pocket I like to keep a small roll of Gorilla Duck tape and inside of that a 10ft measuring tape.
Finally, on the front of the kit, there is one last zippered compartment that is large enough to hold a phone, wallet, keys, passport, and whatever else you don't want on the inside of the Pouch. On the back of the EDC, there are mollee straps which can be used to attach the pouch on to other BOgear packs and bags, along with any other pack that uses a mollee webbing system.
Coming in at $51 the EDC Pouch is not cheaper by any means. There are much less expensive options like the Maxpedition Beefy Kit, however, the EDC Pouch is priced for a reason. These are hand made with a lifetime guarantee in Brisbane Australia. They are also made of all 1000D Cordura which is the best Nylon you can get right now. The EDC Pouch also has no padding which could turn you away if you are looking for a pocket to keep your camera or other expensive items in. All in all, the EDC Pouch will make a great addition to your backpack and help store all of your needed EDC items.
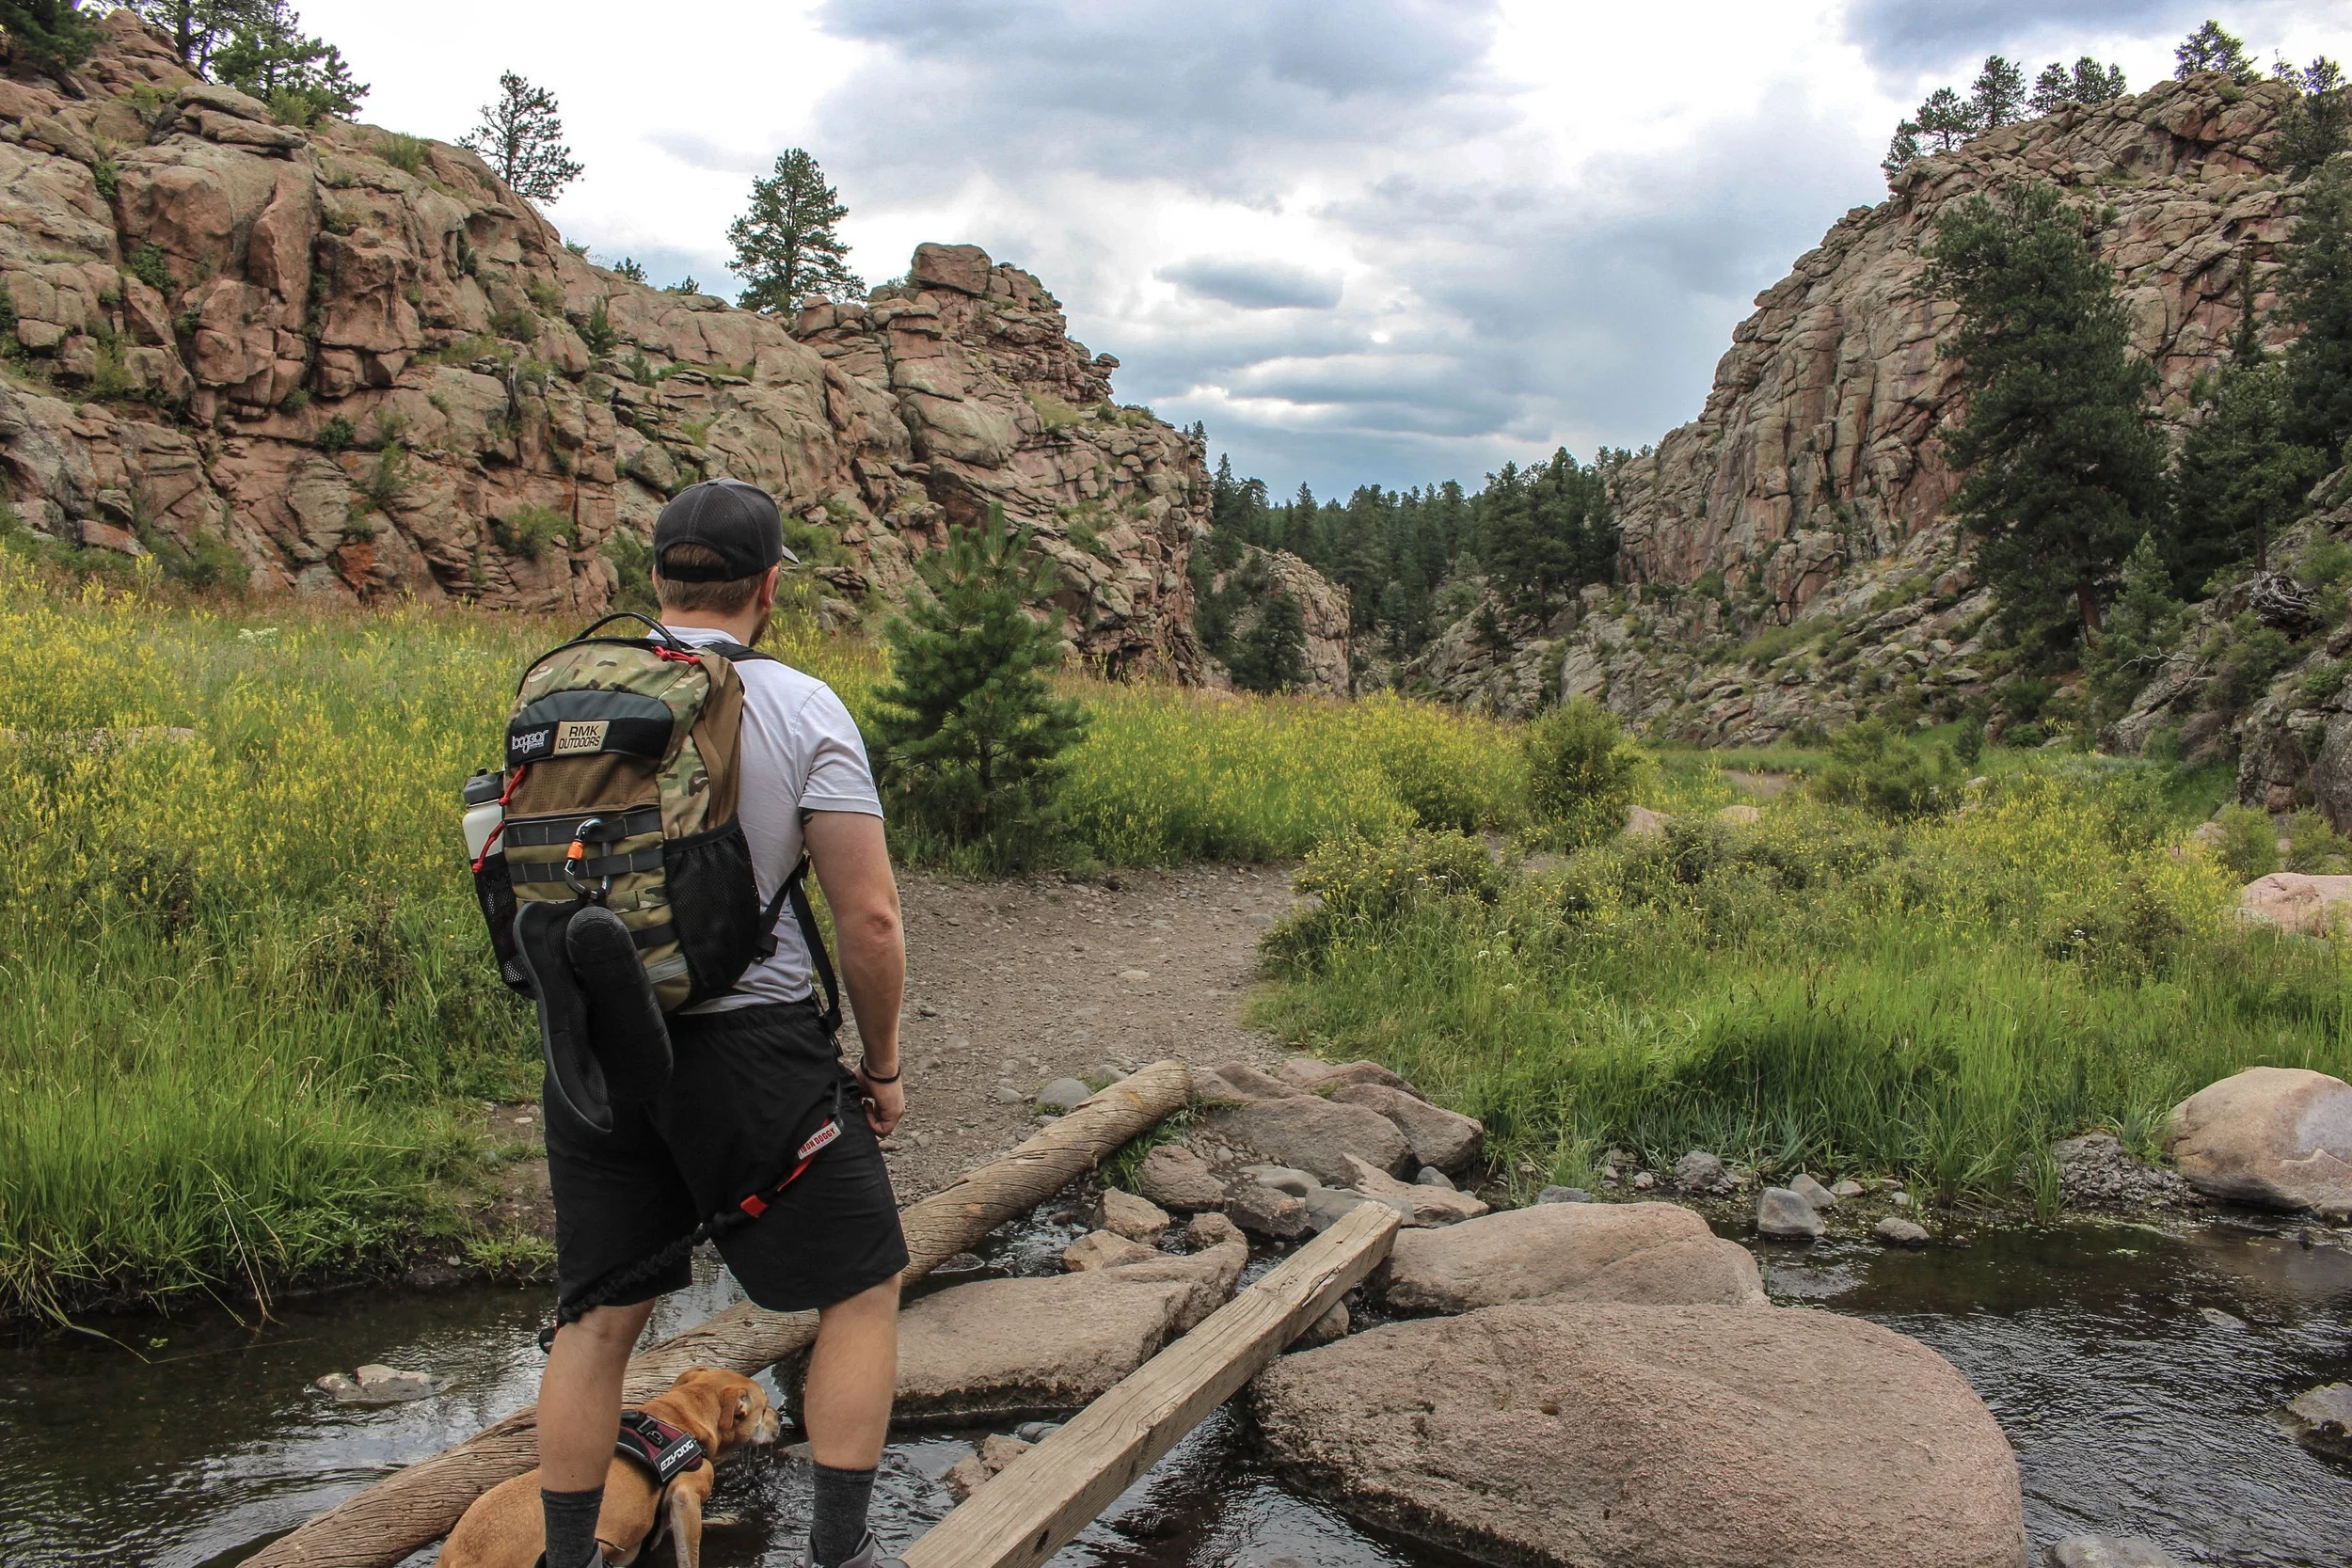
BOGear Custom Spare Camel Backpack Review
There are few backpacks out there that check all the main boxes. Quality, functionality, and comfortability.... The Spare Camel by BOGear is one of these packs.
"Military Spec Materials"
If you don't know BOGear I suggest you get familiar. They are based in Australia and make bomb-proof custom built packs ready for any adventure. They use YKK zippers, 1000D Cordura fabric, best of the best materials and hand make everything to their unbelievably high standards. I have done a review of the the BullPup backpack I was sent a couple months back, however, this Spare Camel is the Bullpup on steroids and much, much more custom. When I ordered my BullPup I filled out the custom sheet exactly how I wanted, this time around I decided to let the guys over at BO surprise me... and boy did they.
"Make The Pack Of Your Dreams"
I gave them a few outlines to follow like, Dark "WTF" outer Cordura with Camo and same goes for mollee webbing. I was also lucky enough to be one of the first people to be able to get the optional bottle pockets on the pack, which is an amazing feature. I also upgraded to red paracord zipper pulls, a more padded wrapped handle, and had them even sewn two more rows of mollee webbing on the bottom of the Camel. The last upgrade I threw on the Camel was the beautifully laser etched RMK logo on the front panel of the backpack. The wizards over at BOGear really know how to make a pack and will go out of their way to make sure yours is perfect.
And now the review. Starting off as I said before the pack is built from all 1000D Cordura with a 500D Cordura back panel and with the "WTF" option many different colors are all sewn together to make the custom Camel. 1000D is an amazing fabric, however, it is heavy. I find that the weight is easily justified by the quality and abrasion resistance the Cordura has. The pack is also accompanied by large YKK zippers which make opening and closing the pack a breeze and ensures you will never have a blowout.
"Mollee Webbing For Attachments"
On the very front of the Camel, you have a four rows of mollee webbing that allow you to attach a number of pouches and pockets, or like I have on mine, a carabineer and a Steel Flame mollee clip for some added badassness. Below the four rows of mollee webbing there is a reflective strip to aid in nighttime visibilty.
"Large External Pockets"
Right above the mollee webbing, there is the larger zippered front pocket. This pocket is large enough to fit a full-size tablet, however, I normally use this pocket to store my headphones, wallet, charger, phone, and whatever other items I don't want on the inside of the pack that I need quick access to. Above this pocket, there is the laser-etched panel and then the smaller front zippered pocket which is much smaller than the lower pocket. I use this slot to house my glasses.
"Upgradeable Bottle Pockets"
On either side of my custom Spare Camel, there are matching water bottle pockets. This upgrade is going to be a new one to BOgears packs. The pockets are a great feature and will hold up to a 40oz Hydroflask with ease. If only carrying one water bottle you can stuff many other items in the pocket like anything wet you don't want in the main compartment. This feature does take away from the normal "Clam-shell" opening that the pack will have without the pockets however, I find the pockets a much more useful feature 90% of the time.
"One Of A Kind Inside"
Upon opening my Camel you are greeted with a beautiful royal blue inside liner. This is another option to be picked if you choose to get the custom Camel. On the back of the main compartment, there is a large sleeve that can house a laptop/tablet, books, documents, or whatever else. This sleeve is not padded and if you are going to carry a laptop or tablet I highly suggest putting it into a protective sleeve or case before. I would love to see a dedicated laptop sleeve which I feel is one of the only things missing from the Spare Camel.
On the opposite side of the sleeve, there are two large zippered mesh pockets. The first pocket zipper runs vertical while the second larger pocket runs horizontal. On a normally EDC I like to keep my laptop charger, external hard drive, and any other chargers/tech options I don't want in the large main compartment. The second zippered pocket is somewhat larger and can hold spare clothes, gloves, knives or whatever else you need.
"Plenty Of Room For A Full Days Load-out"
The main compartment is plenty large for a full day load-out or even a well packed overnight backpack. You can easily keep a few field pockets, a BOgear EDC pouch, laptop, books or magazines, an outer layer and a DSLR, which is what I normally carry.
"Padded Back Panel And Frame Sheet"
A huge difference between the Spare Camel and Bullpup is that the Camel has a full frame sheet in the back of the pack with a matching sheet of foam padding. This will make a huge difference when carrying the pack for long distances and helps the pack "stand" on its own and not slouch. The frame sheet and padding can be accessed under the shoulder straps by a velcro slot if adjuments need to be made.
Because the Camel is made entirely out of 500D Cordura this means the back panel is not going to be the most breathable on hot days. I have taken this pack on many hikes, a camping trip, and up the CO Springs Incline two times. You will sweat and leave a print when using this backpack for outdoor activities. This is not a big deal for me as I love the durability the full solid back panel gives and normally when I am using this bag outside it is because I am wanting a workout and don't mind sweating like a man should.
Next, the shoulder straps of the pack. The straps on both the Camel and the Bullpup are very unique. They are attached in such a way and a cut, that they can really move side to side with ease. The straps are plenty padded and do a good job keeping the load high on your back when synched up tight. One additional thing I had changed on my Camel after learning from the Bullpup was the distance between the shoulder straps. When wearing the Bullpup the shoulder straps would end up rubbing on the back of my neck and it did not feel great. When putting in the order for the Camel I spoke with captain Dave and asked if they could spread that distance another 20mm, which of course they did and it made a world of difference. In between the straps there is a small hydration bladder port that lets the user run a hose through and down the straps, there are loops down the straps which can hold the hose. I also decided to get the optional sternum strap to help carry the pack.
(Be sure to click on the side to see all of the strap pictures)
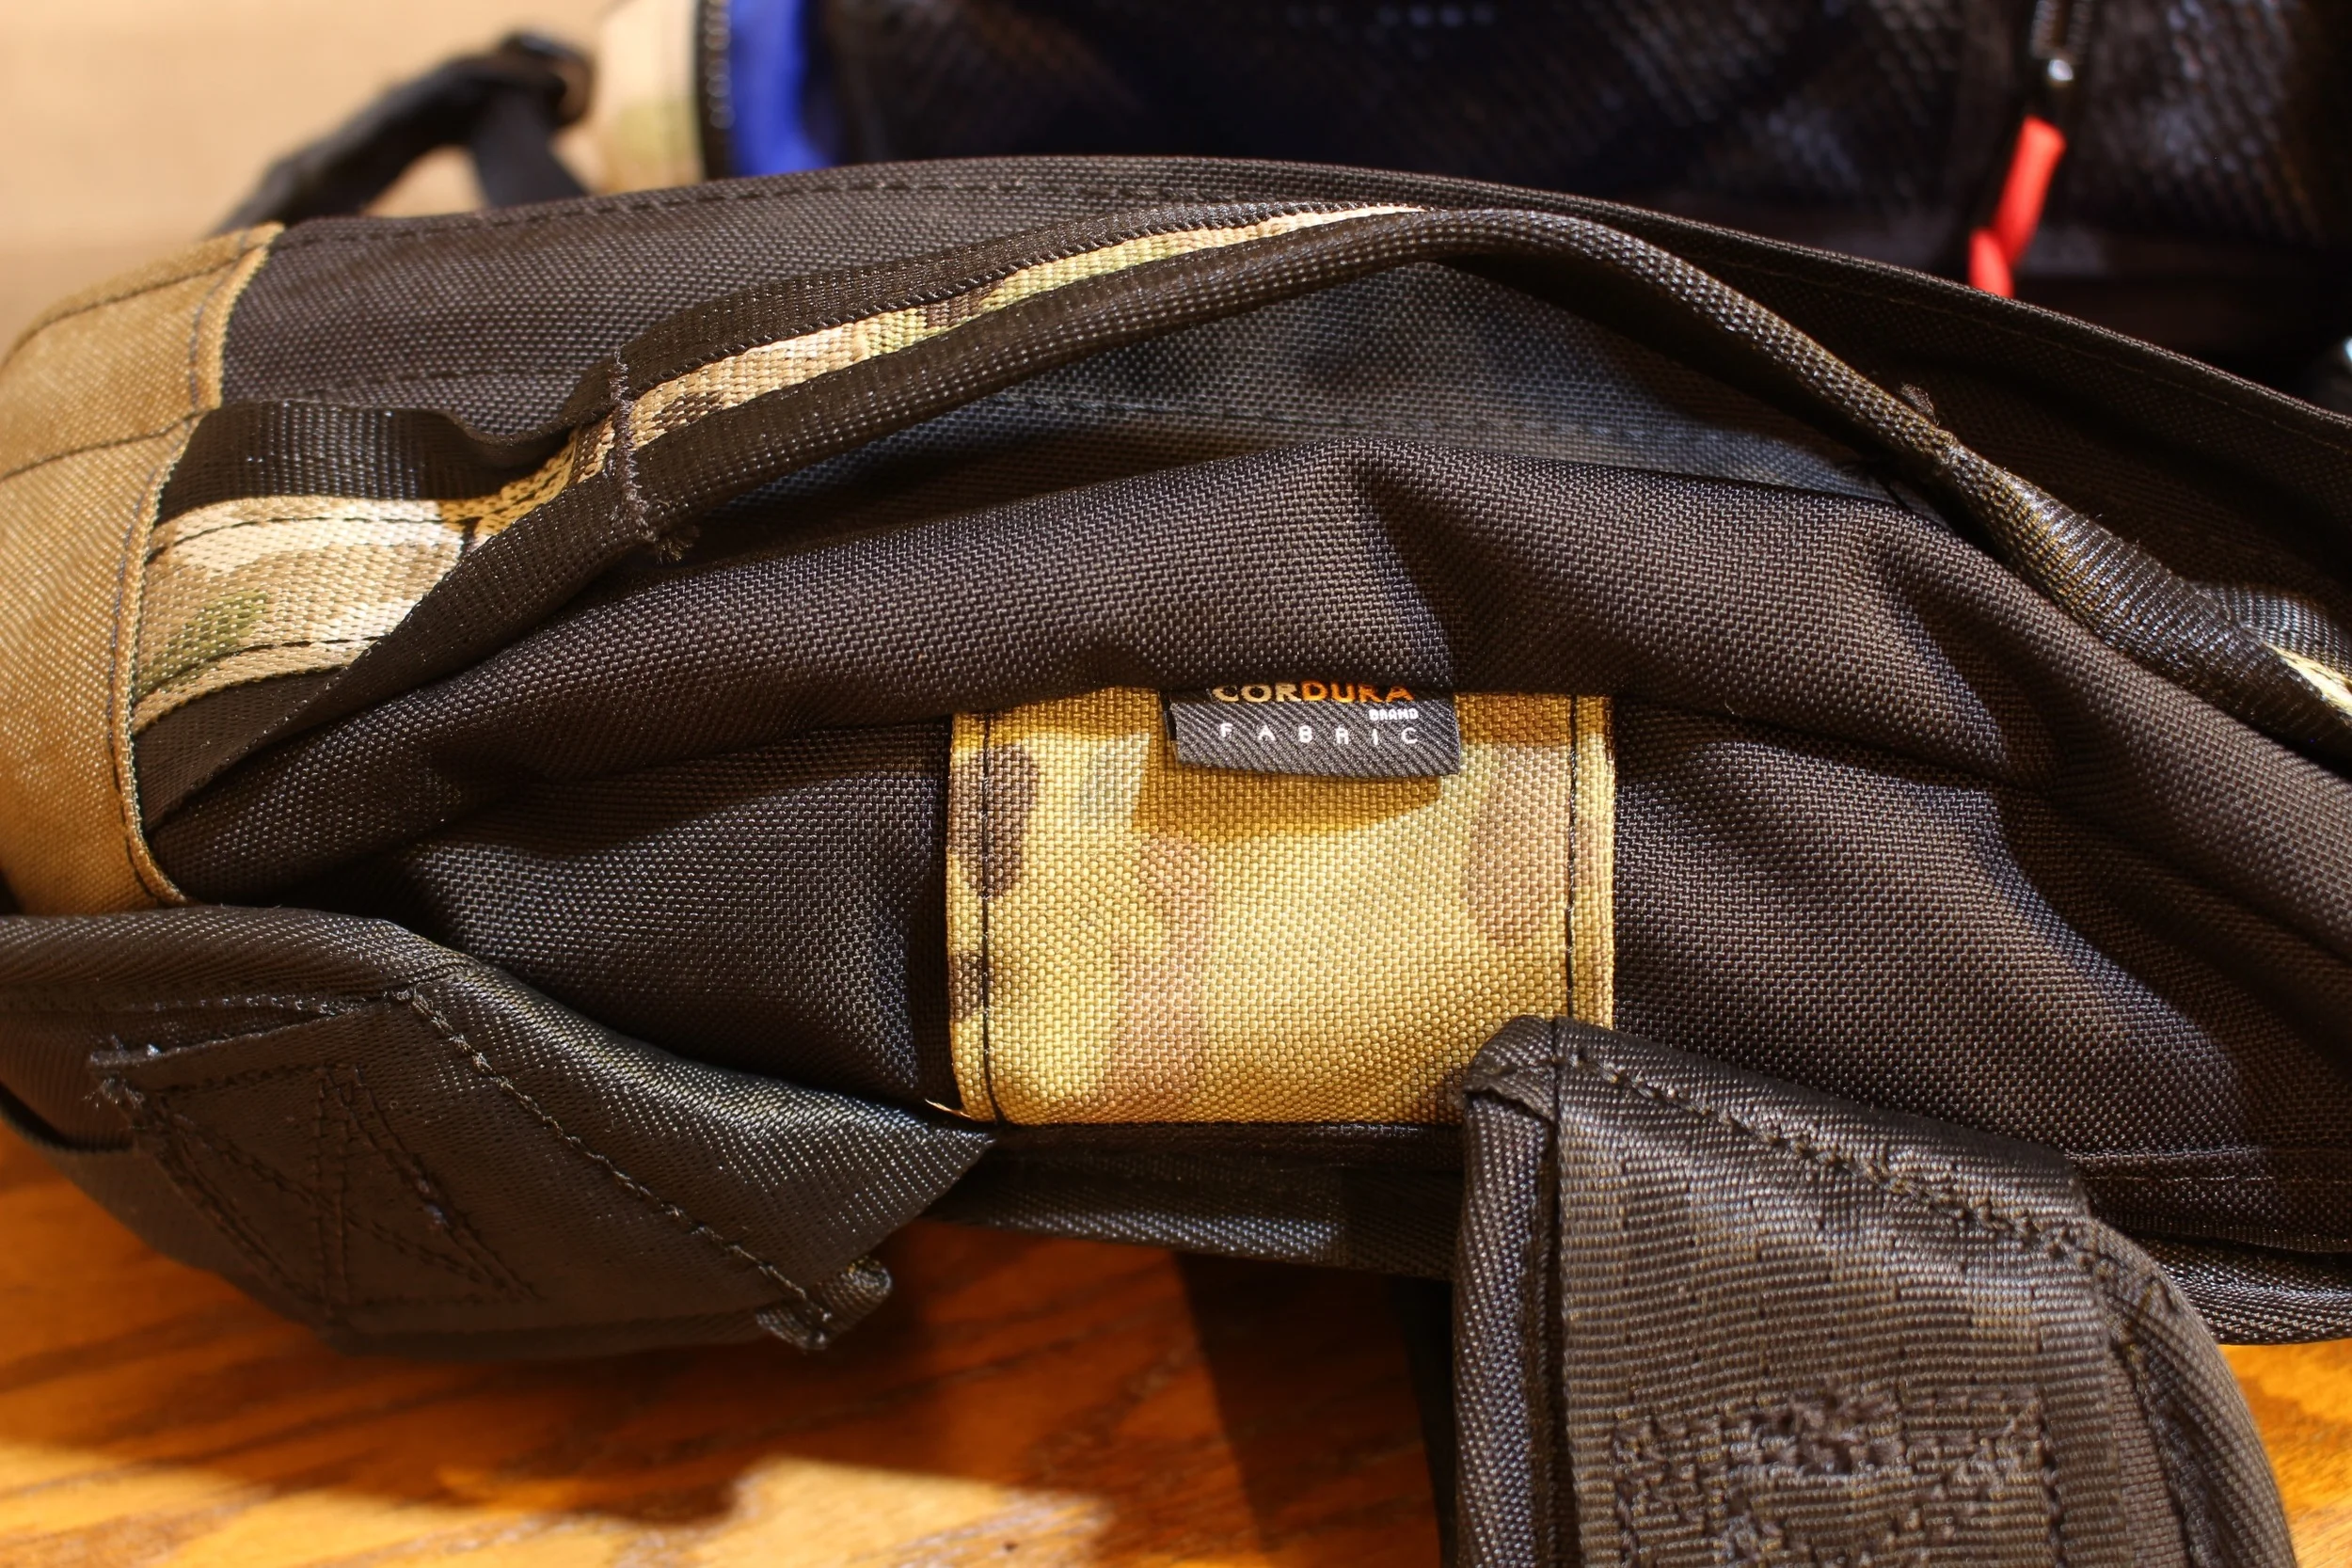
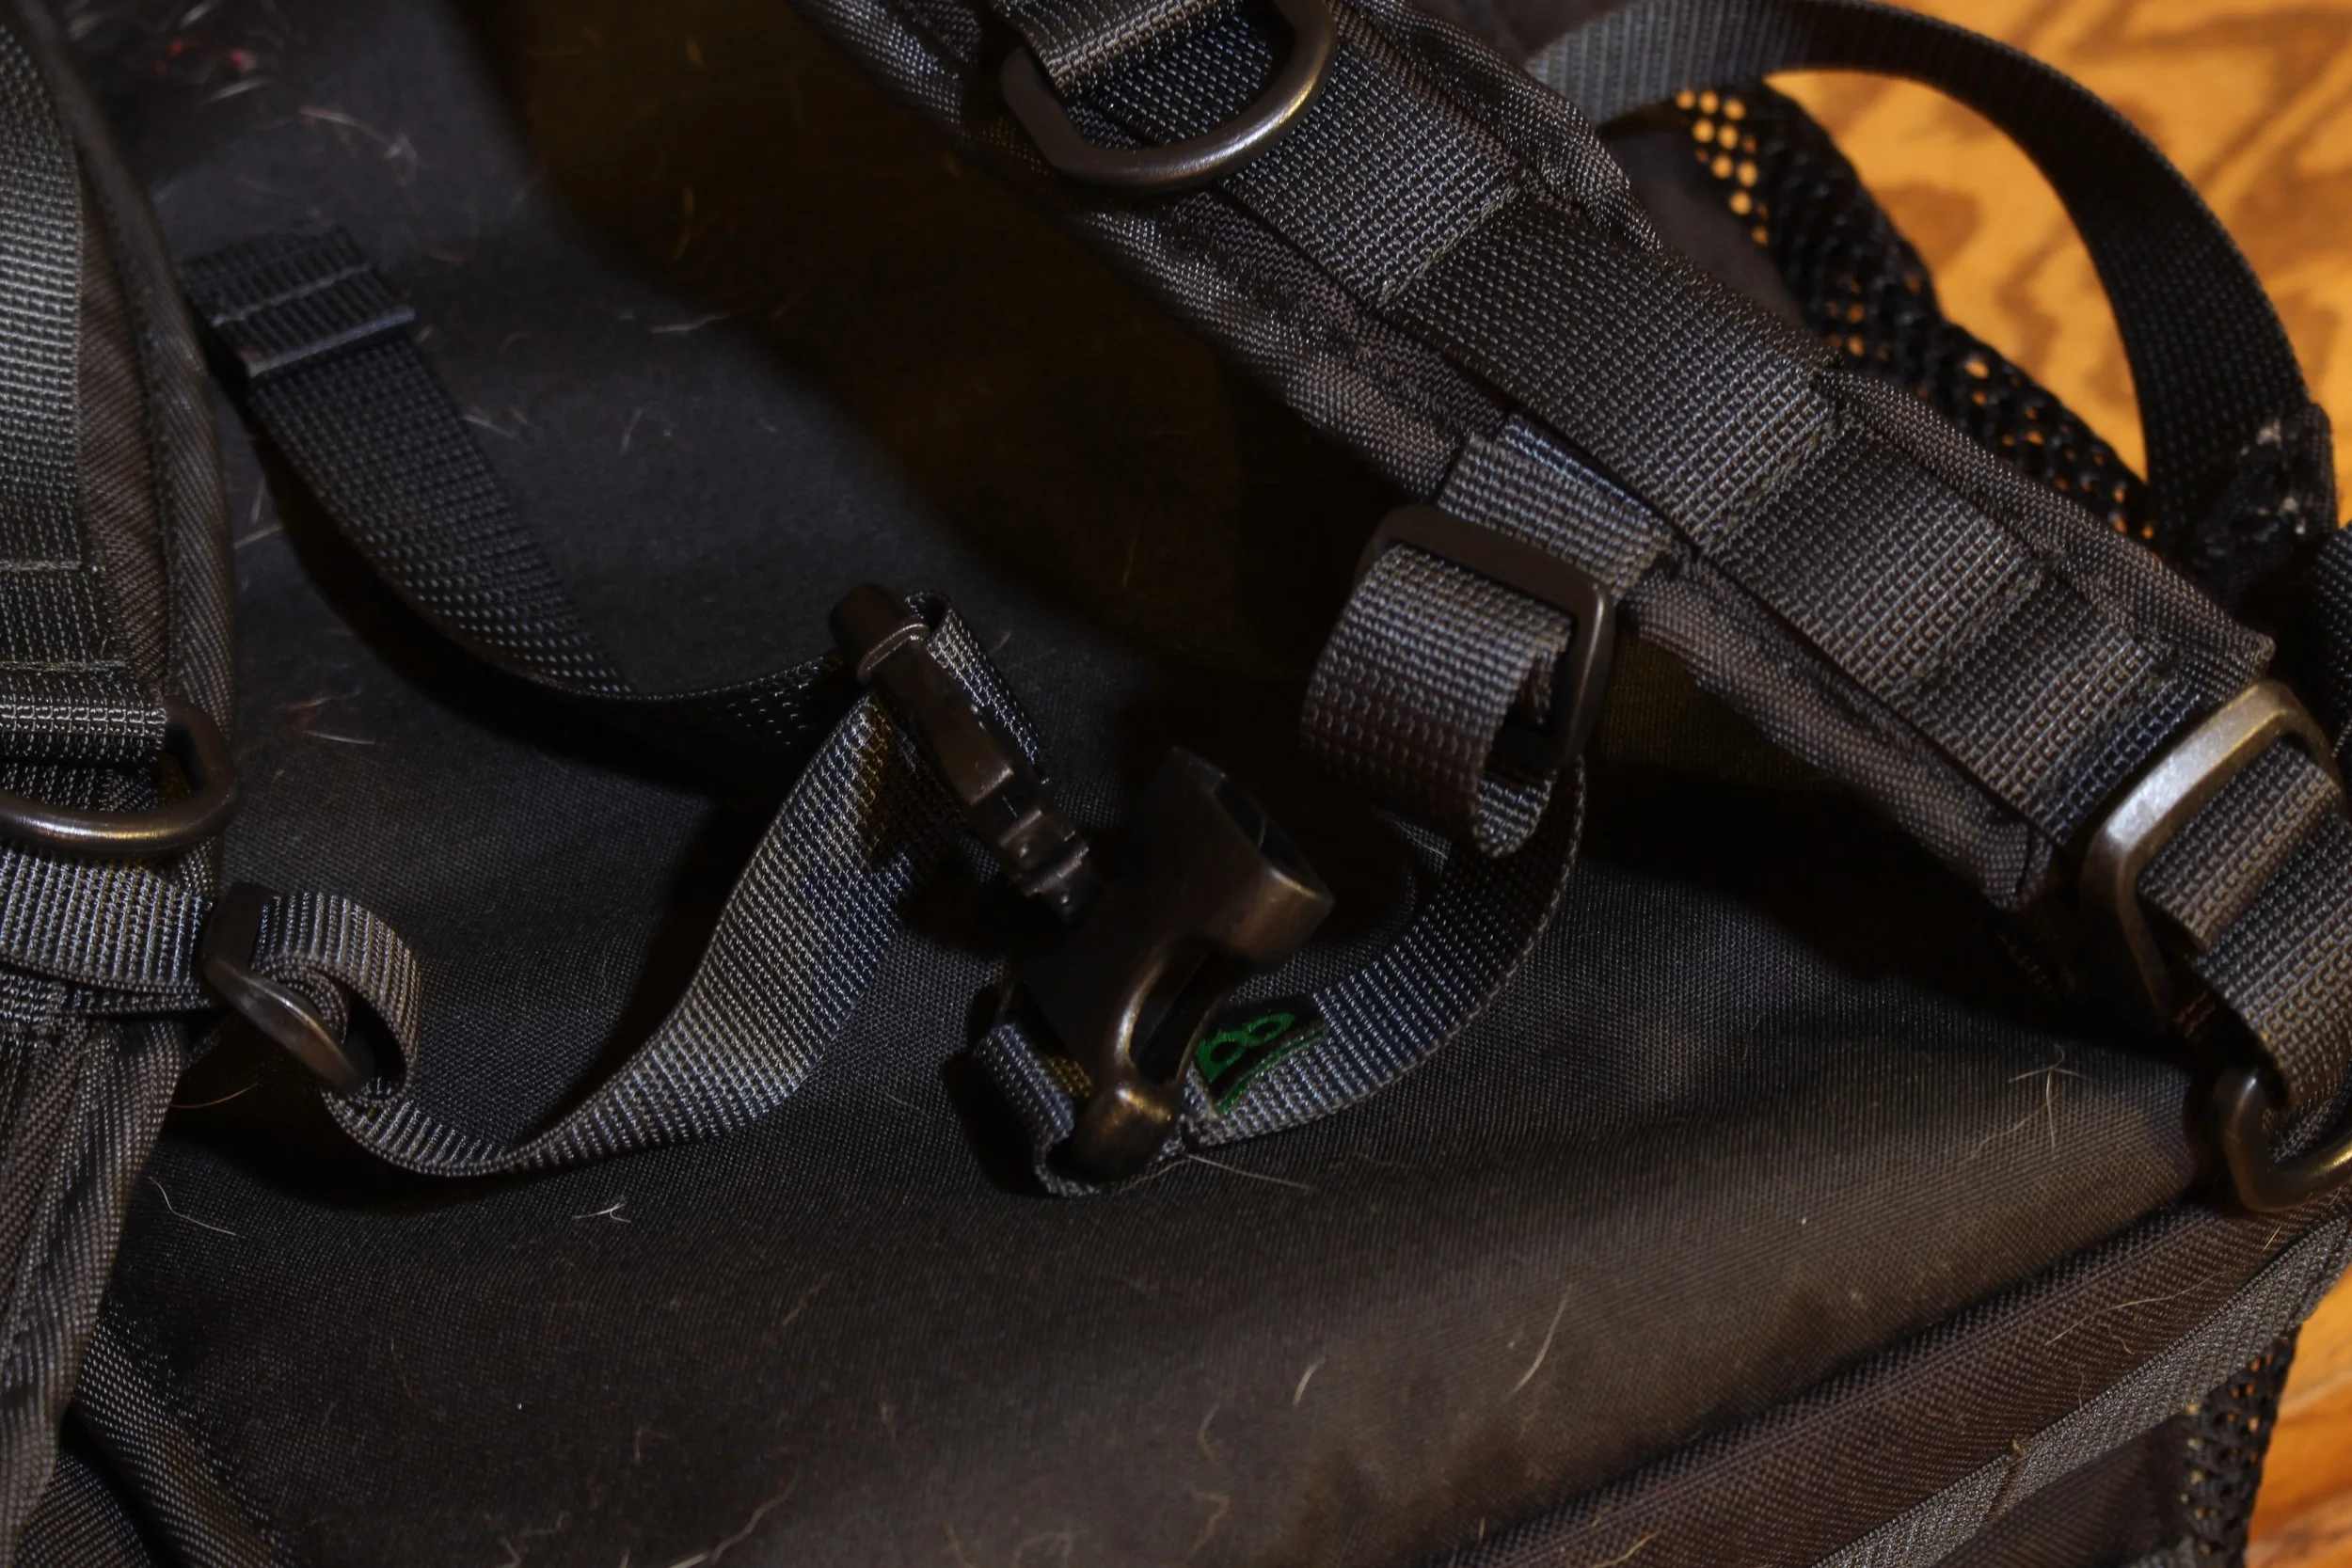
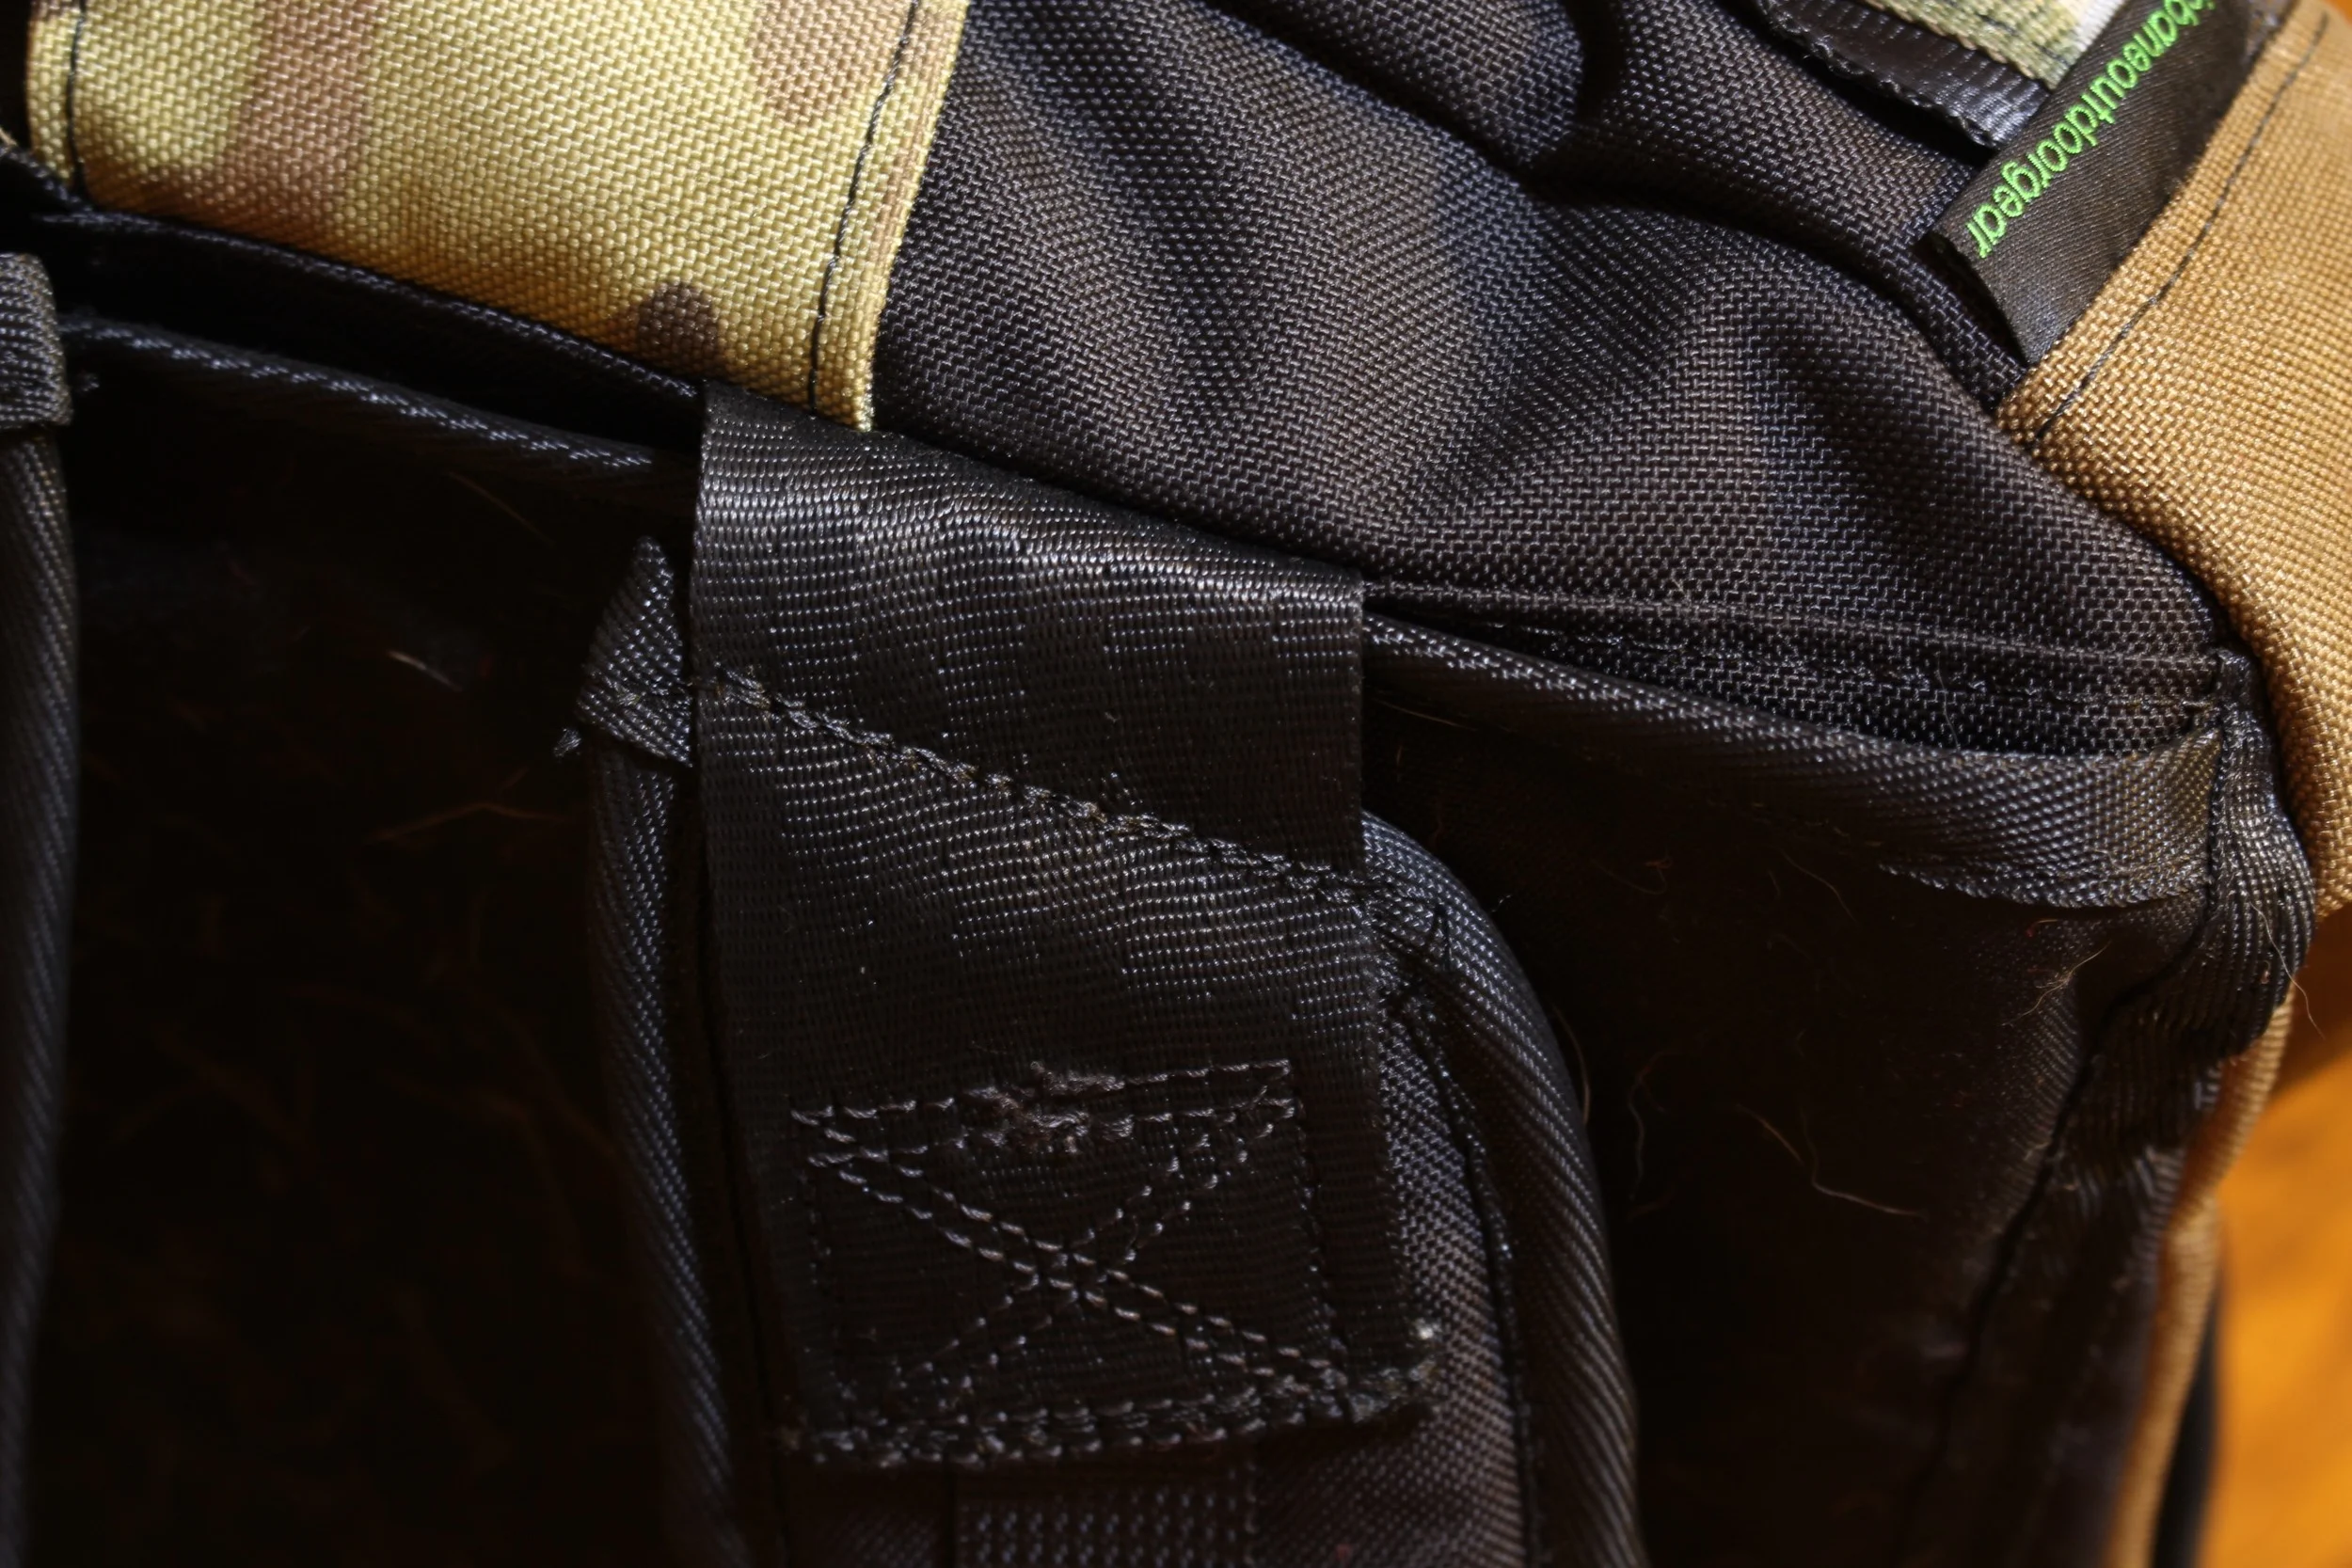
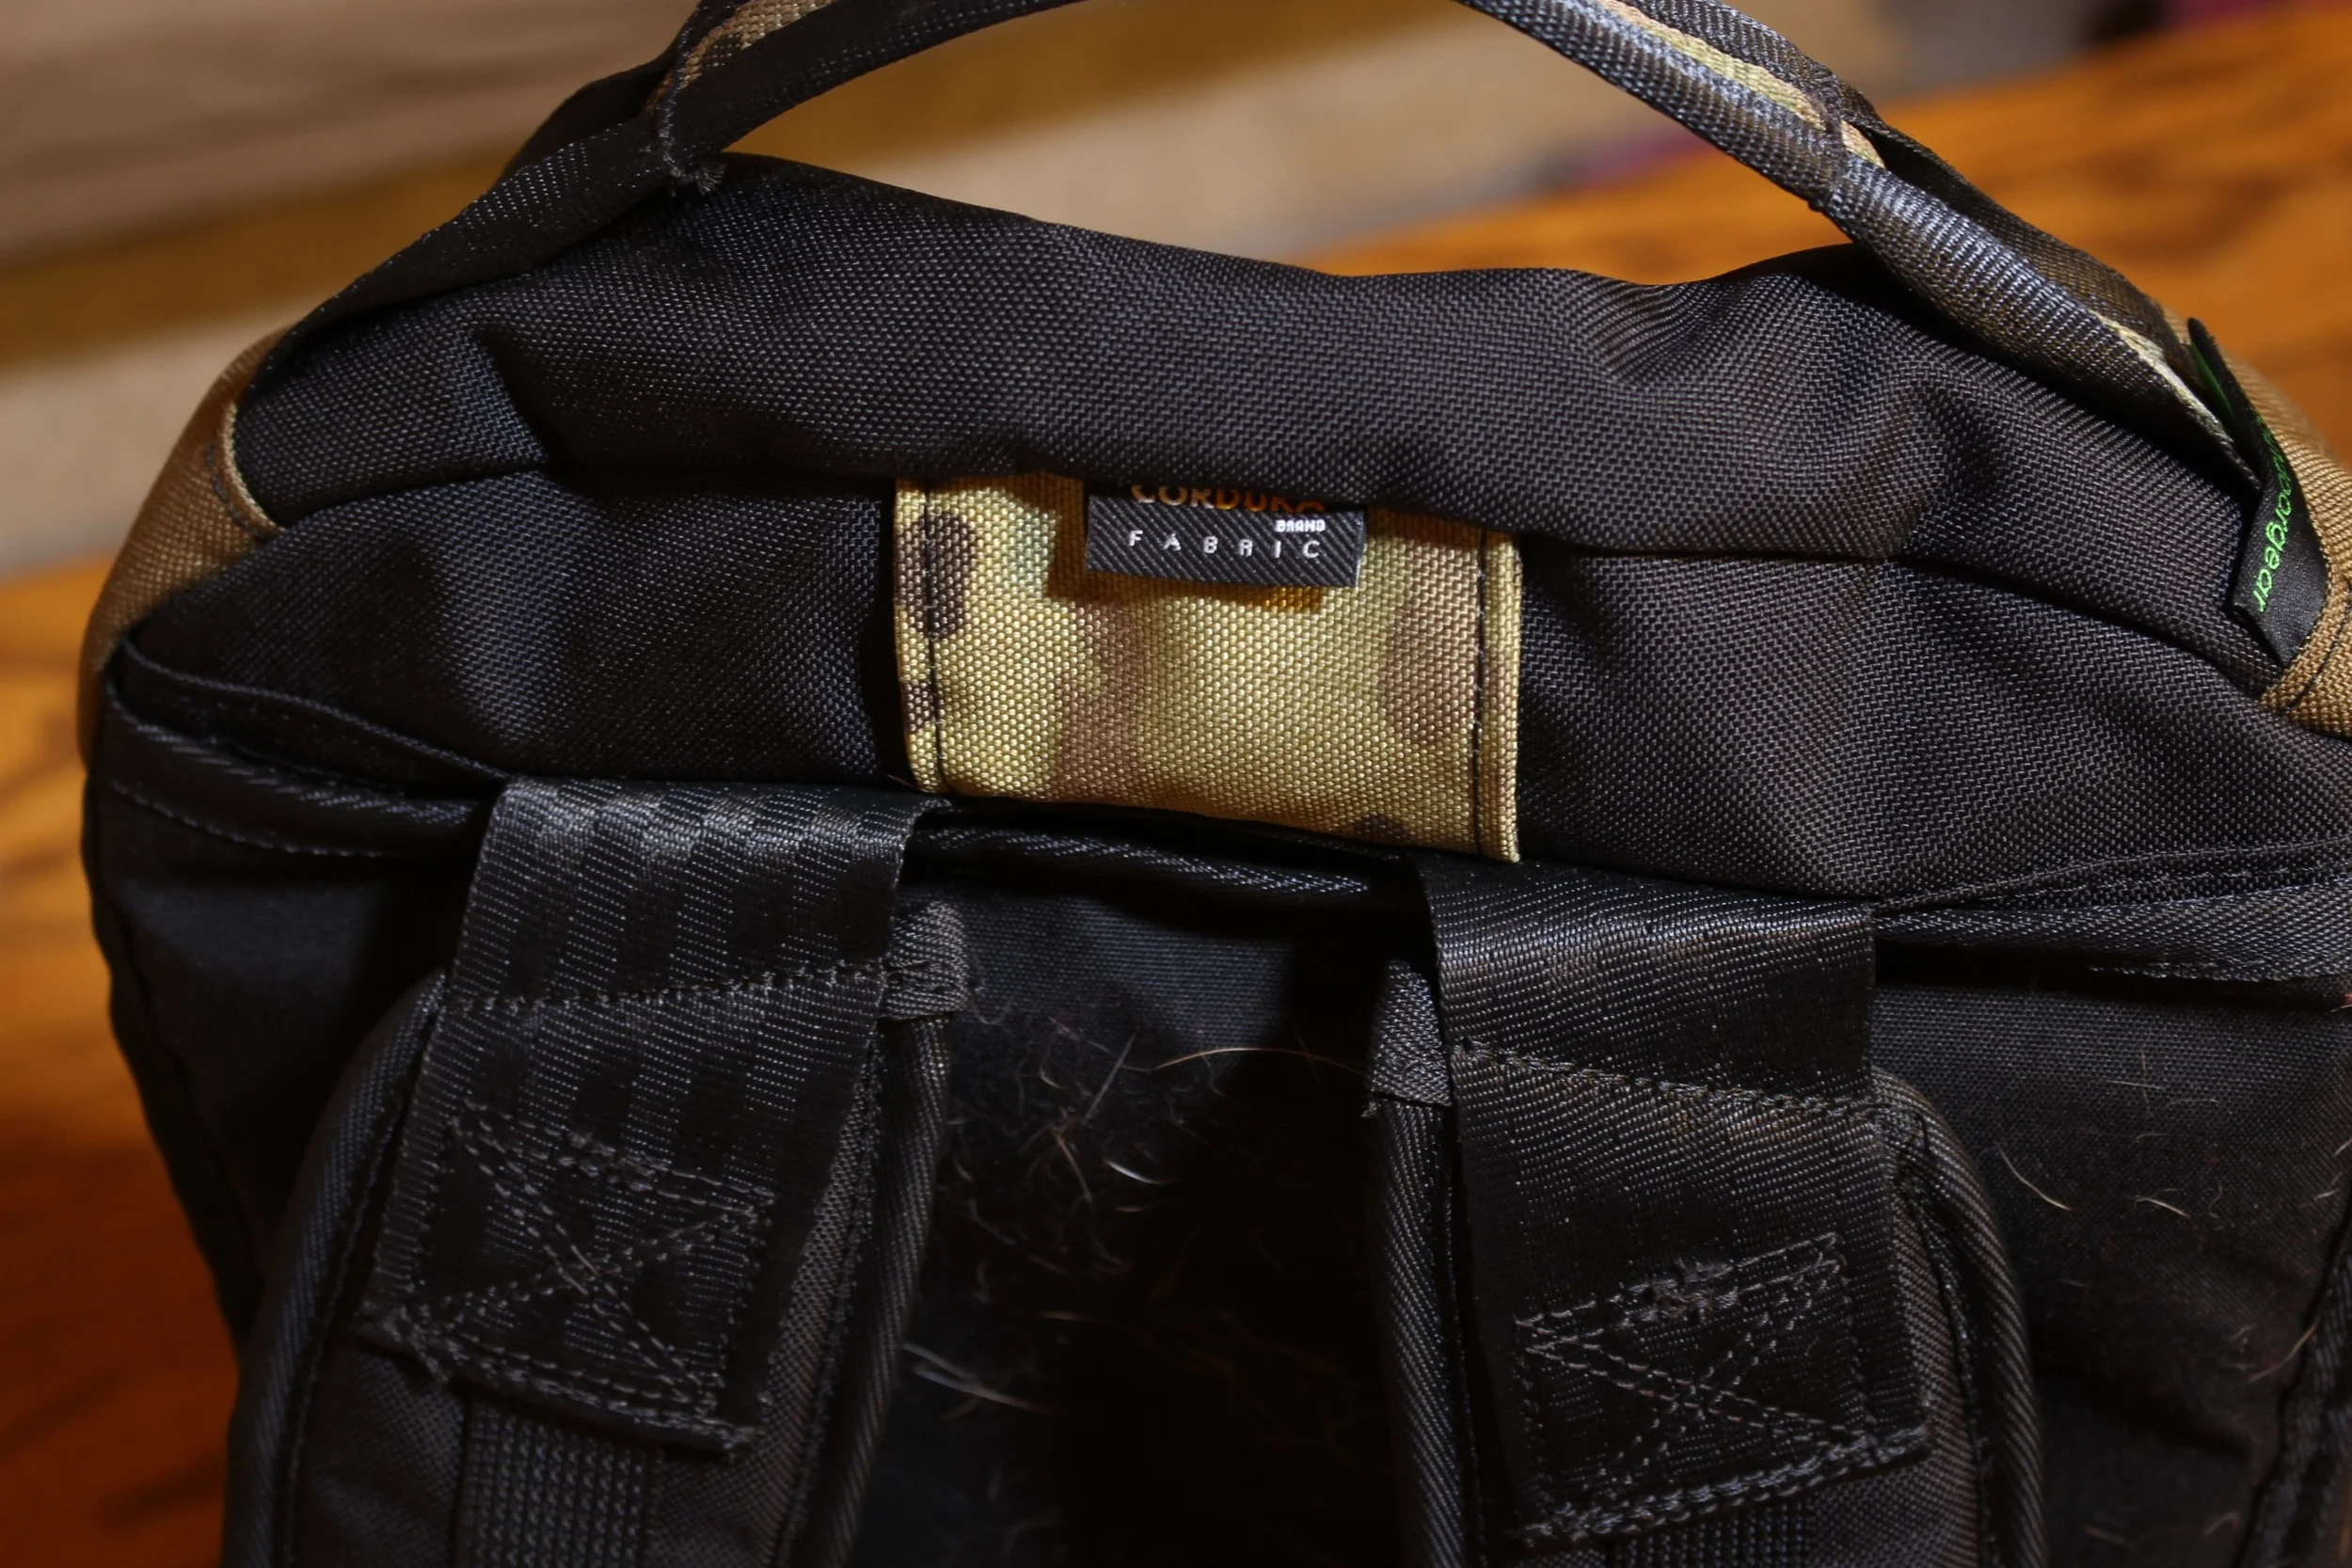
Finally, on the very bottom of the pack, I added two rows of mollee webbing so that I could attach any other items I needed like a sleeping bag, etc.
Below I will have all of my adventure pictures with the Spare Camel so you can see it in use. (Again click right to see all of the pictures)
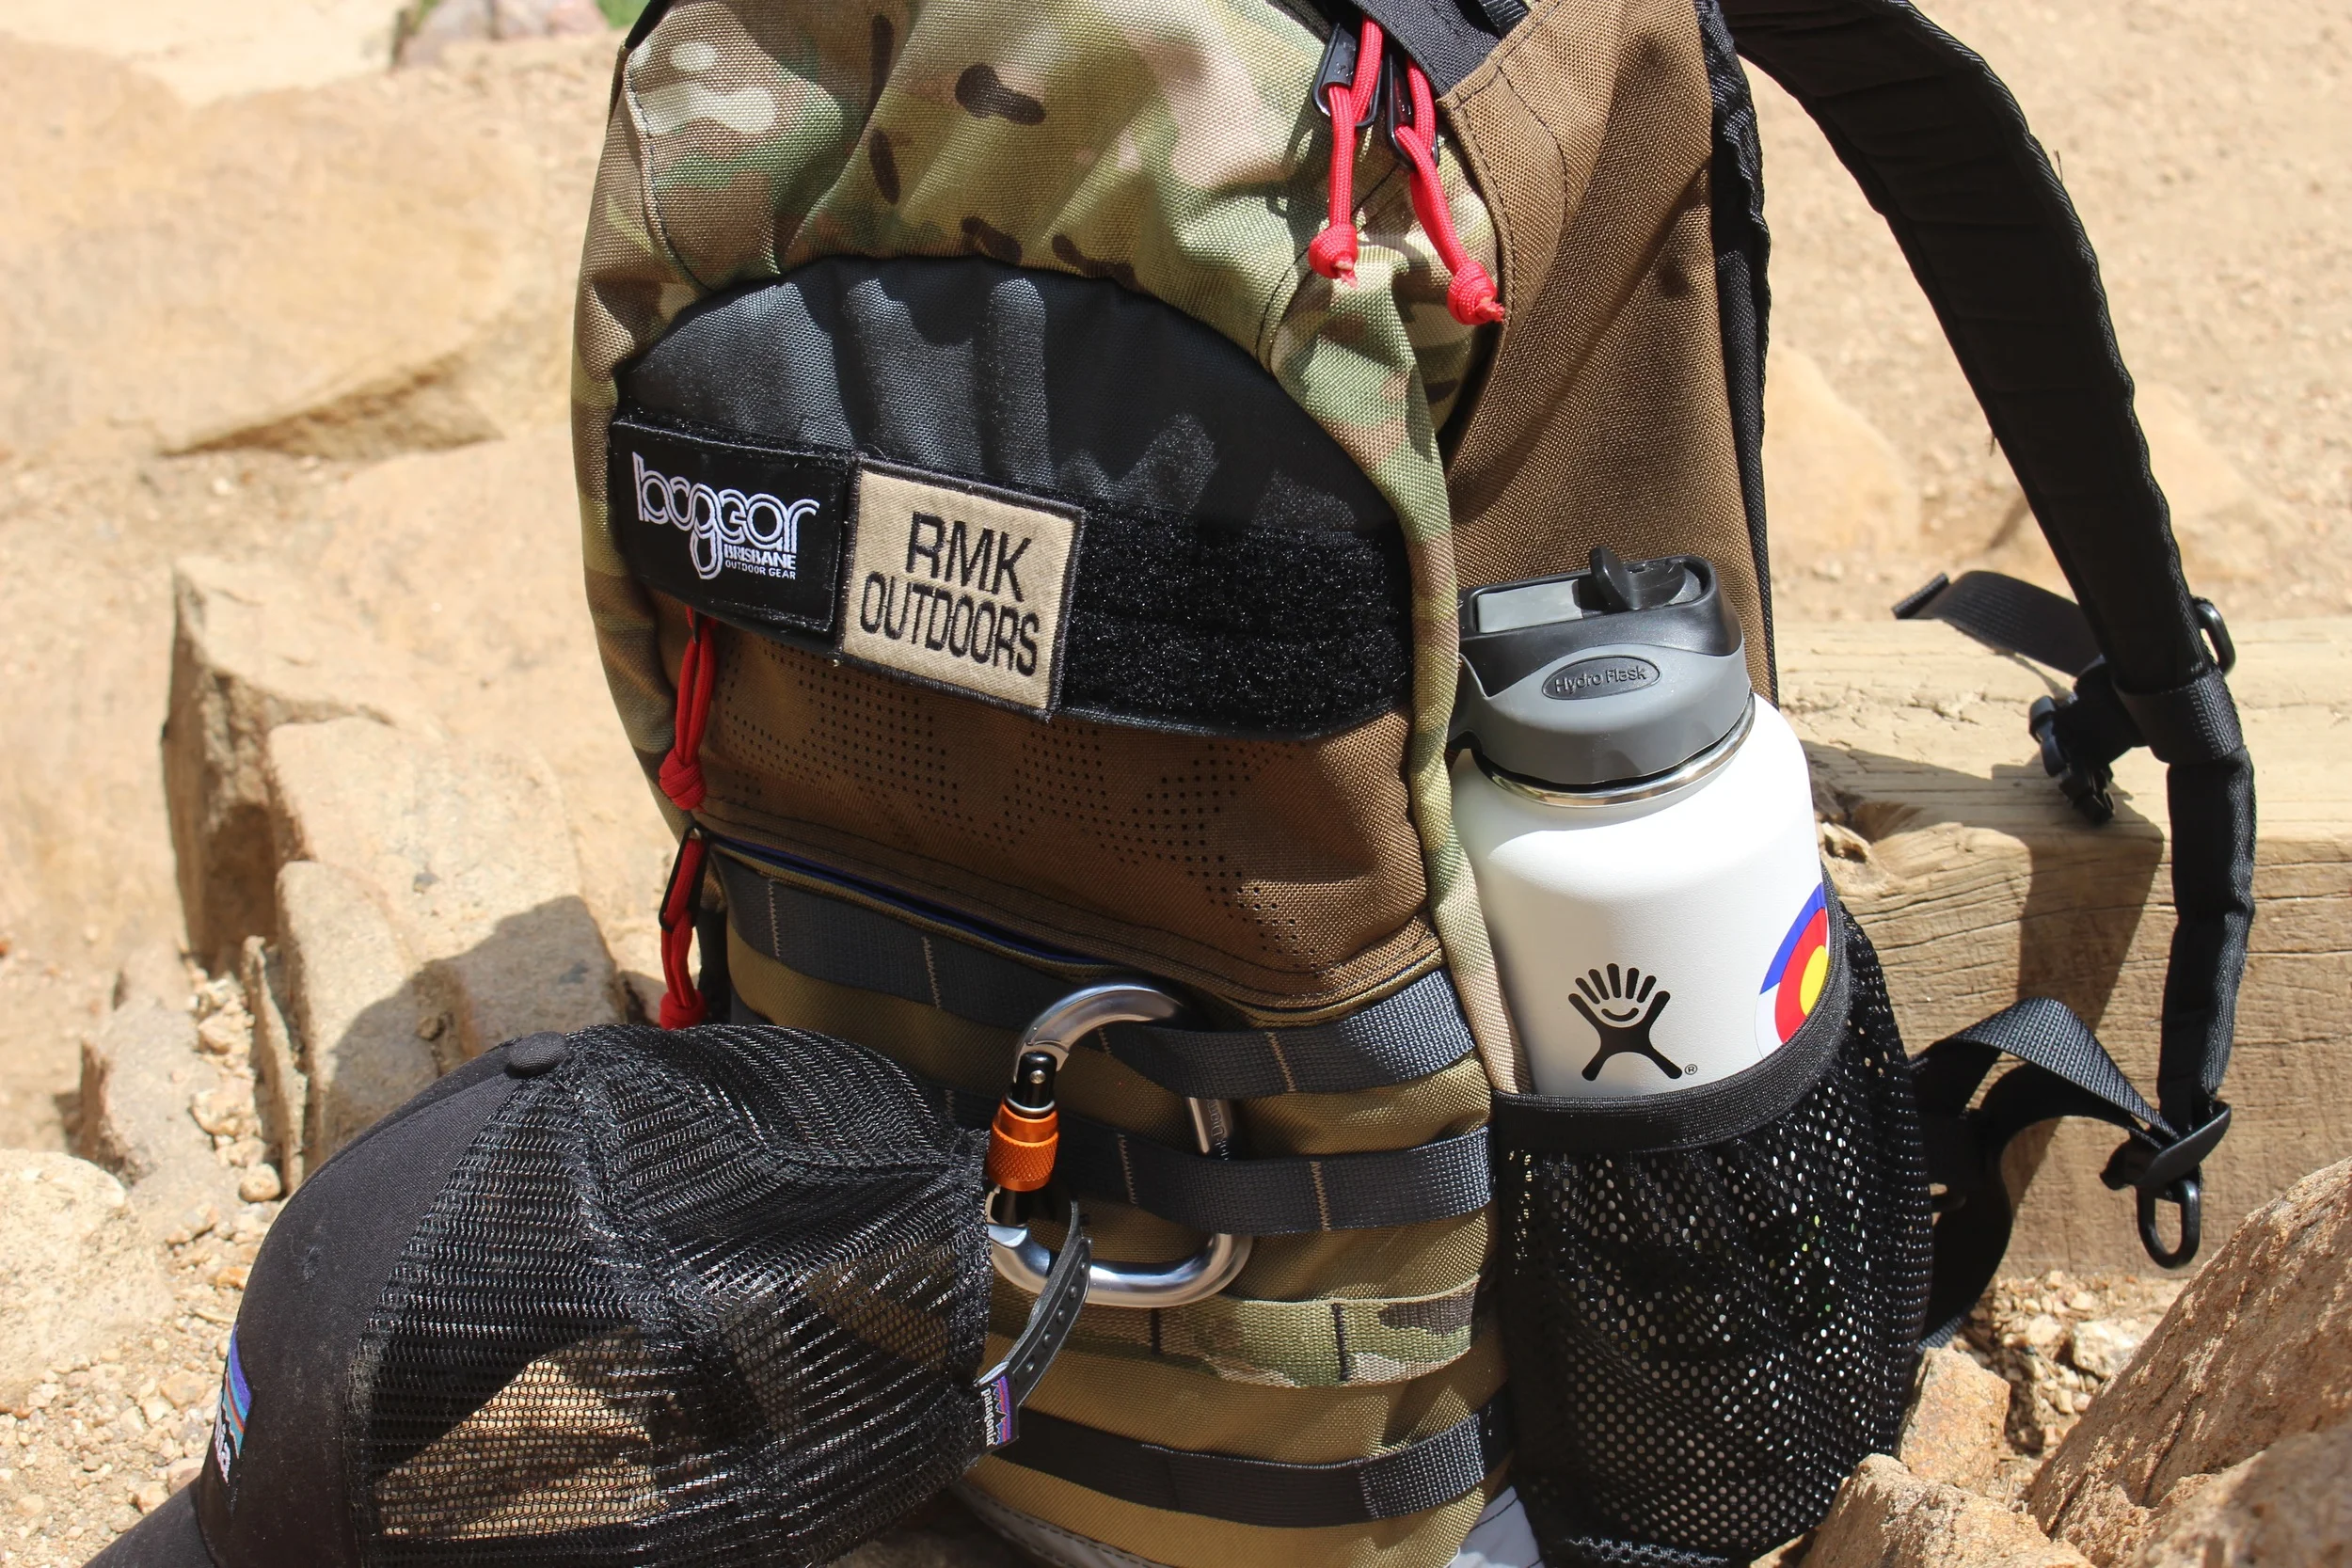
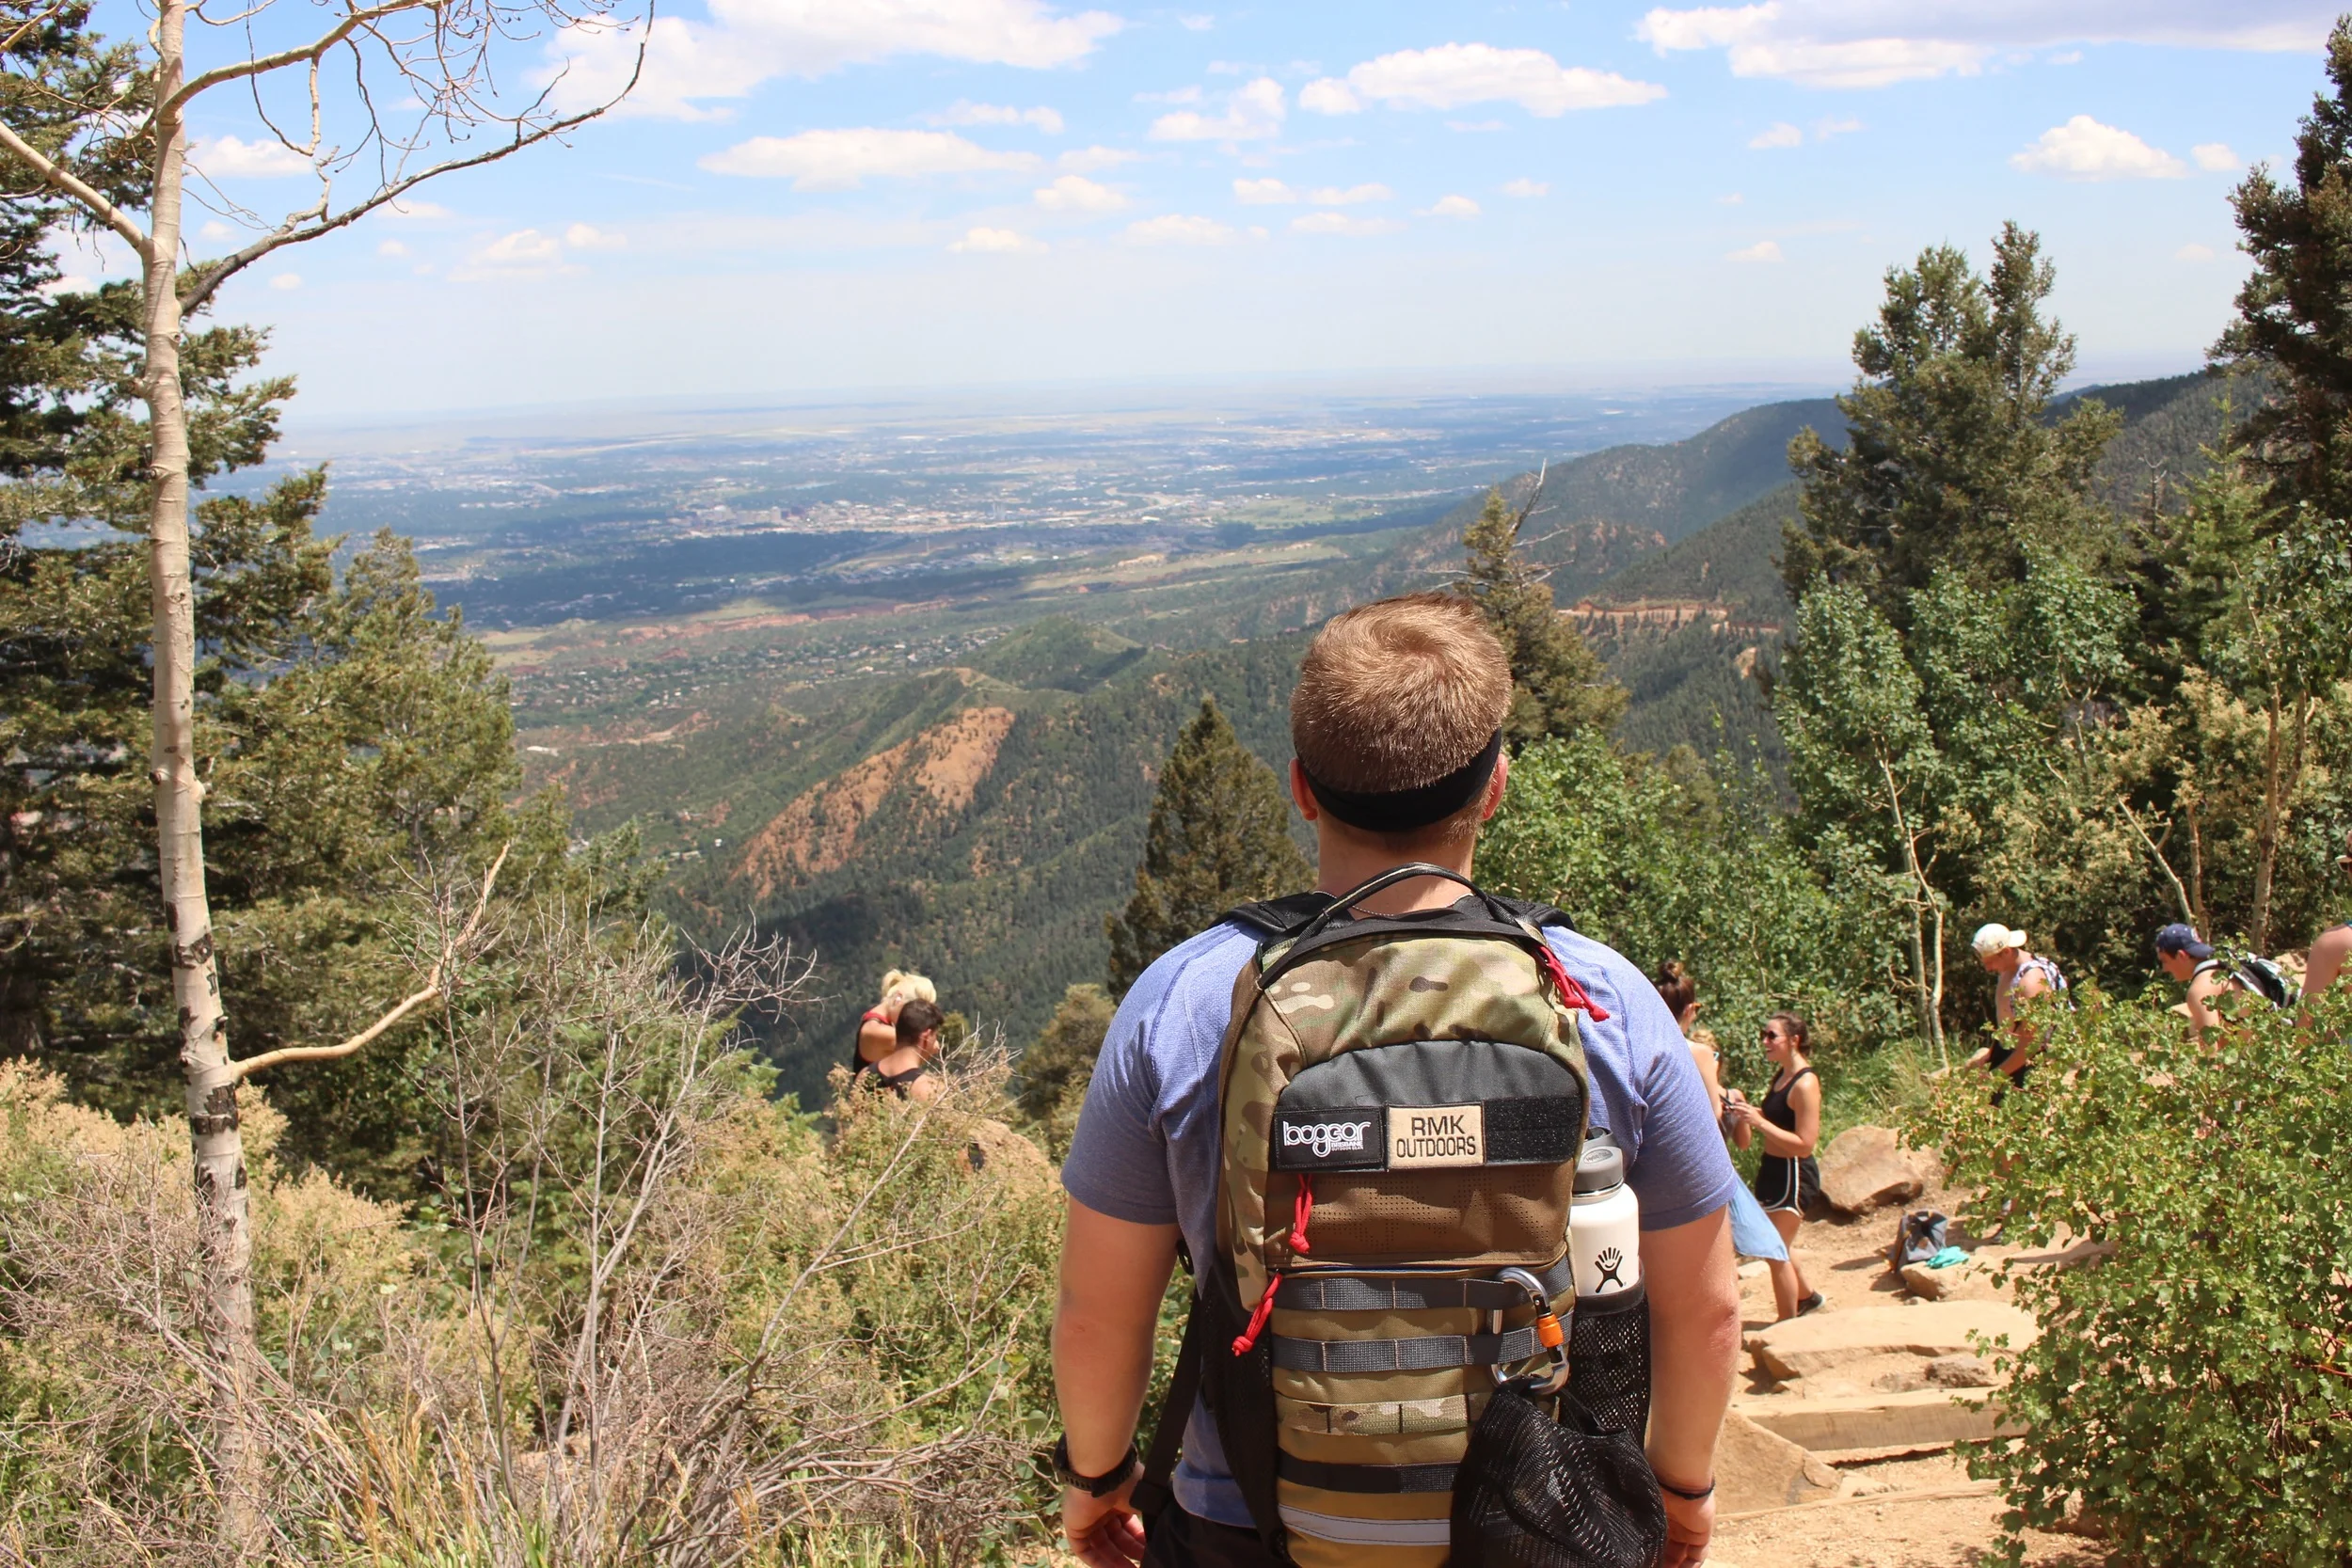
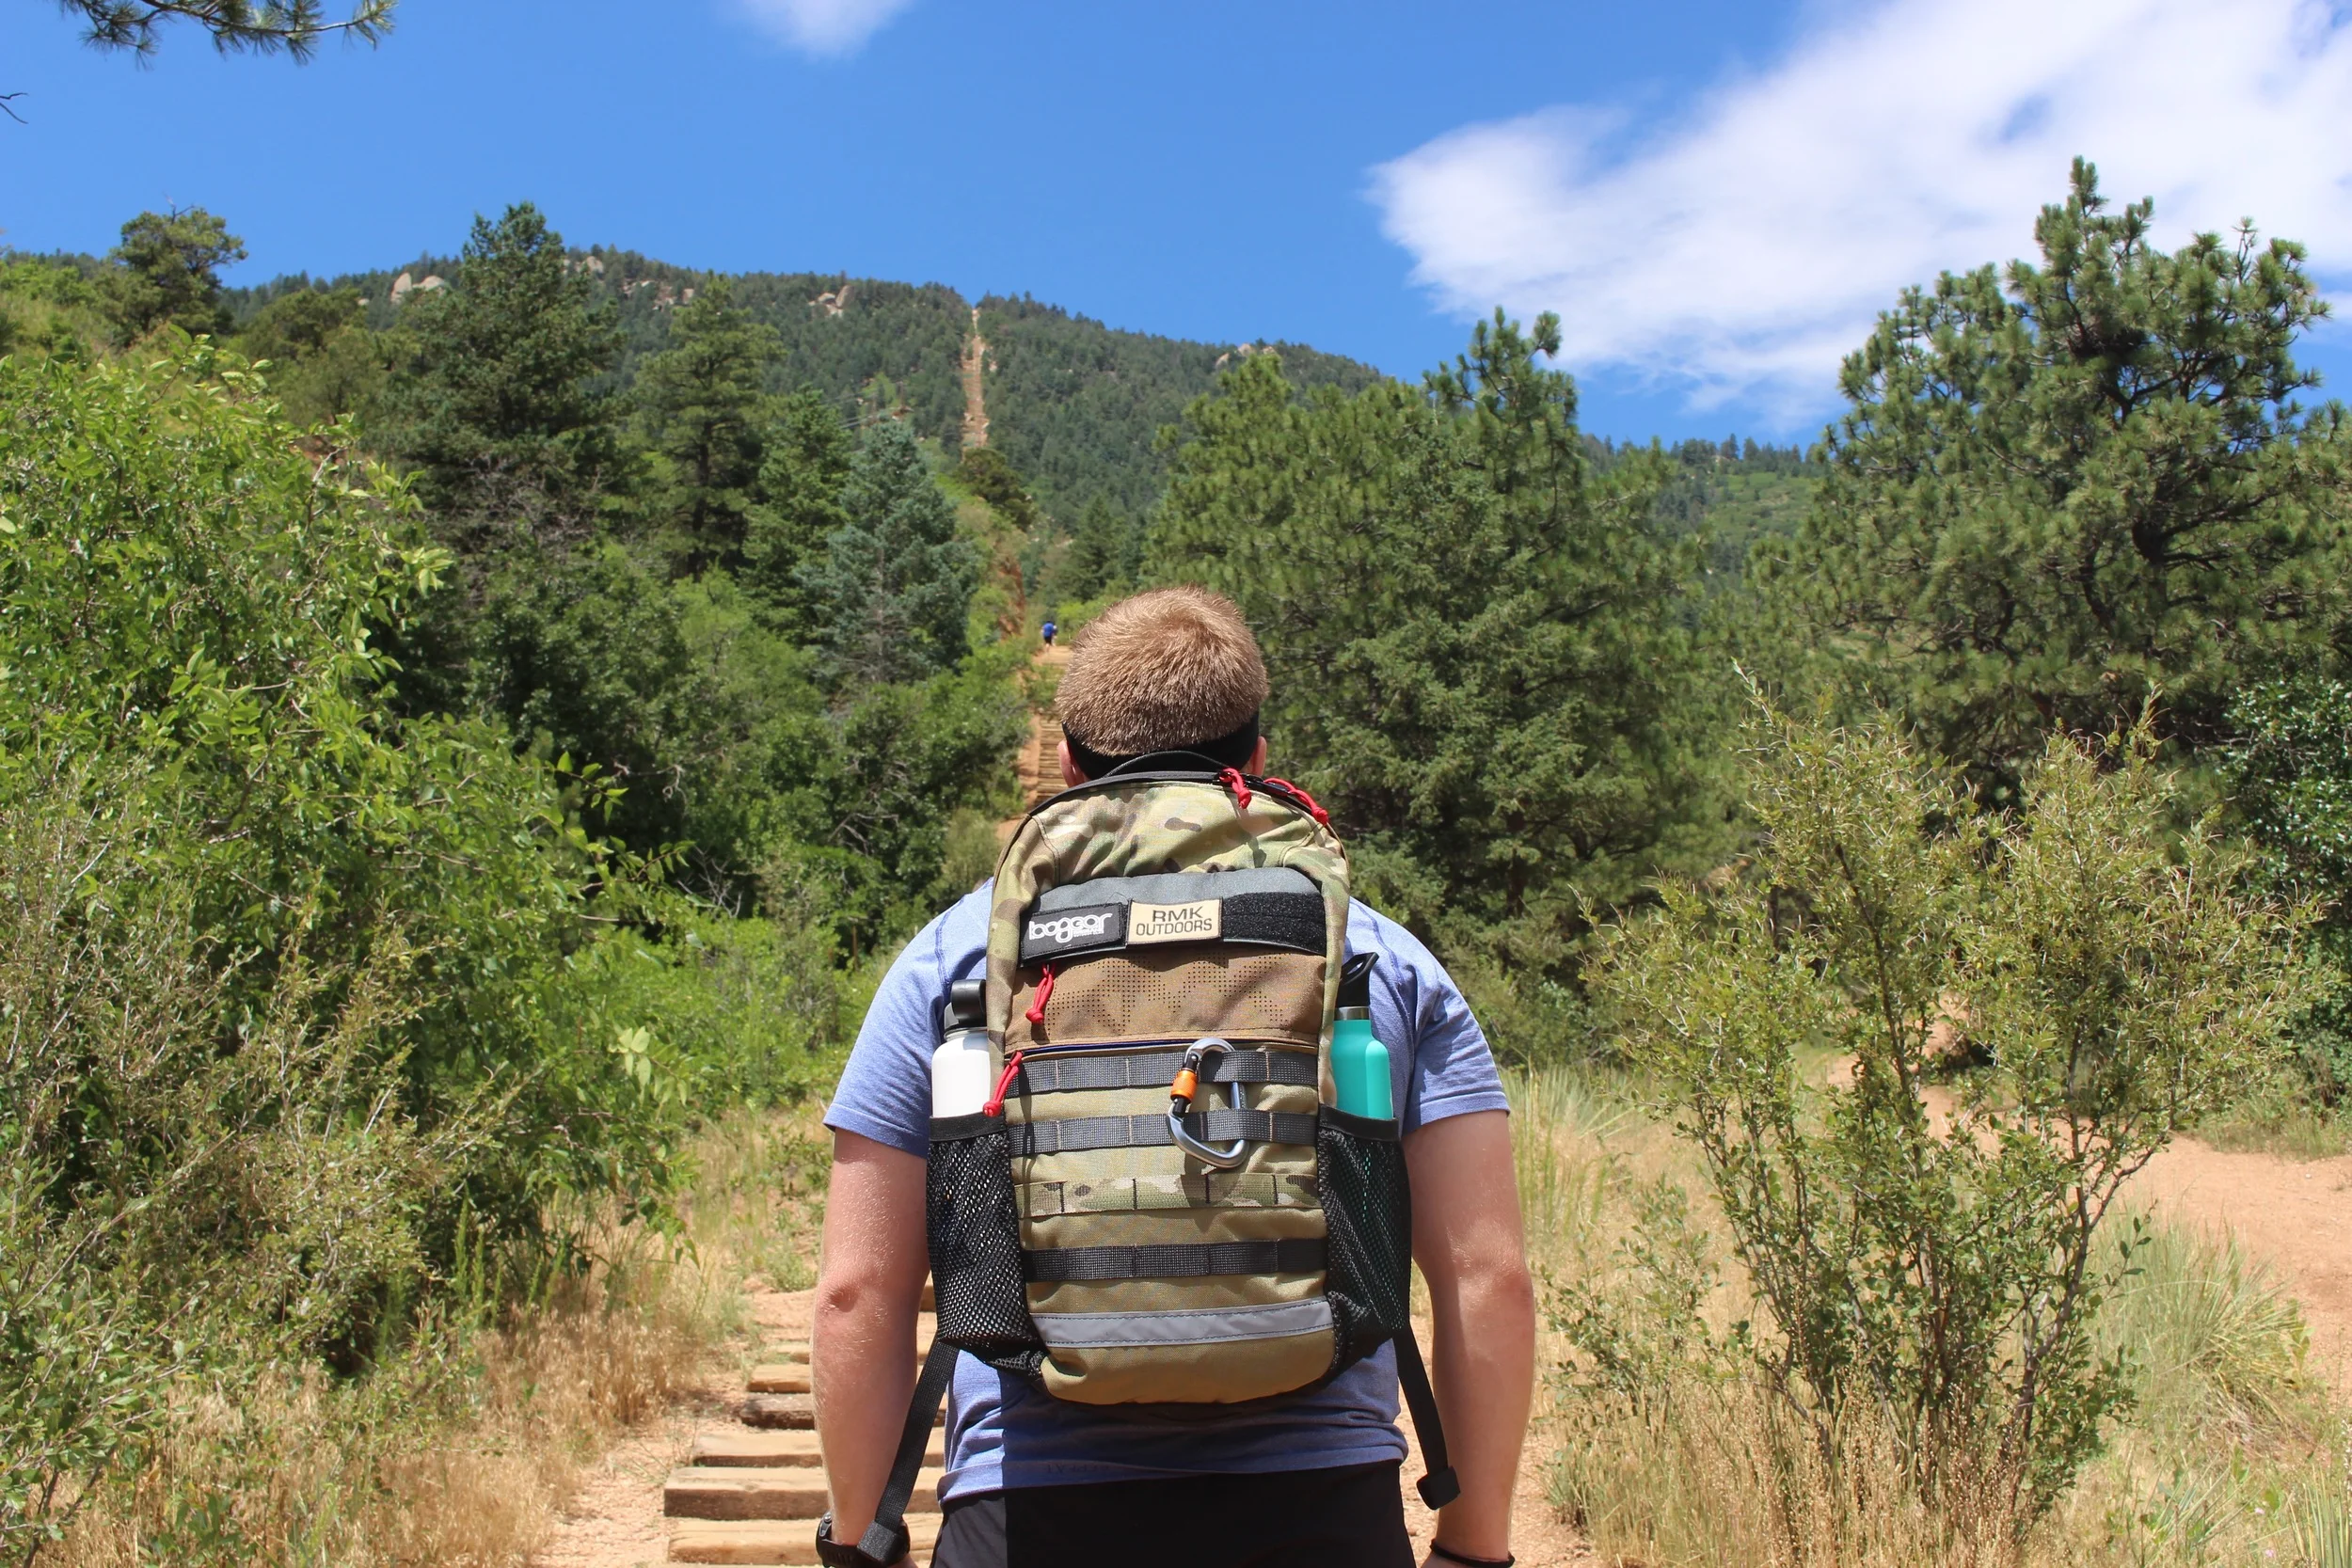
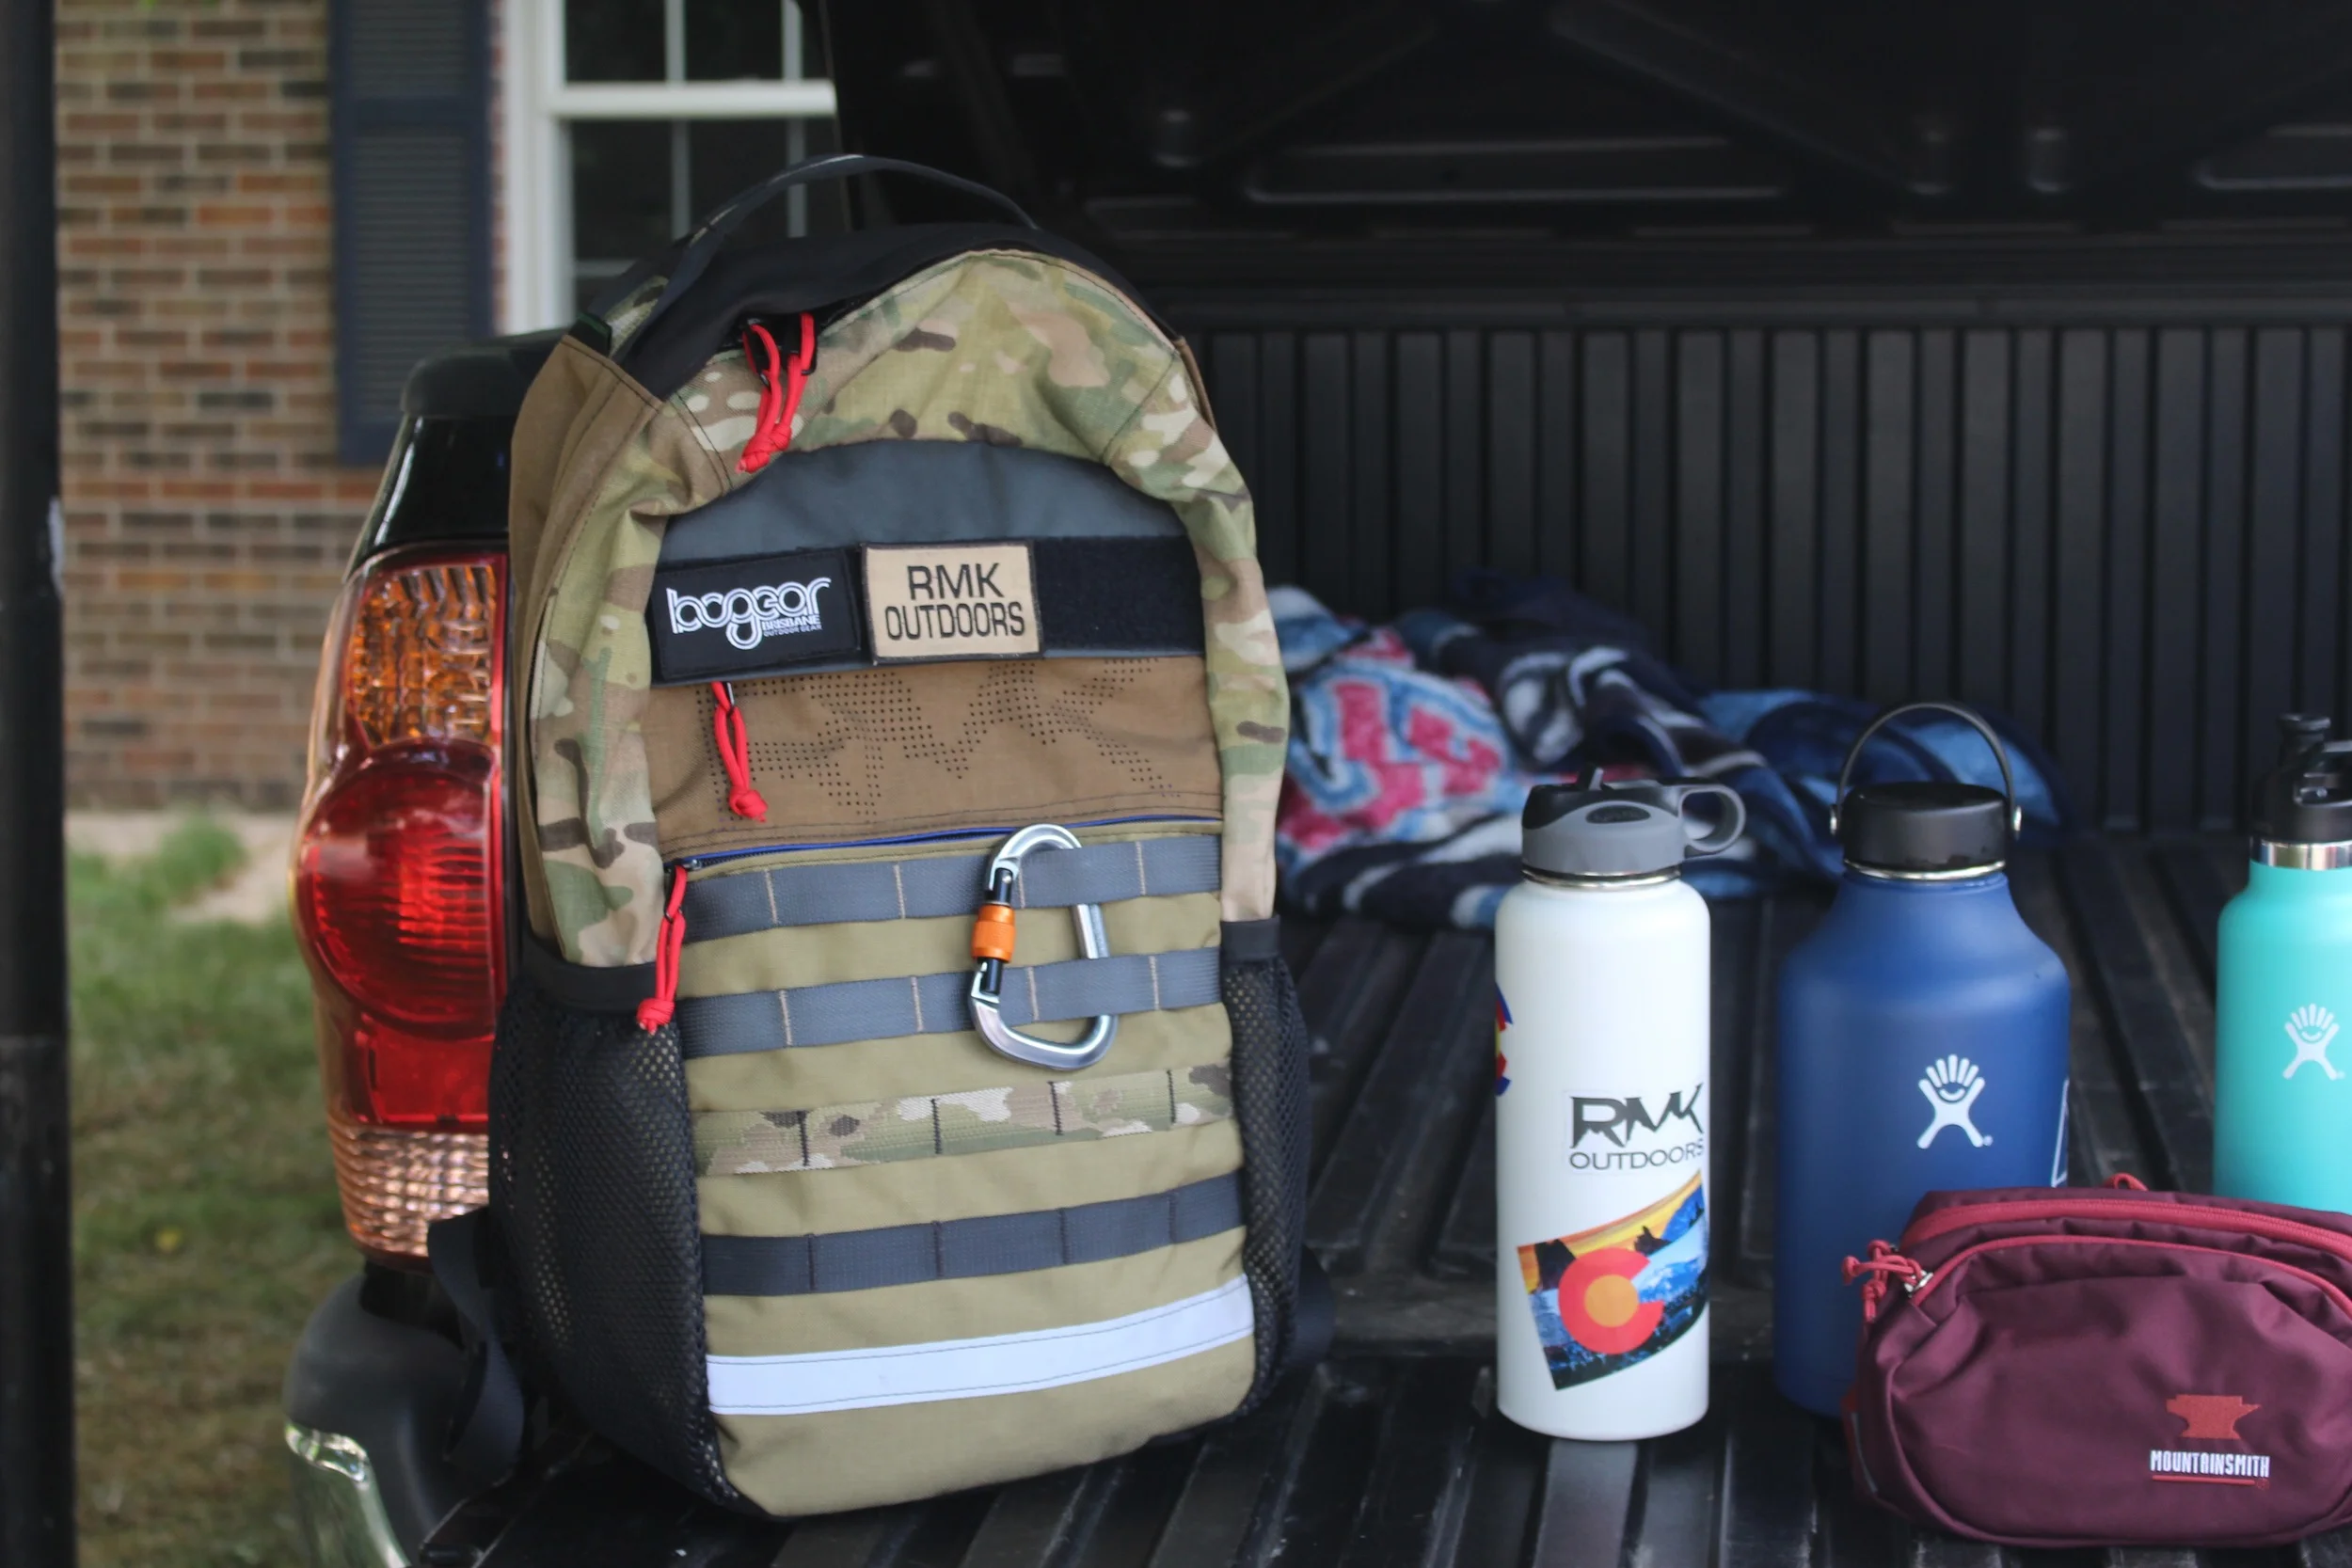
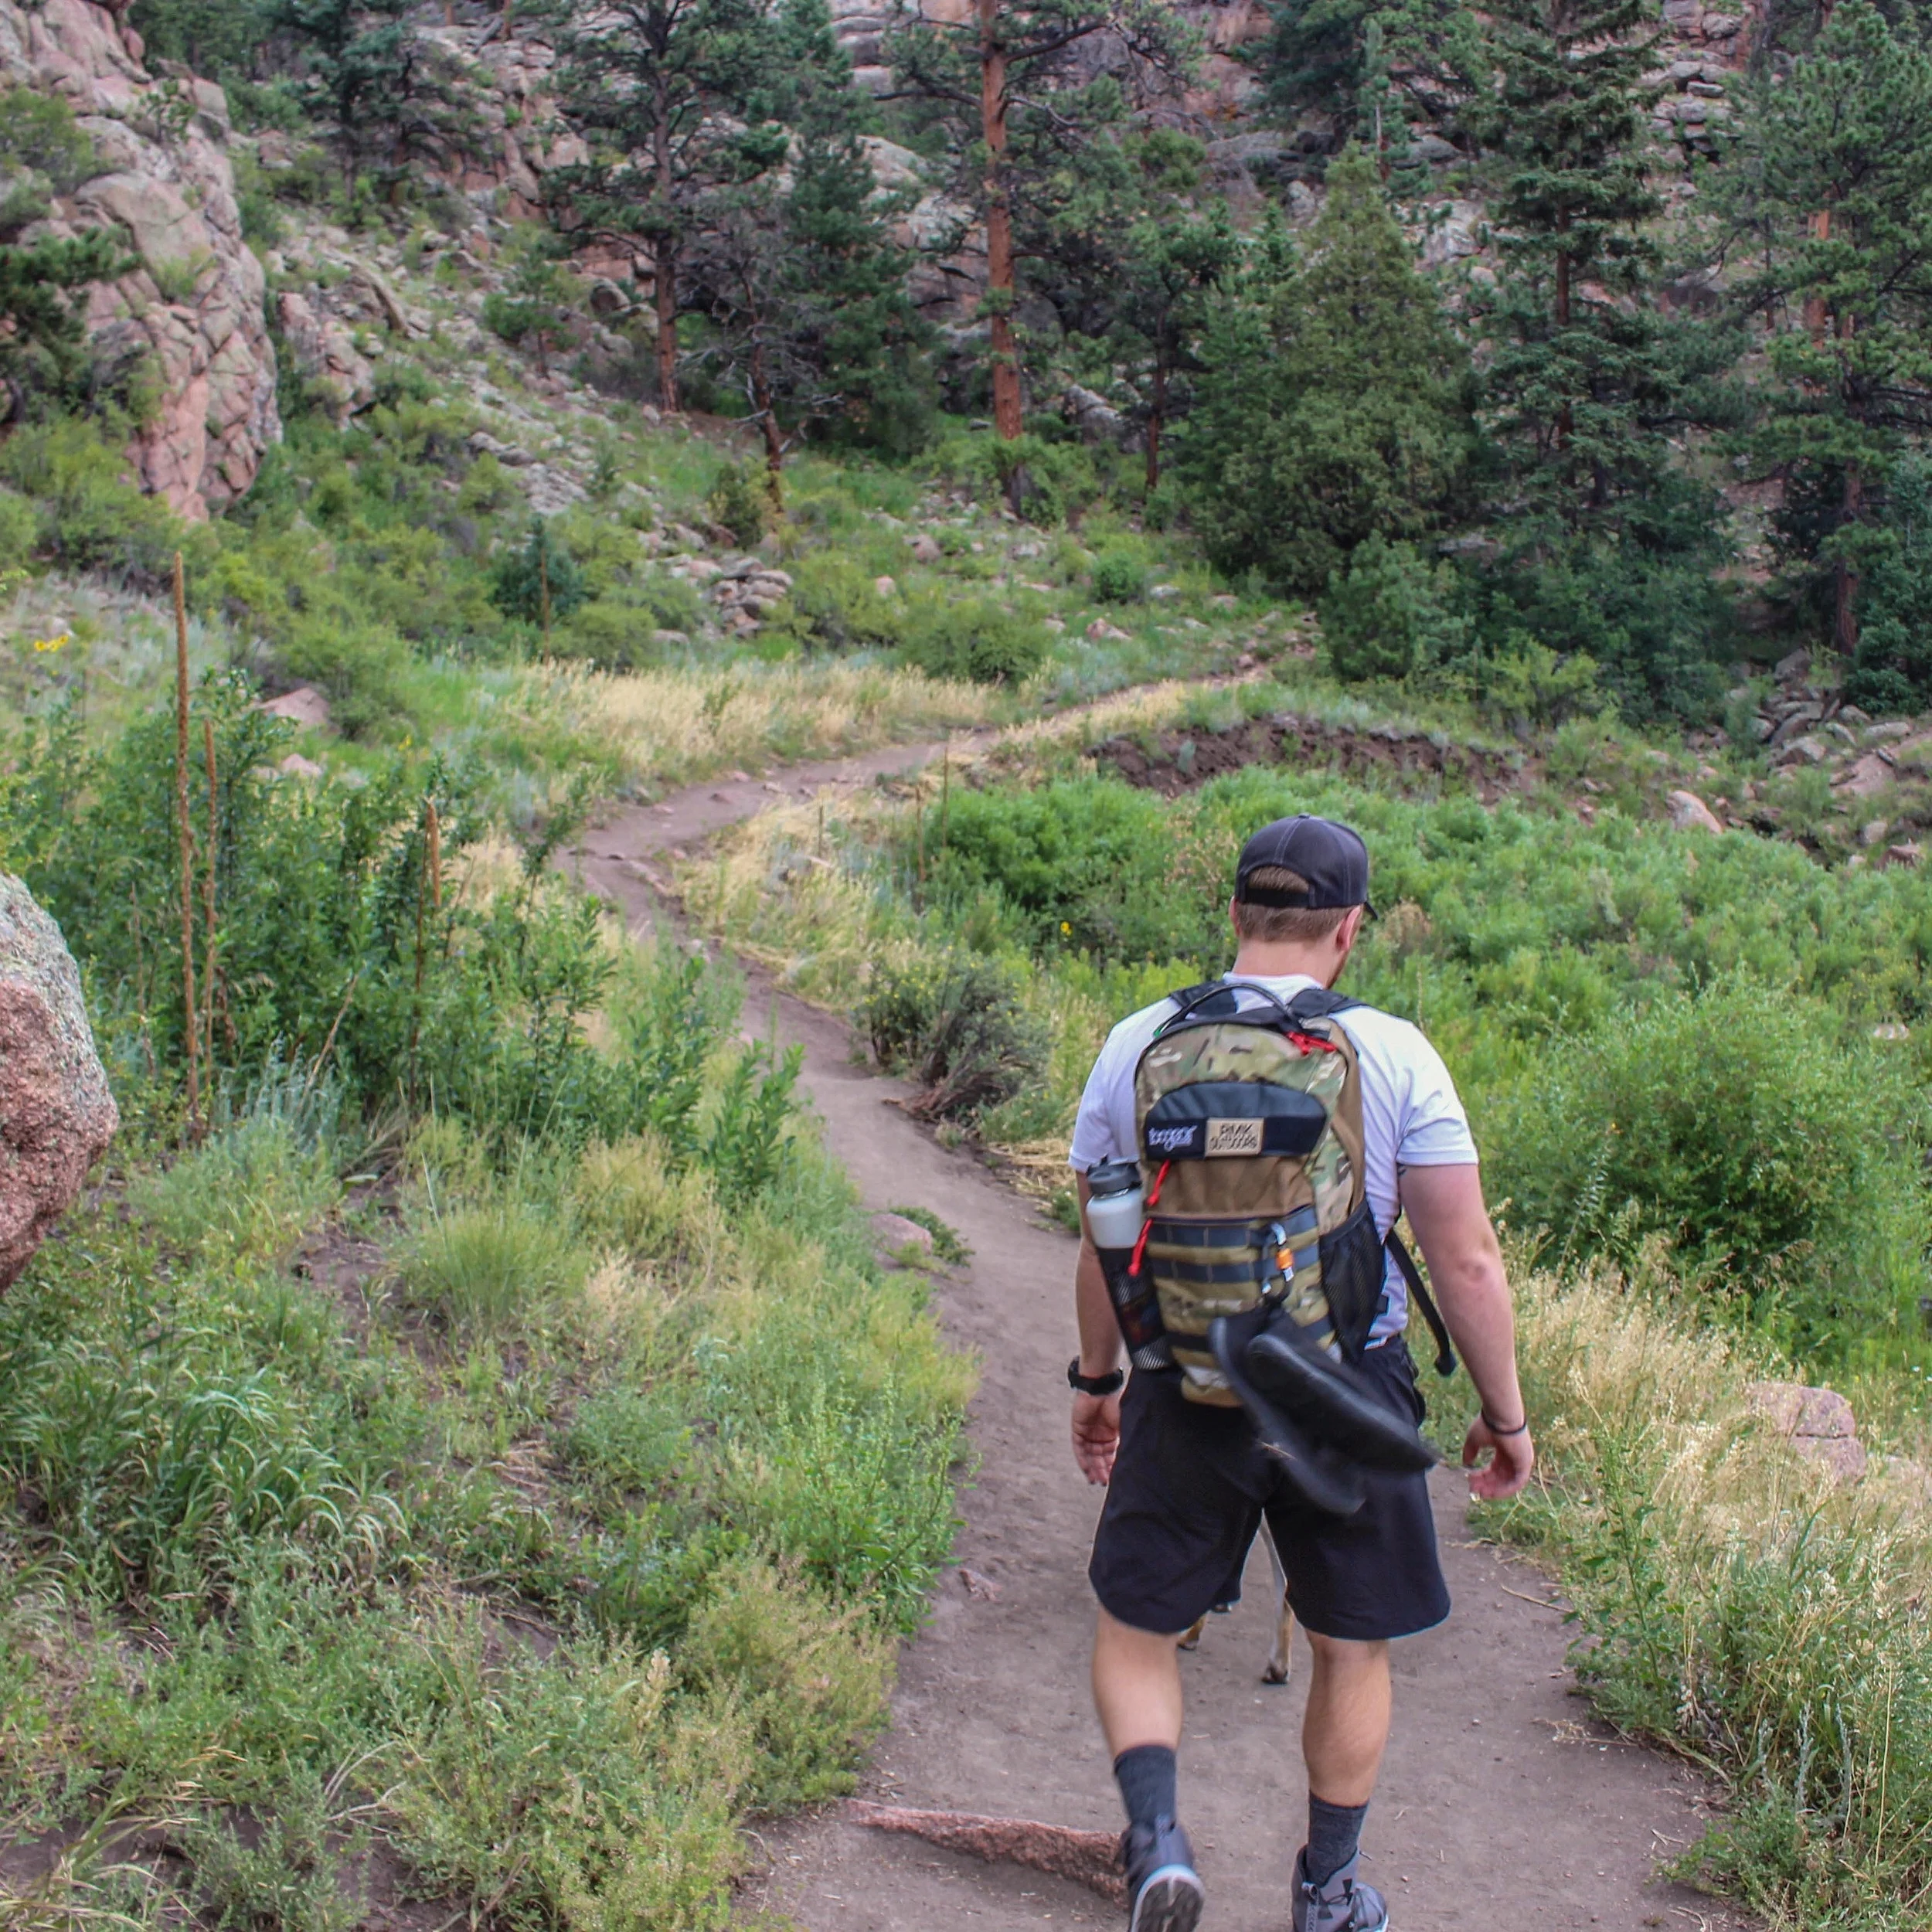
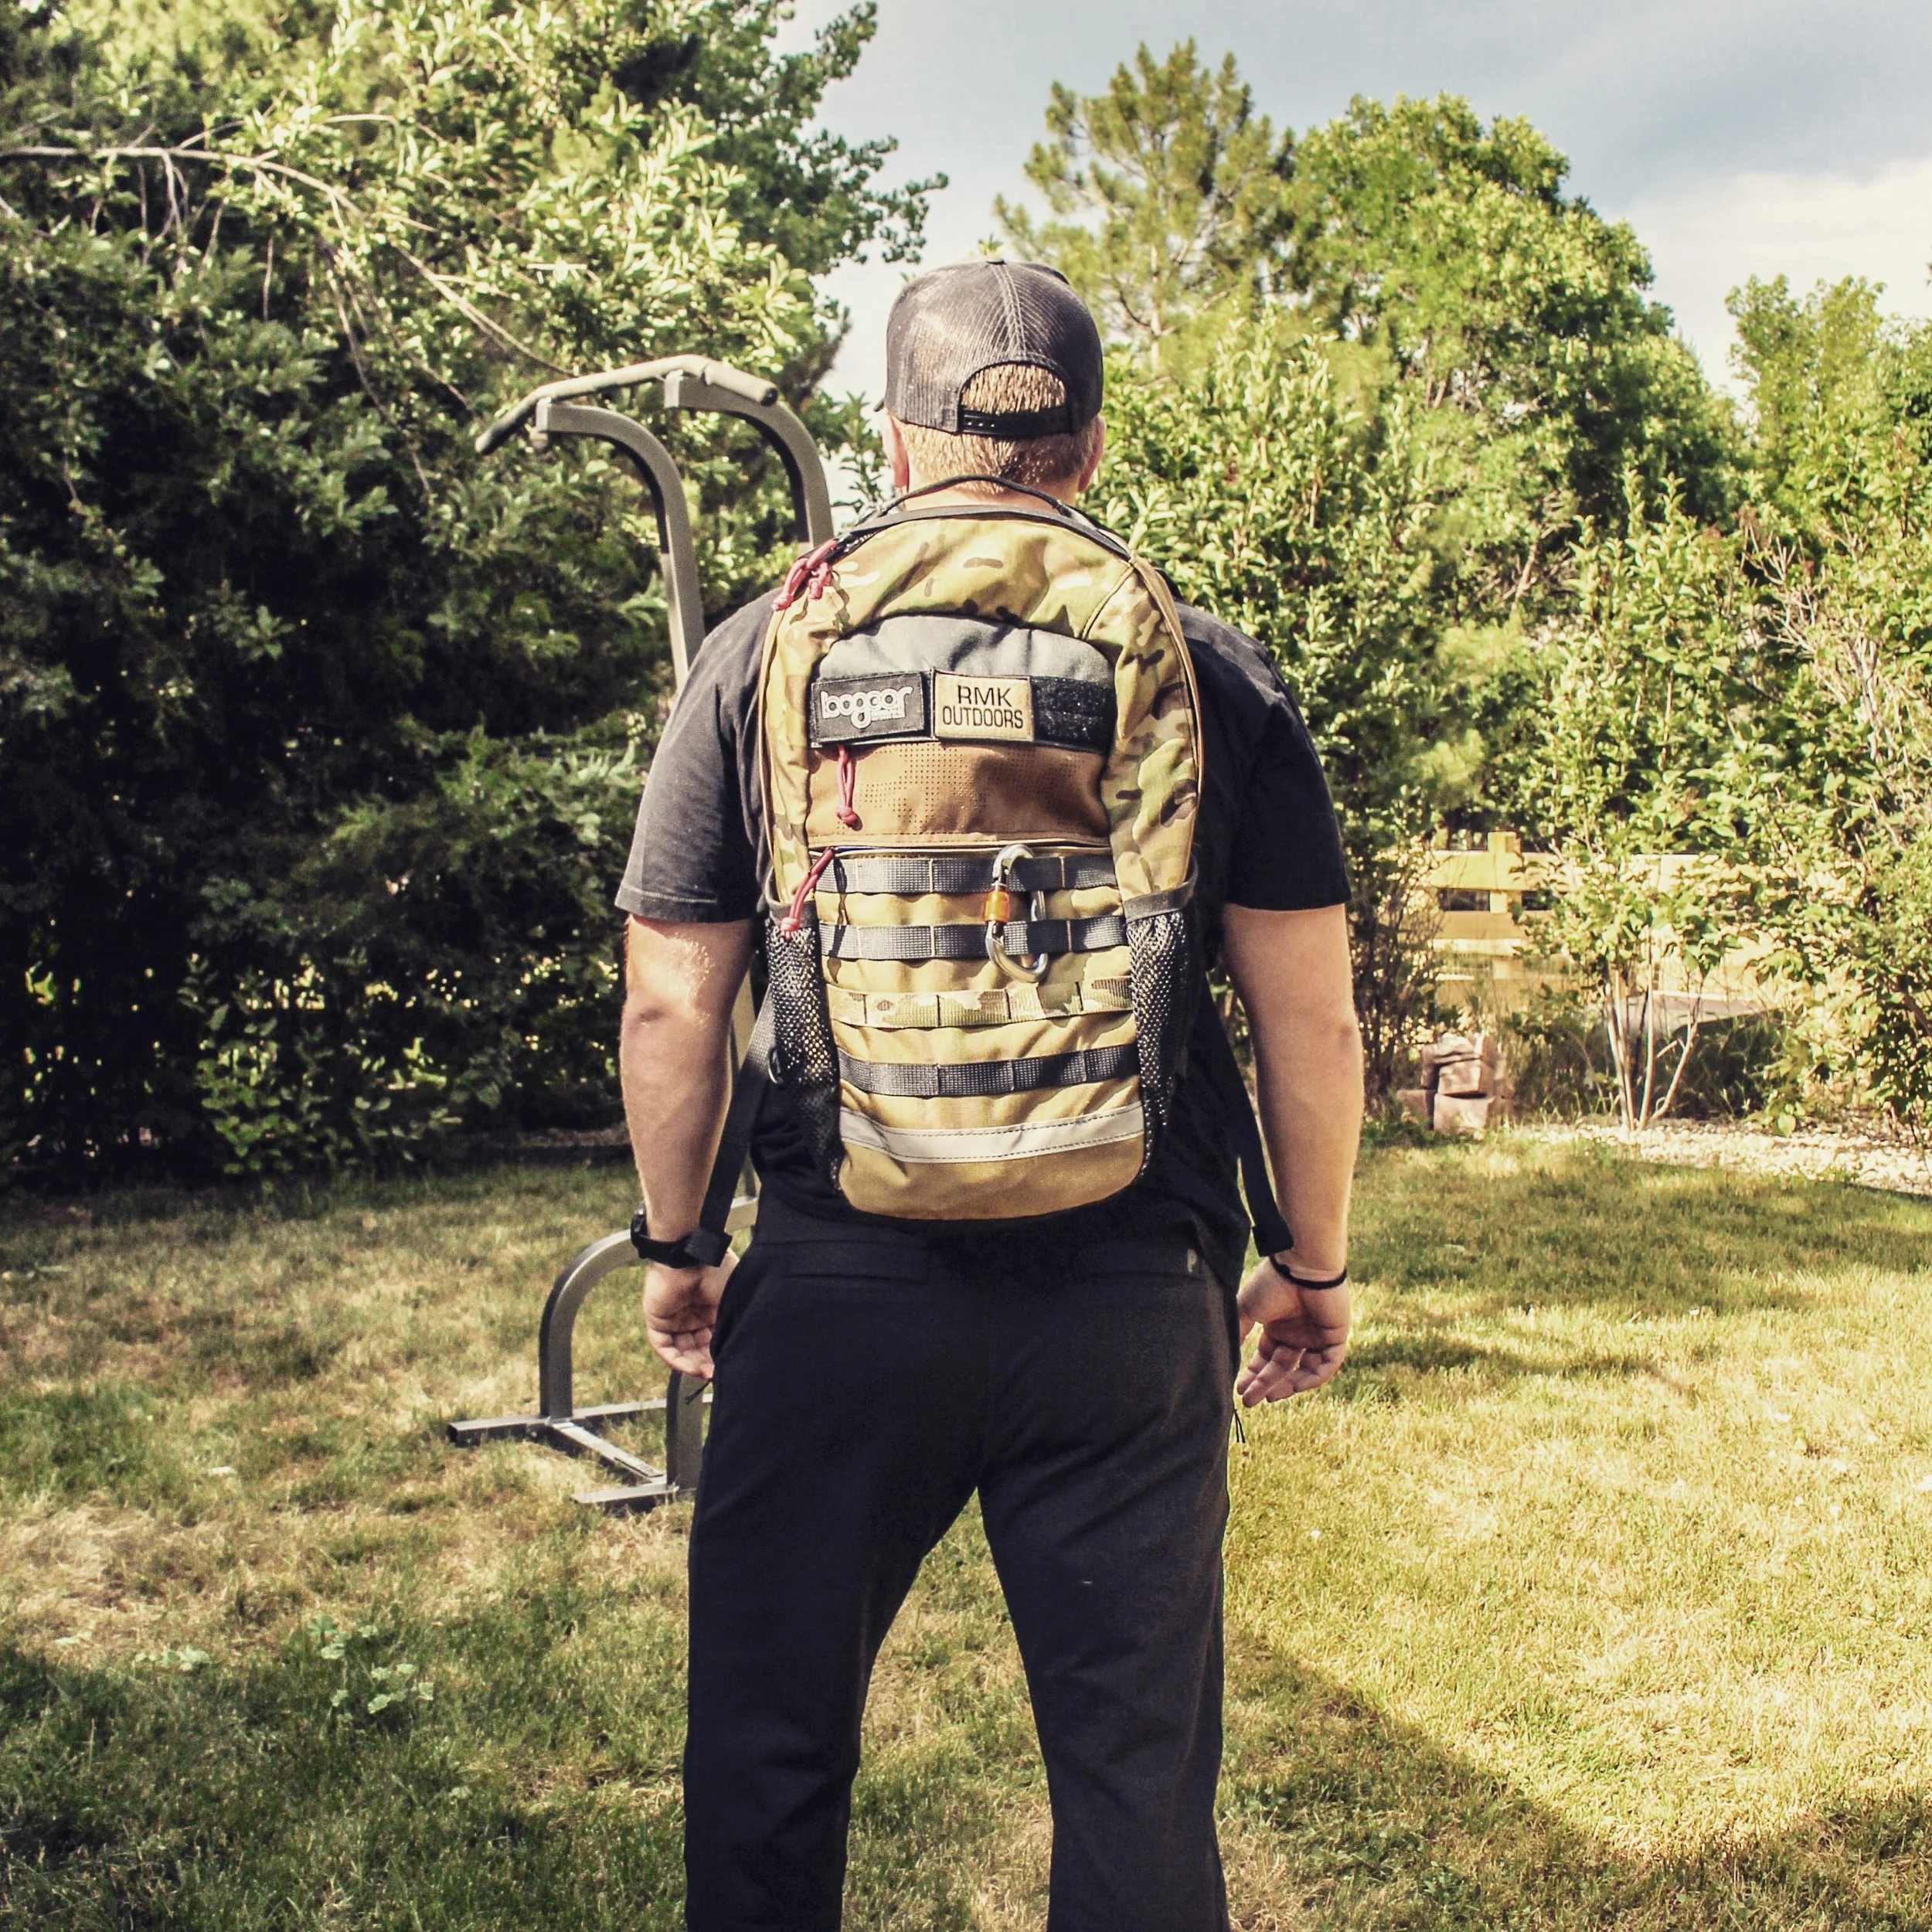
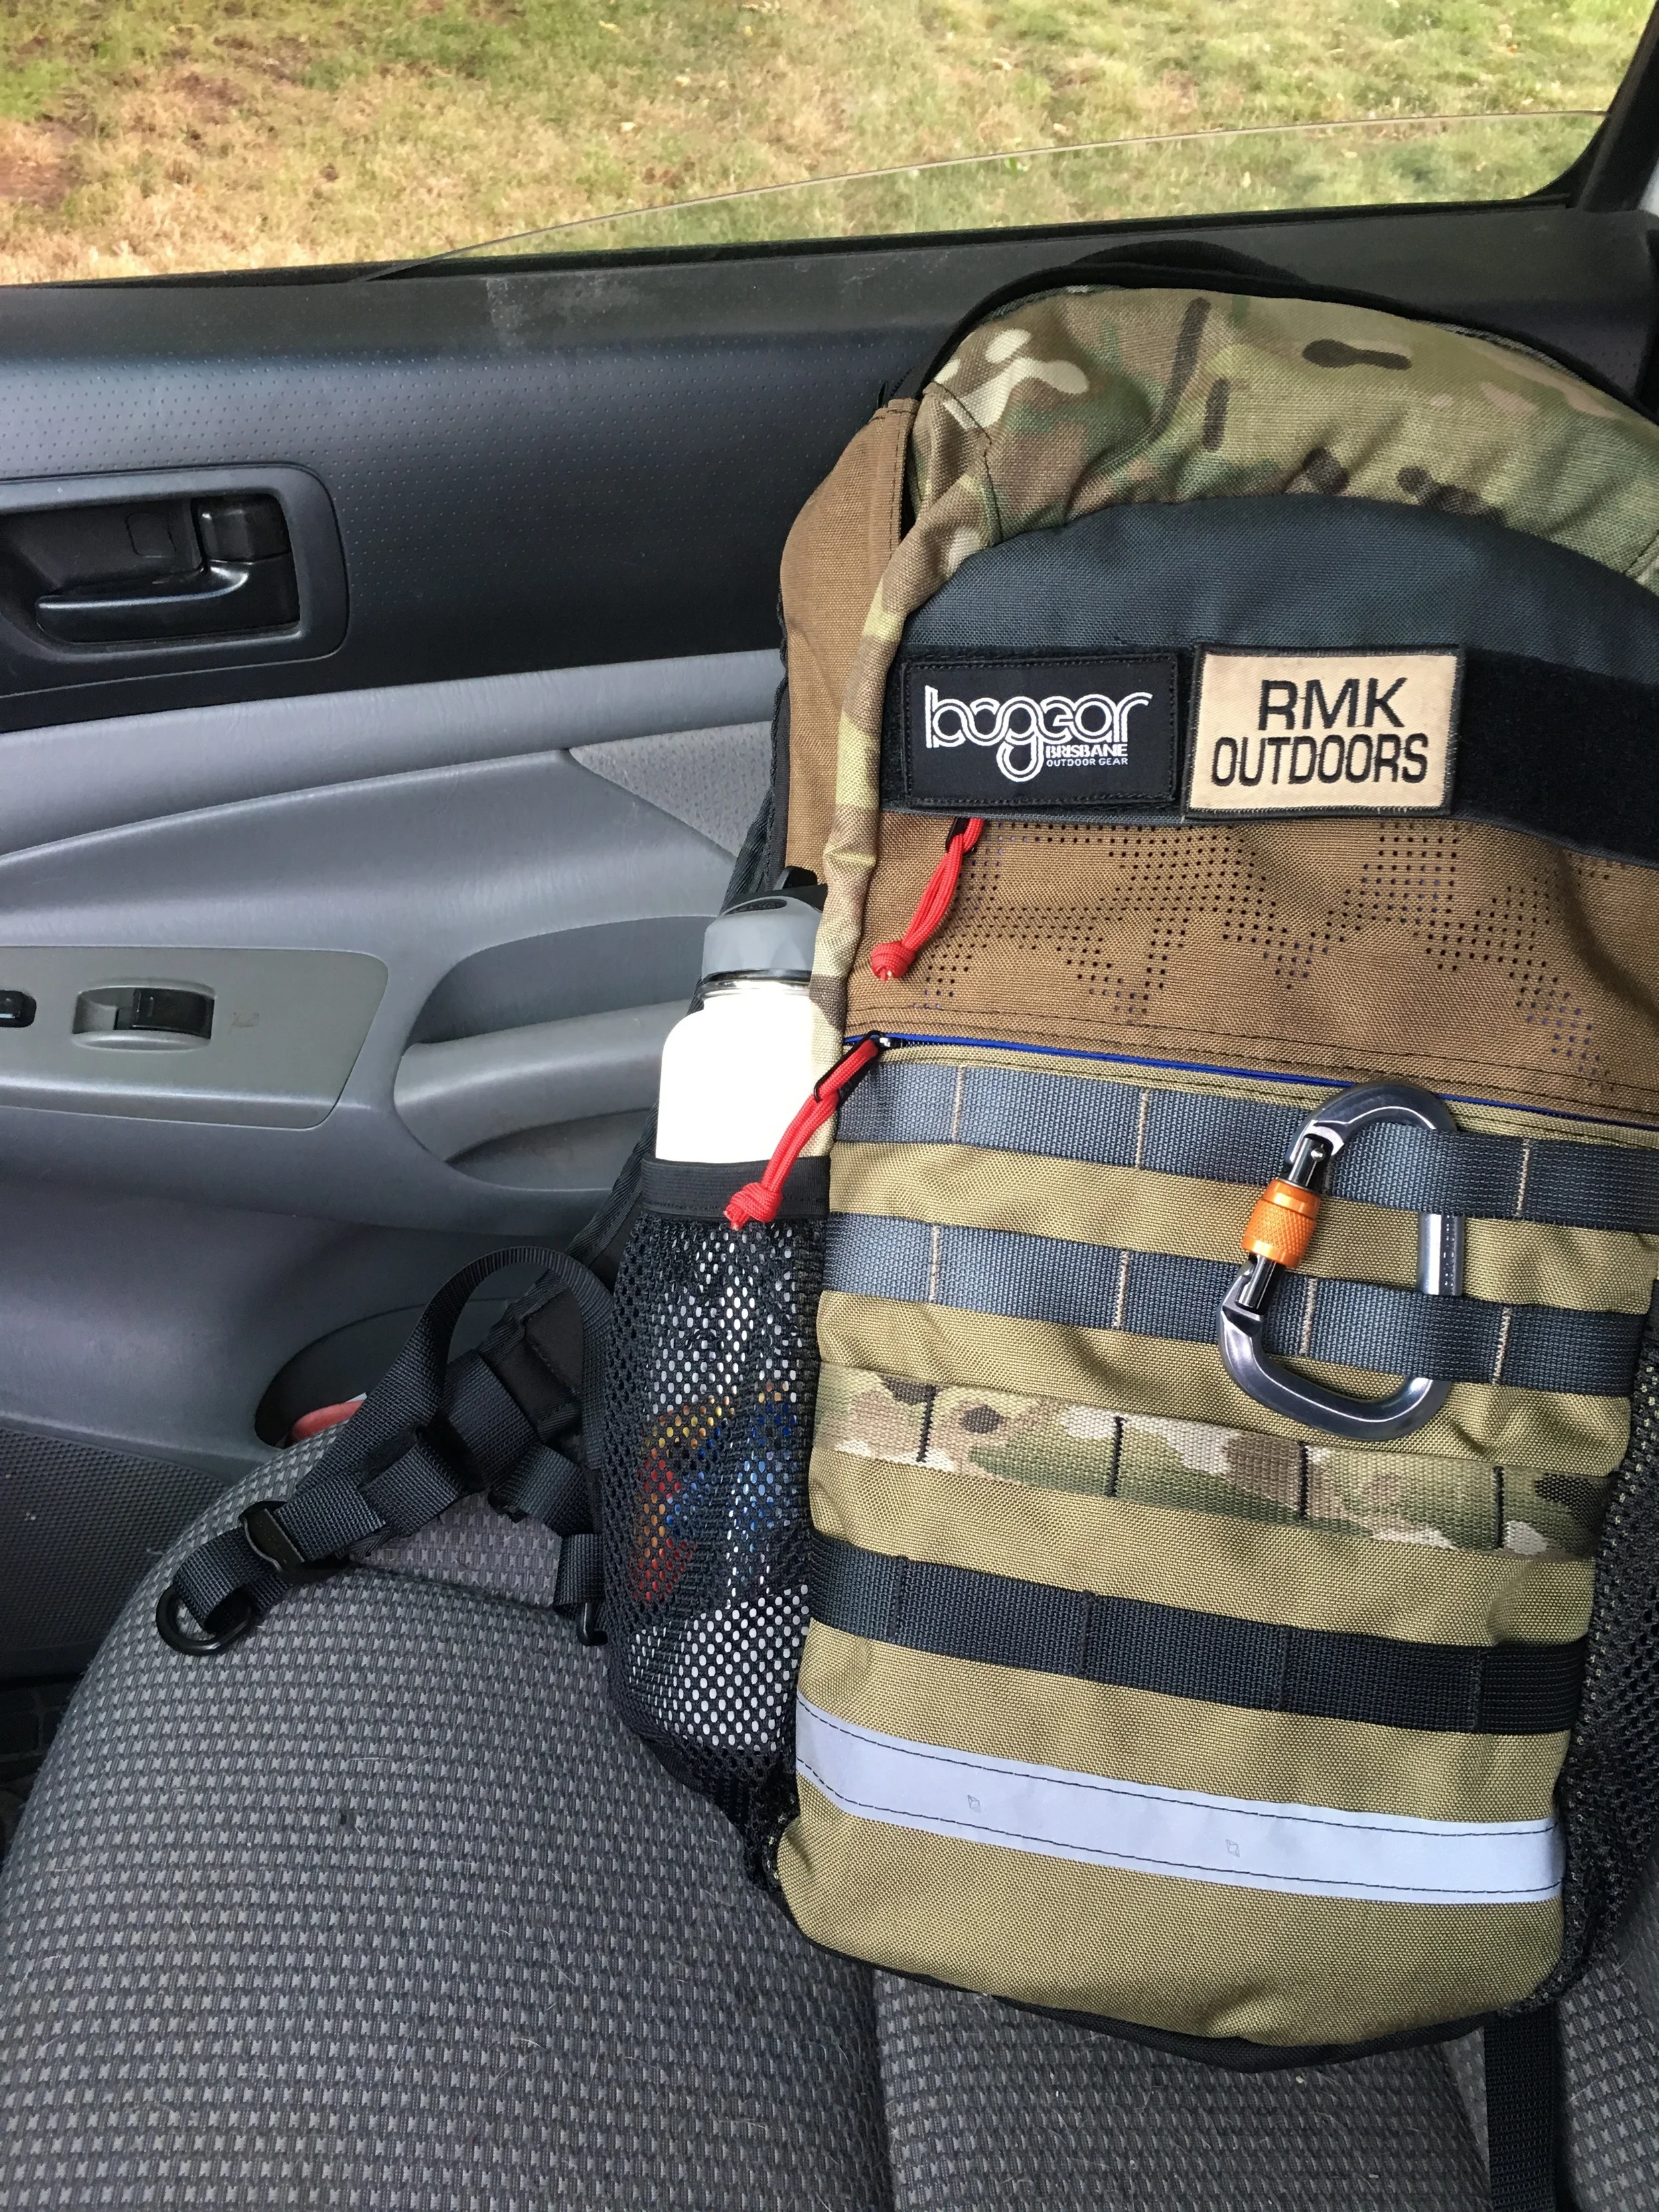
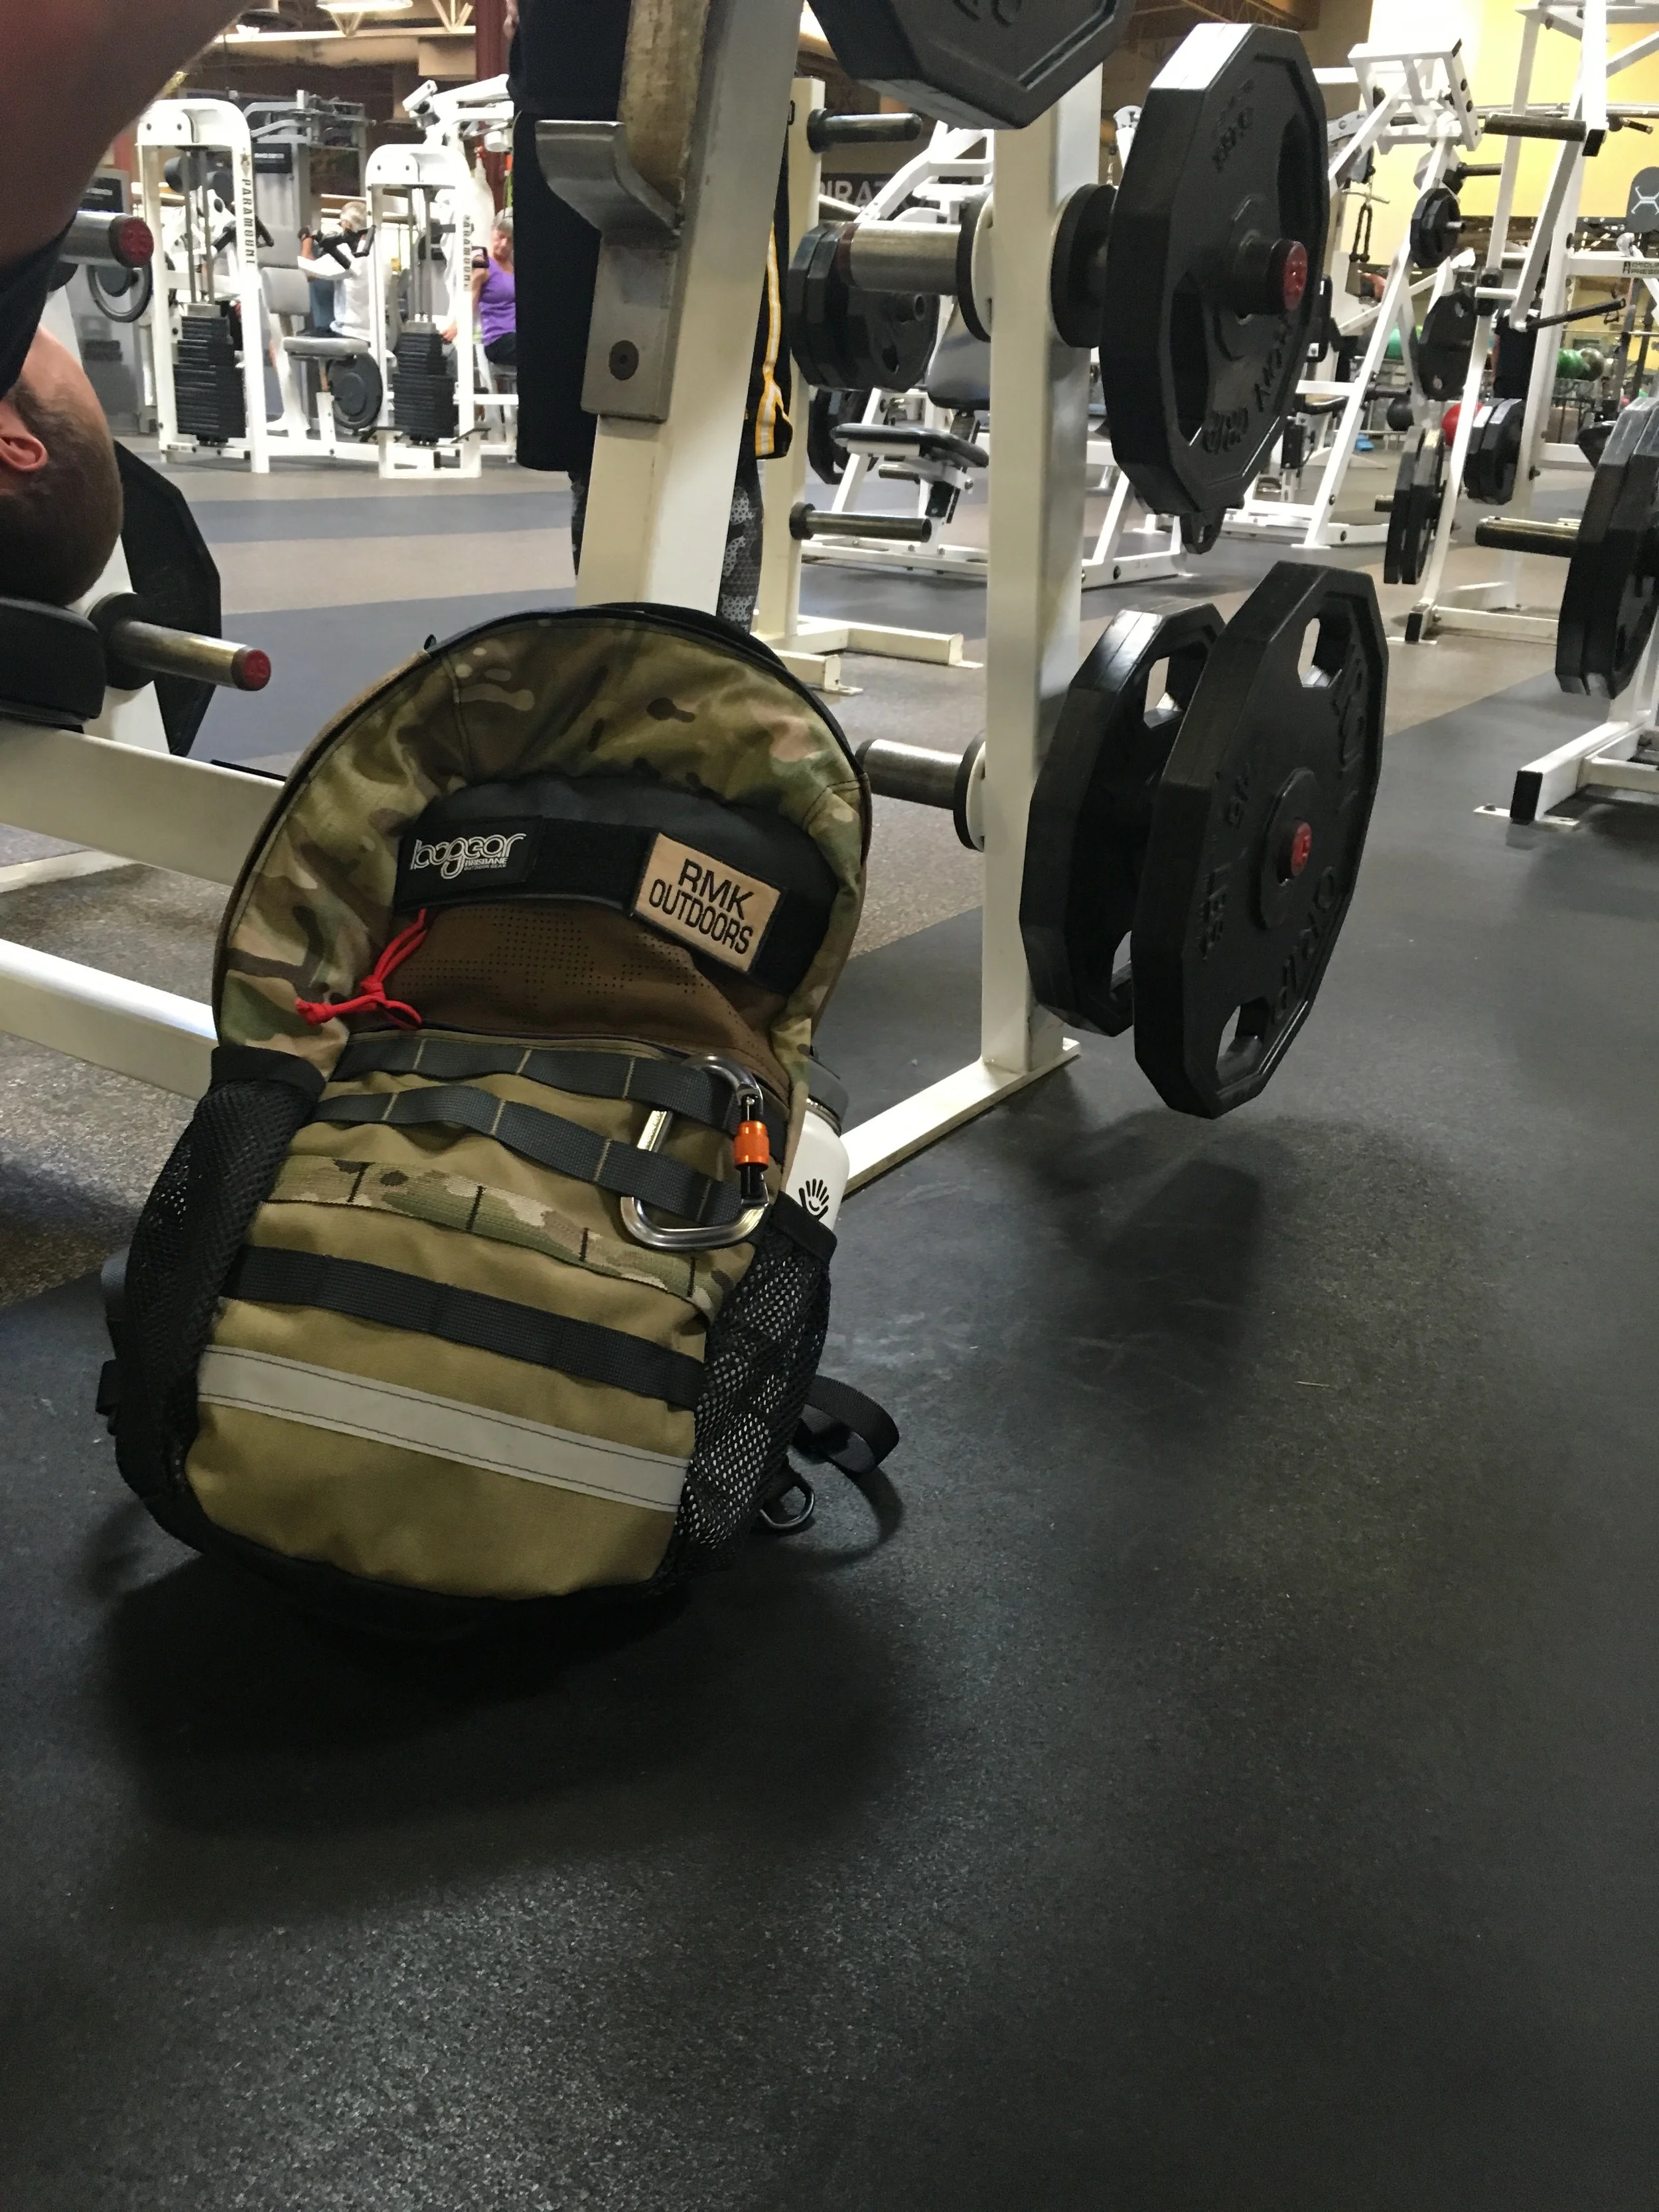
The Spare Camel by BOgear is an ultimate EDC, School, Office, Adventure pack that can be fully customized to your exact specs. No other company in the industry comes close to the personalization BOgear gives you over your pack. The pack is built with the best materials available and hand made by people who truly care. Their customer service is second to none and will make sure you get the pack of your dreams. A custom Camel will not be a small investment at around $250-$300 US depending on the upgrades. Every Bogear backpack comes with a Dirtifcation guarantee (lifetime guarantee).
+
- Fully Customizable
- 1000D Cordura
- Large YKK zippers
- Mollee Webbing For Attachments
- Velcro Patch Panel
- Frame Sheet and Padded Back Panel
- Hydration Port
- Great Customer Service
-
- $$$
- No Dedicated Padded Laptop Pocket
- Should Straps Can Be Narrow If Not Upgraded
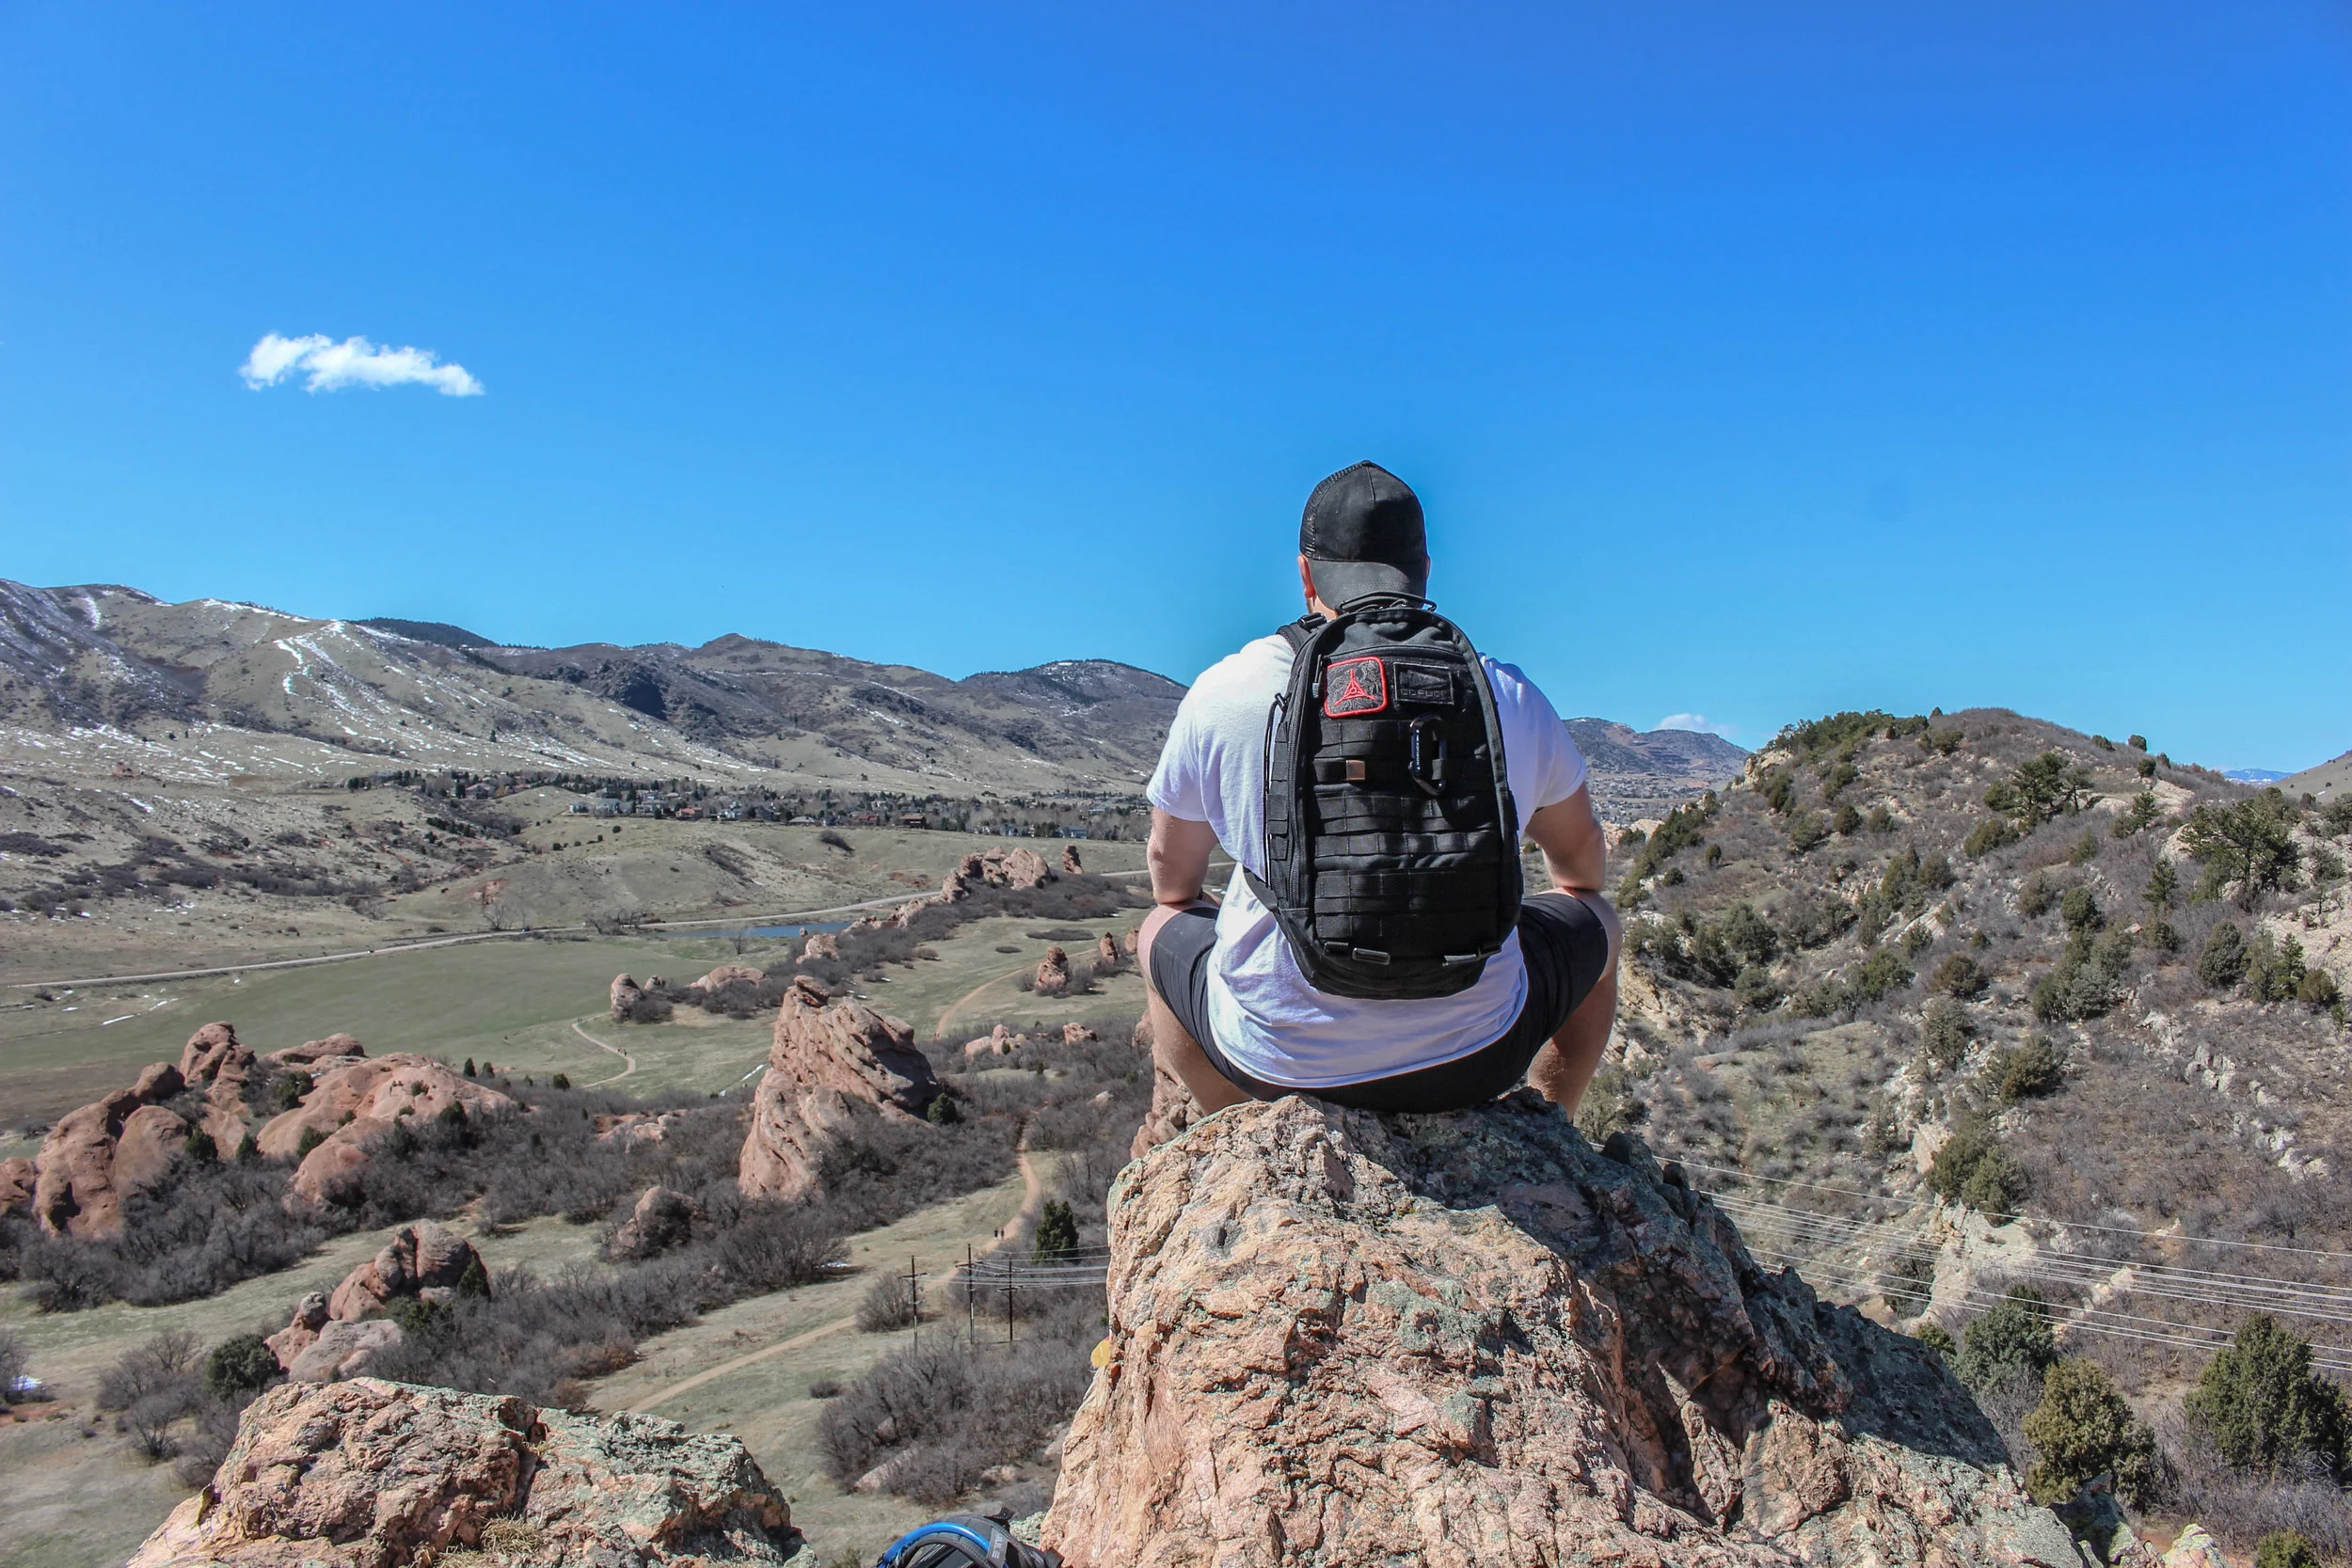
Triple Aught Design Litespeed V2 Backpack Review
"Bomb-proof"
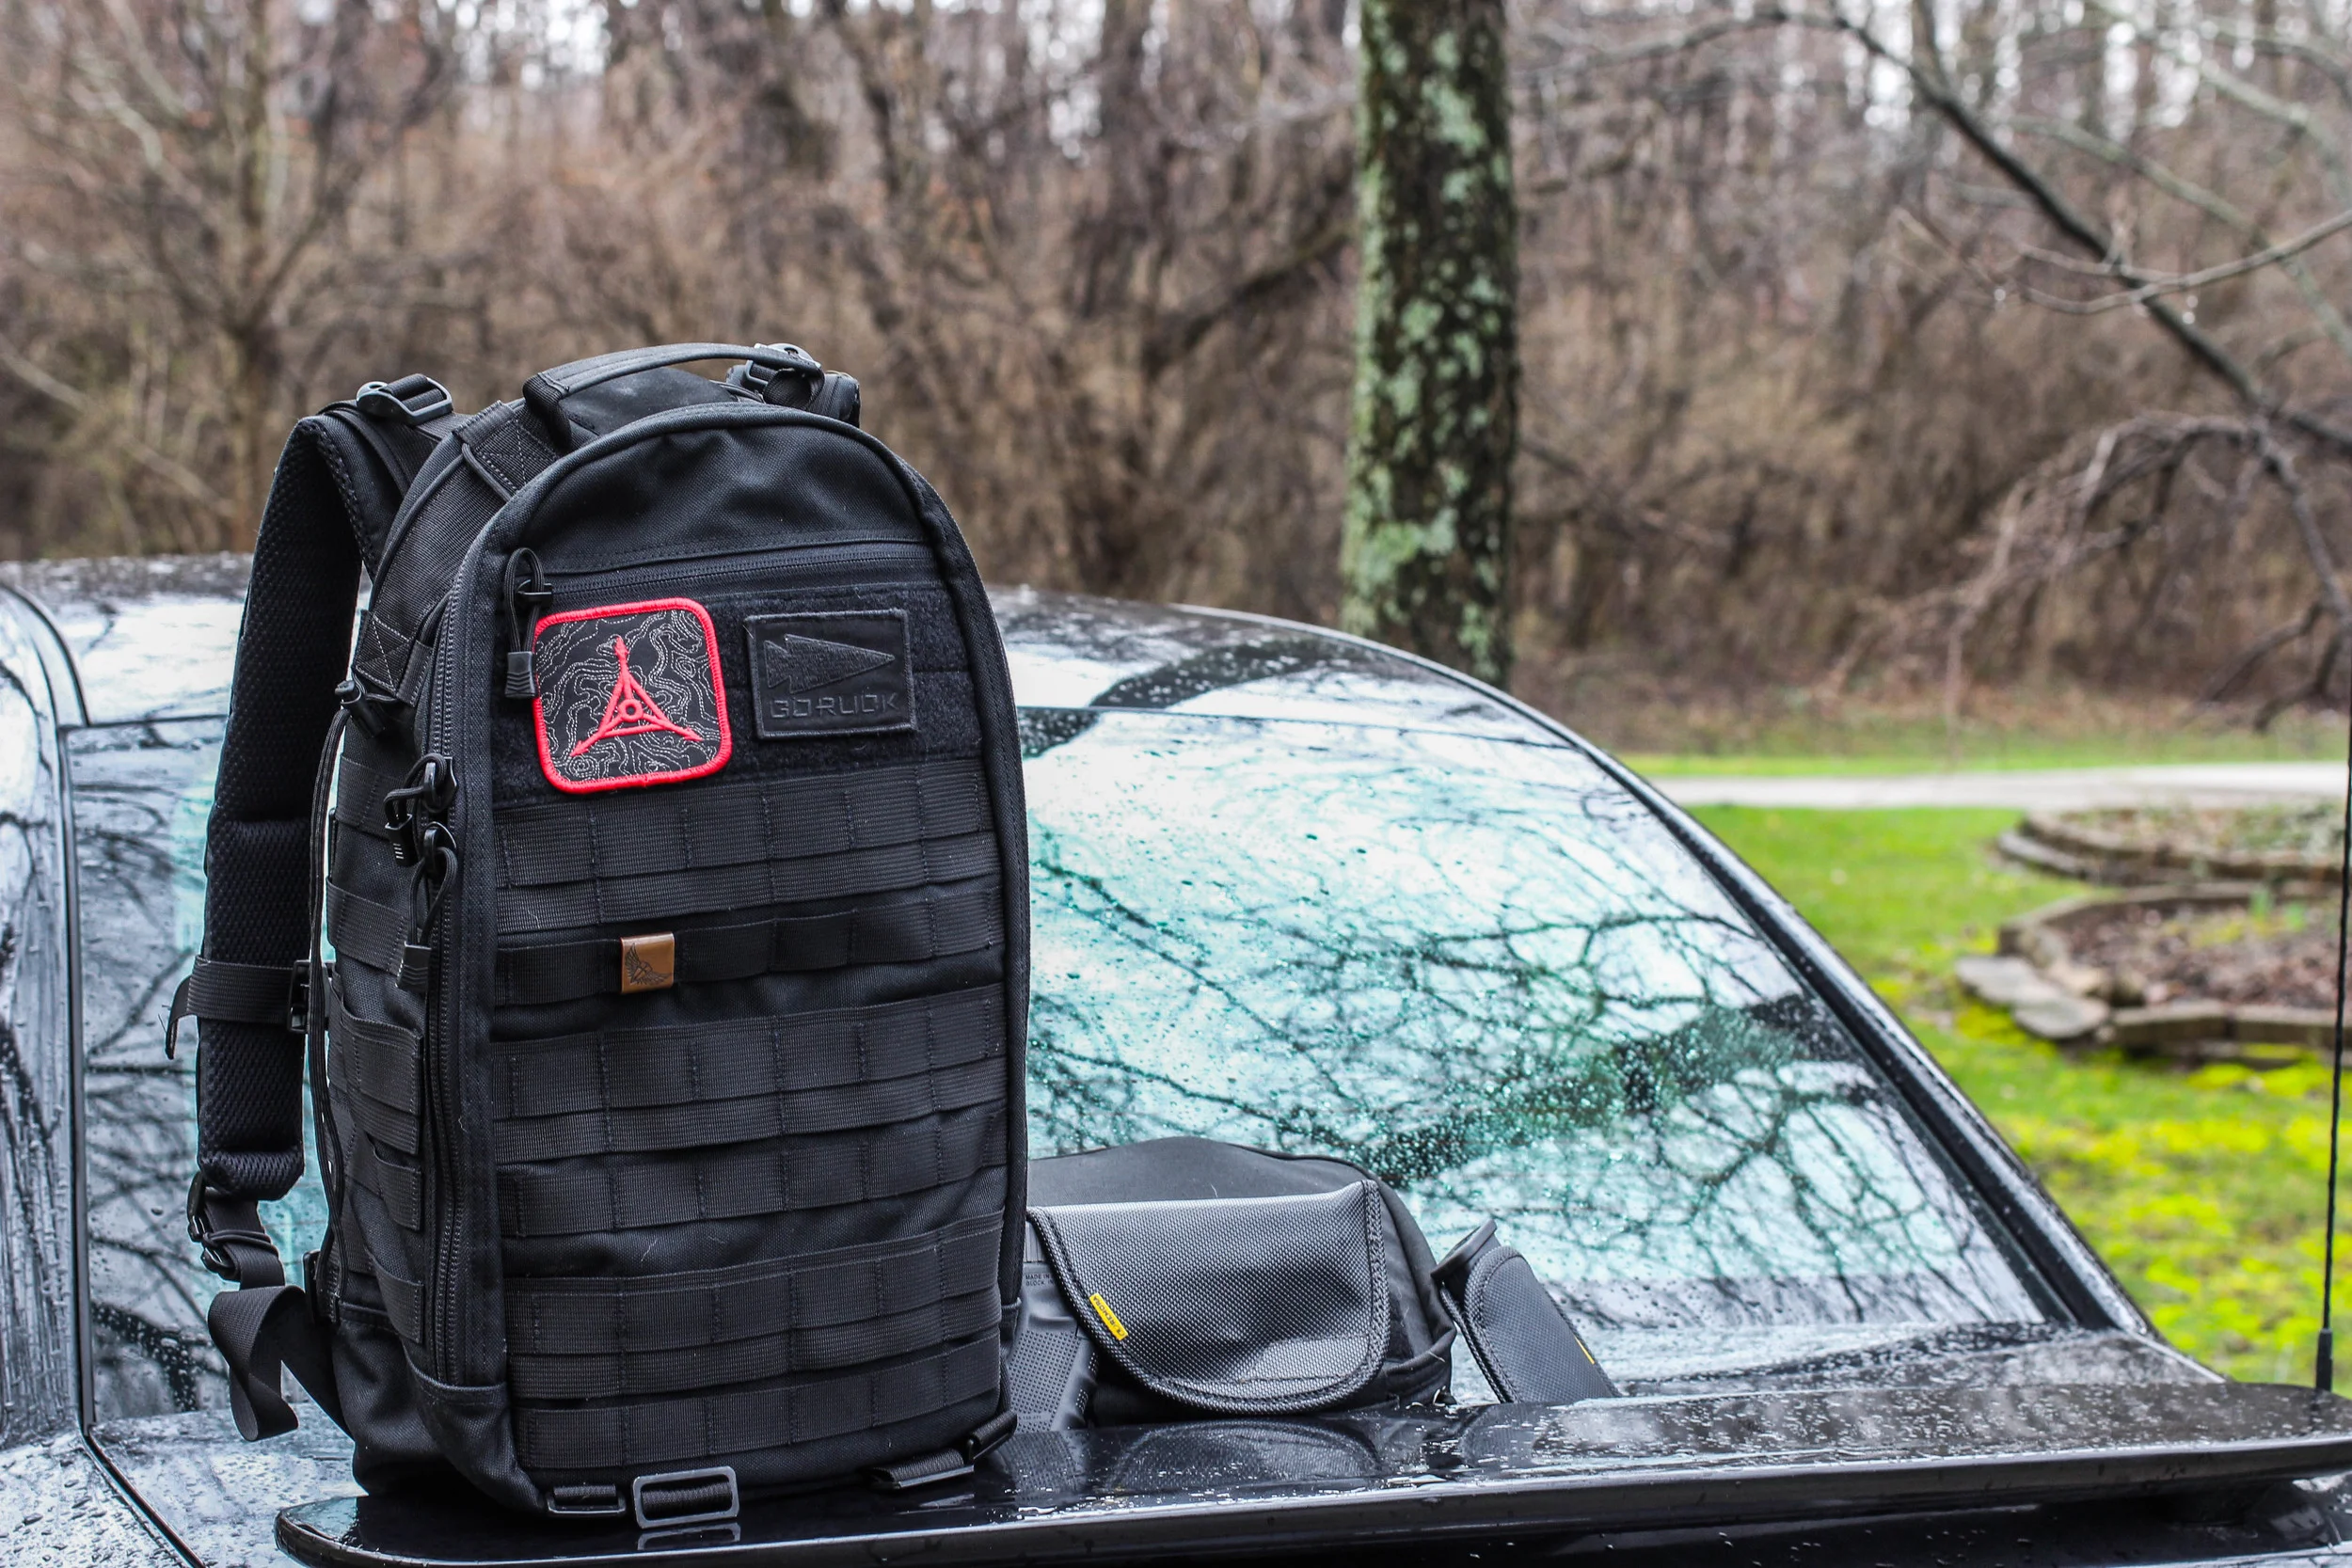
When one says Triple Aught Design a few words come to mind, Bomb-proof, Tactical, Cordura, and Handmade in America. Triple Aught design produces some very high-quality packs, outwear, and EDC items right here in the US. I was lucky enough to get my hands on a Litespeed V2 pack for review. After taking this pack on many hikes and carrying it around as my EDC bag I can safely say this thing excels in almost every aspect.
The Litespeed comes in at 22L of space which is the sweet spot for an EDC pack. The pack is built from 1000D and 500D Invista Cordura Nylon which is a step above my favorite 1000D Cordura fabric. So if you are a fan of Cordura as much as myself you will love this pack. The pack also has #8 and #10 YKK zippers that are large for quick access to the pack.
"Front Admin/Grab Pocket"
On the very front of the backpack, there is a smaller zippered pocket which will store all of your easy access or "grab on the go" items such as a wallet, keys, phone, knife, passport, etc. The pocket is plenty deep for the above items without being too deep which can allow for items to drop to the bottom. On the inside of this pocket, there are also spots for pens/pencils as well as business cards or notes.
"Hypalon Reinforced Grab Handle"
One of the best features on the Litespeed which is commonly overlooked is the top grab handle. Many packs will just throw a strap of nylon on the top, sew it down quick, and call it good, the Litespeed does not. On the top of the pack, there is a fully padded Hypalon enforced, triple stitched grab handle. Underneath the handle, there is a Hypalon flap that covers the hydration bladder hose port.
"Mollee Webbing And Beavertail Attachment"
On the very front of the pack, there are six rows of mollee webbing which can be used to attach almost anything from carabineers to other mollee compatible attachments sold by TAD. The Litespeed also comes with a "beavertail" attachment which can be placed on the front of the pack to add even more space for items like a rain cover or helmet. There is also a small pocket on the inside of the beaver tail. I choose to take mine off as I like the clean look of the Litespeed without it on.
"Paracord Tie downs"
On the outer edge of the Litespeed runs a small length of cord that can be used to tie down or attach different items. One small feature of the Litespeed that can make a huge difference in the field. In emergency situations, one could cut the paracord out and use.
The back panel on the Litespeed is built to take a beating and keep on going. There are three large mesh pads built from DRI-LEX® Aerospacer Moisture Management Mesh to help keep you cool and padded on the trail or the pavement. In between each padded panel, there is an airflow channel to add to the cooling. The back padding on the Litespeed is some of the best I have experinced.
The shoulder straps on the Litespeed are made with the same mesh padding as the back panel. They also come paired with a sternum strap made with ITW GhillieTEX™ SR Ladderloc buckles which will never fail. The shoulder straps also have load lifter straps which allow you to put the backpack higher and closer to your back. This aids in weight carrying. The straps also have multiple attachments points and places to thread a hydration bladder hose. I would like to see the shoulder straps have more of a curvature to them instead of just being straight.
On the inside of the Litespeed, there are two zippered mesh compartments to help store chargers, cords, hard drives, anything you want to carry that won't fit in the front pocket and that you don't want falling to the bottom of the main compartment.
On the back side of the main compartment, there are hooks which allow one to attach the included beavertail on the inside. This can be done to help in carrying a laptop on the back side of the main compartment.
"Room For a Full Day"
In this picture I have the Litespeed loaded out for a normal EDC. I have my GR2 Field pocket that holds my GoPro and my DSLR, my 40oz Hydroflask, a small Pelican case, and my BOGear EDC pouch with my med kit and other smaller EDC items in it. The Litespeed handles them all with space to spare.
The Litespeed by Triple Aught Design is almost the full package when it comes to a tactical EDC bag. Really in my eyes, there are only two things missing from the Litespeed. The first being dedicated water bottle pockets. I would love to see a high qualitly, durable, stretch material on either side of the pack that allows the user to store their drinks on the outside as opposed to taking up valuable space on the inside of the pack. The second being a dedicated way to safely carry a laptop. The large option from TAD the Fast Pack EDC has a better way to carry a laptop so this is not too big of a deal. The only other thing I would fix would be the straight shoulder straps and possibly add somewhat of a curve to them to allow fit on almost any body type. Other than that the Litespeed is a built to last, bomb-proof, incredibly detailed, full package tactical pack. Coming in at $240 retail the Litespeed is no cheap bag, however, if you decide to invest in it.. you will not be disappointed.
+
- Built in the US
- 1000D + 500D Invista Cordura
- Top-tier materials
- Included Beavertail attachment
- Patch Panel
- Hypalon Handle, Shoulder strap attachments
- DRI-LEX® Aerospacer Moisture Management Mesh straps and Back Panel
-
- Straight Should Straps
- No Water Bottle Pockets
- No Dedicated Laptop Carry
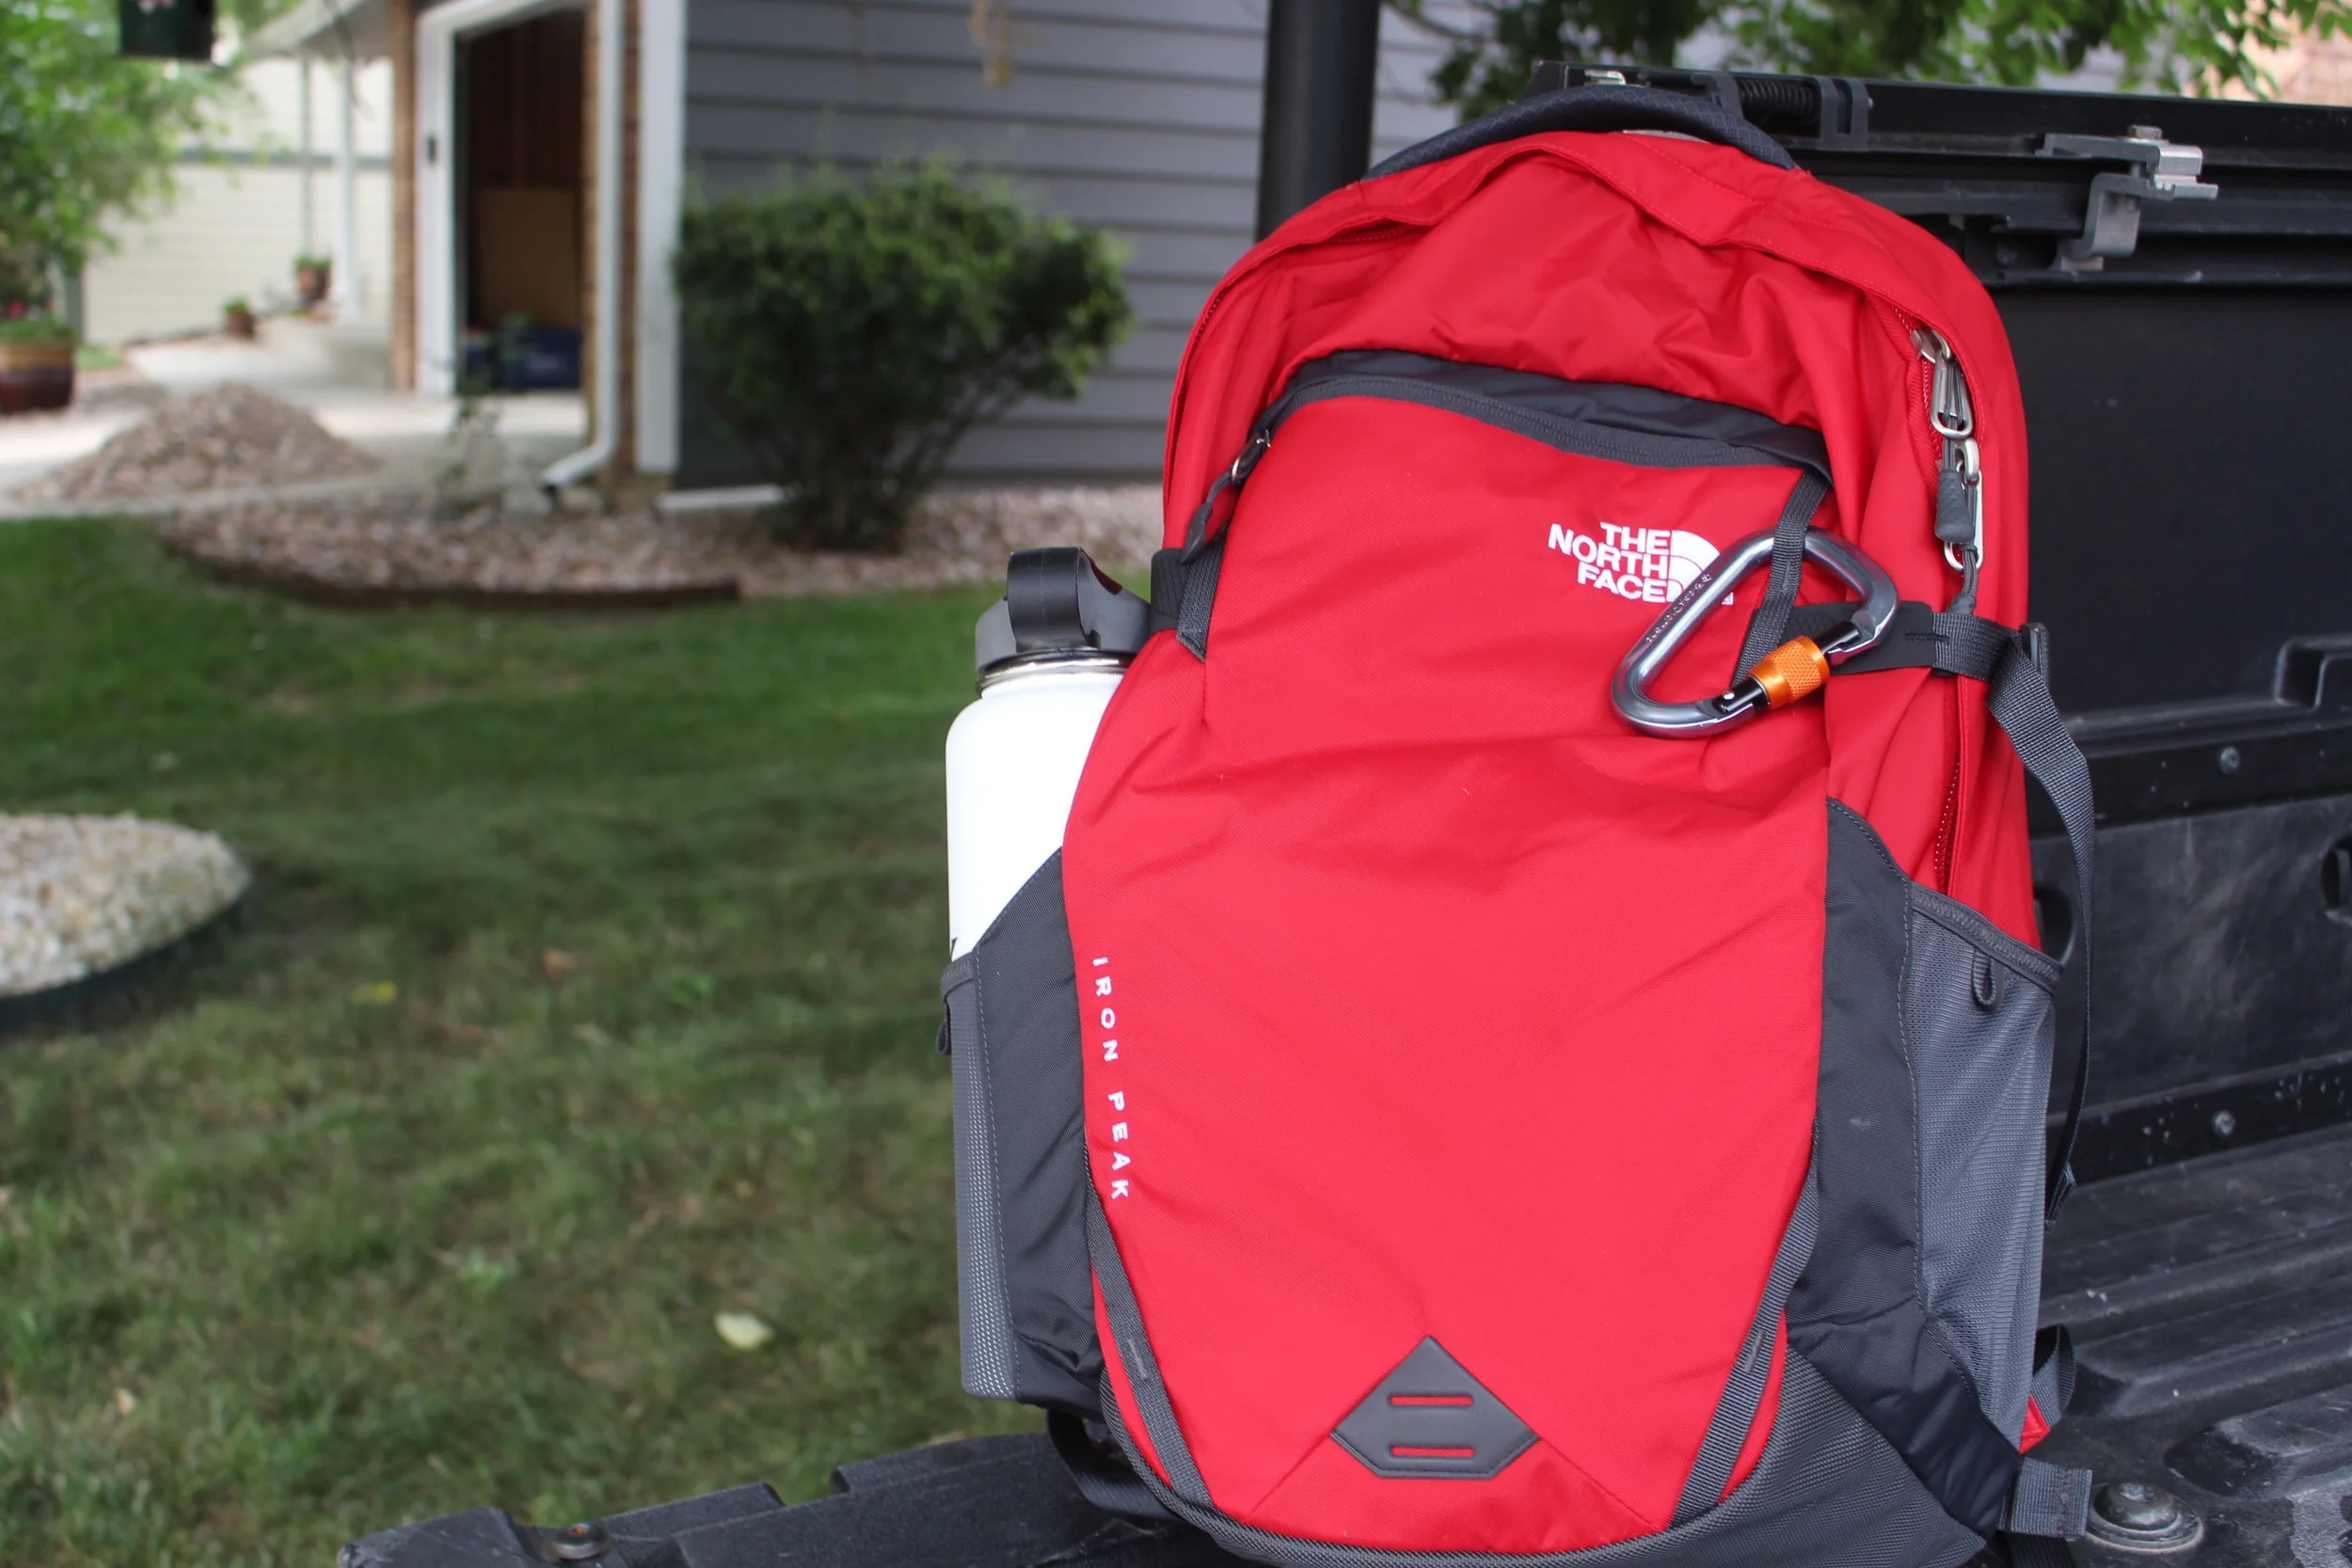
The North Face Iron Peak Backpack Review
One of my most read reviews here at RMK Outdoors is the North Face Surge 2015. Along with the many comments on the written as well as the video review I have received countless emails asking what backpack I would recommend that is smaller than the Surge with the same features. My answer.... The North Face Iron Peak.
The North Face Iron Peak is built to the same standards as the Surge. The pack body is built from 600D Polyester which is not my favorite material, that being 1000D or 500D Cordura. However, the 600D Poly is very light weight and a great choice for a smaller day pack like the Iron Peak. The Peak comes in at 28L including the side bottle pockets which hits the sweet spot for an EDC or day pack. All zippers on the Iron Peak are top of the line YKK to ensure no lost items. I purchased the Peak from Moosejaw's website for a sale price of $60 which is a steal. The Iron Peak comes in at $89 MSRP.
"Flex Vent Back Panel and Shoulder Straps"
The Peak is built with the same "Flex Vent" back panel and shoulder straps as the Surge as well. This is great as the two combined make an amazing backpack that can be carried all day long. The back panel has great padding and allows are to move through your back to prevent from sweating. The shoulder strap also comes with an included sternum strap to help keep the back high and tight on your back and chest.
"Front Fleece-Lined Stash Pocket"
On the very front of the Peak, there is the same front stash pocket that is lined with an extremely soft fleece. This pocket is a great place for your "grab on the go" items like wallet, keys, headphones, phone, and whatever other small items.
On either side of the fleece lined pocket, there are small attachment points that can be used to clip a carabiner or a light. This is one feature different on the Peak compared to the Surge.
"Fully featured Laptop and Tablet Sleeves"
Upon opening the Peak you are greeted with an ample main compartment which has a padded laptop sleeve and a great admin organization sleeve on the front. This padded laptop sleeve is the same as all of the "transit" line of North Face packs including the Surge. This is one of the bet features of the Iron Peak. The laptop sleeve is extremely soft and ends about two inches from the bottom of the pack. This ensures that no matter how you set the pack down your laptop will never come in contact with the ground. In front of the laptop pocket, there is another padded fleece lined sleeve that is perfect for your full-size tablet.
The main compartment of the Peak is large enough to fit my GR1 Field pouch with my DSLR, a book, external hard drive, and charger, along with a light outer layer. This compartment gives plenty of room for you day to day carry needs.
The very bottom of the backpack is full 1680D Ballistic Nylon which is much thicker and much more abrasion resistant than the 600D Polyester body. This gives the bottom of the pack much-needed padding and extra peace of mind for the items stored inside the pack.
"Stretch Water Bottle Pockets"
On either side of the Iron Peak, there are stretch water bottle pockets that can accommodate a full-size Nalgene or 40oz Hydroflask easily. This is a must have feature for any of my EDC packs as I am always taking my Hydroflask around all day to stay hydrated.
The North Face Iron Peak is a full-featured smaller daypack or EDC bag with the top of the line features. For anyone looking into the Router or Surge daypacks by North Face who doesn't need a ton of storage the Iron Peak is the way to go.
+
- Side Water Bottle pockets
- Padded, Suspended Laptop and Tablet Sleeves
- Front Fleece lined stash pocket
- Great shoulder straps and Back panel
- Very reasponable price for quality
-
- Only one outer pocket
- Does not stand on its own
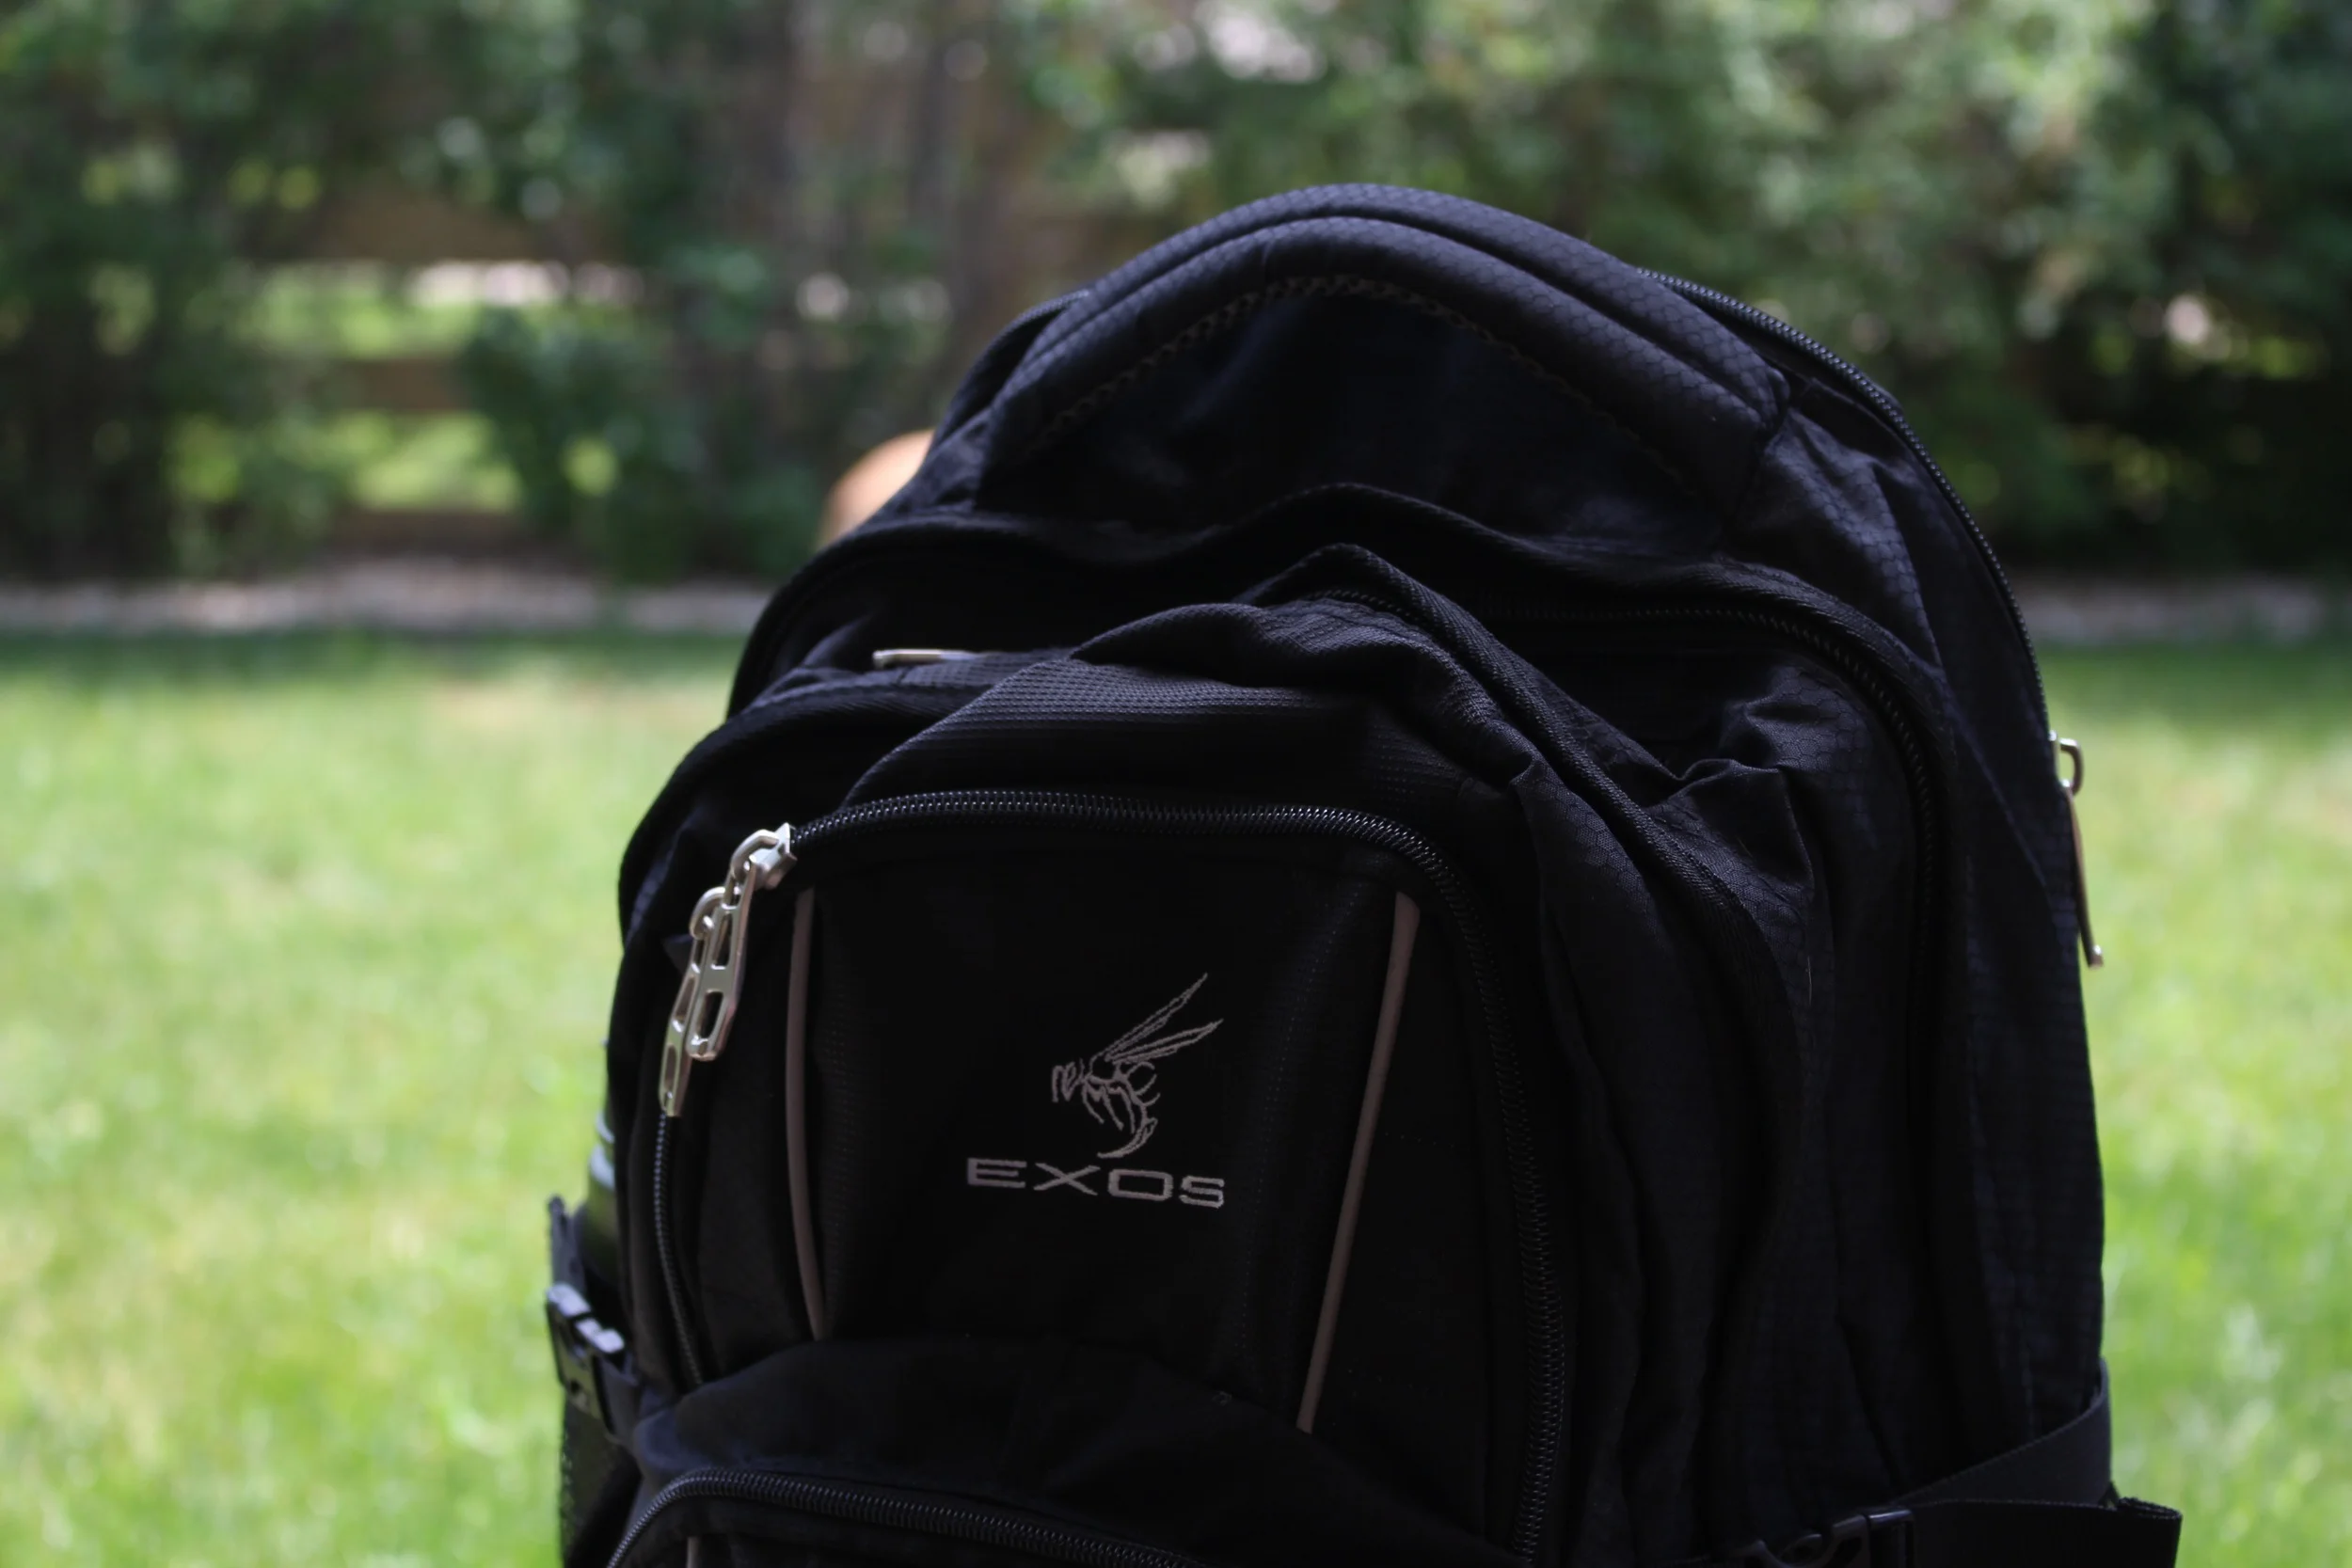
Exos-Gear Commuter Series Backpack Review
I was recently sent the Exos-Gear Commuter Series backpack to test out and give a review. TheExos Commuter pack is geared towards the average student, business man, or someone looking for a simple EDC pack. The Commuter comes in at 29L which is just right for all of the above, it also comes in a variety of colors to satisfy everyone. The best part of this backpack is the insanely reasonable price of $35. At this price point the pack is a great buy and will definitely give you your moneys worth.
On the very front of the pack you have the Exos-Gear logo. Right above this logo you have the “stash pocket” as I like to call it. This smaller pocket is great for quick access items like your keys, wallet, phone, sunglasses, and is even lined with a soft liner for peace of mind.
On the front-most of the Commuter, you have the admin pocket. Upon opening this ocket you are greeted with plenty of pockets and slots to organize your gear to your liking. When I was carrying this pack I normally kept my laptop charger, external hard drive, portable charger, and phone charger in this pocket as well as any business cards or pens. This pocket does a great job at extending outwards making sure to not take away any space from the other internal compartments on the pack. On the outside of this pocket hangs a small plastic caribeaner and daisy chain to clip on anything you want.
Directly behind the admin pocket there is a small compartment that was the perfect size for my EDC/FA Kit. This pocket could also be used as a Concealed Carry pocket as there are no internal pockets or slots that could get in the way.
The next pocket on the pack is almost as large as the main compartment, however, not quite. This pocket was perfect for my rain jacket or a towel. Again there are no internal pockets so stuffing in a rain jacket is a breeze, and can be yanked out at a moments notice. This pocket also has polyester siding by the zippers to make sure nothing slips out un-noticed.
Finally, on to the main compartment. In this pocket there is a padded laptop sleeve that was able to fit my 13inch Macbook pro, and is stated to hold a 17 inch laptop. In front of the sleeve there is another sleeve that can hold and documents or folders you have. Down below there was still plenty of room for my Goruck GR1 Field pouch and my Greenroom136 Journal. The last zipper on the pack is towards the back and can be unzipped to allow quick access to the stored laptop or documents.
On either side of the Commuter, you have stretch mesh water bottle slots. These were large enough to hold my 18oz FiftyFifty bottle with ease. A key feature to a good EDC or school bag is the ability to carry water or any other beverage externally. So “check” for the Commuter. Right above either water bottle slot there is a small compression strap to help hold your load down. This is also great to see on a pack like this with so many different compartments. When you are only carrying a few items and do not need the extra space you can synch up the straps tight and keep the pack close to your back.
The back of Commuter is lightly padded with mesh. The same goes for the shoulder straps. The pack carries comfortably enough for the base price being $35. I would like to see the shoulder straps somewhat more padded especially for the 29L compacity of the pack. There is also no sternum strap which helps when carrying weight on a school or EDC pack.
Overall, the Commuter series pack by Exos-Gear is a budget-friendly pack with enough features and compartments to compete with the best of them. For the money, this pack really can't be beaten and proves to be very consumer friendly. I am a firm believer in investing in a pack for a bit more $ and watching it last over the years, however, many people cannot justify spending $300 on a backpack. This is where the Commuter will come in.
+
- Amazing price
- Many different compartments and pockets
- External water bottle slots
- Padded laptop sleeve
- Various different color options
- Fleece-lined stash pocket
-
- No sternum strap
- Shoulder straps could be more padded
- No YKK zippers
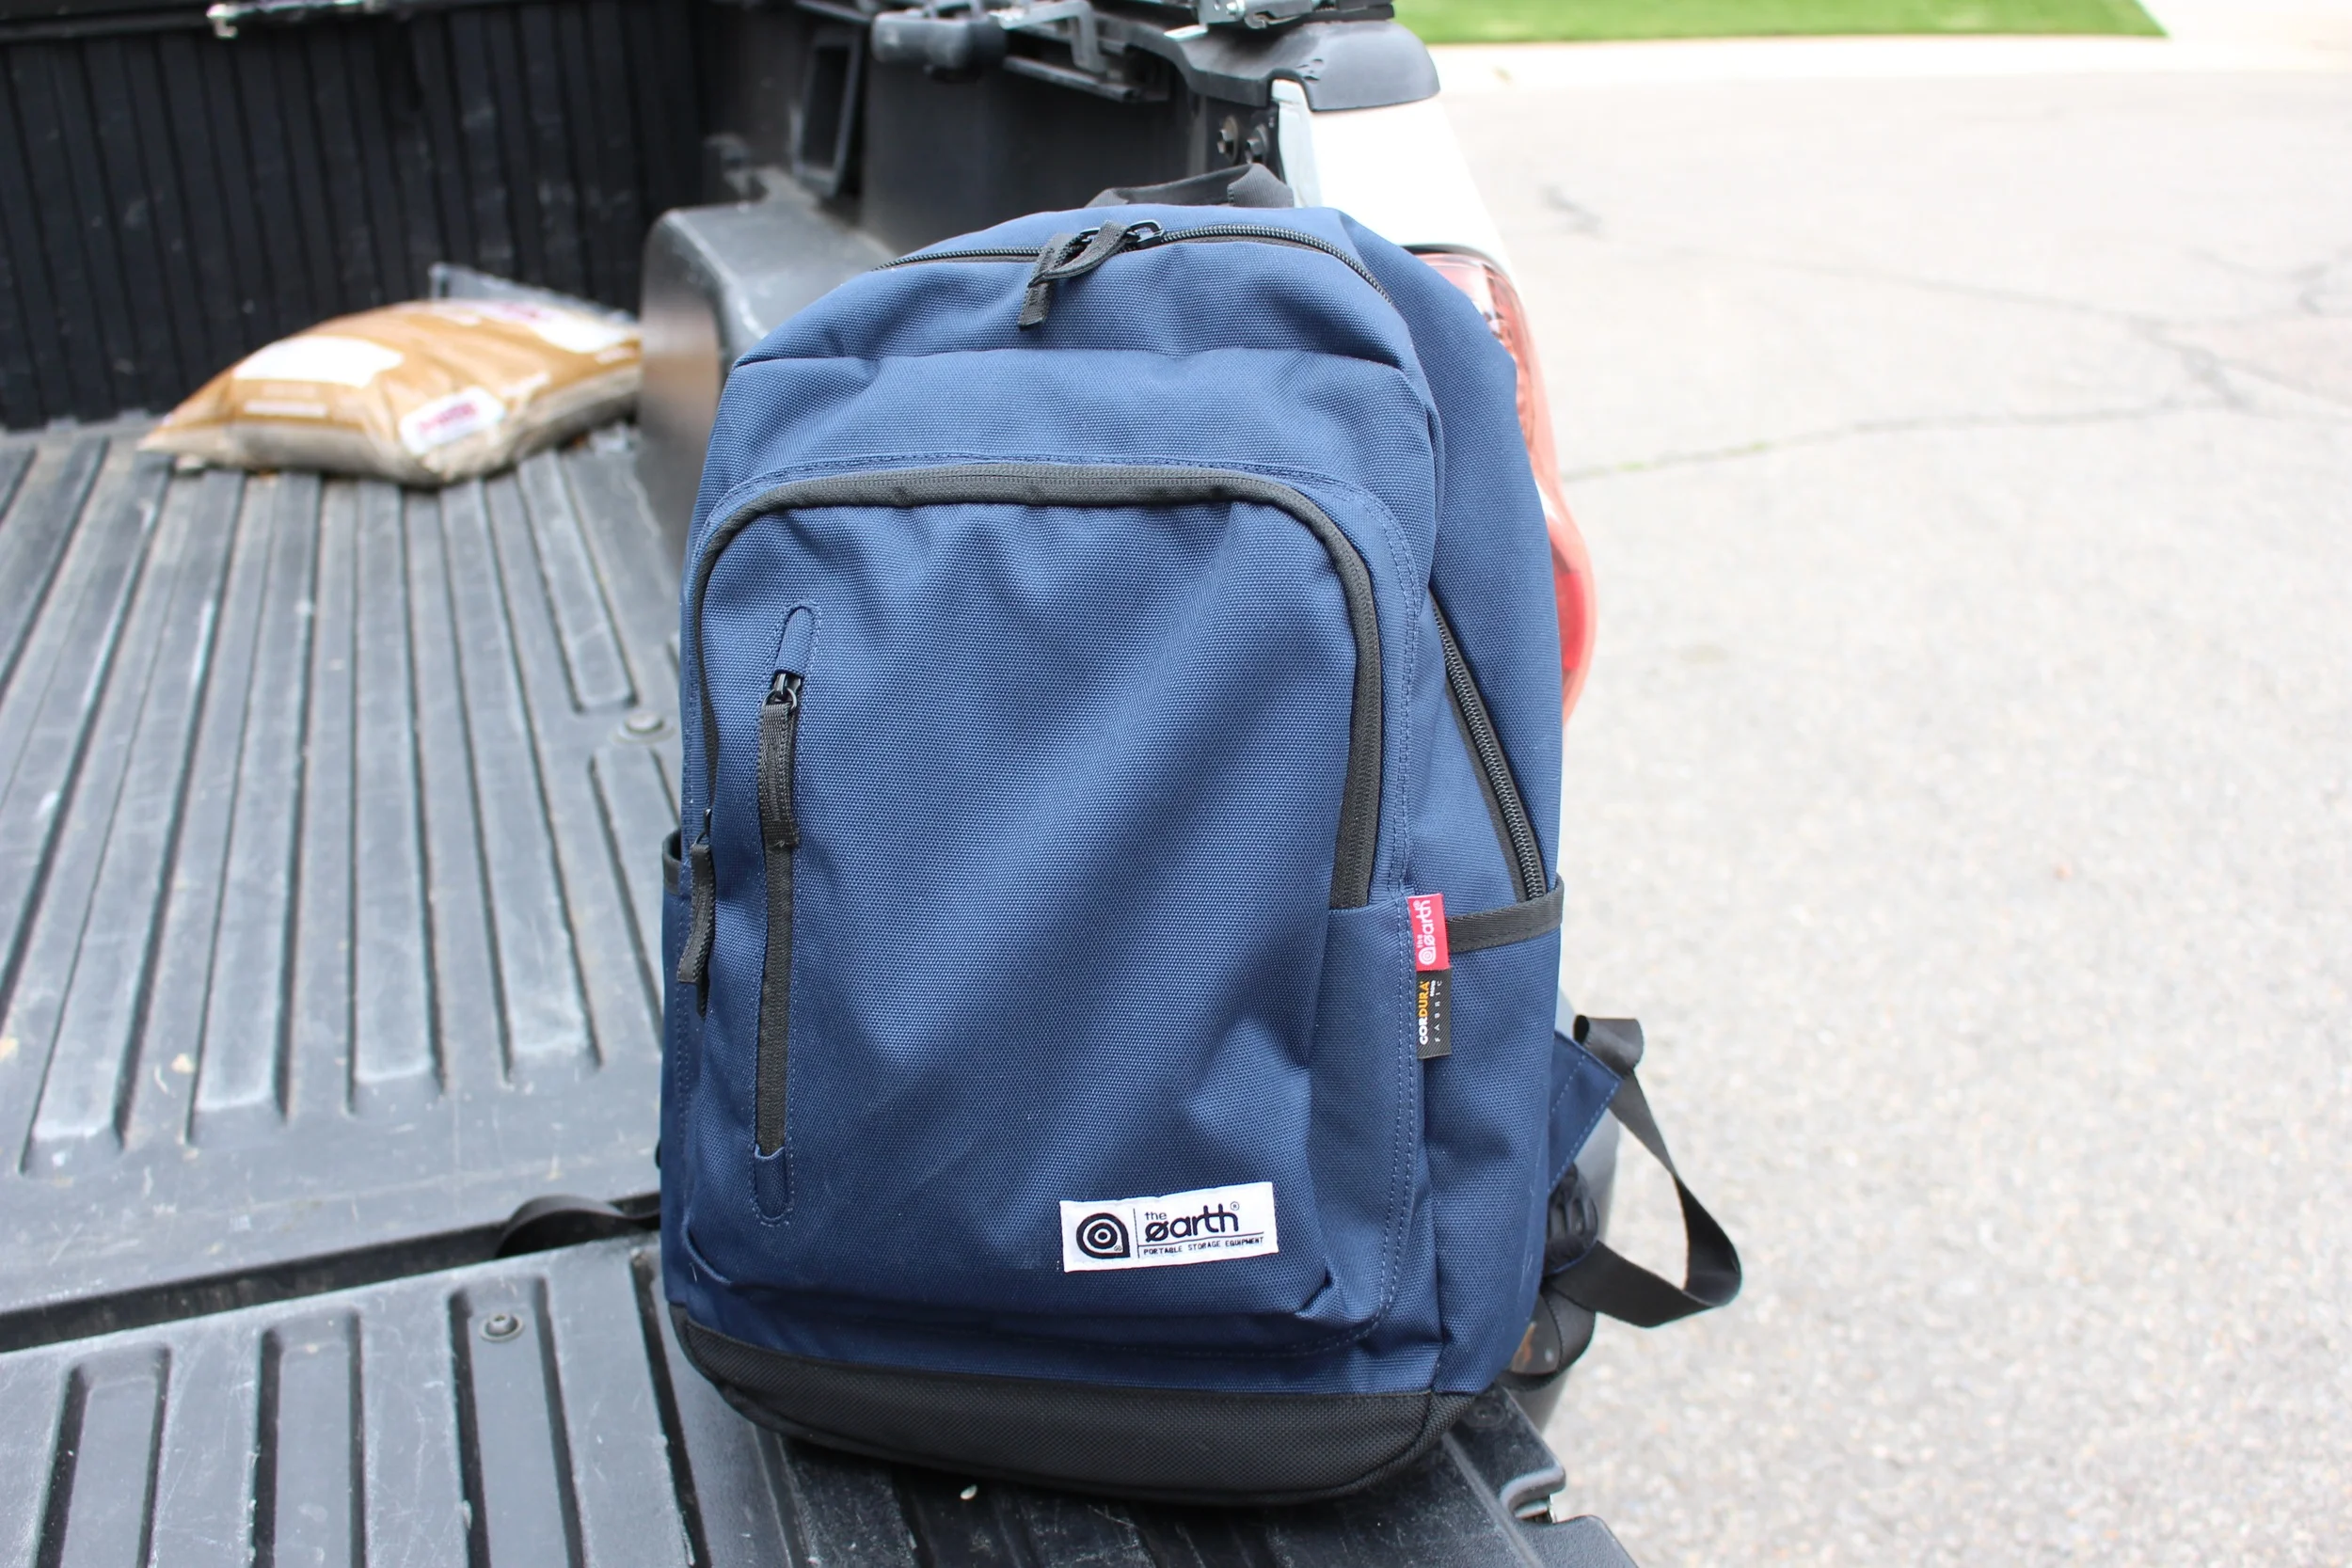
The Earth Daypack Review
Who This Pack Suits
- Anyone looking for a super affordable Cordura built pack, that can carry a laptop and a days load-out.
Who This Pack Does Not Suit
- Anyone looking for a feature rich pack with a bombproof laptop compartment.
- Anyone who needs a ton of space in their pack.
“1000D Cordura”
The Earth is a bag company based in Korea. They might not produce their packs here in the US however they are built from my favorite fabric, 1000D Cordura and come in at an amazing price point. I was sent over the Cordura Daypack for review and at first did not except much as I did not know The Earth as a company. I can tell you now that this Cordura built daypack is a diamond in the in the pack world.
“Amazing price point”
The Daypack comes in right under 20L and as stated before is made from all 1000D Cordura. The price of this pack is 79,000 of something which I used good old google to convert into USD and it came in at $60. When I first did this conversion I thought I had missed something and tried a few more times, and still it converts to $60 which is a steal for this backpack. No, it is not made in the US, however, it is made by a company who takes pride in their work enough to use some great materials.
On the very front of the pack, there is a small admin pocket with a with another smaller pocket on the very front perfect for smaller items needed to be grabbed quickly. On this very front pocket, I would keep my keys and wallet.
“Great Organization"
Behind this pocket, there is the admin pocket. Inside this pocket, there is a small sleeve which I would use to hold my external hard drive. On the front of the sleeve, there is a zippered pocket and a small mesh pocket. This was large enough to hold my headphones and a knife. At the bottom of the admin pocket, there is enough room to throw and extra items you do not want in the main compartment of the bag.
“Padded Laptop Sleeve”
The last section of the pack is the large main compartment. This is where you will hold your laptop and larger items. On the back side of the pocket there is a lightly padded sleeve that will hold up to a 15 inch laptop. It is secured by a velcro tab to insure your machine is going to stay in place. The sleeve does not come in direct contact with the ground when setting the pack down. This is a great thing to give more peace of mind when carrying your laptop. If you find yourself not needing to carry a laptop this sleeve also works great as a document sleeve.
On the front of the main compartment there is a place to hold the smaller items you will have in this large section of the pack. There is a large zippered pocket that is great for items like chargers and cords. On the front of this zippered pocket there are two mesh sections perfect size for a mouse and a portable charger.
The rest of the main complement is plenty big enough to carry a fully days load-out. In these pictures, I have my GR1 and GR2 Field pouches with my GoPro/DSLR gear and my Maxpedition First-aid/EDC kit. I still had room to fit a small over layer such as a rain jacket or fleece as well.
On either side of the pack there are smaller pockets that will accompany a normal plastic bottle or even a skinny 18oz bottle. These pockets will not fit a normal 32oz Nalgene however if you have a smaller bottle they are great. They also stay very low profile when not in use.
The back of the pack is made from a mesh padding which does a great job at keeping the pack comfortable even when fully loaded and keeping the wearer cool. I actually found that this pack was one of the most comfortable daypacks I have in my lineup and could be compared to the Tom Bihn Synapse, which is saying a lot.
The shoulder straps are backed with the same padding as the back panel. They have a slight curve to them to help with carrying the load. On the top of the shoulder straps there is one row of webbing which many various things can be attached to. The pack also comes with an included sternum strap.
+
- 1000D Cordura
- Padded laptop sleeve
- Comfortable Carry
- Amazing price in USD
- Plenty of Organization
-
- No YKK zippers
- The grab handle could be more padded
- Water bottle pockets cannot fit a 32oz Bottle
Overall, the Daypack by the Earth is a super affordable, simple, and practical daypack built with great materials and a good design. The pocket layout of the pack gives you plenty of organizational options while making sure you don't pack too much for the day. I would like to see YKK zippers on the pack, however for $60 I am more happy about the use of 1000D Cordura.
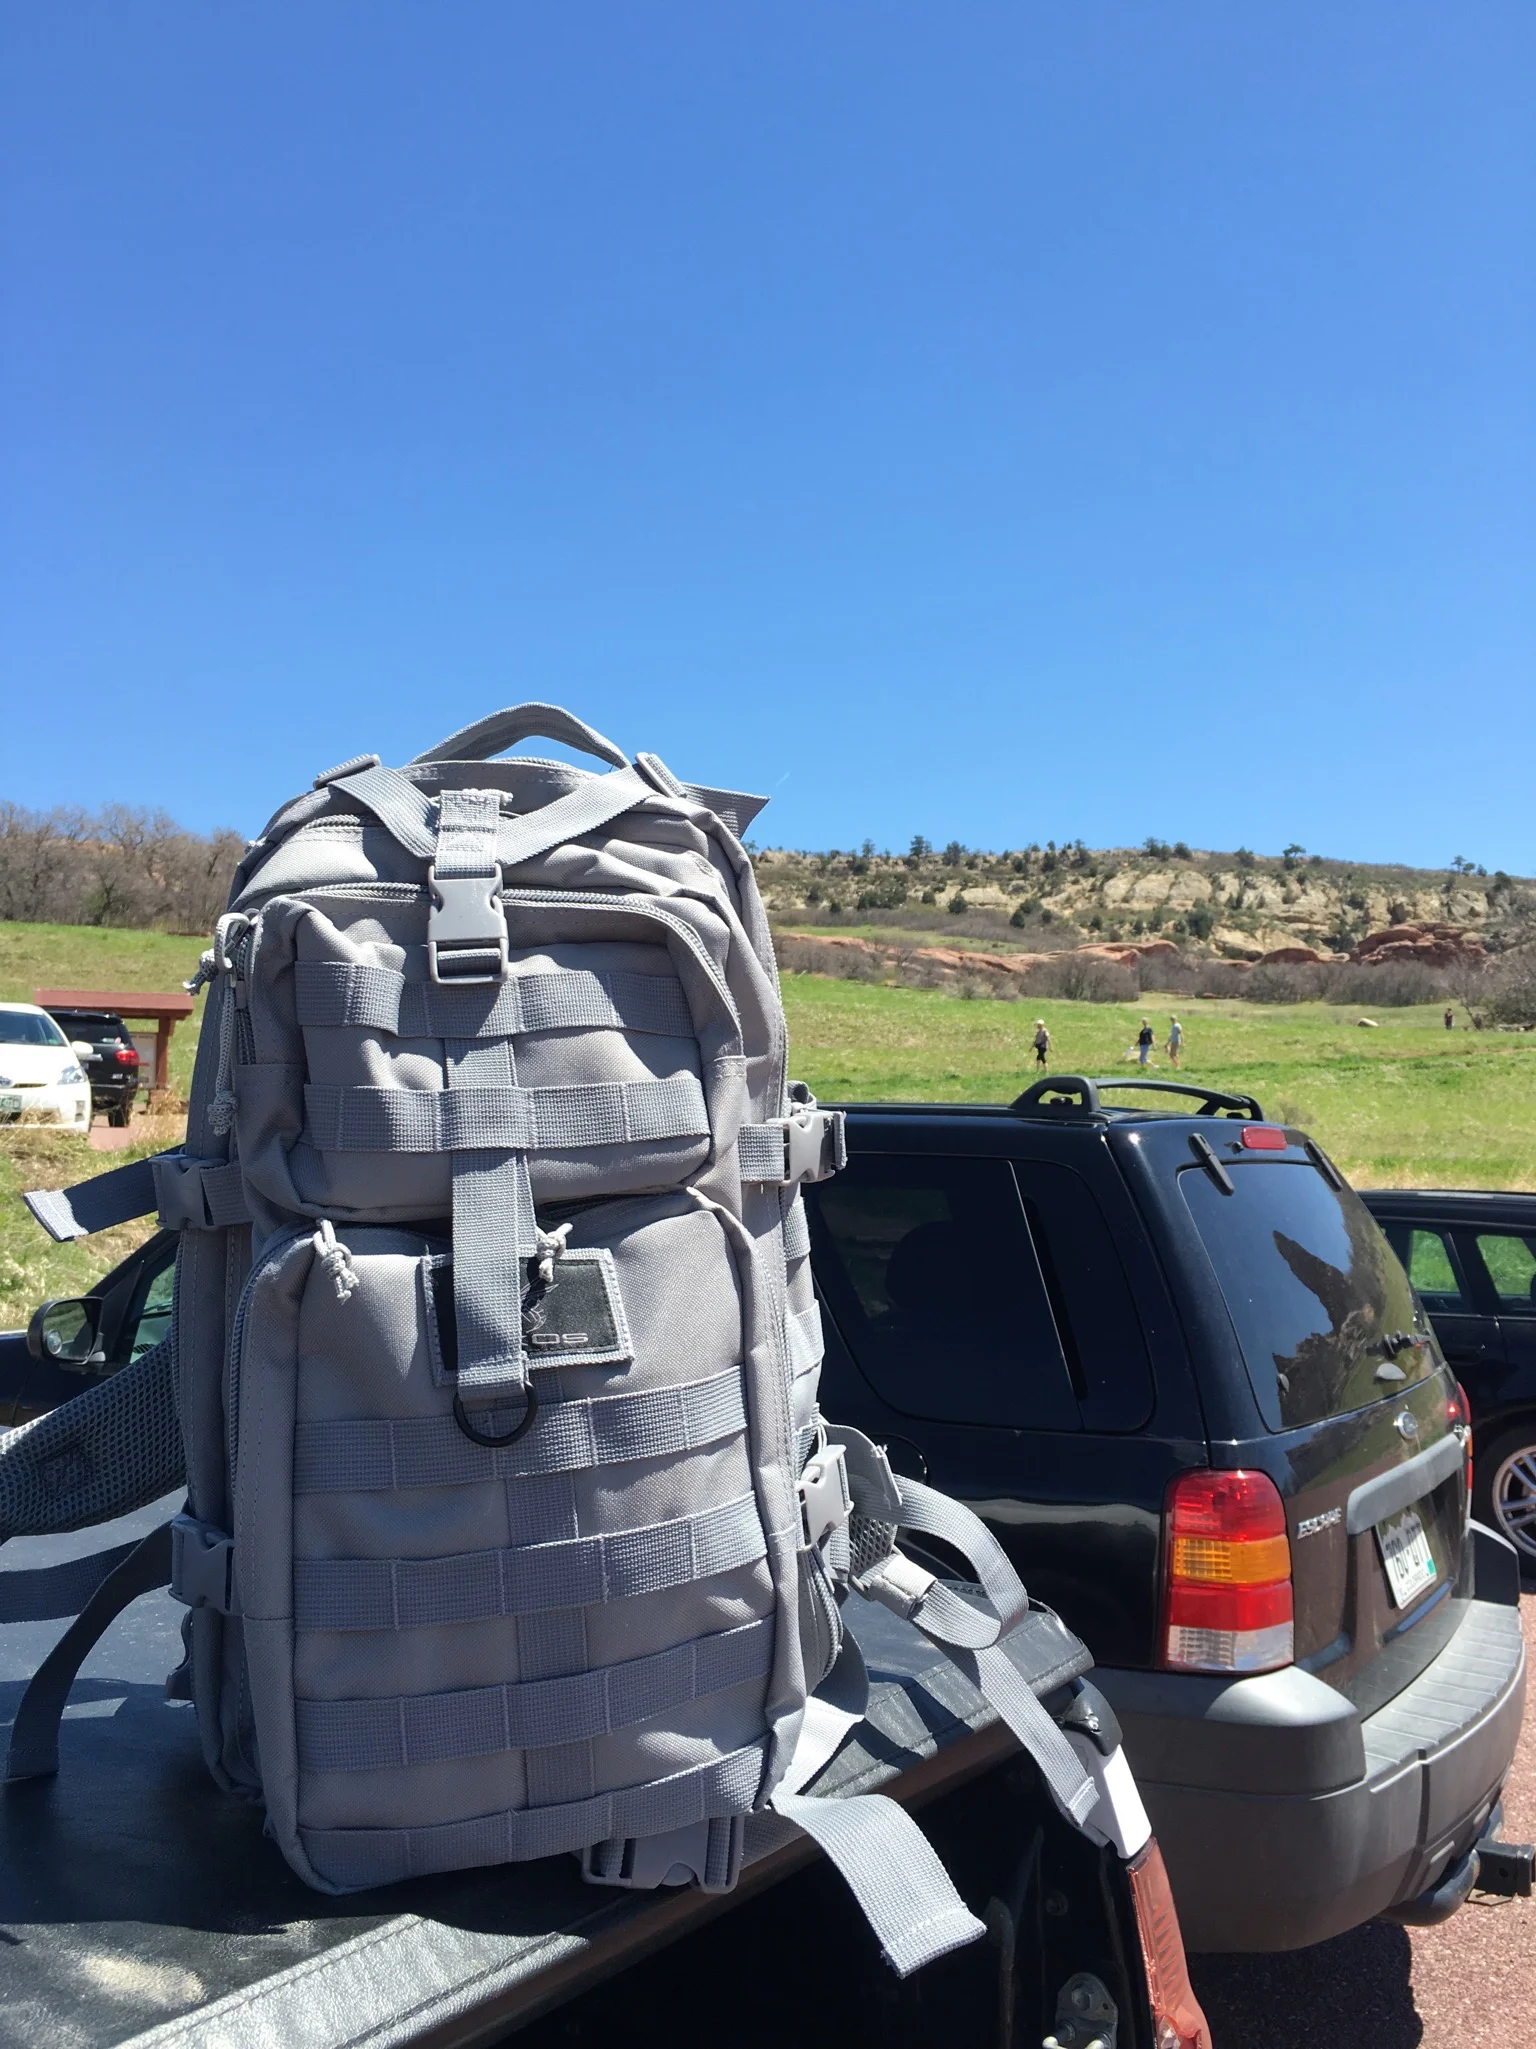
Exos-Gear Bravo Tactical Backpack Review
Exos-Gear is a fairly new company in the pack game. However, they are making quite the entrance with the great looking Bravo tactical style pack. Exon-Gear reached out and sent me their Bravo pack to review as well as their Commuter style pack. Most of the packs I review here at RMK are not for the budget shopper or one that does not want to drop $300 for a backpack. Another thing I love to review here at RMK is packs built in the US just to support our country. Again, this is great but for those wanting to get a great looking pack and not break the bank the Bravo is the way to go.
The Bravo is built from full 600D Polyester which is not the normal 1000D-500D Cordura I love, however right now you can get the Bravo pack for $35 which is almost 1/10th the price of the other bags I review here at RMK. The 600D Poly is still a great fabric and will battle through almost anything with you. The Bravo pack, coming in at 33L is also a perfect size for EDC or a day pack. I opted for the Grey color, there is also Coyote, Black, and OD green.
On the very front of the pack, there are six rows of MOLLE webbing that will allow you to attach external pouches or carabiner, etc. Above the MOLLE webbing there is the Exos-gear Logo. There is also a 2x3 velcro strip for adding all of your morale patches on the upper left-hand side of the pack which is a must have for a pack of this style.
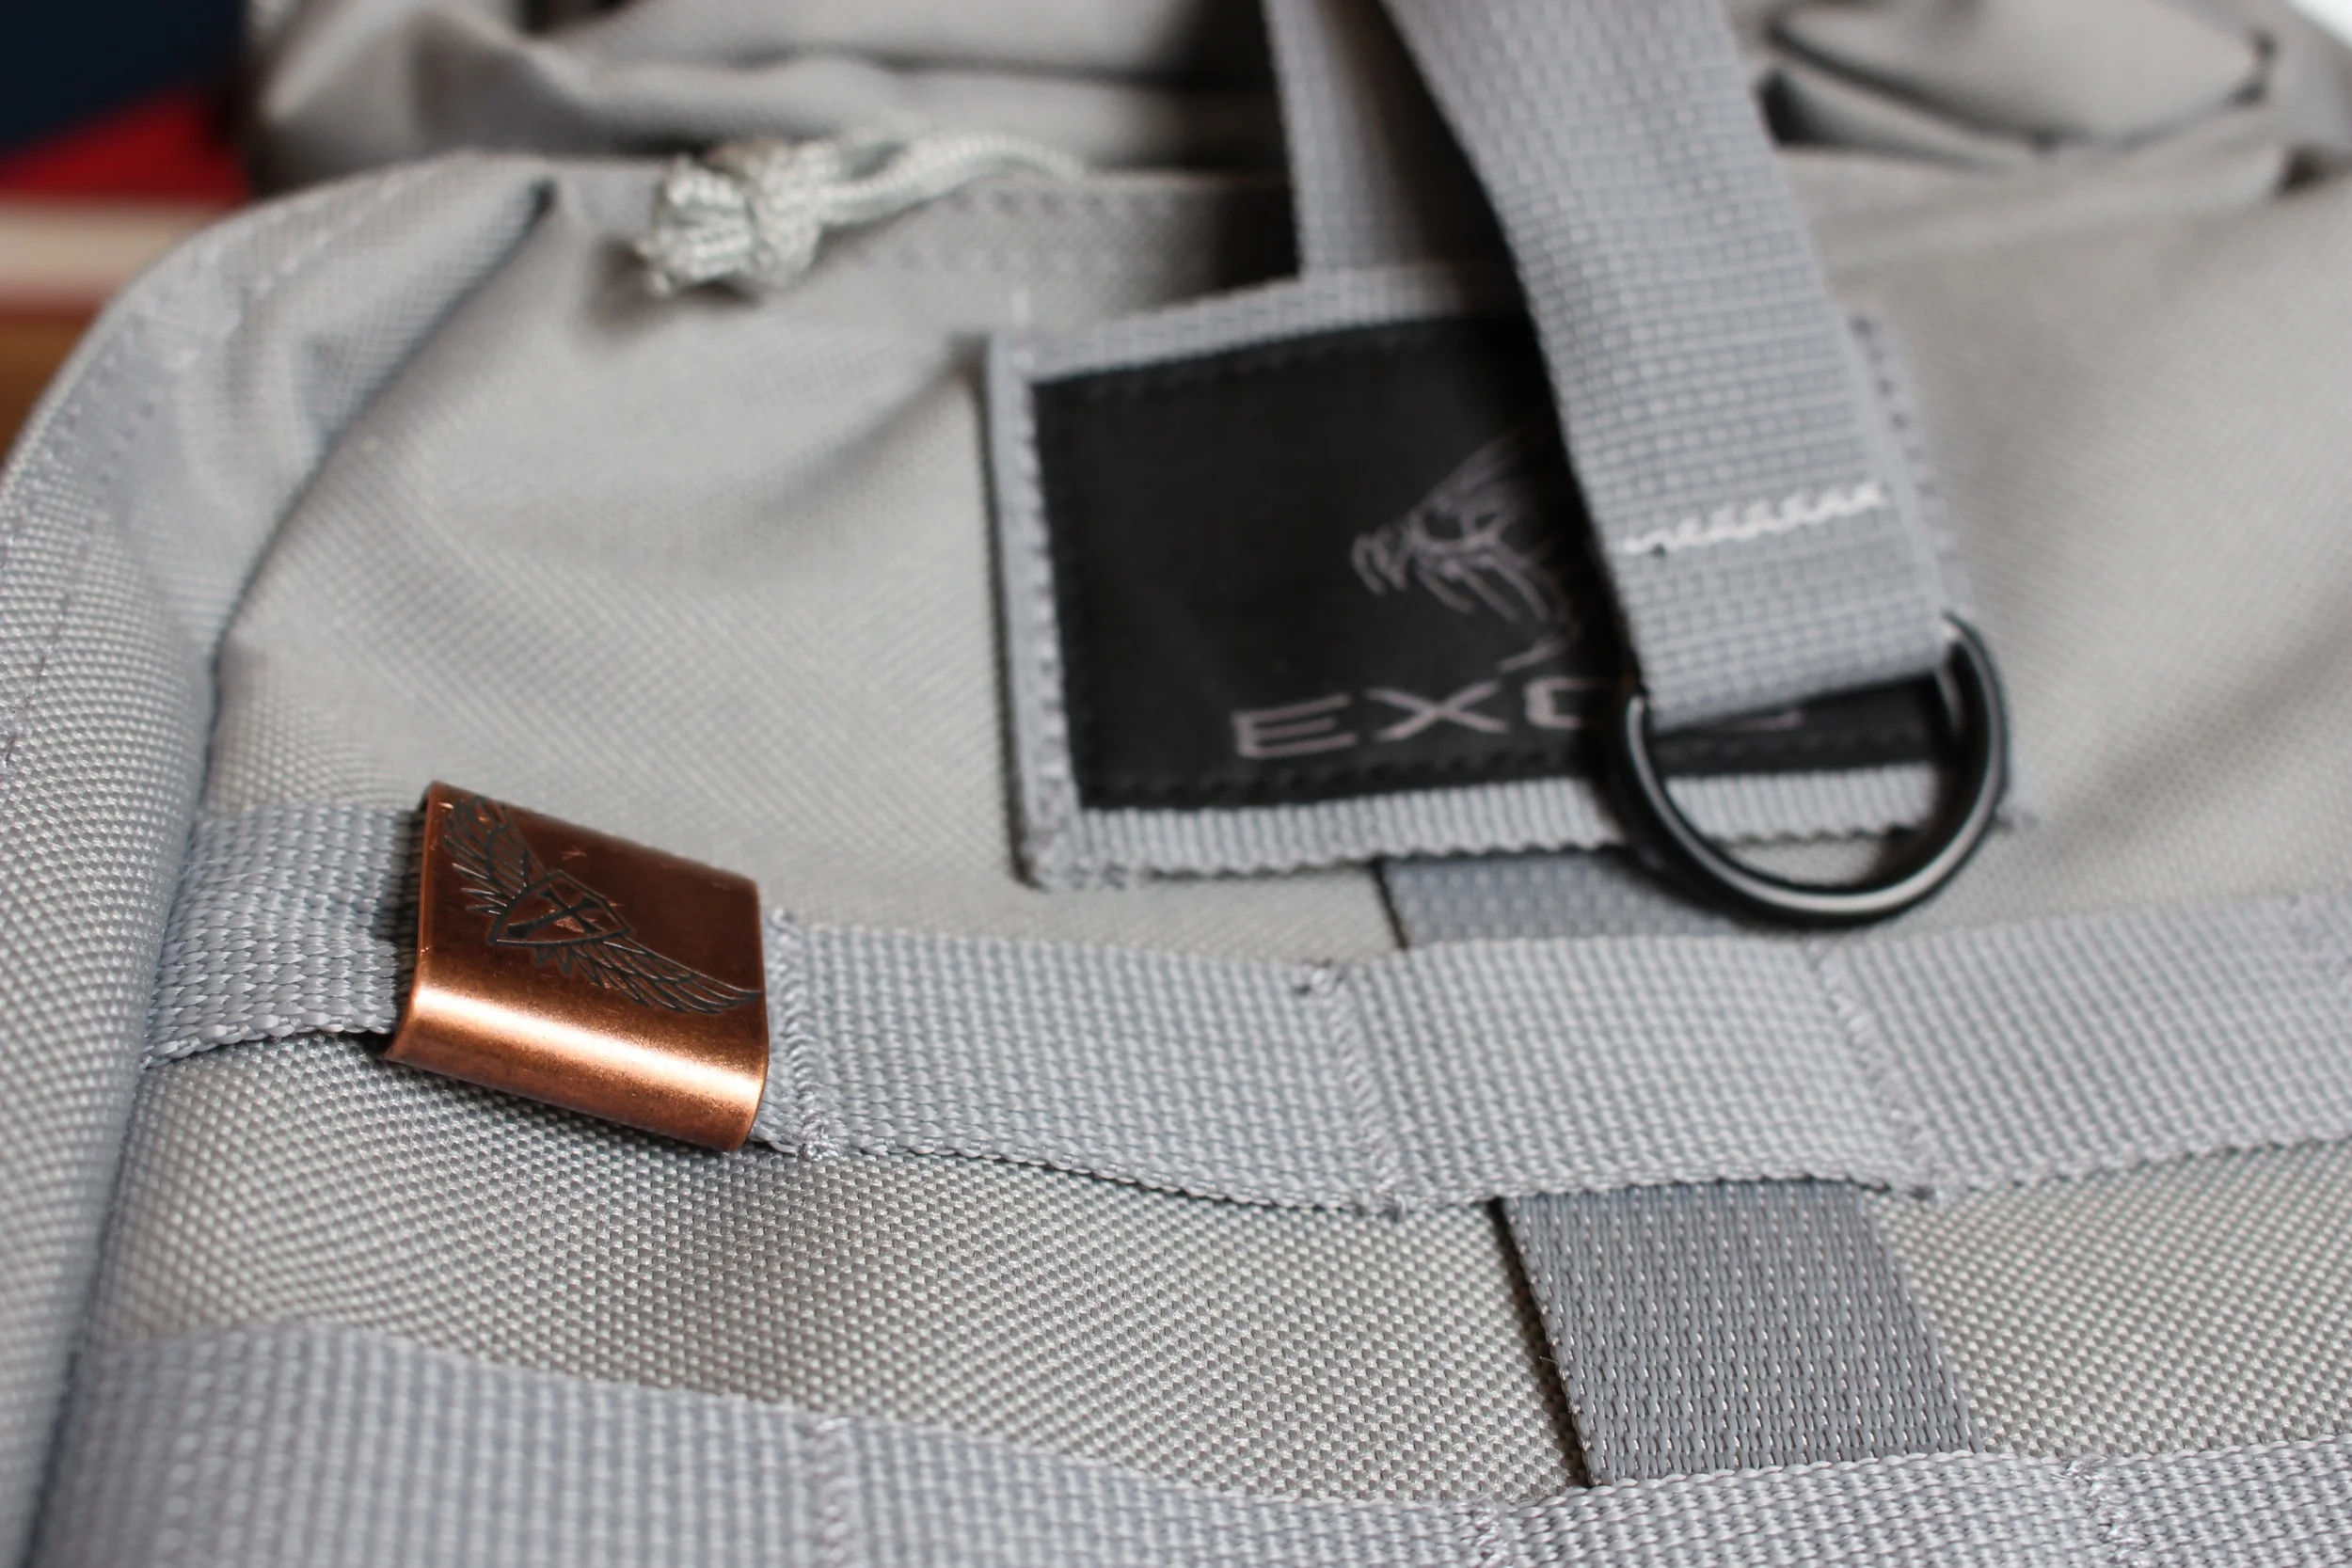
The top front pocket on the Bravo is a perfect size to fit you quick grab items such as phone, headphones, knife, chapstick, keys wallet and whatever else you need at a moments notice.
Below this pocket, there is larger space for anything else you need to get at fast or can be used as a nice admin pocket. On the inside, there is a small pocket that can be used to hold a small journal or some field notes. In front of this pocket, there are a few sleeve pockets that can hold pens and pencils.
Moving on to the first of the large compartments of the Bravo pack. This pocket runs the entire length of the pack and has a sleeve pocket that is where I would store my external charger and hard drive just in case. In front of this pocket, there is also a small mesh pocket to add to the storage. Since this pocket runs the entire length of the pack I decided this is where I would store my Maxpedition Beefy EDC I have built (And will be reviewing very soon.) There is plenty of room for more in this pocket however I was just on a quick day hike so I did not need a ton of gear.
Right behind the first main compartment there is the larger “Main” pocket. In this compartment, I had my GR1 and GR2 Field pouches for all of my DSLR and GoPro gear. I also had a rain shell packet in on top and still had plenty of room. On the back side of this compartment, there is a zippered pocket that is almost the same size as the front stash pocket. On the front side of the compartment, there is a large mesh pocket that can hold anything else you want to keep from sinking to the bottom of the bag like chargers, or cameras.
On either side of the Bravo, there are two compression straps. These straps do a great job at keeping the bag low profile when fully loaded or when you have the pack mostly empty. You can also use these straps as a way to carry overflow from the main compartments like rope or outer layers. On the very bottom of the pack, there is also a few compression straps to further aid to keeping a low profile look and feel. On all of the straps, the Bravo has there are small elastic strap holders. I found this to be an absolutely awesome feature as a ton of tactical or other packs have much-needed compression straps, however, it is a sore sight having all of the excess straps fly around during the day. A great addition by Exos-gear here.
The back panel is very padded and mesh backed for extra breathability. Along with the back panel, both shoulders straps are also well padded with mesh backs. I noticed the back panel along with the padded straps prove very comfortable while I was on the trail. I had about 20lbs in this pack and it carried very well. The Bravo also comes with an included sternum strap and removable hip belt. I used both of these while on my hike and they helped carry the weight. If you are looking into this pack for any hardcore events such as a Goruck I think it could get through it, however, I don't know how many it could after that. But again this is not a $300 pack and for 1/10th the cost it really is a great deal.
Behind the back panel and between the main compartment there is a padded water bladder sleeve that held my 3L Osprey bladder easily. At the very top there is a slot to run your hose through and out to one of the shoulder straps of the pack. This pocket can also hold my 13inch Macbook Pro and possibly a 15 inch. If you plan on using this pocket as a laptop compartment I would however get a laptop sleeve for some added protection.
The zippers on the Bravo are not the normal YKK like on my other backpacks, however, they all run very smoothly and I have not had any problems so far.
+
- An amazing price point of $35
- Great tactical look
- Tons of pocket for storage
- Padded straps and back panel
- Water bladder sleeve
- Compression straps with elastic strap holders
- 4 different colors to choose from
- Velcro strip for your patches
-
- Made in China
- Not Cordura with YKK zippers
Overall the Bravo by Exos-gear is a complete pack capable of being your EDC, range bag, school backpack, or hiking pack. With 4 different colors to choose from, plenty of storage for your whole kit, and a price point of $35 I am not sure you can find a better pack. For the people who are not quite ready to drop $250-$300 on a backpack, this is your next pack.
Mixed Works Eagle Backpack Review
Mixed Works is a smaller bag maker based in Poland. Like most bags I review they also use top of line materials including 1000D Cordura, Truck tarp liner, ITW Buckles, YKK zippers, and Nylon Thread and Webbing. When I first came across Mixed Works bags I could see great execution and style right away and I had to see one in person. Being more of a pack guy I decided to throw in an order for the Eagle, the largest bag in their lineup and a style of bag I have never had before.
"Waterproof Liner"
The Eagle is a 30L flap style pack with two main buckles holding it down. Most of my bags are zippered main compartments and I was interested to see how this one functioned. The Eagle is made from all 1000D Cordura and lined with a waterproof truck tarp. I found this to be one of the key points as this meant the bag was almost waterproof. The Eagle is also accompanied by all YKK zippers and ITW Buckles meaning it should last a very long time.
When you un-buckle the two straps holding the front flap in place the bag will lay flat and show all four pockets.
"Padded Laptop Sleeve"
Right away you can tell the Eagle is a bag of its own just from the style. The Eagle has one large main compartment which takes up most of the space the pack has to offer. You can have Mixed Works add in a padded laptop sleeve on the back of the main compartment that can hold up to 15-inch laptops. Other then the sleeve there are no other sleeves or pockets on the inside. I found this to be good and bad, when loading this thing full it is very easy to slide everything right in and not worry about items snagging or fitting into the main pocket. However, this means you have to rely heavily on the other front pockets for all of your smaller items.
The next three pockets on the front of the pack help to store all of the smaller items or things you need quick access to. The first pocket on the top is not too deep and is perfect for chargers, external hard drives orexternal chargers.
"Large Front Pocket, Big Enough For Your Full-Sized Tablet"
The next pocket down is much deeper and can fully fit my Ipad Air with room to spare. So this one would be great from anything like Tablets to full size Water Bottles. Having this large of a pocket on the front of the pack is a must have and really makes up for the empty main compartment.
The last pocket on the front is another flap style closure with velcro to hold it down. This pocket is smaller than the other to and great for keys, wallet, gum, chapstick and other smaller items. If you are sneaky you can open this pocket without unclipping the buckles on the large flap.
All of the zippers on this bag are top notch quality and I have had no problems at all with them.
"Padded Mesh Back Panel"
For the size of this pack and the amount of things you can stuff in it no doubt needs a great shoulder/back panel system and thankfully it does. The Eagle’s back panel is a great “raised” mesh padding that allows for awesome breathability and comfort on longer days. This also adds a bit more protection when hauling around your laptop in the laptop sleeve as well.
The shoulder straps on the Eagle are also top notch and are some of my favorite on any pack. Not only does the Eagle come with an included sternum strap but the shoulder straps also have an adjustable connection on the top to allow for all body types to strap up.
"Rides High and Comfortably"
I love being able to wear my packs high on my shoulders as it takes a lot of the weight from my lower back and puts it up top where it should be. The Eagle is a pack that naturally rides higher on the wearers back and I love that about it.
Lastly on the very bottom of the backpack there is a small strip of webbing that will allow one to attach a light to help with those late night bike rides or walks home.
+
- Handmade in Poland
- Great price for the Materials used
- 1000D Cordura
- ITW and YKK Zippers
- Waterproof Truck Tarp lined
- Large main pocket
- Padded Laptop sleeve
- Very clean looking pack
-
- The Large main compartment can be somewhat hard to reach down into due to the closure of the pack
If you're looking for a super well-built pack to commute to work with look no further. The large main compartment of the Eagle will hold all your daily needs and more. The water-proof tarp liner will make sure the contents of your pack will stay dry and the 1000D Cordura paired with the ITW Buckles and YKK zippers will make sure this pack stays in your lineup for awhile.
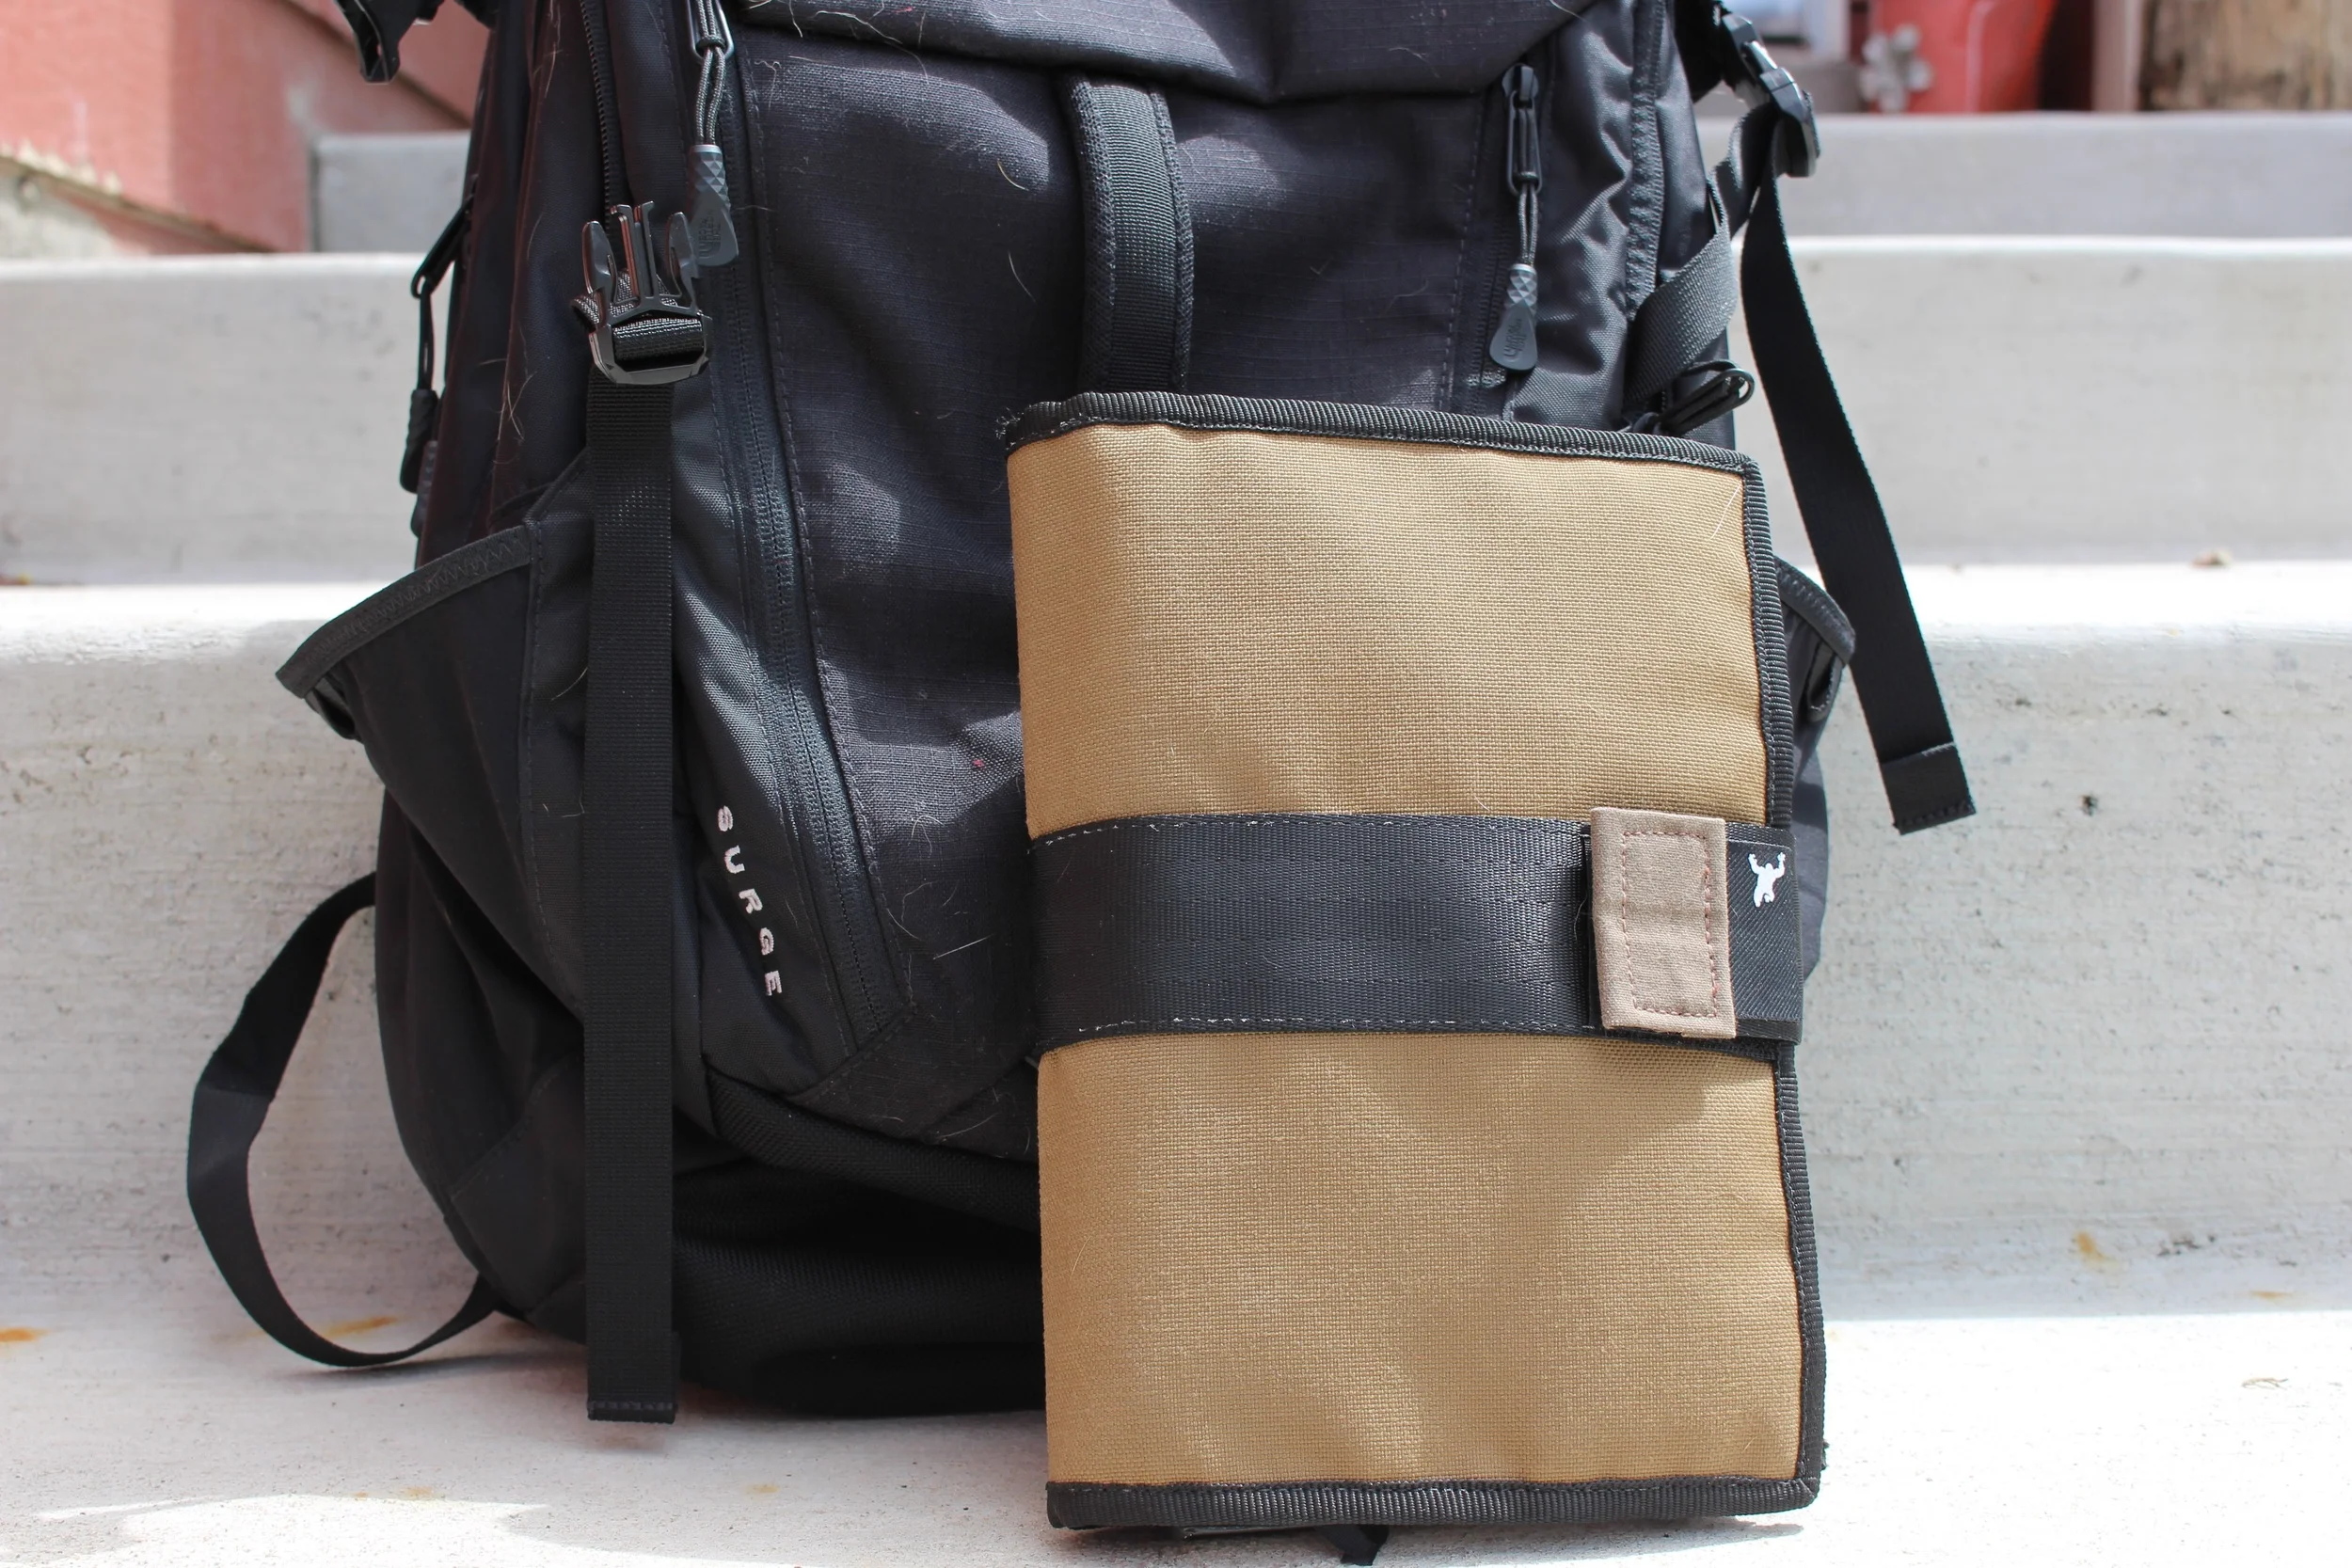
Greenroom136 Scribblebook Review
Greenroom136 is an independent bag company that specializes in urban use bags, that range from backpacks, wallets, journals, messenger’s, and accessories. They were established in 2011 and believe that there is a new meaning to the phrase “Made in Malaysia”.
I have done two previous reviews on products made by the people over at Greenroom136, the Rainmaker Medium backpack, and my Rainmaker Custom Tactical backpack. Both of the backpacks greatly exceed my expectations when is came to craftsmanship and attention to detail. You can tell Greenroom really cares about the products they put out and are different than any bag maker. After seeing the packs I contacted Greenroom about letting me review one of their Scribblebooks.
I had been searching for the perfect “Journal/Journal cover for my planner. With my Fire Academy starting up in a few months I wanted to have a concrete way of getting all of my thoughts and important notes written down. I normally use my Ipad for this however, there is something about having it in your hand that reassures me. I already had a planner, although I needed something to hold the planner and allow more space to store pens, pencils, chargers, headphones, business cards, and whatever other small items I did not want to have lost in one of my packs. The Scribblebook was the perfect answer to my search.
The Scribblebook is made from the same 1000D Cordura as the rest of Greenroom’s products. The 1000D Cordura is a great fabric that will ensure your Scribblebook will last longer then you do.
On the front of the book, there is a 2” strip of safety belt wrapped around that fastens with a YKK velcro fastener. The velcro is very heavy duty and will make sure all your important items stay in place inside the book.
When you open the Scribblebook you are greeted with 4 main pockets on the left side. The first pocket is great for your ID, or business cards. The left lower pocket can hold multiple pens or pencils and here I also have my Ipad stylus. The right lower pocket is just large enough to hold my iPhone 6S, so anything bigger will probably not fit.
Underneath the first pockets, there is a large zippered pocket that can conceal your cash, passports, or other items you want to have protected by a zipper and out of sight.
On the other side of the Scribble there is an EVA padded, Corduroy lined pocket to protect your Journal from scratches.
Behind the journal pocket, there is a sleeve that will allow you to fit your 7” Tablet inside. The touch screen of your device can also be used behind this protective sleeve.
And finally, on the very back of the book, there are two large pockets which will allow you to store any other documents or papers.
+
- 1000D Cordura
- YKK Velcro
- Tons of pockets for everything
- 7" Tablet pocket
-
- I did purchase an A5 Planner to fit this Journal and it ended up being just too big to fit in the pocket. The planner I bought is one the thicker side so I will be returning and buying a small A5 sized planner.
There is no better way to carry all the small items you always find yourself searching for lost in your pack. It has quickly become a crucial part of my EDC and I will not leave the house without it. It is the perfect size to quickly throw in your pack or carry alone. Overall the Scribblebook by Greenroom136 is a fully featured Journal cover that will last a life time and more.
Greenroom136 Large Custom Rainmaker Backpack Review
Normally I try to write about gear that is made right here in the US. However, there are many other companies out there that pride themselves on making the best gear with the best materials across the pond. Greenroom136 is one of these companies. Based out of Malaysia, Greenroom was founded in 2011 by Patrick Lim.
I originally purchased the Rainmaker Medium backpack from Amazon for a very reasonable $125 with free shipping from prime. After seeing the build quality of the pack and finding that I could get a custom Rainmaker in Large built I had to try it out. Most bags that are handmade and built with the very best materials will cost you much more. At $125 USD the Rainmaker is an absolute steal. The Large Tactical version of the bag is only $127 US on Greenroom’s website. The custom will run you a bit more depending on what you have extra thrown in.
"Custom Fidlock Buckles"
The Rainmaker is constructed from 1000D Cordura and a 420D inner liner. The two compression buckles on each side do not come stock as I had some Fidlock magnetic buckles added on for around $20 US. I recommend anyone who opts for the custom pack to add these buckles as they allow for super easy opening and closing of the pack. The whole Rainmaker is sealed with all YKK zippers. Every zipper on the bag is protected by a flap of Cordura to insure no water gets on the inside of the bag. While these flaps are great for keeping out water or dust they do make finding the small zippers somewhat of a hassle. I plan to combatant this by adding my normal 550 Paracord and Heat shrink wrap combo I put on most of my bags.
"Plenty of room for everything"
The Large pack which I bought comes in at 27L. However, the bag definitely feels much larger when I start to load it up. On an average day, I would normally have my 13 inch Macbook pro, Ipad Air, Nalgene bottle, Goruck GR2 Field pouch with my DSLR, my field journal, some kind of over layer, pens/pencils, Esee 4, wallet, keys, cellphone, and still have plenty of room to spare.
At the very top of the pack there is a large grab handle. This same grab handle which is made from a seatbelt like material also runs down either side of the pack allowing you to pick it up from any angle. Behind the top grab handles there is a small loop to aid in hanging the pack on a hook.
On the face of the pack there is a good sized admin pocket. This pocket has plenty of room for your phone, chargers, keys, wallet, pens/pencils and whatever else you want to be able to grab quickly without opening the main pocket of the bag.
The bag’s main compartment opens almost full clamshell so you can easily pack to your needs. On the back of the main compartment, there are two rows of mollee webbing to attach extra pockets. Underneath the webbing there is an elastic pocket for documents or journals. On the front of the large main pocket there are two zippered mesh pockets for any items you want separated out of the large main compartment. I normally use these for my computer chargers, sunglasses, hard drives, and any other small items.
"Corduroy lined laptop compartment"
The laptop compartment is hands down one of the best I have used. There is plenty of room to fit my 13 inch MacBook Pro and my Ipad air on the opposite side. This is often a very overlooked part of other bag makers. Especially one marketed for the student, business man or someone looking for an all around EDC bag. I normally carry my laptop around a ton, as it is where I do all of my work. The Rainmakers laptop sleeve is not only very well padded but also lined with corduroy to add a nice soft liner for your machine. The laptop compartment also zips all the way down to allow the bag to be opened and follow TSA guidelines. The base of the laptop compartment is also heavily padded to give you some extra peace of mind when setting the pack down.
The straps on the bag are well padded and curved which allows for very comfortable and close to the body carry. The Rainmaker comes with an included sternum strap to help balance your load-out. There are also cinch buckles at the top of the shoulder straps to allow for more adjustment on your carry. I tend to have a larger chest and shoulders than most so the sternum strap is almost maxed out while I use it. This is not a huge problem however if you tend to have a larger build this is something to think about.
"Hidden Concealed Pocket"
The back panel of the bag is padded with mesh to keep your cool and comfortable on long days. Underneath the left side of the back panel there is a concealed pocket that is very hidden. This pocket is big enough to carry phones, passports, and I was actually able to fit my Glock 19 in it with a bit of work.
The only flaw I was able to find with the Rainmaker are the very small zipper pulls. With the addition of the Cordura protective flaps over the zippers, the small zipper pulls can be hard to find at times. However, this does not make or break the bag and can be easily fixed with some paracord.
+
- Made from best materials, 1000D Cordura, 420D pack liner, YKK zippers and buckles
- Amazing value for your $
- Handmade by people who pride themselves on their work
- Great laptop compartment
- Very padded back panel and straps
-
- Small zipper pulls that can be hard to find
Overall, the Rainmaker by Greenroom136 is the complete package at an amazing price for anyone looking for a handmade EDC pack that can carry your laptop and Ipad without worry. The customer service I received while ordering and sorting out all of the details on my Rainmaker pack was second to none. The people over at Greenroom136 know what they are doing.